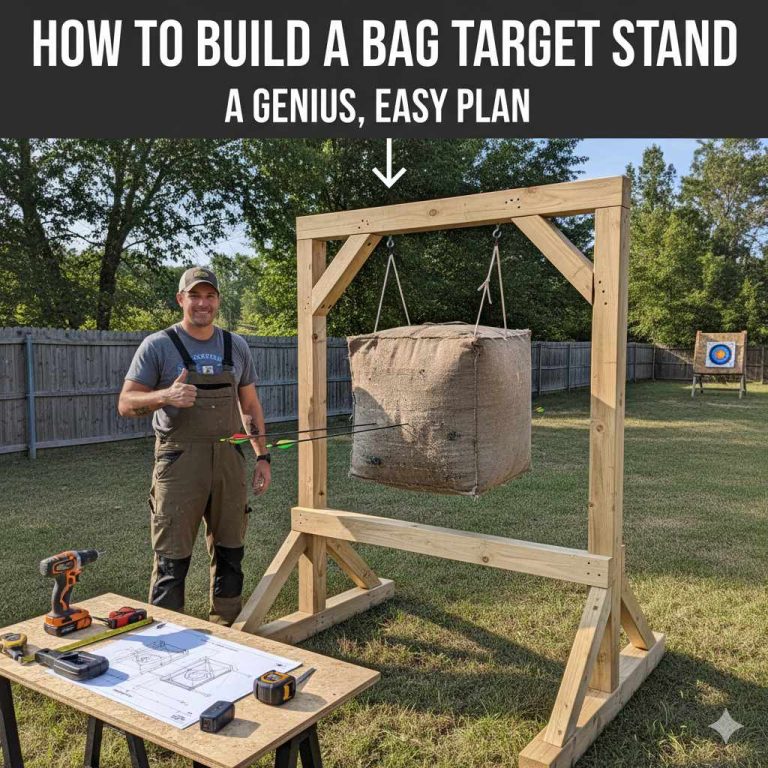
Building a folding target stand is simple with this genius PVC pipe method. Just cut PVC sections for the base and uprights, then connect them with T-fittings and elbow joints. A clever hinge design using loose-fit T-fittings allows the legs to fold flat for easy storage and transport, making it the perfect portable solution for any archer.
Hello, fellow archers! Salman here. Is your target leaning against a tree or a wobbly old chair? We’ve all been there. It’s tough to practice your aim when you’re worried about your setup. A good, stable target stand is a game-changer, but many are bulky or expensive. This can be frustrating when all you want to do is get outside and shoot.
But don’t worry, I have a fantastic solution for you. We are going to build a sturdy, portable, and incredibly clever folding target stand. This guide will walk you through every simple step. You don’t need to be an expert builder. By the end, you’ll have a stand you can be proud of, one that makes your practice sessions safer and more fun. Let’s get started!
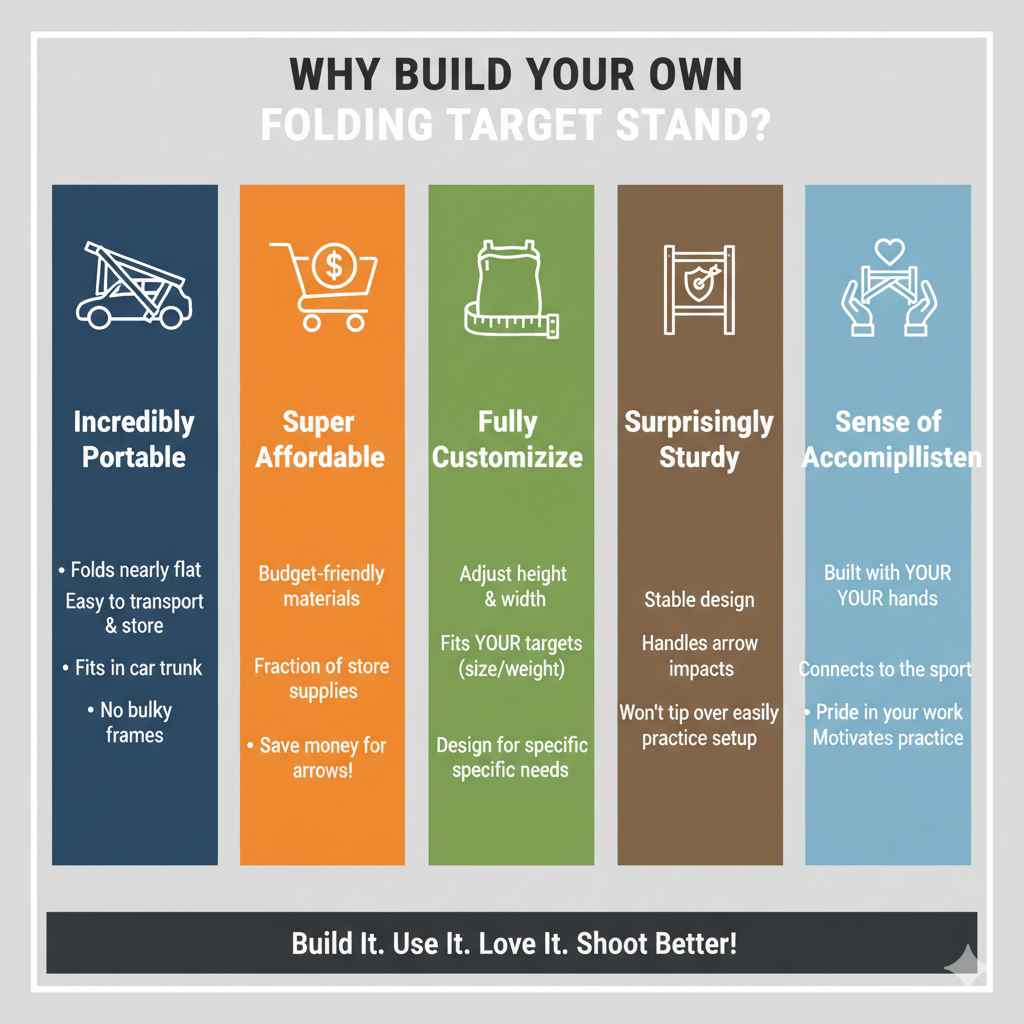
Why Build Your Own Folding Target Stand?
You might wonder if it’s worth the effort to build your own stand. Trust me, the benefits are huge, especially for a beginner or hobbyist. This isn’t just about saving a few dollars; it’s about creating a piece of equipment that perfectly suits your needs.
- Incredibly Portable: This design folds down nearly flat. You can easily slide it into the trunk of your car, store it in a closet, or carry it to your favorite shooting spot without any hassle. No more awkward, bulky frames to wrestle with.
- Super Affordable: The materials for this project are all available at your local hardware store and are very budget-friendly. You can build a high-quality stand for a fraction of the cost of a store-bought model.
- Fully Customizable: Is your target bag extra large? Or maybe you have a smaller foam block? No problem. You can easily adjust the measurements of this design to perfectly fit the size and weight of your specific target.
- Surprisingly Sturdy: Don’t let the simple materials fool you. A PVC stand, when built correctly, is remarkably stable. It can handle repeated arrow impacts without tipping over, giving you a reliable setup for every practice session.
- Sense of Accomplishment: There’s a special pride that comes from using equipment you built with your own two hands. It connects you more deeply to the sport and makes every successful shot feel even better.
Gathering Your Tools and Materials
Before we start cutting and building, let’s get everything we need in one place. This will make the whole process smooth and easy. You won’t need a massive workshop for this; just a few basic tools will do the trick.
Essential Tools
You probably have most of these tools already. If not, they are great investments for any future projects.
- Measuring Tape: Accuracy is key! A simple retractable measuring tape is perfect.
- Marker or Pencil: To mark your cutting lines on the PVC pipe.
- PVC Pipe Cutter or a Hacksaw: A dedicated PVC cutter gives you the cleanest cuts, but a hacksaw with a fine-tooth blade works just as well.
- Power Drill with Bits: We’ll need this to drill a couple of small holes for our locking pins. A 1/4-inch bit is usually a good size.
- Safety Glasses: Always protect your eyes! When cutting or drilling, small bits of plastic can fly off.
- Sandpaper (Optional): A small piece of medium-grit sandpaper is helpful for smoothing any rough edges after you make your cuts.
Materials Shopping List
We’ll be using 1.5-inch Schedule 40 PVC pipe for this project. It offers the best balance of strength, weight, and cost. You can find everything on this list in the plumbing aisle of a hardware store like Lowe’s or The Home Depot.
The quantities below will build a standard-sized stand suitable for most large target bags (around 28″ x 28″). Feel free to adjust the pipe lengths if your target is much larger or smaller.
| Item | Quantity | Size / Type | Notes |
|---|---|---|---|
| PVC Pipe | Two 10-foot lengths | 1.5-inch Schedule 40 | This gives you plenty of pipe with some extra in case of a miscut. |
| 90-Degree Elbow Fittings | 4 | 1.5-inch Slip Fitting | These will form the corners of our base. |
| T-Fittings | 6 | 1.5-inch Slip Fitting | These are the magic pieces for our frame and folding mechanism. |
| PVC End Caps | 4 | 1.5-inch Slip Fitting | These cap the feet for a finished look and stability. |
| Bolts with Nuts or Hitch Pins | 2 | 1/4-inch diameter, ~2.5 inches long | These will act as the locking pins for our folding legs. |
| PVC Primer and Cement (Optional) | 1 small can of each | Standard PVC type | Only use this if you want a permanent, non-adjustable stand. |
A quick note on PVC cement: For this folding design, I recommend not gluing most of the pieces. A dry-fit (just pushing the pieces together tightly) is strong enough for holding a target and allows you to disassemble the stand completely if needed. We will only consider gluing the lower base pieces for extra rigidity.
The Step-by-Step Building Guide
Alright, with all our materials gathered, it’s time for the fun part! Follow these steps carefully, and you’ll have a finished stand in no time. Remember to measure twice and cut once.
Step 1: Cut Your PVC Pipes to Size
First, we need to cut our 10-foot PVC pipes into all the smaller pieces we’ll use for the frame. Use your measuring tape and marker to get precise marks before you cut. A clean, straight cut will ensure all your pieces fit together snugly.
Here is your cutting list:
- Four (4) pieces at 18 inches: These will form the front and back of the base.
- Four (4) pieces at 6 inches: These will be the short side connectors for the base feet.
- Two (2) pieces at 36 inches: These are the main uprights that will hold your target.
- One (1) piece at 28 inches: This is the top crossbar that holds the target hangers. (Adjust this width to be slightly wider than your target).
| Piece Name | Length | Quantity | Purpose |
|---|---|---|---|
| Base Rails | 18 inches | 4 | Front and back of the feet. |
| Base Connectors | 6 inches | 4 | Sides of the feet. |
| Uprights | 36 inches | 2 | Vertical supports. |
| Top Crossbar | 28 inches | 1 | Holds the target. |
After cutting, you can use a piece of sandpaper to quickly smooth any rough plastic burrs from the edges. This makes assembly easier and gives your stand a cleaner look.
Step 2: Assemble the Base Feet
Now we’ll build the two separate “H-shaped” feet that form the base of the stand. These provide a wide, stable footprint to prevent tipping.
- Take two of your 18-inch pieces and two of your 6-inch pieces.
- Take two T-fittings. Point the single opening of each T-fitting upwards.
- Connect the two 18-inch pieces by inserting them into the opposite sides of the T-fittings. You should have what looks like two parallel rails.
- Now, take your two 6-inch pieces and two 90-degree elbow fittings. Attach the elbows to one end of each 6-inch pipe.
- Connect the other end of the 6-inch pipes into the open ends of the T-fittings. You have now created one of the feet. It should lay flat on the ground.
- Repeat this entire process with the remaining 18-inch pieces, 6-inch pieces, T-fittings, and elbows to build the second foot.
- Finally, press the four PVC End Caps onto the open ends of the 90-degree elbows. These are the feet that will touch the ground.
At this stage, you can choose to apply PVC primer and cement to the joints of these two base feet for maximum rigidity. Do not glue the upward-facing T-fittings yet!
Step 3: Building the Upright Frame
This is the part of the stand that holds the target itself. It’s a simple rectangle that will attach to our base.
- Take your two 36-inch upright pipes and your one 28-inch crossbar pipe.
- You will also need the last two T-fittings.
- Attach the T-fittings to the top of each 36-inch upright pipe. Make sure the straight-through portion of the T-fitting is aligned with the pipe, creating a “T” at the top.
- Now, connect these two uprights by inserting the 28-inch crossbar into the open ends of the T-fittings.
You should now have a large, upside-down “U” shape with two open pipe ends at the bottom. This is your main target holder.
Step 4: Creating the Genius Folding Mechanism
Here’s where the magic happens! This simple trick is what makes the stand foldable and so easy to transport.
- Take your completed upright frame from Step 3.
- Take your two completed base feet from Step 2.
- Insert the bottom of the 36-inch upright pipes into the upward-facing T-fittings on the base feet. Push them in firmly.
- Stand the entire assembly up. It should now look like a complete target stand!
- Here is the key: The uprights can swivel forward and backward within those T-fittings on the base. This is our hinge.
- To lock the stand in the open, upright position, we need to add locking pins. Position the uprights so they are perfectly vertical (90 degrees to the base).
- Using your power drill with a 1/4-inch bit, carefully drill a hole all the way through the T-fitting and the upright pipe inside it. Drill one hole on the left side and one on the right side.
- Take your 1/4-inch bolts or hitch pins and slide them through the holes you just drilled. This locks the uprights in place, making the stand rigid and stable.
To fold the stand, simply pull out the two pins, and the entire upright frame will pivot down flat against the base feet. It’s that simple!
Step 5: Adding Target Hangers
Your stand is built, but you need a way to hang your target bag. We can easily add hangers to the top crossbar.
You can use long bolts, hooks, or even just strong rope. For a clean look, I recommend drilling two holes in the top 28-inch crossbar, spaced about 12-18 inches apart. Then, insert eyebolts and secure them with a washer and nut on the other side. This gives you two permanent, strong anchor points to hang your target from using carabiners or rope.
Step 6: Final Touches and Safety Checks
Congratulations, you’ve built your own folding target stand! Before you head out to the range, let’s do a quick final check.
- Make sure all the non-glued pieces are pushed together as tightly as possible.
- Check that your locking pins slide in and out smoothly.
- Give the stand a gentle shake. It should feel stable and secure.
- Hang your target on it to check the balance. If it feels a bit top-heavy, you can add weight (like a sandbag) over the base feet for extra stability, especially on windy days.
Safety First: Using Your New Target Stand Responsibly
Having great equipment is only half the battle; using it safely is what truly matters. An archery range, whether in your backyard or a dedicated facility, has rules for a reason. Adhering to safety guidelines protects you, those around you, and the property.
Always remember these core safety principles:
- Know Your Backstop: Your target and stand are designed to stop arrows, but you must always be sure of what lies behind your target. Never shoot in the direction of houses, roads, or areas where people might walk. A large hill, a thick patch of woods, or a purpose-built backstop are essential. The U.S. Fish & Wildlife Service provides excellent tips on setting up a safe shooting environment.
- Establish a Clear Shooting Lane: Make sure the entire path from you to the target, and well beyond it, is completely clear. Check for pets, children, or other people before you even nock an arrow.
- Inspect Your Equipment: Before each shooting session, check your bow, arrows, and your new stand for any signs of damage. A cracked pipe on the stand or a frayed bowstring could lead to failure and potential injury.
- Only Nock When Ready: Never walk around with a nocked arrow. Only place an arrow on the string when you are at the shooting line, facing the target, and ready to shoot.

Frequently Asked Questions (FAQ)
Can I use wood instead of PVC to build this stand?
Absolutely! You can adapt this design to use 2×4 lumber. The assembly would require screws and hinges instead of slip fittings, making it a bit more complex. Wood is heavier and less weather-resistant than PVC but can be extremely sturdy.
How much does this project cost to build?
The cost is very low. You can typically buy all the PVC pipes and fittings needed for under $40. If you already have the basic tools, it’s one of the most affordable ways to get a high-quality, portable target stand.
How heavy will the finished stand be?
A stand made from 1.5-inch PVC is surprisingly lightweight. The entire assembly will likely weigh between 10 to 15 pounds, making it very easy for almost anyone to carry and set up.
What kind of target can I use with this stand?
This stand is perfect for most hanging bag targets and large foam block targets. For foam blocks, you can simply place them on the base feet and lean them against the uprights. For bag targets, use the hangers on the top crossbar.
How can I make the stand more stable in high wind?
The best way to add stability on a windy day is to add weight. You can place sandbags, weights from a weightlifting set, or even a couple of heavy rocks on the front and back base rails. This lowers the center of gravity and keeps the stand firmly planted.
Do I really need to use PVC cement?
For this folding design, it’s better not to use cement on most of the joints. A tight dry fit is strong enough, and it allows you to easily replace a part if it ever breaks or to disassemble the stand completely for long-term storage.
Can I paint my PVC stand?
Yes, you can! To paint PVC, you should first lightly scuff the surface with fine-grit sandpaper. Then, clean it thoroughly and use a spray paint that is specifically formulated to bond with plastic. This is a great way to customize your stand and make it your own.
Conclusion: Your Partner in Practice
There you have it—a complete guide to building a folding target stand that is not only functional but also brilliantly simple. You’ve taken some basic materials and turned them into a crucial piece of archery equipment that will serve you well for years to come. You now have a stable, reliable partner for every practice session, one that you can easily take with you wherever you go.
Building this stand is more than just a project; it’s a step toward becoming a more self-sufficient and dedicated archer. Be proud of what you’ve accomplished! Now, the best part awaits. Take your new stand, head outside, and enjoy the satisfying thwack of arrows hitting their mark. Happy shooting!