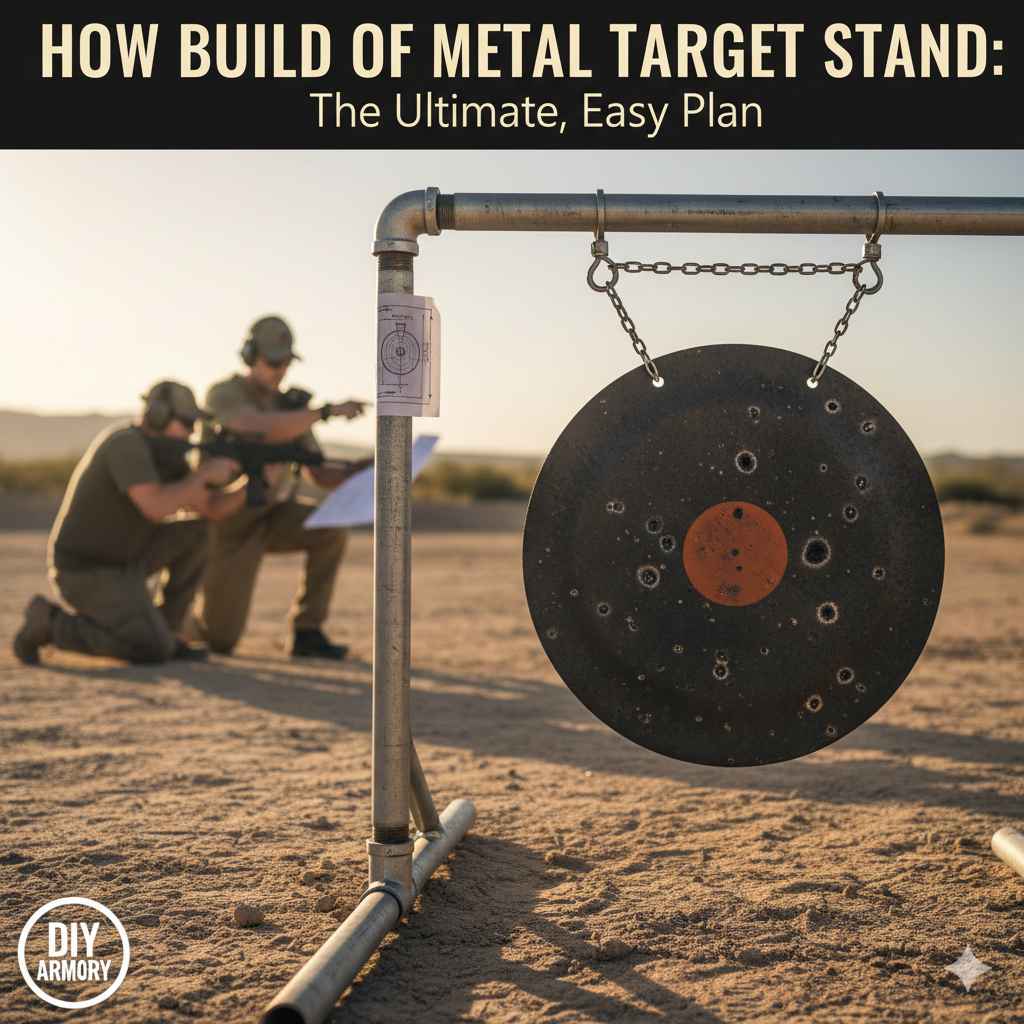
To build a metal target stand, you will need rebar, EMT conduit, or steel tubing. First, cut four pieces for the base legs and two longer pieces for the uprights. Assemble the base into an “H” or “X” shape using bolts or fittings. Attach the uprights, add a crossbar at the top, and hang your target with chains or bolts.
Ready to level up your archery practice? Having a great target is key, but you also need a safe and sturdy place to put it. A good target stand makes all the difference. It holds your target steady, so you can focus on your aim. But store-bought stands can be expensive or flimsy.
Don’t worry! Building your own metal target stand is easier than you think. It’s a fun project that saves you money and gives you a stand built to last. This guide will walk you through every step, from picking your materials to putting it all together. No confusing terms, just simple instructions. Let’s get started!
Why Build Your Own Target Stand?
You might wonder if it’s worth the effort to build a target stand yourself. For many archers, the answer is a big yes! It’s more than just a weekend project; it’s about creating something that perfectly fits your needs. Let’s look at the good and the not-so-good parts of going the DIY route.
The Benefits of a DIY Stand
- Save Money: High-quality metal target stands can cost a lot. Building one yourself can cut that cost in half, or even more. You only pay for the raw materials, which are often very affordable.
- Custom-Built for You: Is your target an odd size? Do you practice on a sloped yard? When you build your own stand, you control everything. You can set the exact height, width, and design to match your target and your shooting space perfectly.
- Built to Last: Many store-bought stands use thin, lightweight metal to keep costs down. This means they can wobble, bend, or rust easily. When you choose the materials, you can pick thicker, stronger steel that will stand up to years of use and all kinds of weather.
- A Fun and Rewarding Project: There’s a special kind of pride that comes from using something you made with your own hands. Building your stand is a great way to learn new skills and feel a sense of accomplishment every time you head out to practice.

Potential Challenges to Consider
Of course, no project is without its challenges. It’s good to know what to expect before you start.
- You Need the Right Tools: This project requires a few basic tools, like a saw for cutting metal and a drill. If you don’t already have them, you might need to buy or borrow them.
- It Takes Time: This isn’t a five-minute job. You’ll need to set aside a few hours to measure, cut, and assemble your stand. Be sure to plan for this time so you don’t feel rushed.
- Working with Metal: If you’ve never worked with metal before, it can feel a little intimidating. But don’t let that stop you! Our guide uses simple techniques that are perfect for beginners. The key is to work carefully and safely.
| Feature | DIY Stand | Store-Bought Stand |
|---|---|---|
| Cost | Lower | Higher |
| Durability | You control it (can be very high) | Varies (often lower) |
| Customization | Fully customizable | Fixed design |
| Time & Effort | Requires a few hours of work | Ready to use instantly |
Safety First: Your Most Important Gear
Before we pick up a single tool, let’s talk about safety. Working with metal is very safe as long as you take a few simple precautions. Your well-being is the number one priority. Never skip these steps. They protect you from sparks, sharp edges, and other potential hazards.
Think of your safety gear as your uniform for the project. Putting it on should be the very first thing you do.
Essential Personal Protective Equipment (PPE)
- Safety Glasses: This is non-negotiable. When you cut or drill metal, tiny, sharp fragments can fly into the air. A good pair of safety glasses protects your eyes from serious injury. Always wear them.
- Gloves: Metal edges can be surprisingly sharp, especially right after they’re cut. A pair of thick work gloves will protect your hands from cuts and scrapes. Leather or heavy-duty synthetic gloves are a great choice.
- Long Sleeves and Pants: Wearing long sleeves and pants made of a durable material (like denim) adds another layer of protection against sparks and sharp metal.
- Closed-Toe Shoes: Protect your feet from dropped tools or materials. Sturdy work boots are ideal, but any solid, closed-toe shoe is much better than sandals or sneakers.
For more detailed information on workshop safety, you can check out the guidance provided by the Occupational Safety and Health Administration (OSHA). Their resources cover a wide range of safety topics and best practices.
Creating a Safe Workspace
Your environment is just as important as your gear. A clean and organized workspace helps prevent accidents.
- Work in a Well-Ventilated Area: If you are cutting or grinding metal, it can create dust and fumes. Working outdoors or in a garage with the door open is a great idea.
- Keep a Clean Space: Make sure your work area is free of clutter. Tripping hazards are a common cause of workshop injuries. Keep tools and materials organized and off the floor.
- Know Your Tools: Read the manuals for your power tools before you use them. Understand how they work and what their safety features are. Never disable a safety guard on a tool.
- No Rushing: Take your time. Most accidents happen when people are rushing to finish a job. Work at a steady, comfortable pace. If you feel tired or frustrated, take a break.
Tools and Materials You’ll Need
Now for the fun part: gathering your supplies! This plan uses common materials you can find at any big hardware or home improvement store. We’re keeping it simple, with no welding required. This design relies on bolts and fittings, making it accessible for everyone.
The Shopping List
We’ll use Electrical Metallic Tubing (EMT) conduit for this build. It’s strong, lightweight, and easy to cut. You’ll find it in the electrical aisle.
| Item | Quantity | Size | Notes |
|---|---|---|---|
| EMT Conduit | 2 | 10-foot lengths, 3/4-inch diameter | This will be the main frame of your stand. |
| Carriage Bolts | 6 | 1/4-inch diameter, 2.5 inches long | For connecting the main joints. |
| Flat Washers | 12 | 1/4-inch | To distribute pressure from bolts and nuts. |
| Nylon Lock Nuts (Nyloc) | 6 | 1/4-inch | These won’t loosen from vibration. |
| Eyebolts with Nuts | 2 | 1/4-inch diameter, 3 inches long | For hanging the target. |
| Spray Paint (Optional) | 1 can | Exterior metal paint | Protects against rust and looks great. |
The Toolbox Checklist
You probably have many of these tools already. If not, they are all great investments for future projects.
- Tape Measure: For accurate measurements.
- Permanent Marker: To mark your cutting lines.
- Hacksaw or Tubing Cutter: A simple hacksaw works well for EMT conduit. A tubing cutter gives you a cleaner, faster cut.
- Metal File: To smooth out sharp edges after cutting.
- Electric Drill and Drill Bits: You’ll need a 1/4-inch metal drill bit.
- Wrenches or a Socket Set: To tighten the nuts and bolts. You’ll need two wrenches (or a wrench and a socket) to tighten everything properly.
- A Clamp or Vise: To hold the conduit securely while you cut and drill. This is a huge safety and accuracy booster.
The Step-by-Step Plan to Build Your Stand
Alright, you’ve got your gear and your safety glasses are on. Let’s build this stand! Follow these steps carefully, and you’ll have a sturdy, reliable target stand in no time. Remember to measure twice and cut once.
Step 1: Measure and Cut Your Pieces
Accuracy here is key. A stand with pieces of equal length will be stable and strong. A wobbly stand is an unsafe stand. Use your tape measure and permanent marker to mark all your cuts before you start.
From your two 10-foot lengths of EMT conduit, you need to cut the following pieces:
- Two (2) Uprights: 48 inches each. These are the tall vertical pieces.
- Four (4) Base Legs: 24 inches each. These will form the feet of the stand.
- One (1) Crossbar: 30 inches. This piece will go across the top to hang your target from.
Cutting Tip: Secure the conduit in a vise or with a clamp before you cut. This keeps it from moving around, giving you a straighter, safer cut. After each cut, use your metal file to gently smooth the edges. This removes any sharp burrs and makes the pieces safer to handle.
Step 2: Drill the Holes for Assembly
Now we’ll drill the holes that will hold everything together. This is where your drill and 1/4-inch metal bit come in. A little bit of cutting oil (or even WD-40) can make drilling through metal much smoother.
- Drilling the Uprights: Take your two 48-inch upright pieces. On each one, measure 2 inches down from one end and mark a spot in the center of the conduit. This is for the top crossbar. Now, measure 24 inches up from the other end and make another mark. This is where the base legs will attach. Drill a 1/4-inch hole through both sides of the conduit at all four marked spots.
- Drilling the Base Legs: Take your four 24-inch base leg pieces. On each one, measure 2 inches in from one end and mark the center. Drill a 1/4-inch hole through both sides of the conduit at these spots.
- Drilling the Crossbar: Take your 30-inch crossbar piece. Measure 2 inches in from each end and mark the center. Drill a 1/4-inch hole through both sides of the conduit at these two spots.
Drilling Tip: To make sure your holes line up perfectly on both sides of the tube, you can first drill through one side. Then, without moving the drill, continue straight through to the other side. This ensures your bolt will slide through smoothly.
Step 3: Assemble the Base
This is where your stand starts to take shape! We will create two “T” shaped leg assemblies that will connect to the uprights.
- Take one of your 48-inch uprights. Find the hole you drilled at the 24-inch mark.
- Take two of the 24-inch base legs. Line up the holes you drilled in them with the hole in the upright.
- Slide a 2.5-inch carriage bolt through all three pieces of conduit (one leg, the upright, the second leg).
- Add a flat washer and a nyloc nut to the end of the bolt. Tighten it with your wrenches, but don’t overtighten just yet. You want it snug, but with a tiny bit of movement so you can adjust it later.
- Repeat this process with the other upright and the remaining two base legs. You should now have two pieces that look like the letter “T”.
Step 4: Connect the Uprights with the Crossbar
Now we’ll connect your two T-shaped assemblies to form the main frame of the stand.
- Stand your two assemblies up, about 26 inches apart.
- Take your 30-inch crossbar piece. Line up the holes at each end with the top holes on your uprights.
- Slide a 2.5-inch carriage bolt through the hole on one side, connecting the crossbar to the upright. Add a washer and nyloc nut.
- Do the same for the other side.
At this point, your stand is fully assembled! Go back and tighten all the nuts and bolts securely. The nyloc nuts will prevent them from vibrating loose during use.
Step 5: Attach the Target Hangers
The final step in assembly is adding the hardware to hang your target. We’re using eyebolts for this, as they are strong and make it easy to attach chains or straps.
- On your top crossbar, decide where you want your target to hang. A good starting point is about 6 inches in from each upright. Mark these two spots.
- Drill a 1/4-inch hole through the top of the crossbar at each mark. This time, you only need to drill through one side of the conduit.
- Insert an eyebolt into each hole from the top, so the “eye” is facing up.
- On the underside of the crossbar, add a washer and a nut to each eyebolt and tighten them securely.
You can now hang your target from these eyebolts using chains, S-hooks, or durable straps. The chains allow the target to swing, which helps absorb the arrow’s energy and makes your target last longer.
Step 6: Finishing Touches (Optional but Recommended)
Your stand is functional, but a coat of paint will protect it from rust and give it a professional look.
- Clean the Metal: Before painting, wipe down the entire stand with a rag and some rubbing alcohol or a degreaser. This removes any oils or dirt and helps the paint stick better.
- Apply Paint: Use a spray paint designed for metal. A “rust-inhibiting” primer and paint in one is a great choice. Apply a few light, even coats, letting each coat dry according to the directions on the can. Black or dark green are popular colors that blend in well outdoors.
Choosing the Right Target for Your New Stand
Your fantastic new stand needs an equally great target! The type of target you choose depends on the bow you shoot and what you want to practice. Hanging the wrong type of target can lead to damaged arrows or a quickly destroyed target.
- Foam Block Targets: These are the most common and versatile choice. They are great for field points and can stop arrows from both compound and recurve bows. They are lightweight and easy to hang from your stand’s eyebolts.
- Bag Targets: These are another excellent option for field points. They are known for being very easy to pull arrows from. They work well for both high-speed compound bows and beginner recurve bows. Most come with grommets for easy hanging.
- 3D Targets: If you’re practicing for hunting, a 3D animal target is a great investment. They help you practice shot placement. Make sure to get one that is designed to be hung or has a compatible mounting system.
Important Note: Never shoot broadheads (hunting tips) at a standard foam block or bag target. They will shred the target and can be extremely difficult to remove. Use a target specifically designed for broadheads if you need to practice with them.

Frequently Asked Questions (FAQ)
Can I use a different type of metal, like rebar or steel pipe?
Yes, you can. Rebar is very heavy and sturdy but can be harder to cut and drill. Steel pipe (like black iron pipe) is also very strong but much heavier and more expensive than EMT conduit. For a beginner-friendly, portable stand, EMT conduit offers the best balance of strength, low cost, and ease of use.
How heavy will this stand be?
A stand made from 3/4-inch EMT conduit will be surprisingly lightweight. The total weight should be around 10-15 pounds, making it very easy for one person to carry and set up in their backyard or take to the range.
Is this stand adjustable?
This specific design is not adjustable, but you could easily make it so. By drilling a series of holes up and down the uprights, you could move the crossbar to different heights. This is a great modification if you want to practice shooting at different elevations.
How do I make the stand more stable on windy days or uneven ground?
For extra stability, you can place sandbags or other weights on the base legs. Another great tip is to drill a hole near the end of each base leg. You can then use tent stakes to pin the stand to the ground, making it very secure even in windy conditions.
What is the best way to hang my target from the stand?
Short lengths of chain with S-hooks or spring clips (carabiners) are the best method. This allows the target to swing freely when hit by an arrow. This movement helps absorb the arrow’s energy, which reduces wear and tear on your target and can make arrows easier to pull out.
How long will this stand last?
If you paint it to protect it from the elements, a stand made from EMT conduit can last for many, many years. The galvanized coating on the conduit provides good rust resistance, and a layer of paint adds even more protection. Keep it dry when not in use, and it will be your trusty practice partner for a long time.
Your Next Step: Practice and Have Fun!
Congratulations! You’ve just learned how to build a durable, custom metal target stand. You’ve taken simple materials and, with your own hands, turned them into a key piece of archery equipment. That’s something to be proud of.
This stand isn’t just a place to hang a target; it’s a tool that will help you grow as an archer. It gives you a reliable setup for consistent practice, which is the secret to improving your accuracy and confidence. Every arrow you loose at a target on this stand is a step forward in your archery journey.
So, get out there, set up your new stand, and let those arrows fly. Enjoy the satisfying thud of an arrow hitting its mark. Remember that every shot is a learning opportunity. Most importantly, have fun with it. Happy shooting!