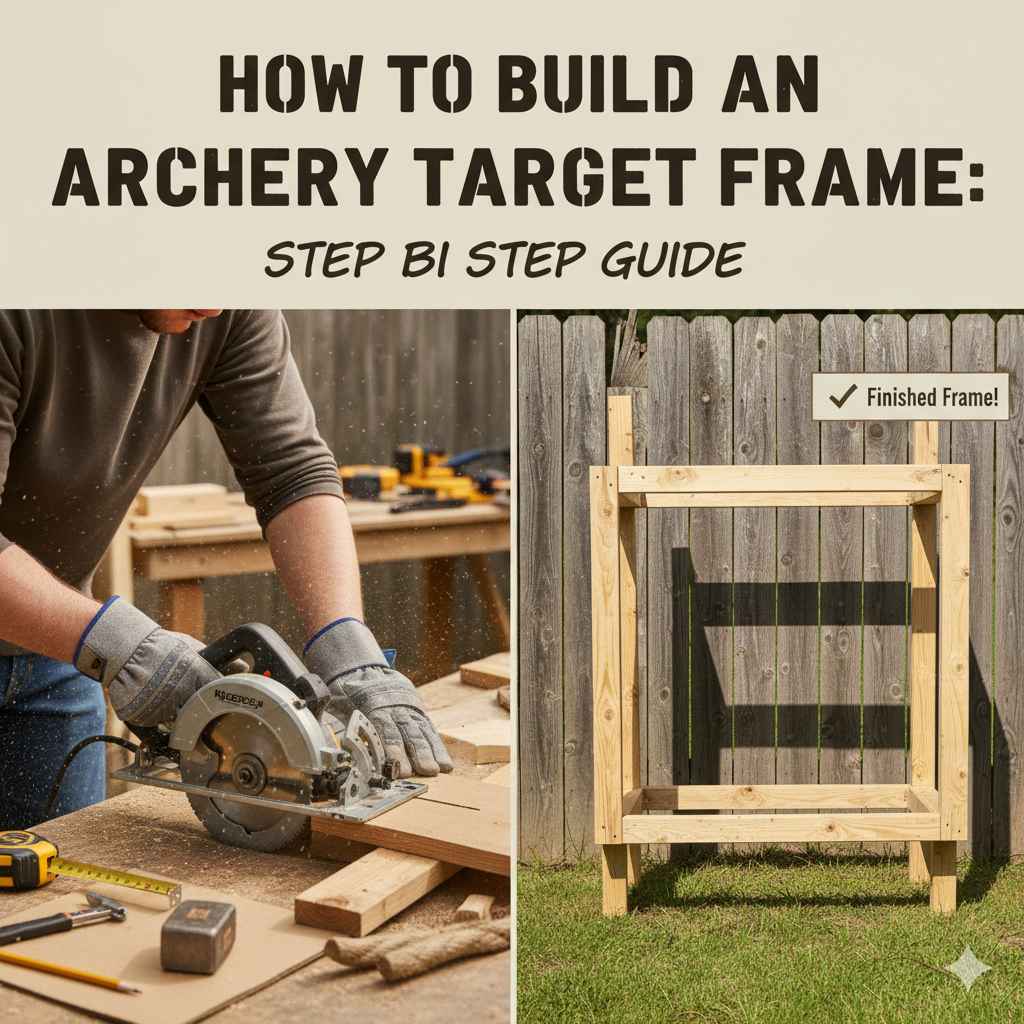
Building your own archery target frame might seem tricky at first, especially if you’re new to DIY projects. Many people find themselves unsure about the best materials or the exact steps needed to make something sturdy and effective. But don’t worry! This guide breaks down exactly How to Build an Archery Target Frame (Step-by-Step) with simple instructions. We’ll show you just how easy it can be to create a great target setup for your practice.
Why You Need a Sturdy Archery Target Frame
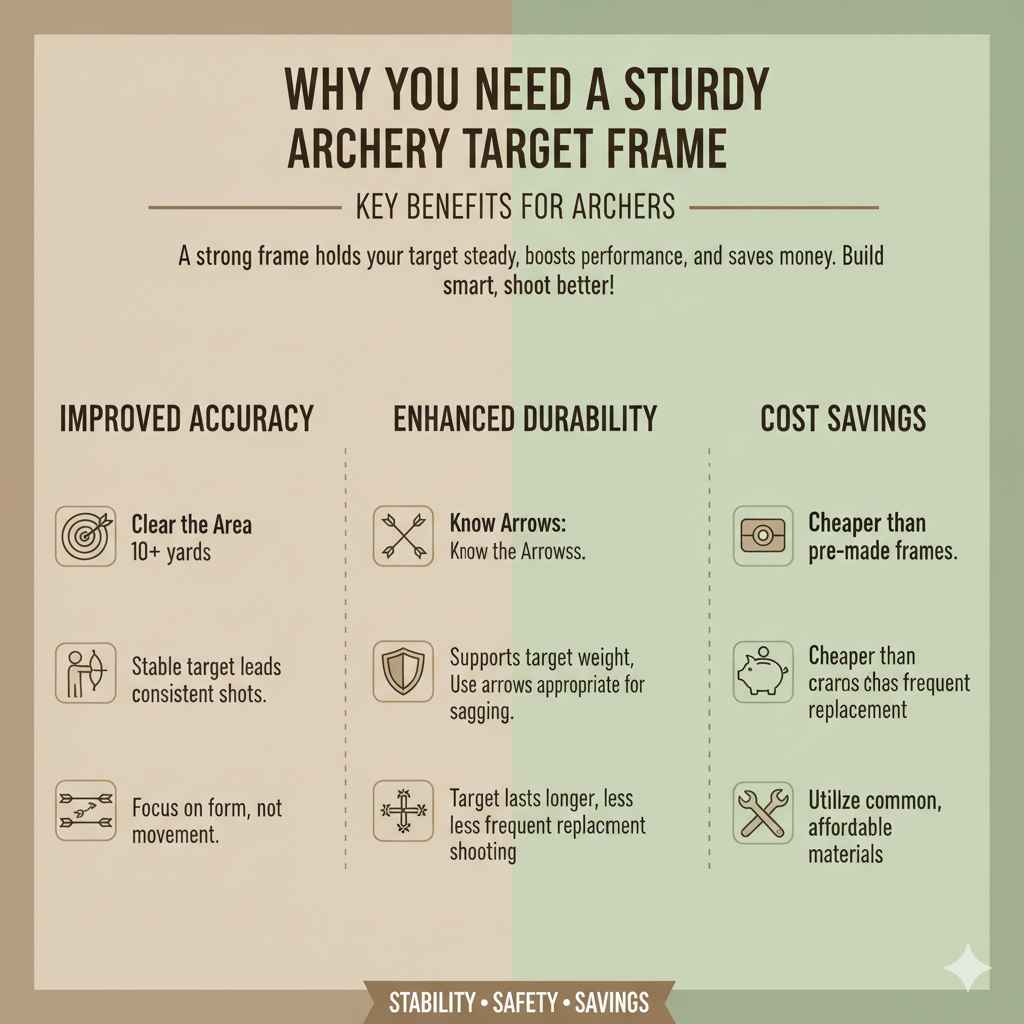
A good archery target frame is really important for any archer. It holds your target in place so it doesn’t move around when you shoot. This means your arrows will go into the same spot more often, helping you get better. A stable frame also keeps your target from falling over or getting damaged. When you practice, you want your target to stay put. This is especially true if you are shooting at longer distances.
Benefits of a Well-Built Frame
A strong frame protects your target material. It also makes your practice area safer. You won’t have to worry about the target tipping over and possibly hitting something or someone. Plus, building your own can save you money compared to buying a pre-made one. You can also customize the size to fit your space and needs perfectly. A DIY frame lets you tailor your archery setup just right for your practice sessions.
- Improved Accuracy
A stable target lets you focus on your shot. When the target doesn’t wobble or move, you get more consistent results. This helps you see where you need to improve your aim. You can really hone in on your shooting form without distractions. - Enhanced Durability
A solid frame supports the weight of the target. It prevents the target from sagging or collapsing under pressure. This means your target lasts longer and you don’t have to replace it as often. It’s a good investment for frequent shooters. - Cost Savings
Buying archery equipment can add up. Building your own frame is a budget-friendly option. You can often use common materials you might already have or can get cheaply. This makes getting a great practice setup much more affordable.
Gathering Materials for Your Target Frame
Before you start building, you need to gather the right supplies. Having everything ready makes the process go much smoother. You’ll want to pick strong materials that can withstand the weather if you plan to keep it outside. Wood is a popular choice because it’s easy to work with and strong enough for the job. You can also use metal, but that might require more tools and skill.
Choosing the Right Wood
For a wooden frame, pressure-treated lumber is a great option. It resists rot and insects, which is ideal for outdoor use. Common sizes like 2x4s or 4x4s work well. 4×4 posts are very strong and make a super stable base. 2x4s are good for the crossbeams and supports. Make sure the wood is straight and doesn’t have too many knots. This will make building easier and the frame stronger.
- Lumber
You’ll need pieces of wood. For a basic A-frame, you might need two 8-foot 2x4s for the sides, one 4-foot 2×4 for the top brace, and two 3-foot 2x4s for the bottom spreaders. For a larger or more robust frame, you might use 4×4 posts for the legs. - Fasteners
Wood screws are best for holding the pieces together. Look for outdoor-rated screws that won’t rust. You’ll need screws of different lengths, maybe 2.5-inch screws for joining main pieces and 1.5-inch screws for smaller braces. Using galvanized or stainless steel screws is smart. - Tools
You’ll need a measuring tape, a saw (hand saw or power saw), a drill with drill bits and a screwdriver bit, and possibly safety glasses. A level can also be helpful to make sure everything is straight. A pencil for marking your cuts is also essential.
Step-by-Step Guide How to Build an Archery Target Frame
Now, let’s get to the building part. This guide will walk you through making a simple, effective A-frame target stand. This design is popular because it’s stable and easy to put together. You don’t need to be a master carpenter to get a great result. Follow these steps, and you’ll have a solid frame ready for your target in no time.
Building the Side Legs
First, we’ll create the two sides of the A-frame. Each side will look like an upside-down V. Take two of your 8-foot 2x4s. Lay them on a flat surface, like the ground or a workbench. Place them so they meet at the top, forming an angle. Decide on the angle you want for your A-frame. A wider angle makes it more stable but takes up more ground space. A narrower angle is more compact.
Measure about 1 foot down from the top of one 8-foot board and make a mark. Do the same on the other 8-foot board. These marks will be where you attach the top brace. Position the two boards so their ends meet at a point at the top. Then, place the 4-foot 2×4 across the back of the two boards, aligning it with your marks. This 4-foot board is your top brace.
Use your drill to screw the 4-foot brace to the two side boards. Use at least two screws per side. Make sure the screws go in straight and tight. This connection is critical for the frame’s stability. It holds the entire structure together.
Now, you need to spread the bottom of the legs. Take two of your 3-foot 2x4s. These will be your bottom spreaders. Place one spreader between the two legs on one side, about 1 foot up from the bottom. Screw it into place. Repeat this on the other side with the second 3-foot spreader. This creates the base of your A-frame.
Assembling the Frame
You now have two identical A-frame sides. It’s time to join them together to make the complete stand. Stand the two A-frame sides up, facing each other. The bottom spreaders should be on the ground, and the angled legs pointing up and inwards.
Decide how far apart you want the two A-frames to be. This distance will depend on the size of your target. A common distance is about 2 to 3 feet. Measure this distance and then use another piece of 2×4, cut to size, as a cross-brace between the two A-frames. Attach this cross-brace to the back of the legs, about halfway up. Use strong screws to secure it. This brace adds a lot of stability and prevents the frame from spreading apart.
You can add more braces if you want extra strength. For instance, you could add a brace across the front as well, or even diagonal braces for maximum rigidity. For most targets, one strong cross-brace is enough.
Adding Support for the Target
Once the main frame is built, you need a way to hang or support your target. The simplest way is to use a piece of rope or chain attached to the top brace. You can drill holes in the top brace and loop the rope or chain through. Then, attach your target to the rope or chain. Make sure the target hangs straight and level.
Alternatively, you can attach a horizontal bar across the front of the A-frame. This bar can be a 2×4 or a dowel rod. You would screw it into the legs of the A-frame, about two-thirds of the way up. Then, you can place your target on this bar, or strap it to it. This method can be very secure for larger targets.
If you’re using a self-supporting target block, you might just need to ensure the frame is wide enough to accommodate it. The A-frame design naturally creates a space for the target to sit. You could also add some simple blocks or guides to keep the target from sliding off.
Tips for Maximizing Your Target Frame’s Lifespan
To keep your archery target frame in good shape for a long time, some simple maintenance helps. If your frame is outdoors, weather can take its toll. Protecting it will ensure it lasts through many shooting seasons. A little effort now can save you from building a new one sooner.
Weather Protection
If you built your frame from untreated wood, it’s a good idea to seal or paint it. Use an exterior-grade sealant or paint designed for outdoor wood. This will help prevent rot and protect the wood from moisture. Apply at least two coats for good coverage.
If your frame is made of pressure-treated wood, it already has some protection. However, applying a sealant can still extend its life. Reapply sealant every year or two, especially if the frame is exposed to a lot of sun and rain.
Regular Inspections
Take a few minutes each month to check your target frame. Look for any loose screws or bolts. Tighten them up as needed. Check the wood for any signs of cracking or rotting. If you see any damage, repair it promptly before it becomes a bigger problem.
Also, check the stability of the frame. Make sure it’s not leaning or wobbly. If it is, identify the cause and reinforce it. A stable frame is a safe frame.
Target Weight Considerations
Be mindful of the weight of your archery target. Very heavy targets can put extra strain on the frame. If you plan to use a particularly heavy target, consider building a more robust frame. Using 4×4 posts for the legs would be a good idea in this case. Ensure all connections are extra secure.
Common Archery Target Frame Materials Compared
When thinking about How to Build an Archery Target Frame (Step-by-Step), material choice is key. Different materials offer various benefits and drawbacks. Understanding these differences can help you pick the best option for your needs and skills. Here’s a look at common choices.
Wood Frames
Wood is the most popular choice for DIY archery target frames. It’s affordable, easy to find, and simple to work with using basic tools. Pressure-treated lumber is common for outdoor frames due to its resistance to decay and insects. Cedar is another good option because it’s naturally resistant to rot. Pine is cheaper but less durable outdoors unless well-sealed.
A typical wood frame might use 2x4s for the main structure and 4x4s for the legs if extra strength is needed. Screws are the usual fasteners. Wood frames are easy to modify and repair. However, they can eventually rot or warp if not properly maintained.
Metal Frames
Metal frames, often made from steel or aluminum, are known for their exceptional durability and strength. They can withstand heavy use and harsh weather conditions better than wood. Aluminum is lighter than steel, making it easier to move. Steel is generally stronger and more affordable.
Building a metal frame usually requires welding or specialized metalworking tools. This can make it a more challenging DIY project for beginners. However, if durability is your absolute top priority, a metal frame is a superior choice. They are less prone to damage from impacts.
PVC Pipe Frames
PVC pipes are a very lightweight and inexpensive option for target frames. They are easy to cut and assemble using PVC cement or screws. PVC frames are ideal for very light targets or for temporary setups. They are also resistant to water and rust.
However, PVC pipes are not as strong as wood or metal. They can become brittle in cold weather and may warp in direct sunlight. For standard archery targets, especially those that are frequently shot at close range, a PVC frame might not be sturdy enough. It is best suited for lighter targets or as a base for a larger structure.
Here is a comparison table:
| Material | Pros | Cons | Best For |
|---|---|---|---|
| Wood | Easy to work with, affordable, widely available | Can rot or warp if not protected, needs regular maintenance | Beginners, general use, budget-friendly options |
| Metal | Extremely durable, strong, weather-resistant | Requires specialized tools (welding), can be expensive, heavy | Heavy use, harsh climates, maximum longevity |
| PVC Pipe | Lightweight, very affordable, water-resistant | Not very strong, can degrade in extreme temperatures, best for light targets | Light targets, temporary setups, indoor practice |
How to Attach Different Target Types to Your Frame
The type of archery target you use will affect how you attach it to your frame. Some targets are designed to hang, while others sit on a stand or are directly attached. Ensuring a secure fit is vital for safety and consistent shooting. The frame needs to support the target without shifting or falling.
Bale Targets
Bale targets, often made of compressed straw or foam, are very common. They can be heavy, so a strong frame is essential. For these, you might use a horizontal support bar across the front of your frame. You can then rest the bale on this bar. Some bales have loops or handles that allow you to tie them to the frame using ropes or straps. Make sure the bale is centered on the frame for balance.
Block Targets
Block targets, usually made of dense foam, are lighter and more compact. Many block targets have built-in handles or grommets. You can easily hang these from a rope or chain attached to the top brace of your frame. If your frame has a horizontal crossbar, you can often strap the block target directly to it. Ensure the straps are tight and the block cannot slide off.
Layered Foam or Fabric Targets
These targets are often lighter and more flexible. They can be attached to the frame using eye bolts and bungees or straps. You might also create a simple wood backing board for the target and attach that board to your frame. This adds rigidity and makes hanging much easier. The frame needs to be strong enough to hold the target taut.
Example Scenario for Attaching a Block Target
Let’s say you have a standard foam block target that measures 20×20 inches. You have built an A-frame target stand using 2x4s.
1.
Measure the distance between the legs of your A-frame at the desired height for the target. Ensure it is slightly wider than your target for easy placement.
2.
Cut a piece of 2×4 lumber to fit snugly between the front legs of the A-frame. This will be your support bar.
3.
Screw this support bar securely into the front legs.
4.
Place your block target on the support bar.
5.
Use heavy-duty zip ties or straps to secure the target to the support bar and potentially the side legs. This prevents it from falling forward or sideways.
Common Problems and Solutions When Building
Even with clear instructions, you might run into a few snags. Don’t get discouraged! Most common building issues have simple fixes. Knowing what to look for can save you time and frustration. These are things that often come up when you’re building something like a target frame.
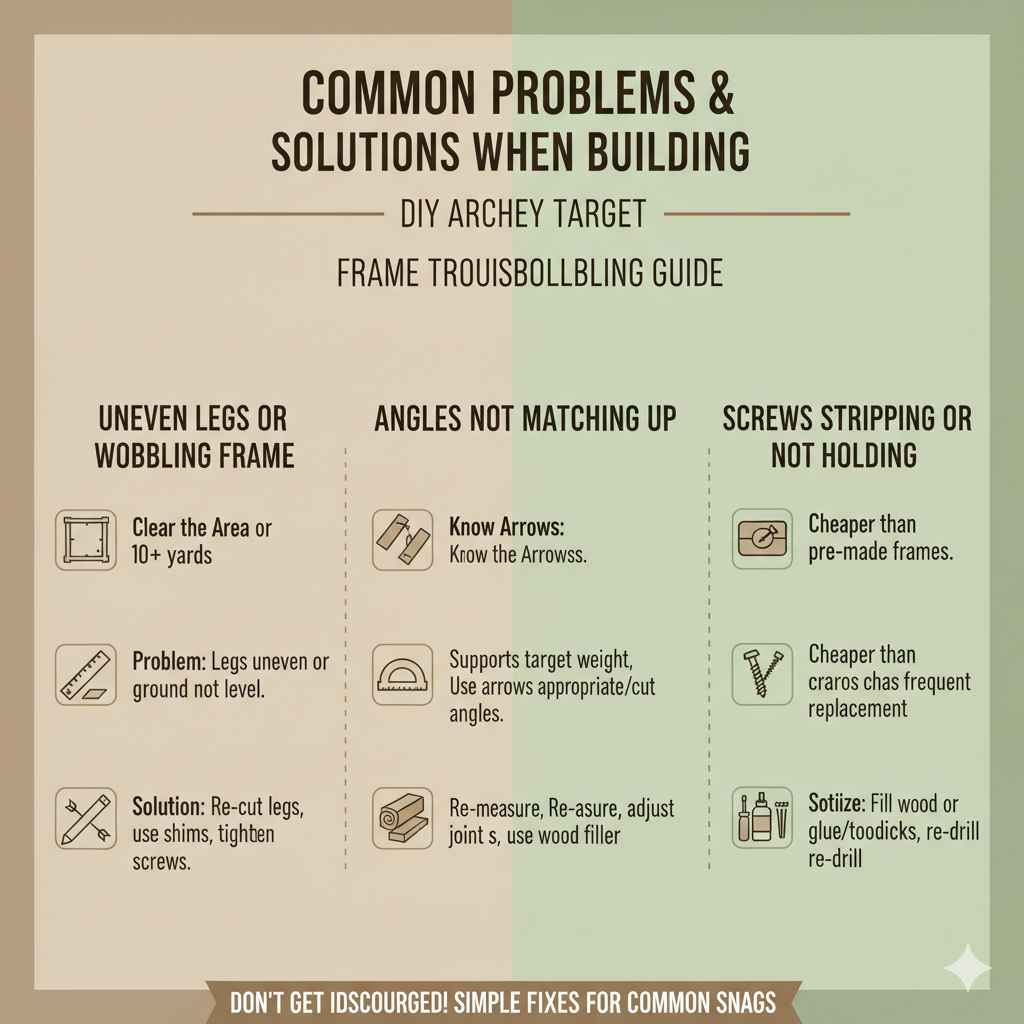
Uneven Legs or Wobbling Frame
If your frame wobbles, it usually means the legs are not perfectly even or the ground isn’t level.
Solution: Check your cuts. If a leg is slightly longer, you can shave a little off the bottom with your saw. If the ground is uneven, you can place a small shim (a thin piece of wood or plastic) under the shorter leg. Make sure all screws are tight.
Angles Not Matching Up
Sometimes, when you try to join pieces, the angles don’t look quite right.
Solution: Double-check your measurements and cut angles before assembly. If a joint is slightly off, you might be able to adjust it by loosening the screws, repositioning, and retightening. For minor gaps, wood filler can be used after assembly for a cleaner look.
Screws Stripping or Not Holding
If a screw just spins and doesn’t tighten, the wood might be too soft, or the hole might be too big.
Solution: For a stripped screw hole, you can remove the screw, fill the hole with wood glue and a few toothpicks or wood shavings, let it dry, and then re-drill a pilot hole and re-insert the screw. For screws not holding, ensure you are using the correct length screw for the thickness of the wood and drilling pilot holes.
Frequently Asked Questions
Question: What is the easiest wood to use for a target frame?
Answer: Pine is very easy to cut and work with, making it a good choice for beginners. However, it’s less durable outdoors unless sealed well. Pressure-treated pine or cedar offer better resistance to weather.
Question: How tall should my archery target frame be?
Answer: The height depends on your target’s size and how you want to shoot. Generally, you want the center of your target to be at chest or eye level when you’re standing. Measure from the ground to the top of your target when it’s on the frame.
Question: Can I use metal pipes for a target frame?
Answer: Yes, metal pipes can make a very strong and durable frame. However, they often require welding or specialized connectors, which might be more complex than working with wood.
Question: How much weight can a typical 2×4 target frame hold?
Answer: A well-built 2×4 frame, properly braced, can hold a significant amount of weight, often over 100 pounds. However, it depends on the target’s shape and how it is attached to the frame.
Question: Do I need to anchor my target frame to the ground?
Answer: For most casual shooting, a well-built A-frame with spreaders is stable enough. However, if you shoot with very powerful bows or in windy conditions, anchoring the legs with stakes might be a good safety measure.
Wrap Up
Building your own archery target frame is a rewarding project. This guide showed you the simple steps for How to Build an Archery Target Frame (Step-by-Step), from gathering materials to assembly. You can create a strong, reliable frame perfect for your practice needs. Get out there and build yours; happy shooting!