To have the best indoor archery contest for kids, focus on absolute safety first, use lightweight beginner bows and foam-tipped arrows, set up targets that are accessible and fun, and implement clear, simple scoring. Keep the atmosphere light, encouraging, and focused on participation over perfect scores, ensuring every young archer gains confidence.
Planning an archery contest indoors can feel tricky, especially when balancing excitement with safety. Many parents worry about space, keeping things clean, or making sure the equipment is right for small hands. It is easy to feel overwhelmed by rules and fear of making a mistake. Do not worry! Archery is a wonderful activity for building focus and coordination, and hosting a contest indoors can be surprisingly simple and incredibly rewarding. We will walk through every step, turning your living room, basement, or garage into a fantastic, safe archery arena. Get ready to learn everything from setting up the perfect target to awarding fun, confidence-boosting prizes!
Why Host an Indoor Archery Contest for Kids?
Archery training isn’t just about hitting the bullseye. When kids participate in a structured activity like a contest, they learn valuable life lessons right alongside their shooting skills. Hosting this event indoors removes weather worries and allows for easier control over the environment.
The Benefits of Junior Archery Competitions
Indoor contests offer unique advantages for young participants:
- Improved Focus: Standing still, drawing the string, and releasing requires deep concentration.
- Hand-Eye Coordination: It is an excellent physical skill builder disguised as a game.
- Confidence Boost: Successfully hitting a target, no matter the score, builds self-esteem.
- Structured Fun: It provides a clear goal within a game framework.
Phase 1: Safety First – Non-Negotiable Indoor Setup
Safety is the single most important element of any archery event. When moving indoors, we must be extra careful about backstops and clear shooting lanes. If you have any doubts about your setup, remember that reputable organizations like the National Archery in the Schools Program (NASP) have detailed safety guides that emphasize clear boundaries.
1. Choosing the Right Space
The area you select determines the contest’s structure. You need enough depth for the shooting line and enough width for comfortable movement.
- Minimum Depth: Aim for at least 10–15 feet from the target face to the shooting area. If shooting shorter distances (like 5–8 feet for very young children), the backstop needs to be exceptionally robust.
- Ceiling Height: Ensure there is plenty of vertical clearance. A stray high shot can hit ceiling fixtures or lights.
- Clear Line of Sight: Ensure judges or supervisors can see every archer and the target area clearly.
2. Essential Safety Zones and Barriers
This is where beginners often struggle. You must create three distinct zones: the Waiting Zone, the Shooting Lane, and the Safety/Retrieval Zone.
- The Shooting Line: Mark this clearly with tape (e.g., painter’s tape). Everyone must stay behind this line until instructed to shoot or retrieve arrows.
- The “STOP” Line (Archers): If you are shooting from slightly farther away, create a second line about three feet behind the main shooting line. Arrows should only be loosed when the archer is completely behind the shooting line.
- The Target Backstop: This is your ultimate defense against missed shots. Do not use drywall or thin plywood. You need something dense enough to stop the specific bow weight you are using.
Recommended Indoor Backstop Materials for Kids’ Bows
Since kids will use low-poundage bows (see Equipment section), you have great options for safe stopping power:
| Material | Pros | Cons |
|---|---|---|
| Layered Cardboard Boxes (Packed Tight) | Inexpensive, easy to replace, absorbs impact well. | Can degrade quickly; requires large volume. |
| Archery Bow Target Bag | Designed specifically for stopping arrows, portable. | Higher initial cost. |
| Foam Blocks (Closed-Cell Foam Mats) | Excellent stopping power, reusable. | Can be bulky; ensure foam is dense enough. |
Phase 2: Choosing Beginner-Friendly Equipment
You will not use the same gear you would for an outdoor field course. For indoor youth contests, the focus must be on low draw weight, manageable size, and safety-rated ammunition.
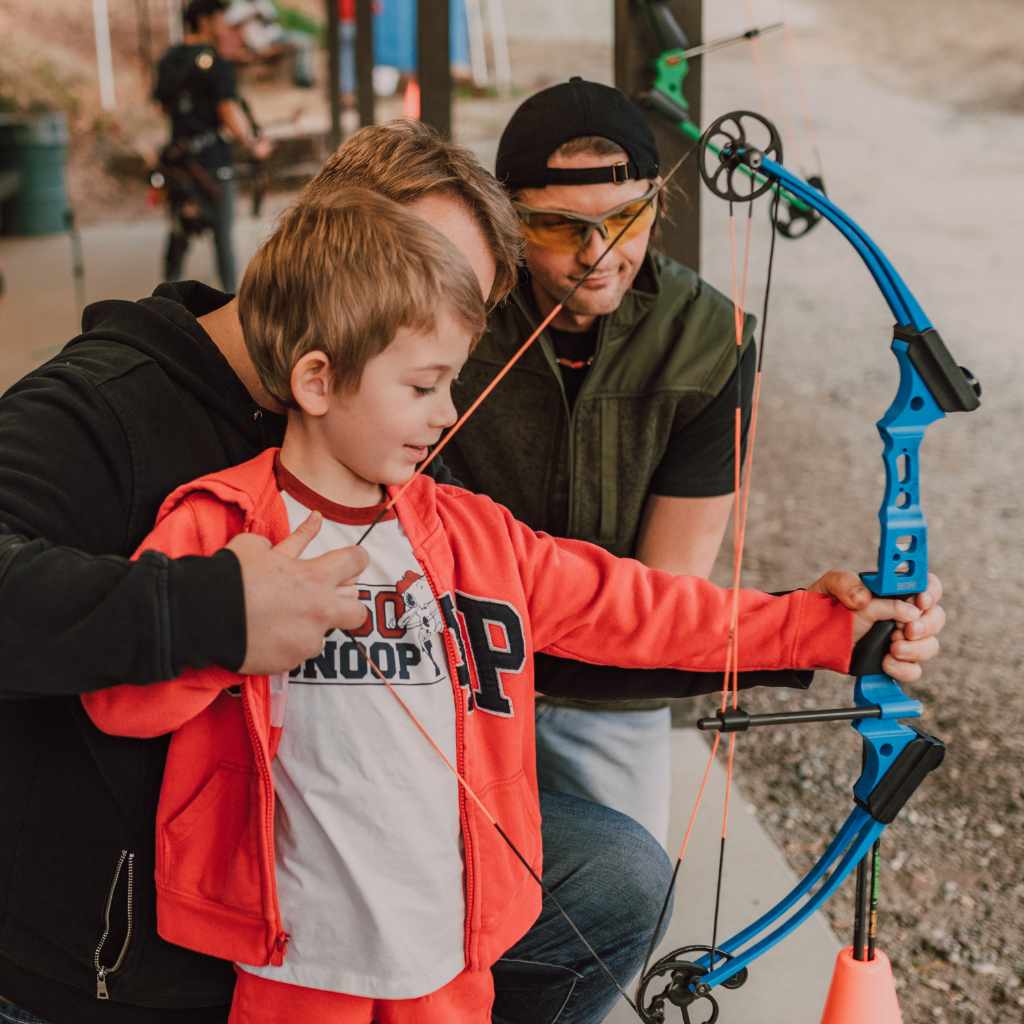
1. Bow Selection for Younger Archers
The draw weight (how hard the bow is to pull back) is critical for kids. A bow that is too heavy encourages bad form and can cause injury.
- Recommended Draw Weight: For children aged 6–10, aim for 10–15 lbs. For older kids (11+), rarely exceed 20 lbs indoors.
- Bow Type: Simple recurve bows or even high-quality beginner/toy recurves are perfect. Compound bows are generally too complex and heavy for starter indoor contests.
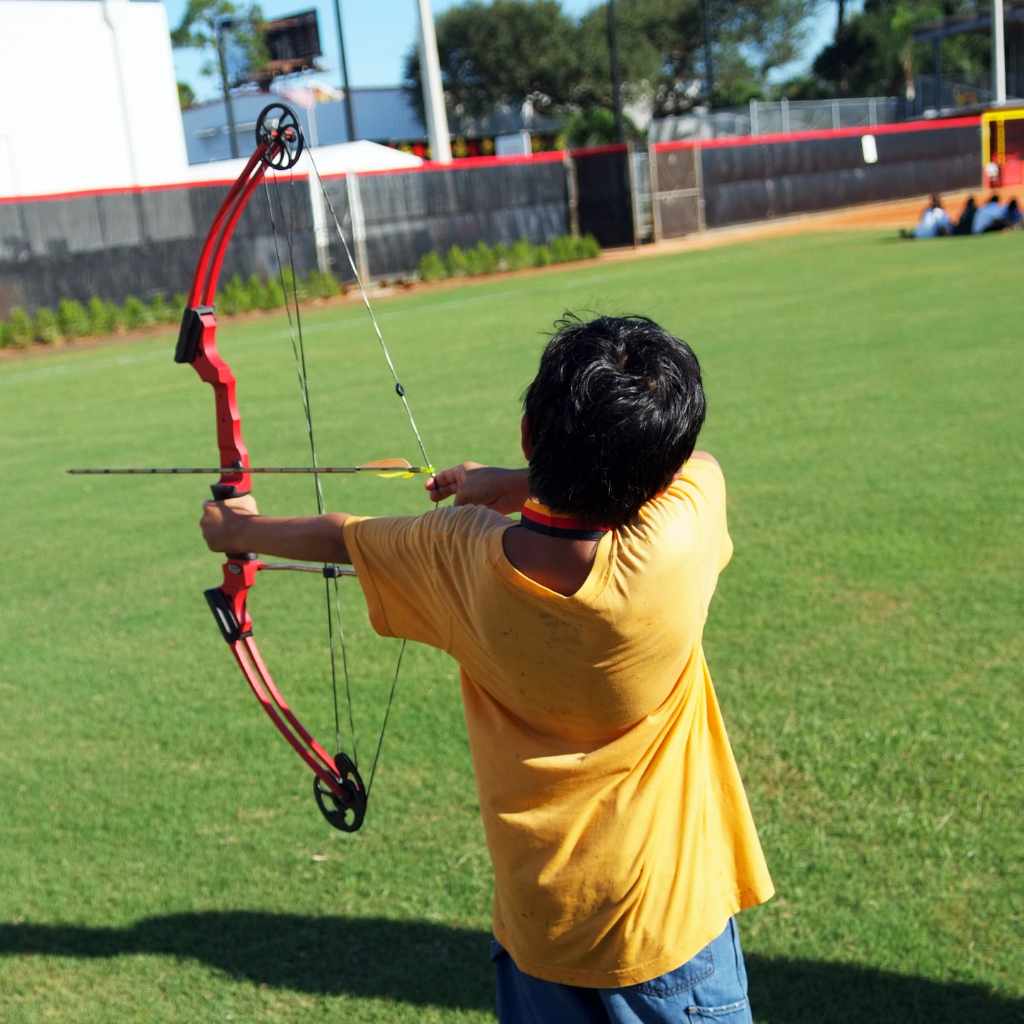
2. Arrow Safety – The Most Important Choice
Forget traditional wood or aluminum arrows. For indoor fun, safety tips dictate the use of foam-tipped or suction-cup arrows, depending on the range distance and target type.
For “Real Feel” Contests (using reusable targets): Use fiberglass or carbon arrows equipped with large, blunt field points or safety foam tips. These are much safer than sharp broadheads.
For Very Young Children (under 8) or Extremely Short Ranges: Suction cup arrows paired with flat poster board targets are the safest starting point. This removes almost all risk of ricochet or penetration.
Tip on Arrow Care: Always inspect arrows before an event. Check the nocks (the groove that connects to the string) for cracks. A damaged arrow can shatter upon release.
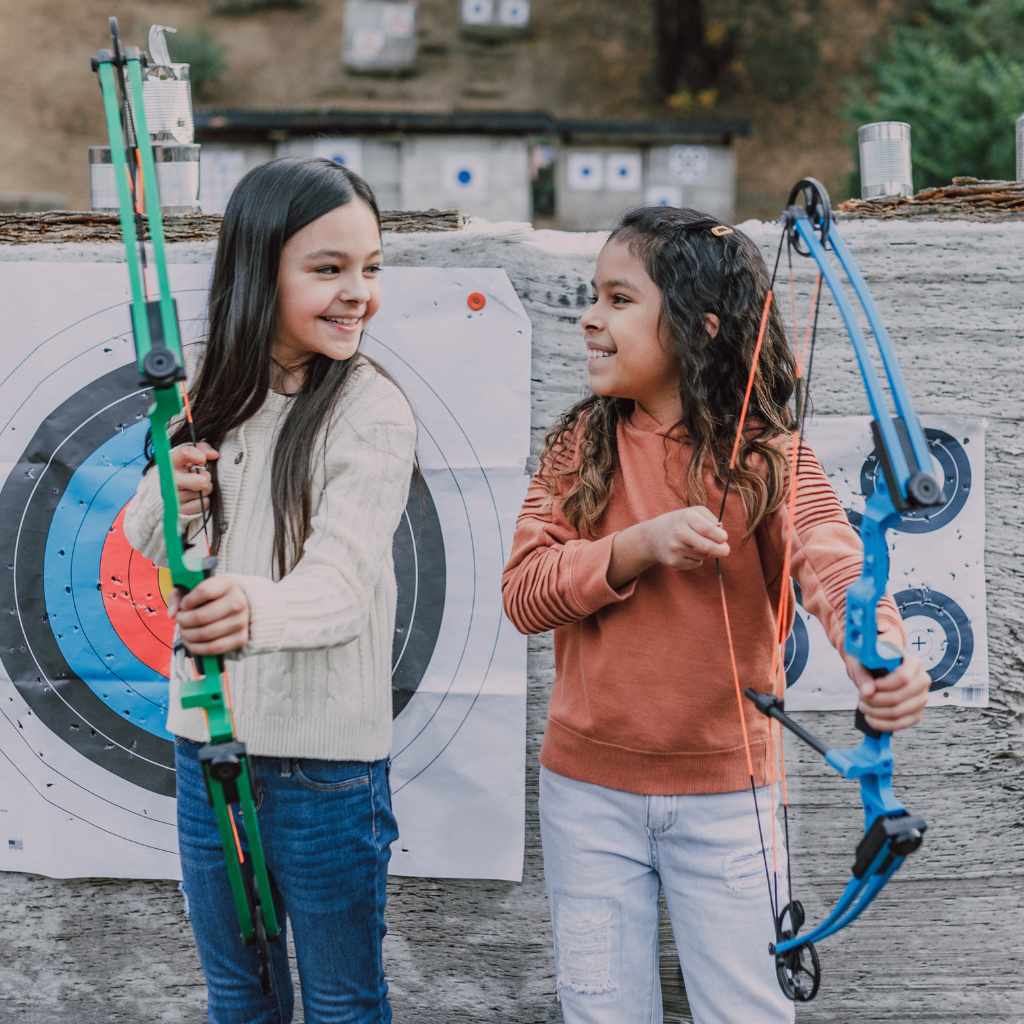
3. Target Setup
Keep targets low to the ground. Kids naturally aim lower when standing, and taller, traditional 40cm faces can intimidate small shooters.
Use simple, bright circles. You can draw large targets on flattened cardboard boxes or purchase inexpensive foam targets specifically sized for youth setups. Placing multiple targets side-by-side allows for rotation and speeds up the contest.
Phase 3: Structuring the Contest Format
A great contest has clear rules, a fair structure, and exciting scoring options. Since this is a beginner event, simplicity is key. Avoid complex international rules.
1. Pre-Contest Checks and Practice
Before any scoring begins, you must have a safety briefing and a mandatory practice round.
The Mandatory Safety Briefing Checklist:
- Never point a nocked arrow at anyone.
- “Always wait until the official says ‘Cease Fire’ before moving forward.”
- Keep all arrows safely in your quiver or on the floor until your turn.
- “Draw only when facing the target, and only draw as far as is comfortable.”
2. Contest Format Options
Choose a format that matches the time you have available and the age group participating.
Format A: Timed End Shooting (Best for Most Kids)
This simulates a real shooting line experience.
- Setup: Archers stand shoulder-to-shoulder behind the shooting line.
- Shooting: Give a set time limit (e.g., 60 seconds) for the archer to shoot 5 arrows.
- Retrieval: After the time is up, the official calls, “Cease Fire! Retrieve Arrows.” Everyone moves forward safely together.
Format B: One-at-a-Time Accuracy Test (Best for Focus Building)
This prevents faster shooters from holding up the line.
- Setup: One archer shoots at a time.
- Shooting: The archer shoots 3 arrows, then steps back immediately.
- Rotation: The next archer steps up only after the first has cleared the shooting line. This is slower but ensures maximum individual focus.
3. Designing the Scoring System
Keep scoring highly visible and easy to understand. Large numbers are better than tiny rings for kids.
Use a simplified target face. Instead of the 10-ring being the center, consider making the largest central ring worth the most points to encourage aiming toward the middle, even if they miss the exact center.
Example Junior Scoring Zones
| Ring Zone | Points Awarded | Color/Description |
|---|---|---|
| Center (Bullseye) | 10 Points | Smallest, central circle |
| Middle Ring | 5 Points | The ring surrounding the center |
| Outer Ring | 3 Points | The widest ring touching the edge of the scoring area |
| Miss/Off Target | 0 Points | Any arrow not touching the scoring area |
Total Score Calculation: Decide on the number of ends (rounds). If you do 3 ends, and each end allows 5 shots (total 15 arrows shot), the maximum score would be 150 points (15 arrows x 10 points max). Keeping the total score manageable prevents frustration.
Phase 4: Running the Event Like a Pro Coach
Your role as the host is to be the encouraging coach, not just the score referee. Your attitude sets the tone for the entire contest.
1. Staging and Flow Management
The biggest indoor contest killers are bottlenecks—too many kids trying to do one thing at once.
- Designated Roles: If you have helpers, assign specific jobs: one person manages the line, one records scores, and one supervises the backstop area.
- Batching Shooters: If you have 12 kids, divide them into teams of 3–4. Only one team shoots while the others are waiting quietly on the side, perhaps practicing their drawing motion safely, or drawing pictures for the next round.
- Short Breaks: After every 2 ends (rounds), call a 5-minute “Hydration and Rest” break. This prevents fatigue and keeps energy levels steady.
2. Encouragement Techniques During Shooting
Remember that this is foundational learning. Focus heavily on process over outcome.
Avoid shouting technical advice while they are shooting. Instead, use pre-programmed positive reinforcement:
- If they draw well: “Great setup!”
- If they released smoothly: “Nice follow-through!”
- If they hit the target: “Excellent shot placement!”
If an archer is struggling, pull them aside during a break and give them one clear, simple adjustment to focus on for the next rotation, such as, “Just try to keep your bow arm locked straight.”
3. Handling Misses and Ricochets
If an arrow misses the target completely, use it as a teaching moment about alignment, not failure.
If an arrow ricochets (bounces off the target or floor):
- Immediately call a brief “Hold Everything!”
- Ensure the archer who shot it knows not to move.
- If the arrow bounced harmlessly on the floor and stopped, note the miss and continue.
- If the arrow bounced toward the crowd/waiting area, stop the contest, check everyone, and remind the archer about aiming slightly downward, as indoor floors are often hard and reflective.
Phase 5: Making the Awards Fun and Inclusive
The awards ceremony should focus on participation, effort, and sportsmanship rather than just the highest score. This ensures every child leaves feeling successful.
Creative Award Categories for Kids
Instead of just 1st, 2nd, and 3rd place based on raw points, introduce fun categories. You can still award a High Score winner, but balance it with recognition for effort.
Here are some great trophy or certificate ideas:
- The “Bullseye Buddy” Award: Given to the person who had the most arrows in the absolute center ring.
- The “Most Improved Form” Award: Based on observation—who changed their stance or anchor point for the better during the contest?
- The “Steady Eddie” Award: For the archer with the best sportsmanship and patience while waiting between turns.
- The “Closest to the Line” Award: For the person whose first arrow landed closest to the shooting line boundary (shows good initial control).
- The “Participation Powerhouse” Award: Given to every single participant.
Equipment Maintenance After the Indoor Fun
Indoor shooting is generally easier on equipment than outdoor shooting, but a quick check is still wise before storing bows.
- Wipe Down Bows: Fast-paced indoor events can mean sweaty hands. Wipe down limbs and grips to prevent sweat corrosion.
- Check String Wear: Look for frayed spots on the bowstring, especially near the tips where the serving meets the string. Re-serve if necessary.
- Straighten Piles: If any arrows got very slightly bent from hitting a hard floor, carefully check them for straightness before the next use. You can often apply gentle pressure to fix minor bends on fiberglass shafts.
For advanced string care, always refer to your manufacturer’s guidelines. For example, if using modern, low-stretch strings, they require less frequent waxing than older materials, but inspection is still key (NASA provides physics background on string dynamics, which helps understand tension, though archery-specific guides are better for maintenance).
Frequently Asked Questions (FAQ) about Indoor Youth Archery Contests
Q1: How far is a safe distance for kids to shoot indoors?
A beginner contest should generally be set between 5 and 10 yards (about 4.5 to 9 meters). The exact distance depends on the bow’s draw weight and the quality of your backstop. Always default to the closest safe distance if space is limited.
Q2: What kind of arrows should I absolutely avoid indoors?
Avoid sharp, metal broadheads designed for hunting at all costs. Also, avoid wooden arrows if shooting over hard floors, as they can crack or splinter on impact.
Q3: Is it necessary to have a certified archery instructor present?
While not legally required for a small family event, it is highly recommended if you have more than four archers, especially if you are new to teaching. A certified instructor ensures safety protocols are strictly followed.
Q4: How do I manage noise levels during the contest?
Noise is usually not a major issue since the bows are low-powered. However, manage the “off-line” behavior. Have designated quiet waiting areas and enforce strict silence during the 60-second shooting window to help archers focus.
Q5: What if a child struggles to draw the bow back far enough?
Do not force them! Have them shoot from a shorter distance or use a lighter poundage bow. Forcing a child to anchor incorrectly builds bad habits. It is better to have the child shoot 3 yards successfully than 10 yards inconsistently.
Q6: How often should we clean the target butts indoors?
If using thick foam or bales, you usually only need to clean out “stickers” (shavings) occasionally. If using cardboard, replace the surface layers every few events until the whole box is used up, as density decreases with use.
Conclusion: Archery is About the Journey
Hosting an indoor archery contest for kids should be an event remembered for laughter and steady improvement, not stress over perfection. By prioritizing absolute safety—using appropriate, low-poundage equipment and building a sturdy backstop—you create an environment where your young archers feel secure enough to take risks and try their best. Remember the simple setup: clear zones, easy scoring, and lots of positive coaching. Every arrow loosed is a lesson in discipline and focus. Whether they hit the 10 ring or land in the zero zone, celebrating their effort and sportsmanship is what truly makes your indoor contest the “best.” Now go set up your lanes; the next championship awaits!