The best 3-pin archery sight helps beginners improve accuracy by providing clear aiming points for different distances. It simplifies aiming, making it easier to hit your target consistently and build confidence with your bow.
Learning archery is a fantastic journey, and hitting your target is a big part of the fun. Sometimes, getting that arrow exactly where you want it can feel a bit tricky. You might be wondering if there’s a simple tool that can help you aim better, especially when you’re just starting out. Many beginners find that a good sight makes a world of difference in their accuracy and enjoyment. Don’t worry, this guide is here to help! We’ll walk through exactly what a 3-pin archery sight is, why it’s great for newcomers, and how to pick the perfect one for you. Get ready to see your archery skills improve!
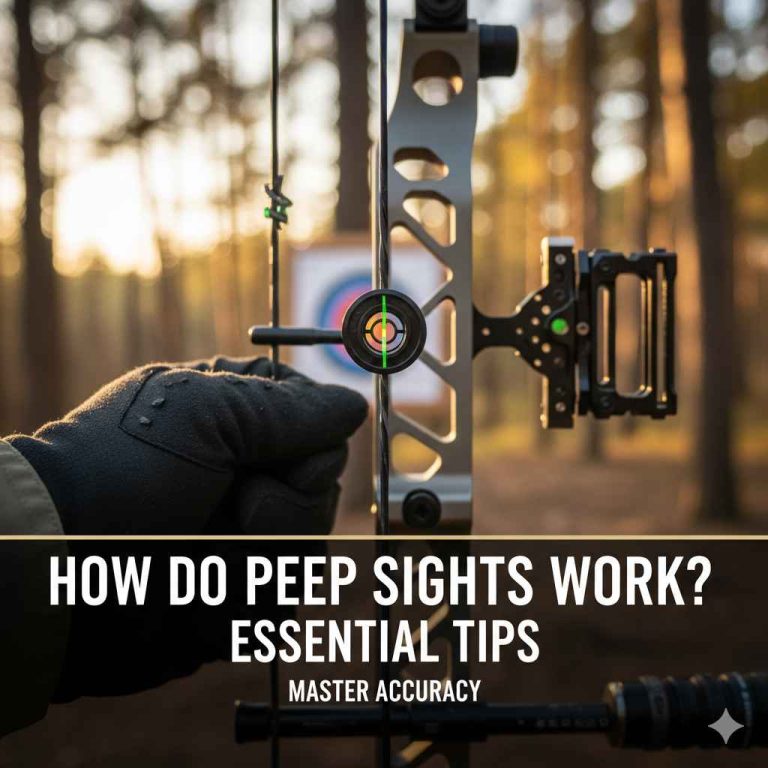
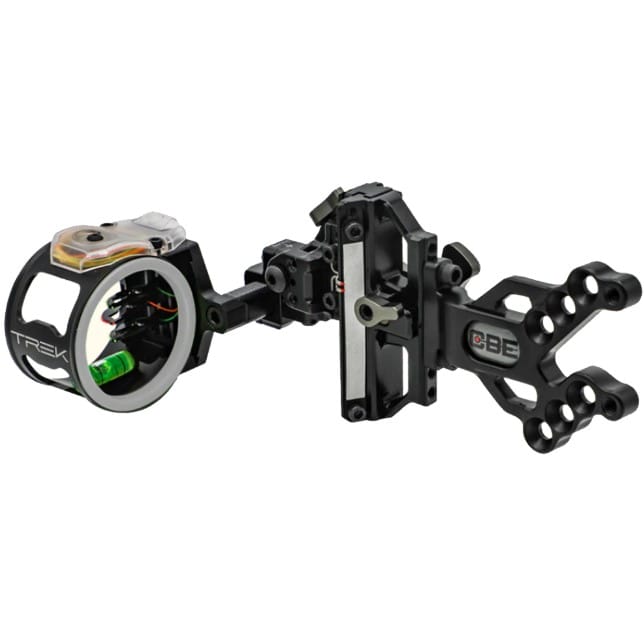
What is a 3-Pin Archery Sight and Why It’s Great for Beginners
Imagine you’re aiming at a target. You need a clear point to focus on, right? That’s where an archery sight comes in. A 3-pin archery sight is a small device that attaches to your bow and has three little aiming points, usually called pins. Each pin can be adjusted to be dead-on accurate at a specific distance. So, you might set one pin for 10 yards, another for 20 yards, and a third for 30 yards.
For beginners, this is incredibly helpful. Instead of trying to guess how much to aim higher or lower with each shot, you simply select the pin that matches the distance to your target. This makes aiming much more straightforward and less confusing. It takes away a lot of the guesswork, allowing you to focus on other important parts of shooting, like your stance, draw, and release. This focus on consistency helps build confidence quickly and makes the learning process smoother and more enjoyable.
Key Features to Look For in a 3-Pin Archery Sight
When you’re looking for your first 3-pin archery sight, there are a few things that will make your life easier. Think of these as the must-haves for a smooth and accurate shooting experience.
Pin Brightness and Visibility
The pins on your sight need to be bright enough to see clearly, especially in outdoor conditions where the light can change. Most sights use fiber optics to make the pins bright. Some also have features like hoods or caps that can help shield the pins from glare and make them even easier to spot against your target.
- Fiber Optic Pins: These gather ambient light to make the pins glow. The thicker the fiber, the brighter the pin.
- Adjustable Brightness: Some advanced sights allow you to adjust how bright the pins are, which is great for different lighting conditions.
- Protective Hoods: These help reduce glare and protect the pins.
Adjustability and Ease of Use
As you get better, you’ll want to fine-tune where your pins are set. A good beginner sight will be easy to adjust. Most sights allow you to move each pin up, down, left, or right independently. Some also offer tool-less adjustments, meaning you can make changes without needing a special tool like a screwdriver, which is super handy.
- Windage and Elevation Adjustments: These allow you to move the pins horizontally (windage) and vertically (elevation) for precise tuning.
- Micro-Adjustments: The ability to make very small adjustments is key for fine-tuning accuracy.
- Locking Mechanisms: Ensure that once you set your pins, they stay put and don’t accidentally get bumped out of place.
Durability and Construction
Archery gear can take a bit of a beating, especially if you’re practicing outdoors. Look for sights made from strong materials like aluminum or reinforced polymers. A solid build means your sight will last longer and withstand the bumps and jostles of practice and hunting.
- Materials: Machined aluminum is common for its strength and light weight. Reinforced plastics are also a good option for budget-friendly sights.
- Weather Resistance: Consider if the sight is built to handle various weather conditions.
Pin Size and Spacing
The size of the pins themselves matters. Smaller pins are generally better for accuracy at longer distances, as they block less of your target. The spacing between the pins is also important for setting your yardages. Most 3-pin sights have adjustable mounting brackets, which helps you position the pins appropriately for your bow and shooting style.
Some sights come with different sizes of pins – typically .019 inches or .010 inches in diameter. For beginners, .019-inch pins are often recommended because they are brighter and easier to see, though .010-inch pins offer a finer aiming point for greater precision once you’re more experienced.
Mounting System
Make sure the sight you choose will fit your bow. Most modern bows have standard mounting holes for sights. Sights are either vertical or horizontal in their mounting. Vertical mounting is most common for traditional and beginner setups, while horizontal mounting is often seen on compound bows for more adjustability.
Sight mounts can also be fixed or have an extension bar, often called a sight bracket. An extension bar can help reduce vibration and give you more flexibility in positioning the sight head further from the bow riser, which can improve sight picture for some archers.
Choosing Your First 3-Pin Archery Sight: A Practical Guide
Picking your first archery sight doesn’t have to be complicated. Think of it like choosing a tool that perfectly fits your hand. We’ll break down the process into simple steps to help you make the best choice for your archery adventure.
Step 1: Know Your Budget
Archery equipment can range in price. Before you start looking, decide how much you’re comfortable spending. You can find great 3-pin sights at various price points. Entry-level sights are usually excellent for beginners and won’t break the bank, while more advanced models offer finer adjustments or specialized features.
Generally, you can find solid beginner 3-pin sights for anywhere from $30 to $100. Higher-end sights, which might offer more adjustability, lighter weight, or better visibility features, can cost $150 or more.
Step 2: Consider Your Bow Type
The type of bow you have will influence the kind of sight that works best. Most beginners start with a compound bow or a recurve bow.
- Compound Bows: These bows are usually paired with sights that mount directly to the riser and often feature a mounting bracket that extends the sight away from the bow for better leverage and sight picture.
- Recurve Bows: Many recurve archers, especially those shooting traditional styles, opt for simpler sights or even no sights at all. However, if you’re using a recurve with an accessory mounting hole, you can use a similar style of 3-pin sight as a compound bow, though they might be mounted differently.
For this guide, we’re focusing on sights suitable for compound bows, which are very popular for beginners aiming for accuracy.
Step 3: Pin Size and Color
As mentioned earlier, pin size is important. For beginners, .019-inch pins are often the easiest to see and aim with. Pin color can also make a difference. Most sights come with multiple colors (like green, red, yellow), and you can often choose which color is most visible for you against your target in your typical shooting environment.
Tip: Green is often a very popular and visible color, especially in daylight. Experimenting with different colors at a local pro shop if possible can be helpful.
Step 4: Read Reviews and Ask for Recommendations
Once you have a few potential sights in mind, take some time to read reviews from other archers. Look for what beginners say about the ease of use, brightness, and durability. Your local archery shop or experienced archery friends are also invaluable resources. They can offer personalized advice based on your specific bow and shooting style.
A great resource for understanding archery equipment and reading reviews is the Archery Trade Association (ATA). Their website often features articles and information about the latest gear, though specific product reviews might be best found on enthusiast sites and forums.
Setting Up and Tuning Your 3-Pin Sight
Once you’ve got your new 3-pin sight, the next exciting step is to get it all set up and dialed in. This process is often called “tuning” your sight, and it’s where the magic of proven accuracy really happens!
Step 1: Mounting the Sight
Your sight will typically come with instructions. Make sure you have the necessary tools, usually a hex wrench or Allen key set, to attach the sight bracket to your bow’s riser. Ensure it’s mounted securely and straight.
The mounting hole on most compound bow risers is threaded. You’ll screw the mounting bolt of the sight bracket into this hole. Finger-tighten it first, then use your wrench to snug it down. Be careful not to overtighten, which could strip the threads.
Step 2: Initial Sight Pin Adjustment (Paper Tuning)
Before you can set your precise yardages, you need to ensure your arrows are flying straight. A common method for this is paper tuning. You’ll shoot arrows through a sheet of paper placed a few yards in front of the target. The tear in the paper tells you how your arrow is entering the paper, and thus how it’s flying out of your bow.
- If the arrow tears down- Your arrow is likely coming off the rest too low. Adjust your arrow rest upwards.
- If the arrow tears up- Your arrow is likely coming off the rest too high. Adjust your arrow rest downwards.
- If the arrow tears left (for a right-handed shooter)- Your arrow is likely fletching slightly to the left. Try moving your sight housing slightly to the left.
- If the arrow tears right (for a right-handed shooter)- Your arrow is likely fletching slightly to the right. Try moving your sight housing slightly to the right.
The goal is to get a clean, straight tear through the paper. This indicates that your bow is tuned and your arrows are flying true. For more detailed information on paper tuning, resources from the National Field Archery Association (NFAA) can be very helpful.
Step 3: Establishing Your Yardage Pins
Once your bow is paper tuned, you can start setting your sight pins to specific distances. This requires a target that you can shoot at varying distances.
- Set Your First Pin: Pick a comfortable shooting distance, like 20 yards. Shoot several arrows, aiming at the center of your target.
- Adjust the Pin: If your arrows are hitting low, move the first pin down. If they are hitting high, move it up. If they are hitting left or right, move the pin left or right respectively. Make small adjustments, shoot again, and repeat until your arrows are grouping tightly around the center at 20 yards.
- Set Your Second Pin: Move back to your next planned distance, say 30 yards. Aim at the center of the target. Now, you adjust the second pin so that it is aligned with your point of impact. If your arrows are hitting high at 30 yards with the first pin, move the second pin up.
- Set Your Third Pin: Repeat the process for your third pin at your longest intended distance, for example, 40 yards.
Make sure to lock down your sight pins once you have them set. This process might take some patience, but each shot helps you learn more about your bow and the sight.
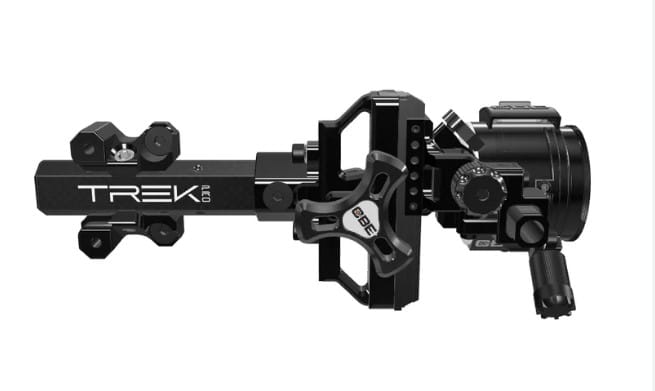
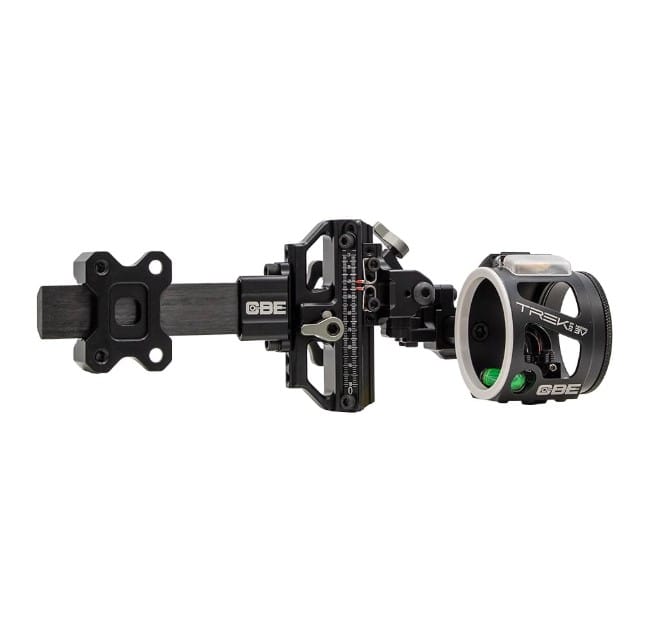
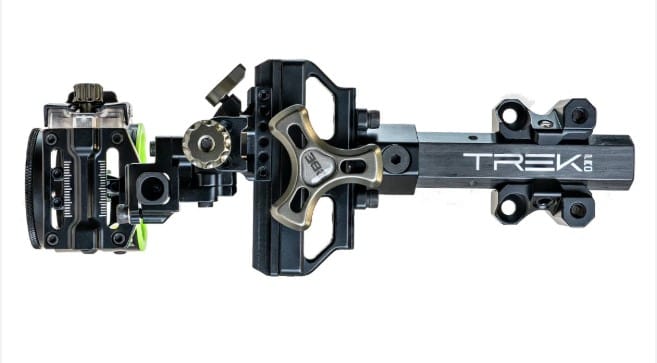
Popular 3-Pin Archery Sights for Beginners
While specific models can change and new ones emerge, here are a few types and brands that are consistently well-regarded for beginners looking for a reliable 3-pin sight.
When choosing, remember to compare features like weight, adjustability, and price to match your needs.
| Sight Brand/Model Type | Key Features for Beginners | Typical Price Range | Why it’s Good for Beginners |
|---|---|---|---|
| Trophy Ridge React 3-Pin | React Technology (pins adjust together for range), durable construction, good pin brightness. | $100 – $150 | The React technology simplifies range setting for multiple pins, making it very user-friendly. |
| HHA Sports Optimizer Lite Ultra | Single pin for hunting, but their 3-pin versions are also excellent. Fully adjustable for distance with a range of pin sizes. | $150 – $250 | While often marketed for single-pin adjustability, their multi-pin variants offer exceptional quality and precision. Offers a clear sight picture and robust build. |
| Black Gold Ascent Verdict | High-end, but often available in 3-pin configurations. Known for exceptional build quality, smooth adjustments, and excellent fiber optics. | $200 – $300+ | A longer-term investment. Incredible durability and precision. The sight picture is very clear and easy to acquire. |
| Apex Gear Sight (Various 3-Pin Models) | Often more budget-friendly, good pin visibility, solid construction for the price. | $40 – $80 | Offers great value for money. Easy to set up and use, providing a reliable aiming solution without a significant cost. |
| QAD Ultra-Rest Integrate MX (Sight Mount) | QAD is known for rests, but they offer sight integration options. Focuses on stability and low profile. | Varies based on integration | Often chosen by those who prioritize a very streamlined and stable setup. |
It’s important to note that “best” is subjective and depends on your bow, shooting style, and budget. Always try to handle sights in person if you can, or at least read detailed reviews from reputable archery sources.
Improving Your Accuracy with a 3-Pin Sight: Beyond the Setup
Getting your 3-pin sight dialed in is a huge step, but remember that accuracy comes from more than just your equipment. Consistent practice and good shooting habits are key to becoming a more accurate archer.
Consistent Aiming Routine
Develop a repeatable process for each shot. This includes:
- Grip: Hold your bow consistently each time. A relaxed, light grip is usually best for compound bows.
- Anchor Point: Find a solid anchor point with your drawing hand on your face and hold it steady. This ensures your draw length is the same for every shot.
- Breathing: Learn to control your breath. A common technique is to draw your bow, take a breath, let some out, hold steady, and then release.
- Follow-Through: After releasing the arrow, maintain your form and sight picture for a moment. Don’t drop your bow arm immediately.
Practice at Different Distances
Once your pins are set, practice shooting at all three of those distances regularly. This reinforces your sight settings and builds muscle memory. You’ll become more familiar with how the arrow will fly. Also, try shooting at distances in between your set pins to see where those shots land and to develop a feel for estimating distances.
As you become more comfortable, you might even consider adding a fourth pin or adjusting your existing pins as you get more experienced with your bow’s trajectory.
Understanding Your Arrow Trajectory
Every bow and arrow combination has a unique arrow trajectory. This is the path your arrow takes through the air. Your sight pins are set to match this trajectory. As you practice, you’ll start to get an intuitive feel for how much your arrow drops at different ranges. This is where that learned experience with your 3-pin sight really pays off.
For a deeper understanding of arrow flight and ballistics, many modern archery manufacturers and enthusiasts provide resources, sometimes including ballistic calculators or trajectory charts that can be very informative.
Maintenance for Your Sight
Just like any piece of equipment, a little maintenance goes a long way. Keep your sight clean. If you use an adjustable sight, periodically check that all screws and adjustment knobs are still tight. If you primarily hunt, ensure your sight is protected from the elements when not in use.
Frequently Asked Questions (FAQs)
Q1: Is a 3-pin sight good for a beginner archer?
Yes, absolutely! A 3-pin sight is an excellent choice for beginners because it simplifies aiming by providing set points for different distances, taking away much of the guesswork and helping you focus on form.
Q2: What is the best pin size for a beginner’s archery sight?
For beginners, .019-inch pins are generally recommended. They are brighter and easier to see, making them ideal for learning and aiming.