How Did Indians Make Arrows? Beginner Skills Guide
Native Americans made arrows by selecting straight shafts from cane, reed, or shoots, straightening them over heat, adding feathers, cutting a nock, and fitting a stone, bone, or hardened tip. If the shaft is crooked or the balance is off, the arrow flies poorly and can be unsafe to shoot. I’ll walk through the materials, the basic build process, and beginner substitutions I use today.
The core build was simple. A good arrow needed a straight, lightweight shaft, a point that sat true on the front, and fletching that kept the rear stable in flight.
How did Native Americans make arrows?
The basic parts of a traditional arrow
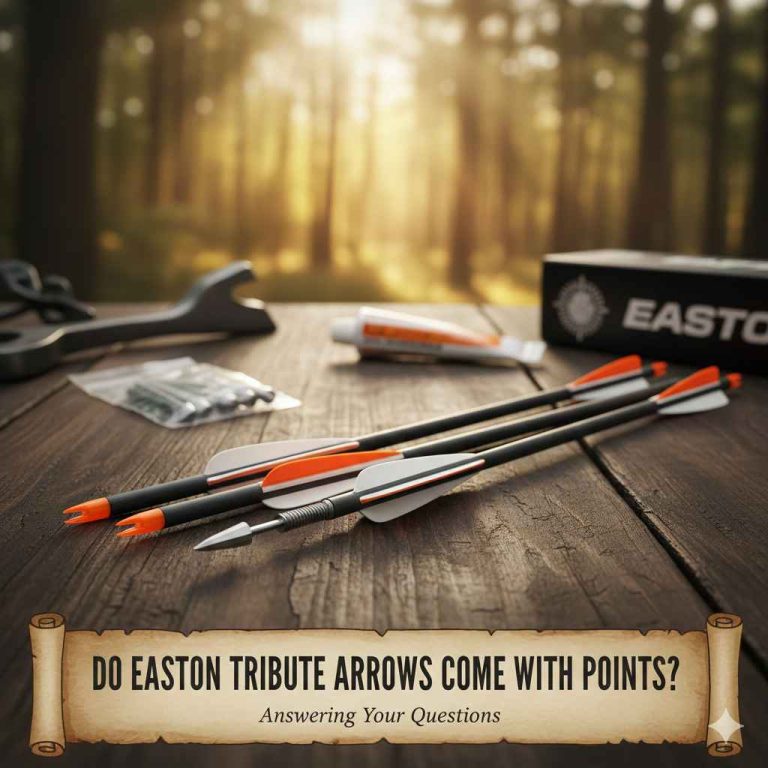
Most arrows have the same main pieces: shaft, point, nock, and feathers. The shaft carries the load, the point does the work at impact, and the feathers keep the rear from fishtailing.
Traditionally, the shaft came from a naturally straight plant stem or a carefully selected piece of wood. The point might be stone, bone, antler, or later metal, depending on the place and the era.
Why balance mattered more than fancy materials
A plain arrow that is straight and balanced flies better than a fancy one that is poorly tuned. I see this with beginners all the time. A heavy point on a weak shaft gives a sluggish arrow. A light point on a stiff shaft can behave the same way.
When I switched to a left-hand bow after finding out I am left-eye dominant, my groups tightened within two weeks. That lesson carried over to arrows too: the parts have to match the shooter and the bow, not just look traditional.
How methods changed with local resources
Arrow making changed by region. People used what grew close by and what their hands could shape cleanly. Cane and reed made sense where they were available. Straight hardwood shoots were common where those were easier to cut and prepare.
The method changed, but the goal stayed the same: make a shaft that is straight, light, and stable in flight.
What materials were used to make Native American arrows?
Native American arrows often used straight shaft wood or cane, stone or bone points, feathers for fletching, sinew for binding, and natural adhesive made from resin or pitch. The exact materials changed by region, but each part had a clear job: fly straight, hold together, and strike hard.
Best woods for arrow shafts
For a beginner, the best shaft wood is straight-grained, light, and easy to heat-straighten. Historical makers used whatever was on hand, but the practical test was always the same: does it stay straight after drying, and does it match the bow?
In my shop, I want a shaft that is dry, smooth, and free of obvious twist. If it already has serious bend or hidden grain runout, I leave it alone.
Arrowheads made from stone, bone, antler, or metal
Arrowheads could be chipped stone, shaped bone, carved antler, or later metal. The point had to sit true on the shaft. If it leaned off-center, the arrow would plane sideways or wobble in the air. (en.wikipedia.org)
Feathers, sinew, and natural adhesive
Feathers were the standard choice for fletching. Makers often used about three feathers, glued and bound to the rear of the shaft. Sinew binding added strength and shrank tight as it dried.
Natural adhesive often came from plant resins or pitch-based mixtures. It had to hold under impact and weather. That matters more than it sounds. A beautiful point means little if the glue softens in heat or loosens after a few shots.

How were arrow shafts straightened?
Arrow shafts were often straightened by selecting wood that started fairly close to straight, then using heat, hand pressure, and repeated bending to remove warps. The shaft had to be dried or cured before final work. Green wood is still moving, and that movement ruins consistency.
Choosing a shaft that starts close to straight
I always start with the straightest piece I can find. That saves time and lowers the chance of cracking the shaft while correcting it. A little bend is fine. A corkscrew is not.
Using heat, hand pressure, and simple tools
Traditional straightening often used coals, flame, or another heat source, plus simple hand tools. Heat softens the fibers enough to let the maker bend the shaft back into line. Then the shaft is held until it cools.
I use the same basic idea when I test primitive-style arrows on my own range: heat a stubborn spot, straighten it a little, then check it again. Small corrections beat one hard bend.
Drying and curing before final work
A shaft must be dry before final shaping. If it still carries too much moisture, it can move after the arrow is built. That is how a straight shaft becomes a problem shaft a week later.
How did they attach arrowheads and fletching?
Arrowheads were fitted to the shaft with natural adhesive and sinew binding, and feathers were attached near the rear in sets of three. The point had to align with the shaft, and the feathers had to sit evenly or the arrow would steer badly in flight.
Fitting the point to the shaft
The front end of the shaft was shaped so the point sat snugly. Some designs used a simple socket or wrap. Others used a narrow insertion area with adhesive and binding.
If the point wobbles before the glue dries, it will wobble after the glue dries. I check alignment from several angles before I leave it alone.
Using pitch or resin-based adhesive
Plant resins and pitch-based mixtures worked as the glue layer. They filled gaps and helped lock the point and feathers in place. The adhesive did not work by itself, though. It needed binding to hold everything while it cured and after it took shock.
Placing three feathers
Three feathers were common because they stabilize flight without adding too much drag. They were glued to the rear and bound with sinew. Even spacing matters. Uneven spacing makes the arrow roll or fishtail.
Beginner arrow-making checklist and failure-case fixes
If you are building your first primitive-style arrow, keep the workflow simple. One beginner guide I checked includes both primitive and modern techniques [F1], covers acquiring tools and wood [F2], and is described as understandable to even the beginning bowyer [F9]. It also includes over 150 illustrations, photos, charts and diagrams [F10], which is exactly the sort of support a novice needs.
Tools and materials for a simple first build
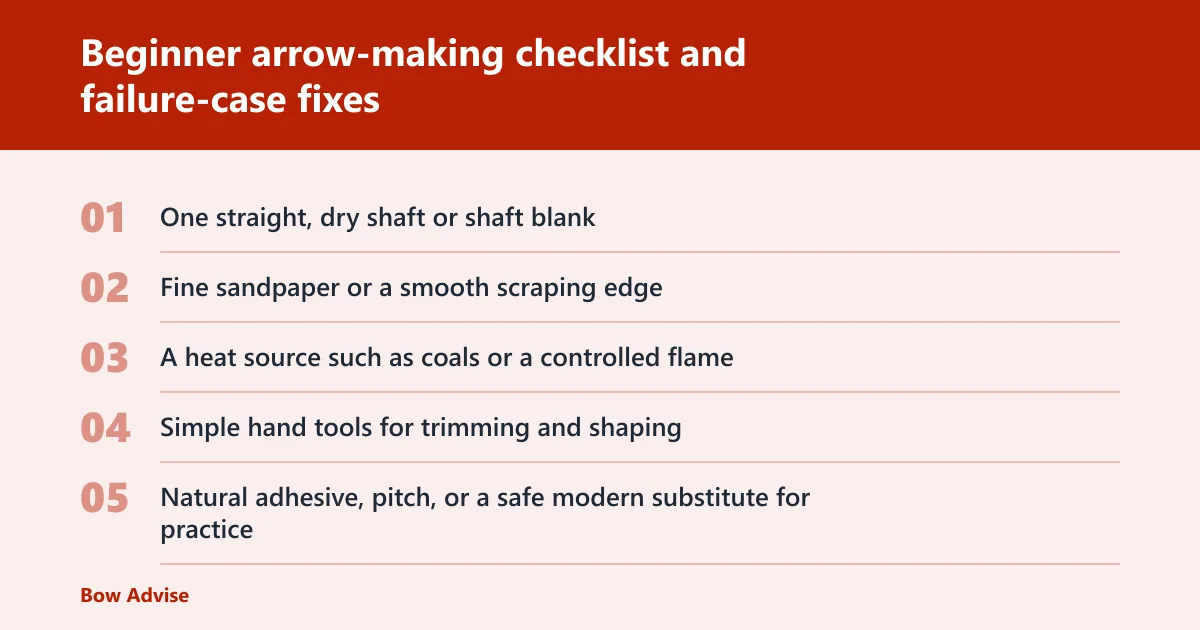
- One straight, dry shaft or shaft blank
- Fine sandpaper or a smooth scraping edge
- A heat source such as coals or a controlled flame
- Simple hand tools for trimming and shaping
- Natural adhesive, pitch, or a safe modern substitute for practice
- Sinew, thread, or light binding material
- Three matched feathers
- A point matched to the shaft and bow
Step-by-step beginner checklist
- Pick a shaft that is already close to straight and fully dry.
- Check grain, weight, and visible warp before you shape anything.
- Heat small bends and straighten them with hand pressure.
- Let the shaft cool, then sight down it again.
- Shape the nock at the rear.
- Fit the point so it sits centered on the shaft.
- Glue and bind the point with adhesive and sinew.
- Attach three feathers evenly at the rear.
- Check balance, straightness, and point alignment before shooting.
| Build step | Likely mistake | Fix |
|---|---|---|
| Shaft selection | Warped shaft or green wood | Choose a drier shaft that starts closer to straight |
| Straightening | Heat applied too long in one spot | Use brief heat, then bend slowly and recheck after cooling |
| Point attachment | Loose point binding | Refit the point, add adhesive, then wrap tighter with sinew |
| Fletching | Poor feather alignment | Reset the feathers evenly and keep the rear spacing consistent |
| Final tuning | Spine mismatch | Match shaft stiffness to the bow or switch to a different shaft |
How can a beginner make a simple primitive arrow?
A beginner can make a simple primitive arrow by starting with a dry, straight shaft, straightening minor bends with heat, fitting a centered point, adding three feathers, and testing the finished arrow against the bow. If needed, use safer modern substitutes while you learn the workflow.
A safe starter workflow with modern substitutes
For first attempts, I prefer simple, predictable materials over fragile tradition-only experiments. A beginner can use a dry wooden shaft, a mild modern adhesive for practice, and pre-cut feathers while learning layout and alignment. That keeps the focus on the build, not on fighting bad materials.
My first compound bow was set 10 lb too heavy. I flinched for a month before I backed the limb bolts out. Arrows are the same way: if the setup is too demanding, the shooter blames themselves when the real problem is the equipment.
How to match shaft length to bow draw
The shaft needs to suit the bow and the draw length. If it is too short, it may become unsafe. If it is far too long, it may be awkward and poorly balanced. I like enough length to keep the setup comfortable, then I trim only after I know the arrow flies cleanly.
How to test a finished arrow before shooting
Sight down the shaft and spin it on a flat surface. Watch for wobble. Check that the point sits true and that the feathers line up evenly. If the arrow looks crooked before the first shot, it will not get better in the air.
What mistakes should beginners avoid when making primitive arrows?
Beginners should avoid green wood, poor curing, weak bindings, sloppy feather placement, and ignoring spine and balance. Most problems come from rushing. The arrow may still look finished, but the first shot exposes every shortcut.
Using green wood or badly cured shafts
Green wood moves as it dries. That means today’s straight shaft can become tomorrow’s twisted one. Cure it first. If the shaft still feels damp or soft, it is not ready.
Ignoring spine and balance
Spine is the shaft’s stiffness, and balance is how the arrow carries mass front to back. If the point and shaft do not match, the arrow can kick sideways or fly with a wobble. That is why a pretty build can still shoot badly.
Rushing glue, lashings, or feather alignment
Adhesive needs time, and sinew needs to dry tight. If you shoot too soon, the point can shift and the fletching can lift. I have seen beginners blame the shaft when the real issue was simple impatience.
Primitive arrow design always came back to the same idea: make a balanced shaft, fit a useful point, and add feathers that stabilize the shot. The materials could change from one place to another, but the build logic stayed practical.
Frequently asked questions
How did Native Americans make arrows?
They started with a straight shaft, usually dried before use, then straightened it with heat and pressure. After that, they fitted a point, added three feathers for fletching, and bound the parts with sinew and adhesive. The exact materials varied by region, but the process stayed focused on straight flight.
What materials were used to make Native American arrows?
Common materials included cane, reed, shoots, or straight wood for the shaft; stone, bone, antler, or later metal for the point; feathers for fletching; sinew for binding; and resin or pitch-based adhesive. The right material depended on what was available and what the arrow needed to do.
How were arrow shafts straightened in primitive arrow making?
Makers used heat from coals or flame, then applied hand pressure and repeated bending to correct warps. The shaft had to be dry first, or it might move again later. Straightening was not one hard bend. It was a careful series of small corrections.
How did they attach arrowheads to arrows?
The point was fitted so it sat centered on the shaft, then secured with natural adhesive and sinew wrapping. The binding held the point while the adhesive cured and helped it survive impact. If the point sat off-center, the arrow would not fly cleanly.
Did Native American arrows use feathers?
Yes. Feathers were commonly used for fletching, usually in sets of three. They stabilized the arrow in flight and helped keep the rear from wobbling. Placement mattered. If the feathers were uneven or crooked, the arrow could fishtail or spin badly.
What mistakes should beginners avoid when making primitive arrows?
Skip green wood, rushed glue work, loose sinew wraps, and careless feather alignment. Also watch spine and balance. A beginner can do everything else right and still end up with a poor arrow if the shaft is too weak, too stiff, or badly matched to the bow.