Adjusting your Diamond bow’s draw length is crucial for accuracy and comfort. This guide provides simple, step-by-step instructions specific to Diamond bows, ensuring you get the perfect fit without the fuss, leading to better shots and an enjoyable archery experience.
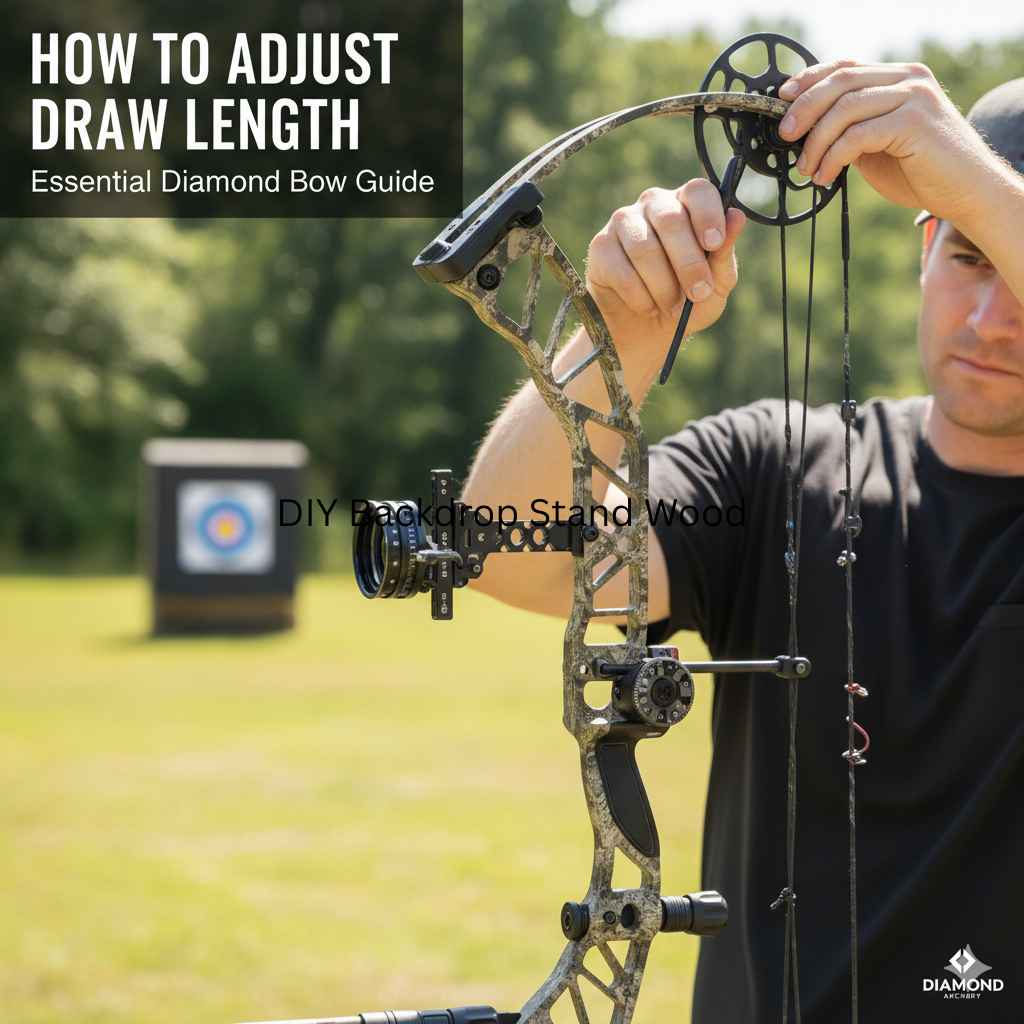
How to Adjust Draw Length: Your Essential Diamond Bow Guide
Are you finding your shots aren’t quite hitting the mark, or does your draw feel a bit awkward? You’re not alone! Many new archers struggle with getting their bow to feel just right. One of the most common reasons for this is an improperly adjusted draw length. It’s like trying to wear shoes that are too big or too small – nothing feels comfortable, and you can’t perform at your best. But don’t worry! Adjusting the draw length on your Diamond bow is a straightforward process, and with this guide, you’ll be shooting with perfect form and newfound confidence in no time. We’ll break it down step-by-step, making it easy to understand and implement.
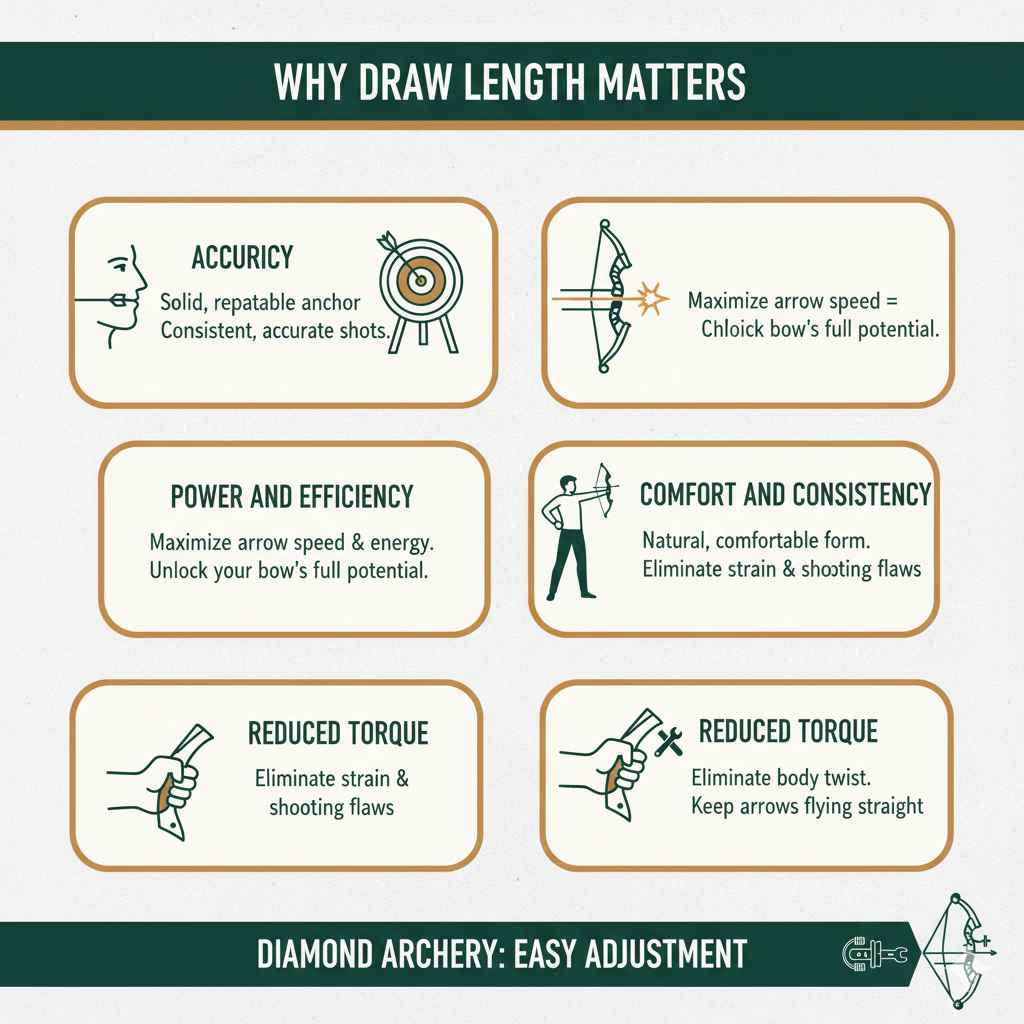
Why Draw Length Matters
Think of draw length as your bow’s personal handshake with your body. It’s the distance your bowstring travels when you pull it back to full draw. Getting this distance right is incredibly important for several reasons:
- Accuracy: When your draw length is correct, your anchor point (where you consistently bring the string to your face) will be solid and repeatable. This consistency is the bedrock of accurate shooting.
- Power and Efficiency: A properly tuned draw length ensures you’re drawing the bow to its intended power stroke. This means you’re getting the most speed and energy out of your arrows, resulting in better downrange performance.
- Comfort and Consistency: An incorrect draw length can lead to a variety of shooting flaws, like “sloughing off” (not drawing back fully) or having to over-extend. This is not only inaccurate but can also cause physical strain.
- Reduced Torque: When your draw length is too long, you might find yourself needing to contort your body to reach full draw, which introduces body torque that steers your arrow off target.
Diamond Archery is known for its user-friendly designs, and many of their bows are built for easy adjustment, especially those featuring rotating modules or interchangeable cams. This guide will focus on how to adjust draw length on these common Diamond bow systems.
Tools You’ll Need (The Essentials)
Before we dive into the adjustment process, let’s gather what you’ll need. Fortunately, you probably won’t need a whole workshop for this!
- Bow Press: This is the most critical tool. You absolutely need a bow press to safely de-tension the limbs of your compound bow to swap out modules or adjust anything on the cam system. Never attempt to adjust draw length without a proper bow press. You can usually find these at your local archery pro shop.
- Allen Wrench Set: Most modern bows use Allen (hex) bolts for adjustments. Make sure you have a good set that includes various common sizes.
- Your Diamond Bow’s Owner’s Manual: This is your best friend! It will have specific diagrams and instructions for your particular Diamond bow model, including the location of draw length modules or pins.
- Measuring Tape or Draw Length Arrow: To measure your current draw length and confirm your new setting.
- Pen and Paper: To record your current settings and any new settings you find.
- Patience and a Clear Workspace: Take your time, and make sure you have a clean, well-lit area to work in.
Many archery shops offer bow servicing, including draw length adjustments, if you’re not comfortable using a bow press yourself. It’s always a good idea to start there if you’re unsure.
Understanding Your Diamond Bow’s Cam System
Diamond Archery uses various cam systems, and the method for adjusting draw length can differ slightly. The most common types you’ll encounter on Diamond bows are:
- Binary Cam Systems: These often use two cams that work in tandem. Adjustment is typically done by rotating modules or sliding hitch pins within the cams.
- Hybrid Cam Systems: Similar to binary systems, these also rely on rotating modules for draw length adjustments.
The key is to identify the specific cam system on your Diamond bow model. Your owner’s manual is the best resource for this. Look for markings on the cam itself or consult the diagrams provided.
Step-by-Step Guide: How to Adjust Draw Length on a Diamond Bow
This guide covers the most common method for adjusting draw length on Diamond bows, which typically involves rotating cam modules. Always prioritize safety and refer to your bow’s specific manual.
1. Determine Your Ideal Draw Length
Before you start adjusting, you need to know what your target draw length is. There’s a simple formula for this:
Span (in inches) x 0.875 = Ideal Draw Length (in inches)
To measure your span:
- Stand with your bare arms outstretched to the sides, parallel to the ground.
- Have a friend measure the distance from the tip of the middle finger of one hand to the tip of the middle finger of the other hand.
- Divide that measurement by two.
For example, if your wingspan is 60 inches, your ideal draw length is approximately 52.5 inches (60 0.875 = 52.5).
Alternatively, if you have a current bow that fits you well, you can measure its draw length. Many shops use a draw length board, but you can also use a string with knots or marks at precise inch increments, pulled back to your anchor point.
2. Safely Place Your Bow in a Bow Press
This is the most crucial step for safety.
- Ensure the bow press is rated for your bow’s draw weight and limb configuration.
- Follow the manufacturer’s instructions for your bow press carefully.
- Position the press arms so they evenly compress the bow’s limbs.
- Slowly and evenly crank the press to de-tension the bowstring and cables. You should see slack appear in the strings and cables, and the limb POUND (force on the limbs) will be released.
- Do NOT de-tension the bow so much that the limbs become completely free of the riser pockets.
If you’re unsure about using a bow press, take your bow to an archery shop. They have the proper equipment and expertise.
3. Locate the Draw Length Modules/Pins
Once the bow is safely compressed and de-tensioned, locate the cams. On most Diamond bows, you’ll find rotating modules directly on the cams (often towards the outside of the cam). These modules usually have numbers or letters indicating different draw lengths or draw length ranges. Your owner’s manual will pinpoint the exact location and how the modules are marked for your model.
Some older or different models might use draw length pins that can be moved to different positions within the cam. Again, consult your manual!
4. Adjust the Modules
Diamond bows often have a bolt or a set of bolts that secure the draw length module. You’ll need to loosen these bolts slightly to allow the module to rotate.
- Using your Allen wrench, loosen the bolts holding the current module in place.
- Carefully rotate the module to the setting that corresponds to your desired draw length. Many modules have a range or specific numbers that align with inch measurements. For example, a module might be set to 28 inches, and you need to move it to 27 inches.
- Your manual will explain the numbering system. Look for an indicator mark or arrow on the cam that shows which number corresponds to your draw length.
- Once the module is in the correct position, snug the bolts down firmly. Do NOT overtighten, as this can damage the module or cam.
It’s common for both cams to need adjustment. Ensure they are set to the same draw length setting. Some cams have marked positions, while others might have a vernier scale for finer adjustments. Always ensure they are matched.
5. Re-tension the Bow and Check Alignment
Now, it’s time to release the tension on the bow press:
- Slowly and evenly loosen the bow press, allowing the limbs to return to their original position.
- Watch carefully for any unusual sounds or movements. If anything seems off, stop and re-evaluate.
- Once the bow press is safely removed, check that the cams are aligned correctly and that the string and cables are seated properly in their tracks or on the cams.
6. Test Your New Draw Length
This is the exciting part! With the bow re-tensioned, it’s time for a preliminary check.
- Dry Fire Warning: NEVER dry fire a compound bow (release the string without an arrow nocked). This can cause serious damage to the bow and is extremely dangerous.
- Carefully nock an arrow.
- Gently pull the bow back to full draw, without* anchoring. You should feel the difference immediately. Does it feel too long, too short, or just right?
- If it feels wrong, you may need to go back to the bow press and make further minor adjustments.
7. Fine-Tuning and Anchor Point
Once you have a setting that feels closer to your ideal length:
- Go to a shooting range.
- Nock an arrow and draw the bow.
- Focus on finding a consistent anchor point. This is typically where your release hand meets your face (e.g., corner of your mouth, jawline, or under your chin). Aim for a point that is repeatable shot after shot.
- At full draw, with an arrow nocked and pointed safely downrange (or at a target), check your form. Are you over-extending? Is your bow arm stable? Is your drawing elbow comfortable and not locked out?
- If you’re still experiencing discomfort or inconsistent anchor points, you might need to go up or down in half-inch increments.
A good rule of thumb for draw length confirmation is to have your drawing elbow slightly bent and your bow arm comfortably extended, without strain. You should be able to maintain a solid anchor point with your eyes focused on the sight.
Alternative: Adjustable Cams & Pins
Some Diamond bows might feature adjustable cams that do not rely on separate modules. These often have numbers or letters associated with them as well, but the adjustment might involve loosening a specific bolt and physically rotating the cam to a new marked position, or moving pins within the cam. Again, refer to your model-specific manual. For instance, some “dual-cam” or “single-cam” designs might have a rotating limb stop or a set of holes for draw stops that influence your effective draw length.
Draw Length Chart Example
Here’s a simplified example of how draw length modules might be represented. Your actual chart will be in your Diamond bow’s manual.
| Module Setting (Number/Letter) | Approximate Draw Length (Inches) | Notes |
|---|---|---|
| A | 26.0 – 27.0 | Use for shorter draw lengths |
| B | 27.0 – 28.0 | Standard mid-range |
| C | 28.0 – 29.0 | Use for longer draw lengths |
| D | 29.0 – 30.0 | For very long draw lengths |
Note: Some bows might have modules that click into specific positions for exact inch measurements, rather than a range.
Common Issues and Troubleshooting
Even with clear instructions, you might encounter minor hiccups. Here’s how to address them:
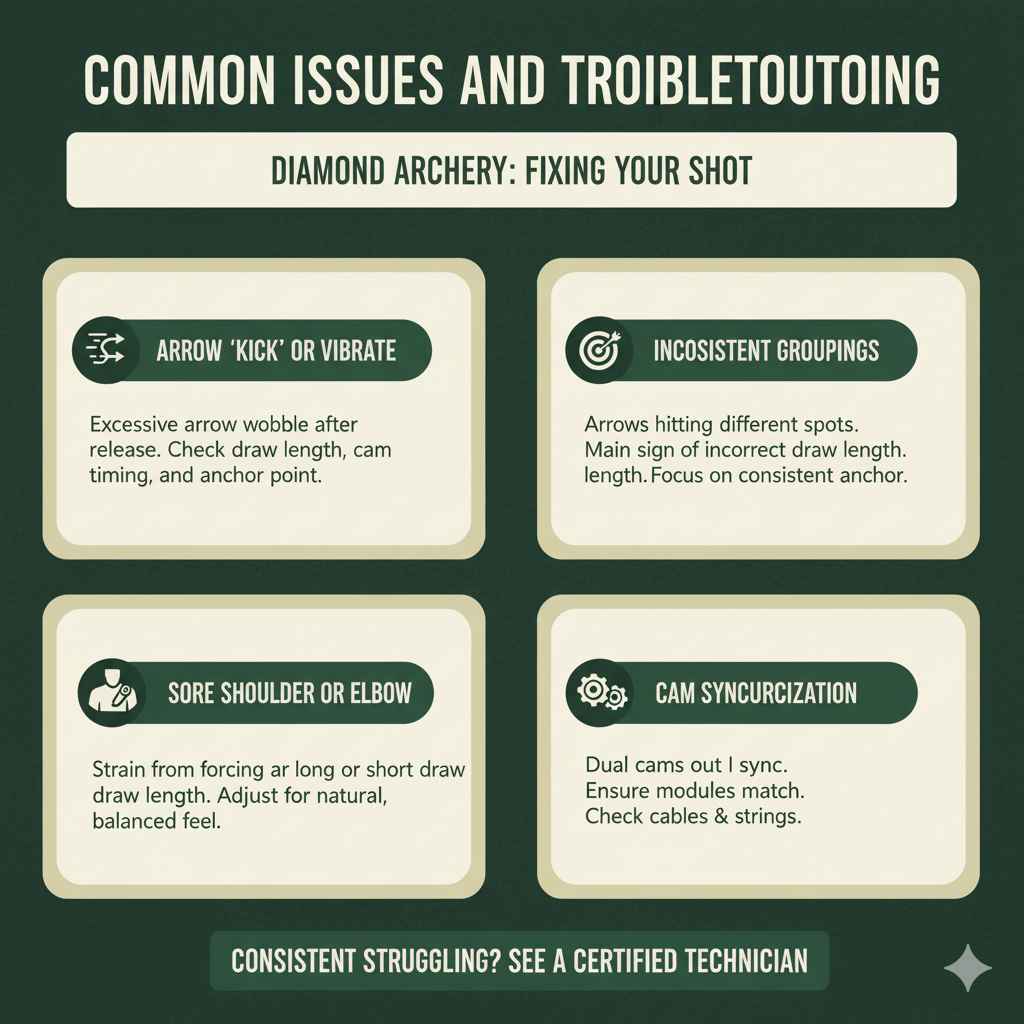
- Arrow “Kick” or Vibrate: If your arrow seems to vibrate excessively after release, it could indicate an issue with the draw length affecting cam timing or a slightly off anchor point. Revisit your draw length setting and focus on a solid anchor.
- Inconsistent Groupings: This is the biggest telltale sign that your draw length might be off. A consistent anchor is vital, and it’s hard to achieve with the wrong draw length.
- Sore Shoulder or Elbow: Forcing yourself to reach for a draw length that’s too long will cause strain. Conversely, a draw length that’s too short might make you feel like you’re “reaching” uncomfortably. Adjust until it feels natural and balanced.
- Cam Synchronization: If your bow has two cams, they need to work in unison. If one cam winds up excessively before the other, it can affect everything. Ensure both modules are set to the same measurement and that cables and strings are properly seated.
If you’re consistently struggling or suspect a more complex issue, don’t hesitate to visit a certified archery technician. Resources like the USA Archery website offer information on finding certified instructors and shops.
Safety First: Always Use a Bow Press!
I’ll say it again because it’s that important: Never attempt to adjust draw length without a proper bow press. Trying to do it freehand can cause catastrophic damage to your bow, void your warranty, and lead to serious injury. If you do not own a bow press or are uncomfortable using one, your local archery shop is your best bet for safe and professional adjustments. They have the experience and specialized tools to get the job done right.
FAQs About Diamond Bow Draw Length Adjustment
Q1: How do I know if my Diamond bow’s draw length is wrong?
A1: You’ll likely experience discomfort at full draw, an inconsistent anchor point, poor arrow flight, or pain in your shoulder or elbow. Your shot groupings might also be scattered.
Q2: Can I adjust draw length on my Diamond bow without a bow press?
A2: No, for safety and proper adjustment involving cams and modules, a bow press is essential. Attempting to adjust without one is dangerous and can damage the bow.
Q3: My Diamond bow has rotating modules. How do I know which number to set it to?
A3: Consult your Diamond bow’s owner’s manual. It will explain the numbering or letter system on the module and how it corresponds to specific draw lengths (usually in increments of half-inches or full inches).
Q4: What if my desired draw length is between two settings on the module?
A4: Many modern bows allow for fine-tuning. If precise adjustment isn’t possible with the modules, you might be able to adjust the position of the draw stop on the cam (if applicable) or slightly adjust your anchor point. However, going to the closest setting and then fine-tuning with form is common. Archery shops can also help with custom tuning.
Q5: How often should I check my draw length?
A5: Draw length settings shouldn’t change unless you intentionally adjust them or replace parts like the string or cables. However, it’s good practice to re-evaluate your draw length periodically, especially if you feel changes in your shooting form or comfort over time.
Q6: What’s the difference between draw length and draw weight?
A6: Draw length is the distance the string travels, affecting your body’s position and the bow’s power stroke. Draw weight is the force (measured in pounds) it takes to pull the string back to full draw. They are separate adjustments, though often made on similar parts of the bow.
Q7: Are all Diamond bows adjusted the same way?
A7: While many Diamond bows share similar cam systems (like binary or hybrid with rotating modules), there can be variations between models and years. Always refer to your specific model’s owner’s manual for the most accurate instructions.
The Right Draw Length for Your Best Shot
Taking the time to properly adjust the draw length on your Diamond bow is an investment in your archery journey. It’s the foundation for accuracy, comfort, and enjoyment. By following these steps and always prioritizing safety, you’ll unlock a more consistent and satisfying shooting experience. Remember, even small adjustments can make a big difference. Don’t be afraid to experiment within safe limits, and if you ever feel unsure, a friendly visit to your local archery pro shop can provide expert guidance. Happy shooting!