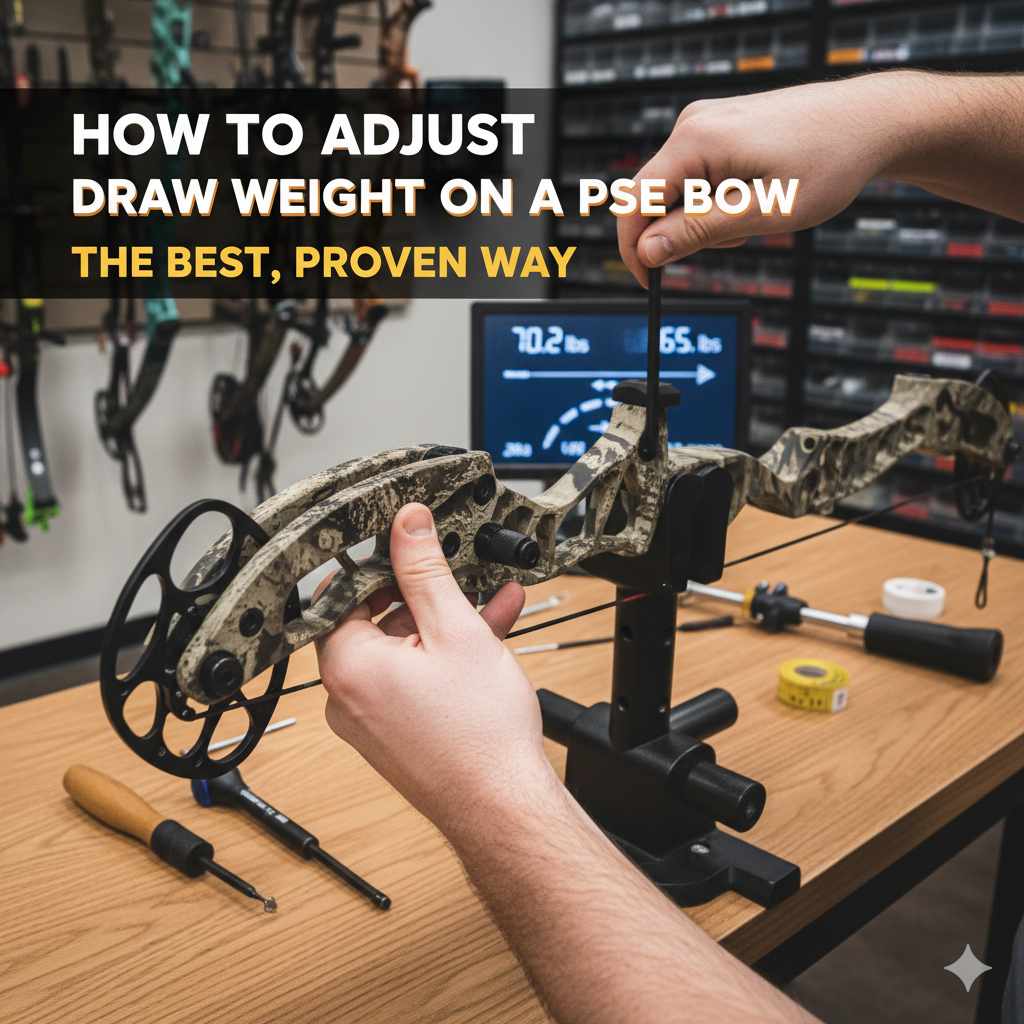
To adjust the draw weight on a PSE bow, use an Allen wrench to turn the limb bolts counter-clockwise to decrease the weight or clockwise to increase it. Always turn the top and bottom limb bolts an equal number of times. Never loosen the bolts more than the manufacturer’s recommendation, which is typically 8-10 full turns from the tightest position.
Hello, fellow archers! Salman here. If you’ve just gotten your first PSE bow, congratulations! You’re about to start an amazing journey. One of the first things you’ll want to learn is how to make your bow fit you perfectly. A common question I get is about adjusting the draw weight. It might sound technical, but I promise it’s straightforward.
Feeling like the bow is too hard to pull? Or maybe it feels a bit too easy and you’re ready for more power? You’re in the right place. We’re going to walk through exactly how to adjust the draw weight on your PSE bow, safely and simply. Let’s make your bow feel like it was made just for you.
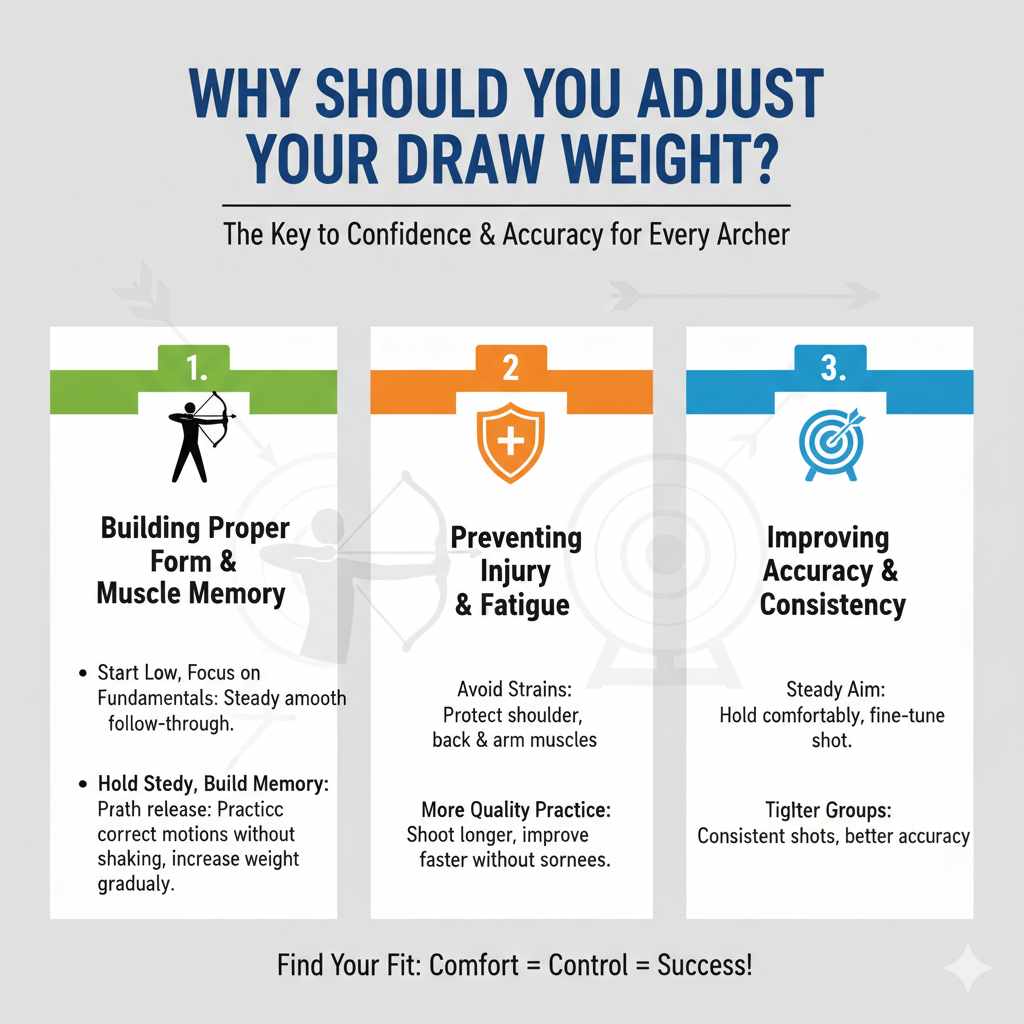
Why Should You Adjust Your Draw Weight?
Adjusting your bow’s draw weight isn’t just about showing off strength; it’s one of the most important steps in becoming a confident and accurate archer. Think of it like finding the right size shoes. The right fit makes everything better, safer, and more fun. Let’s explore why this adjustment is so crucial, especially for beginners.
1. Building Proper Form and Muscle Memory
When you first start, your main goal should be learning the correct shooting form. If your draw weight is too high, you’ll struggle to pull the string back. This often leads to bad habits, like raising your shoulder or jerking the string. These habits are hard to unlearn later.
By starting with a lower draw weight, you can focus on the fundamentals:
- A steady anchor point (where your hand rests on your face).
- A smooth, controlled release.
- Consistent follow-through after the shot.
A comfortable draw weight allows you to hold the bow at full draw without shaking. This stability is key to building muscle memory. Your body learns the correct motions, and soon, they become second nature. You can then slowly increase the weight as your muscles develop.
2. Preventing Injury and Fatigue
Archery should be enjoyable, not painful. Trying to pull a weight that’s too heavy for you is a fast track to injury. It can strain your shoulder, back, and arm muscles. A common injury is rotator cuff tendonitis, which can keep you from shooting for weeks or even months.
Shooting with a lower draw weight reduces fatigue. You can practice for longer periods without getting tired and sore. More quality practice means faster improvement. Remember, archery is a marathon, not a sprint. Protecting your body is the number one priority.
3. Improving Accuracy and Consistency
Your accuracy depends heavily on your ability to hold the bow steady and aim without struggling. If every muscle in your body is shaking because the draw weight is too high, your sight pin will be dancing all over the target. It’s impossible to be accurate under that kind of strain.
When the draw weight is right for you, you can hold at full draw comfortably. This gives you precious seconds to fine-tune your aim and execute a surprise release. Your shots will become more consistent, and your arrow groupings will get tighter. A comfortable bow is an accurate bow.
Understanding Your PSE Bow: The Limb Bolts
Before we grab any tools, let’s get to know the key parts we’ll be working with: the limb bolts. These are the two large bolts that hold your bow’s limbs to the riser (the main handle part).
You will find one limb bolt on the top of the riser, where the top limb is attached, and another one on the bottom. These bolts are your control knobs for draw weight. Tightening them (turning clockwise) increases the pressure on the limbs, which increases the draw weight. Loosening them (turning counter-clockwise) does the opposite, decreasing the draw weight.
It’s incredibly important to remember that these two bolts must always be adjusted equally. If you turn the top bolt two full rotations, you must turn the bottom bolt two full rotations as well. This keeps the bow’s tiller—the balance between the top and bottom limbs—even, which is essential for consistent and accurate shooting.
Tools You’ll Need: Keep It Simple
The good news is you don’t need a massive toolbox for this job. For most PSE bows, you only need one thing.
- A set of Allen wrenches (or hex keys): Most PSE bows use a standard-sized Allen wrench for the limb bolts, often a 1/4 inch or 7/32 inch size. It’s best to have a full set to ensure you have the right one. Make sure the wrench fits snugly into the bolt head to avoid stripping it.
That’s it! Some archers also like to have a bow scale handy to measure the exact draw weight after an adjustment, but it’s not strictly necessary when you’re just starting out.
Safety First! Critical Reminders Before You Start
Adjusting your bow is perfectly safe when done correctly. But if you’re careless, you can damage your bow or hurt yourself. Please read these safety rules carefully before you begin.
- Read Your Owner’s Manual: Every PSE bow comes with a manual. This is your most important guide. It will tell you the maximum number of turns you can back out the limb bolts. Heed this warning! You can find most manuals on the official PSE Archery support page.
- Never Loosen Too Much: Loosening the limb bolts too far is extremely dangerous. It can cause the limbs to pop out of their pockets, releasing all their stored energy at once. This can destroy the bow and cause serious injury. Most PSE bows allow for 8 to 10 full turns from the fully tightened position, but always check your manual to be sure.
- Adjust in Small Increments: Don’t try to make huge changes all at once. Adjust the bolts one full turn at a time, then test the bow to see how it feels.
- Keep Both Bolts Even: I’ll say it again because it’s that important. Always turn the top and bottom bolts the exact same amount. Use a piece of tape or a marker to help you track your turns if needed.
- Never Dry Fire Your Bow: Never, ever pull back and release the bowstring without an arrow nocked. This can cause the bow to essentially explode in your hands. This rule applies at all times, not just during adjustments.
Step-by-Step Guide: How to Adjust Draw Weight on Your PSE Bow
Alright, you’ve done your homework and you’re ready to make the adjustment. Let’s walk through it step-by-step. Find a well-lit area where you can focus without distractions.
Part 1: Decreasing the Draw Weight (Making it Easier to Pull)
This is the most common adjustment for beginners. Starting low and building up is the smart way to learn.
- Find Your Starting Point: Before you loosen anything, you need to know where you are. Turn both limb bolts clockwise until they are snug. Don’t overtighten them with all your might—just turn until they stop. This is the bow’s maximum draw weight setting. All your adjustments will start from this point.
- Loosen the Top Limb Bolt: Insert the correct Allen wrench into the top limb bolt. Turn it counter-clockwise (to the left, “lefty-loosey”) for one full 360-degree rotation. Keep track!
- Loosen the Bottom Limb Bolt: Now, move to the bottom limb bolt. Turn it counter-clockwise for the exact same amount—one full rotation. Your bow is now perfectly balanced, but with slightly less draw weight.
- Repeat as Needed: Continue this process, alternating between the top and bottom bolts, one turn at a time. For example, if you want to back them out three turns, you would do: top one turn, bottom one turn, top one turn, bottom one turn, top one turn, bottom one turn.
- Respect the Limit: Remember the maximum number of turns specified in your owner’s manual. Do not go past this limit. If your manual says 8 turns is the max, never go to 9.
- Test the Feel: After making a few turns, carefully draw the bow back (always pointing in a safe direction). Does it feel more comfortable? Is it easier to hold steady at full draw? Find a weight that feels challenging but manageable.
Part 2: Increasing the Draw Weight (Making it Harder to Pull)
As you get stronger and your form improves, you’ll be ready to increase your draw weight for more speed and power.
- Insert Your Allen Wrench: Start with either the top or bottom limb bolt.
- Tighten the Top Limb Bolt: Turn the bolt clockwise (to the right, “righty-tighty”) for one full 360-degree rotation.
- Tighten the Bottom Limb Bolt: Move to the other limb bolt and turn it clockwise for one full rotation.
- Repeat Until You Reach Your Goal: Continue tightening the top and bottom bolts in equal, one-turn increments until you reach your desired draw weight or the bolts are fully tightened (maxed out).
- Test and Confirm: Draw the bow to feel the new weight. Can you still maintain good form? Can you hold it steady without excessive shaking? If not, you may have increased it too much. It’s better to shoot a lower weight accurately than a higher weight poorly.
The relationship between limb bolt turns and draw weight is generally linear. As a rule of thumb, one full turn of the limb bolts on most PSE bows will change the draw weight by approximately 3 to 4 pounds. This can vary by model, so it’s a good idea to check your manual or use a bow scale for precise measurements. This information comes from decades of archery community knowledge and is a widely accepted standard, supported by research into bow mechanics like that found in resources from educational institutions like the University of Illinois Department of Physics which explains the principles of stored energy in a bow.
Popular PSE Bow Models and Their Adjustability
PSE makes a wide range of bows, and many are famous for their incredible adjustability. This is a huge benefit for archers who are growing or want a bow that can adapt with their skill level. Here’s a look at a few popular models and their typical draw weight ranges.
| PSE Bow Model | Typical Peak Draw Weight Options | Common Adjustment Range (from peak) |
|---|---|---|
| PSE Stinger MAX | 55, 70 lbs | Down to ~40 lbs for the 70 lb model |
| PSE Brute NXT | 60, 70 lbs | Down to ~55 lbs for the 70 lb model |
| PSE Uprising | 70 lbs | Highly adjustable, down to ~15 lbs |
| PSE Drive NXT | 60, 70 lbs | Down to ~55 lbs for the 70 lb model |
Note: Always check the specific specs for your model year, as they can change. The Uprising is particularly popular for young or new archers because its range is so massive.
Common Mistakes to Avoid When Adjusting Draw Weight
Even with simple instructions, it’s easy to make a small mistake. Here are the most common pitfalls and how to steer clear of them.
| Common Mistake | Why It’s a Problem | How to Avoid It |
|---|---|---|
| Uneven Bolt Adjustments | This throws off the bow’s tiller, causing inconsistent arrow flight and poor accuracy. It puts uneven stress on the limbs. | Always adjust the top and bottom bolts by the exact same amount. Count your turns carefully. |
| Backing Bolts Out Too Far | Extremely dangerous. The limb can detach from the riser pocket, causing the bow to violently deconstruct. | Read your owner’s manual and never exceed the maximum recommended number of turns from the fully tightened position. |
| Using the Wrong Size Wrench | A loose-fitting wrench can strip the head of the limb bolt, making it impossible to adjust. | Use a high-quality Allen wrench set and ensure the wrench fits snugly before applying force. |
| Guessing the Draw Weight | You might set the weight too high, leading to poor form and potential injury, or too low, not challenging yourself to grow. | After adjusting, draw the bow. If you can’t hold it steady for 10 seconds without shaking, it’s too high. A bow scale provides an exact reading. |
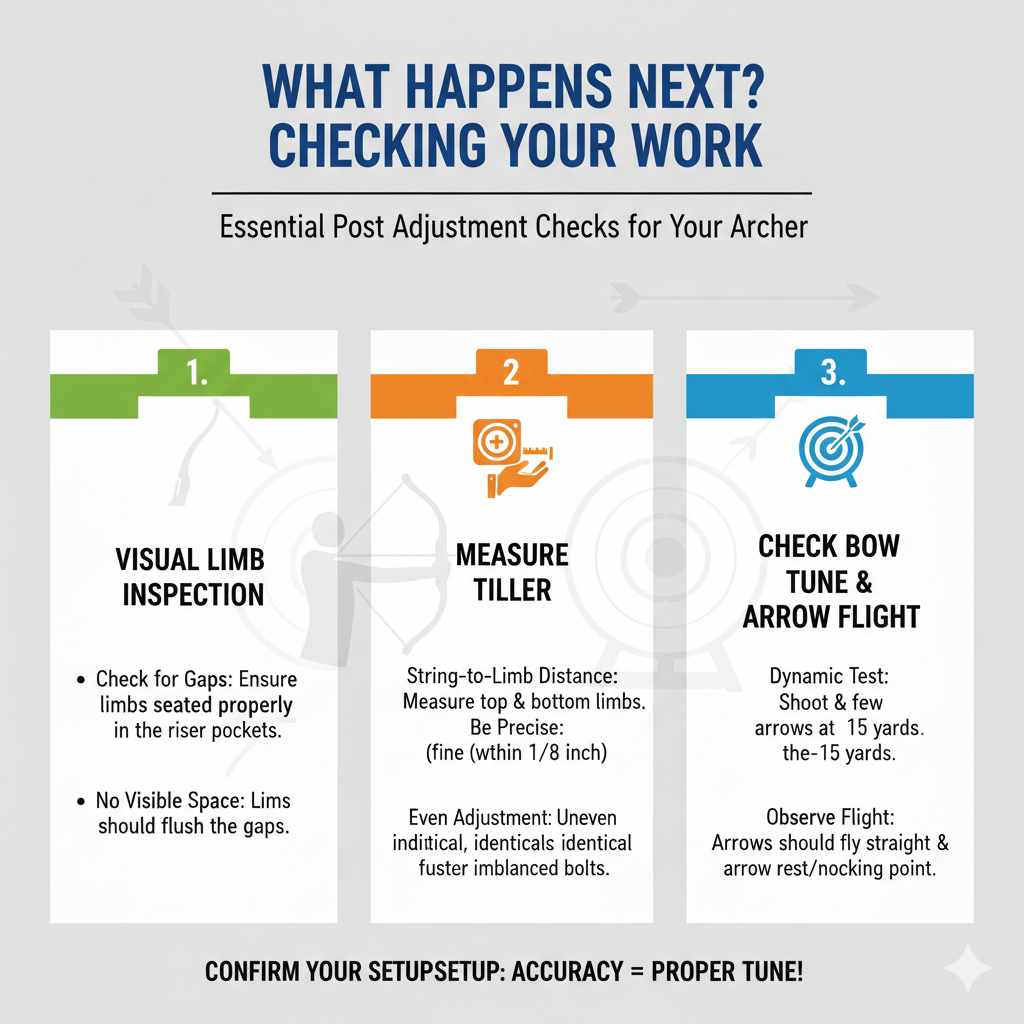
What Happens Next? Checking Your Work
After you’ve adjusted the limb bolts, you need to do a few quick checks before you start sending arrows downrange.
First, visually inspect the limbs. Make sure they are seated properly in the limb pockets on the riser. There should be no visible gaps. Second, check your tiller. Use a tape measure to measure the distance from the bowstring to the point where the limb meets the riser, both at the top and bottom. These two measurements should be very close, ideally identical. If they are off by more than 1/8 of an inch, you likely have an uneven bolt adjustment.
Finally, you need to check how the adjustment has affected your bow’s tune. Changing the draw weight can sometimes require you to make small adjustments to your arrow rest or nocking point. After you’re comfortable with the new draw weight, shoot a few arrows at a close target (10-15 yards) to see how they fly. If they are flying straight and grouping well, you’re good to go!
FAQs: Quick Answers to Common Questions
1. How do I know what my bow’s draw weight is set to?
The most accurate way is to use a handheld digital bow scale. You hook it onto your string, draw the bow, and it will give you a precise reading of the peak weight. Without a scale, you can estimate based on the number of turns from the max weight setting (usually 3-4 lbs per turn).
2. Can I adjust the draw weight with the bow strung?
Yes, absolutely. Compound bows are designed to be adjusted while they are fully assembled and strung. You do not need a bow press to adjust the draw weight within its specified range.
3. Will changing my draw weight affect my draw length?
On most modern PSE bows, adjusting the draw weight does not change the draw length. Draw length is typically adjusted separately, often through a rotating module on the cam system, and usually does not require a bow press either.
4. My limb bolts are really stiff. What should I do?
If the bolts are at their maximum tightness, they can be tough to loosen for the first time. Make sure you are using a snug-fitting Allen wrench to give you good leverage and prevent stripping. Apply steady, firm pressure. If it still won’t budge, take it to a pro shop. Never use a “cheater bar” to get more leverage, as you could damage the bolt or the riser.
5. I think I turned my limb bolts unevenly. How can I fix it?
Don’t panic! The fix is simple. Tighten both limb bolts clockwise all the way until they are snug. This resets them to an even, maxed-out position. From there, you can start backing them out again, being careful to count your turns and keep them perfectly even.
6. How often should I check my draw weight?
Once you find a comfortable setting, you don’t need to check it constantly. It’s a good idea to re-check it at the beginning of each archery season or if you feel your strength has changed significantly. The bolts should not loosen on their own with regular use.
Your Journey to Perfect Form Starts Now
Congratulations! You now have the knowledge and confidence to adjust the draw weight on your PSE bow like a pro. Remember that finding the perfect draw weight is a process. It’s not about pulling the heaviest bow at the range; it’s about finding the weight that allows you to shoot with perfect form, complete control, and unwavering confidence.
Start low, focus on your technique, and listen to your body. As you grow stronger, you can gradually increase the power. This simple adjustment is your first major step toward becoming a more accurate, consistent, and happy archer. So grab your wrench, follow the steps safely, and get ready to see your groups tighten.
Happy shooting, and always remember to have fun with it!