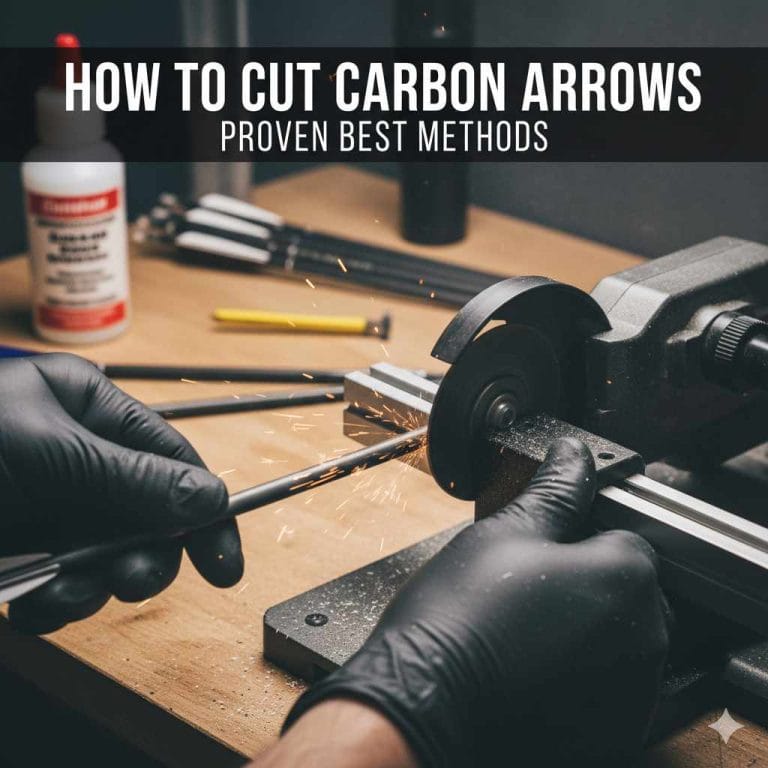
Cutting carbon arrow shafts correctly ensures optimal arrow length for accuracy and consistency. This guide provides proven, beginner-friendly techniques for a safe and precise cut, transforming your archery performance with simple, actionable steps and essential tool recommendations.
Welcome, fellow archers! Ever wondered how to get that perfect arrow length for your bow? It’s a common question, and getting it right makes a big difference in how your arrows fly. Cutting your own carbon arrow shafts might seem daunting, but it’s actually achievable and rewarding. Imagine shooting with more stability and accuracy, all because your arrows are the ideal size. This guide will walk you through the simple, safe steps to cut your carbon arrows like a pro. Let’s get started and boost your archery game!
Why Arrow Length Matters
The length of your arrow is crucial for shooting consistency and accuracy. An arrow that’s too long can be unstable in flight, while one that’s too short might not function correctly with your bow. When an arrow is the right length, it sits properly on your arrow rest and aligns perfectly with your bow sight. This consistency helps your arrows fly straighter and hit their mark more reliably. Think of it like a perfectly tuned instrument; every part needs to be just right to produce the best sound. For archery, the right arrow length is key to producing the best shots.
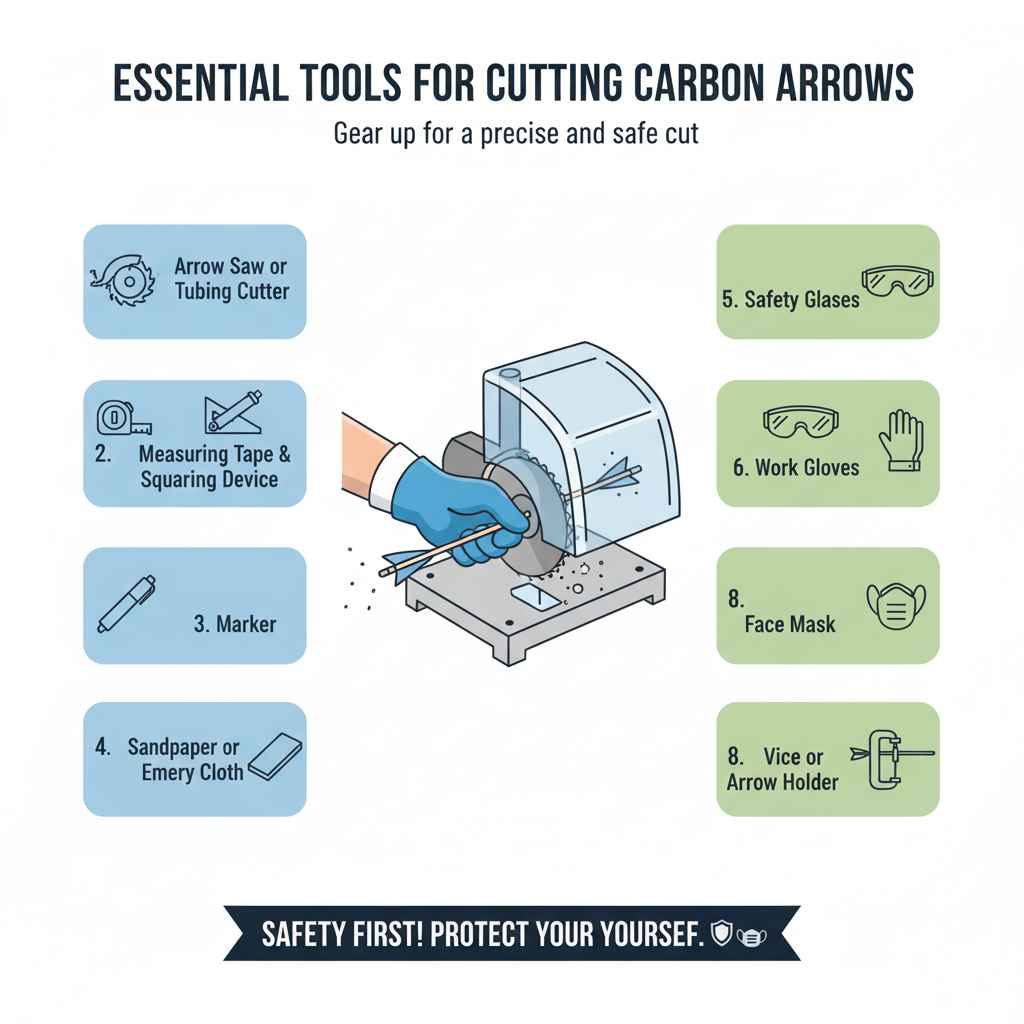
Essential Tools for Cutting Carbon Arrows
Before you start cutting, gather the right tools. Using the correct equipment ensures a clean, straight cut and minimizes the risk of damaging your arrow or causing injury. Safety is always our top priority, so let’s make sure you have everything needed.
- Arrow Saw or Tubing Cutter: The most recommended tool is a dedicated arrow saw designed for cutting carbon shafts. These saws offer a precise, straight cut. If an arrow saw isn’t available, a high-quality tubing cutter, often used for plumbing or metalwork, can be a good alternative. Ensure it has a sharp blade specifically designed for carbon or composite materials.
- Measuring Tape or Arrow Squaring Device: Precision is key. A good quality measuring tape or a specialized arrow squaring device will help you measure accurately and ensure your cut is perpendicular to the shaft.
- Marker: To mark your cut line clearly on the arrow shaft.
- Sandpaper or Emery Cloth: For smoothing the cut end of the arrow shaft. A fine grit (e.g., 220-grit or higher) is ideal.
- Safety Glasses: Crucial for protecting your eyes from carbon dust and any small debris.
- Work Gloves: Protect your hands from sharp edges and potential splinters from the carbon.
- Face Mask: Wearing a mask is highly recommended to avoid inhaling fine carbon dust, which can be harmful to your lungs. You can explore resources on the health effects of carbon dust from organizations like the Occupational Safety and Health Administration (OSHA) for more information on workplace safety regarding dusts.
- Vice or Arrow Holder: To securely hold the arrow while cutting, preventing movement and ensuring a straight cut.
Step-by-Step Guide to Cutting Carbon Arrows
Now that you have your tools, let’s walk through the process. Follow these steps carefully for a safe and accurate cut.
Step 1: Determine Your Correct Arrow Length
This is the most critical first step. Your ideal arrow length depends on your draw length, bow draw weight, and how you position your fingers on the string. A common method is to measure from the nock groove to the point where the arrow rests on your bow’s arrow rest, plus an inch or two for the point insertion. A good starting point for many is to measure from the throat of the nock to the extender of your arrow rest, then add 1.5 inches. Alternatively, a coach or experienced archer can help you determine this precise measurement. Some archery shops also offer services to measure and cut arrows for you, which can be a great way to learn the first time.
A more precise method involves using an Easton arrow length guide, which is a standard in the industry. These guides, often available through archery equipment retailers, can help you dial in the perfect length based on your specific equipment and draw length. You can find general guidelines from reputable archery organizations such as the USA Archery rulebook, which sometimes touches on equipment specifications.
A simple, though less precise, method you can try at home is to measure from the throat of your nock to the back of your bow riser (the part you hold) and add 1.75 inches. This provides a rough guideline. However, for consistent shooting, a more accurate measurement taken with a proper arrow square or by an experienced archer is highly recommended.
Step 2: Mark the Cut Line
Once you have your desired length, use a soft pencil or marker to make a clear, straight line around the entire circumference of the arrow shaft at your measurement point. Ensure you’re measuring from the correct end – usually from the nock end. Double-check your measurements. It’s always better to cut too long and re-measure than to cut too short!
Step 3: Secure the Arrow
Mount your arrow securely in a vice or an arrow holder. The shaft should be held firmly but not so tightly that it deforms the carbon. Make sure the part of the arrow you intend to cut extends out far enough to be easily accessible by your saw or cutter, and that the mark is positioned directly where the blade will make contact. Proper support is vital for a clean cut.
Step 4: Make the Cut
If using an arrow saw, follow the saw’s operating instructions carefully. Gently feed the arrow into the spinning blade. Allow the saw to do the work; don’t force the arrow. If using a tubing cutter, position the blade precisely on your marked line. Slowly and steadily rotate the cutter around the arrow shaft, tightening the knob slightly with each rotation. Continue until the blade has cut all the way through the shaft. Be patient; rushing can lead to a crooked cut or damage to the shaft.
Step 5: Smooth the Cut End
After cutting, the end of the carbon shaft might be rough or have small burrs. Use sandpaper or emery cloth to carefully smooth the cut end. Rotate the shaft against the sandpaper, or place the sandpaper on a flat surface and move the shaft against it. The goal is to create a perfectly flat and smooth surface. This is important for a secure fit with your arrow points and to prevent damage to your bowstring or arrow rest.
Step 6: Inspect and Test
Examine the cut end closely. It should be flat and square. Gently run your finger around the edge to check for any sharp burrs. You may also want to use an arrow squaring device or jig to verify the cut is perfectly perpendicular to the shaft. If it’s not quite perfect, you can carefully sand it down further. Once satisfied, insert a field point or insert and check the fit. You can then attach your nock and fletchings.
Arrow Length Calculation Table
Finding the perfect arrow length can seem tricky. Here’s a simplified look at common measurement points. Remember, these are guidelines, and fine-tuning might be necessary based on your bow and shooting style.
| Measurement Point (from Nock Throat) | Typical Addition | Resulting Arrow Length Guideline |
|---|---|---|
| Back of Arrow Rest | + 1.5 inches | Approximate finished shaft length (before point) |
| Bow Riser (Back of Grip) | + 1.75 inches | Rough estimate for shaft length |
| Bow Sight Aperture Center | + 1-2 inches | More advanced measurement, requires sighted-in bow |
Choosing the Right Saw: Arrow Saw vs. Tubing Cutter
The tool you use can significantly impact the quality of your cut. Here’s a quick comparison to help you decide:
| Tool | Pros | Cons | Best For |
|---|---|---|---|
| Dedicated Arrow Saw | Designed specifically for arrows, provides precise, straight cuts. Often has adjustable guides for consistent length. Minimizes carbon dust scattering. | Can be more expensive. Requires a power source. | Archers cutting multiple arrows or seeking the highest precision. |
| High-Quality Tubing Cutter | More affordable than arrow saws. Portable and easy to use. Can produce very clean cuts if used correctly. | Requires careful handling to ensure a straight, perpendicular cut. Can create more dust than a saw. Blade sharpness is critical. | Beginners or those cutting only a few arrows, and who have a very sharp blade. |
| Hand Saw (e.g., Hacksaw) | Least expensive option, readily available. | Difficult to achieve a straight, clean cut. Significant risk of splintering or unevenness. Produces a lot of dust. | Not recommended for precision arrow cutting due to poor results and safety concerns. |
Safety First: Handling Carbon Arrows and Dust
Working with carbon arrows requires attention to safety. Carbon shafts are durable, but the dust created when cutting can be a health hazard if inhaled.
- Ventilation: Always cut in a well-ventilated area. Outdoors is ideal.
- Eye Protection: Wear safety glasses to prevent carbon dust or fragments from entering your eyes.
- Respiratory Protection: A P100 respirator or a good quality dust mask is essential to prevent inhalation of fine carbon particles. The National for Occupational Safety and Health (NIOSH) provides guidance on selecting appropriate respiratory protection.
- Skin Protection: Wear gloves to protect your hands from sharp edges and potential micro-splinters.
- Clean Up: After cutting, carefully clean up all dust and debris. A damp cloth or HEPA vacuum is best for carbon dust. Avoid dry sweeping, which can stir up dust into the air.
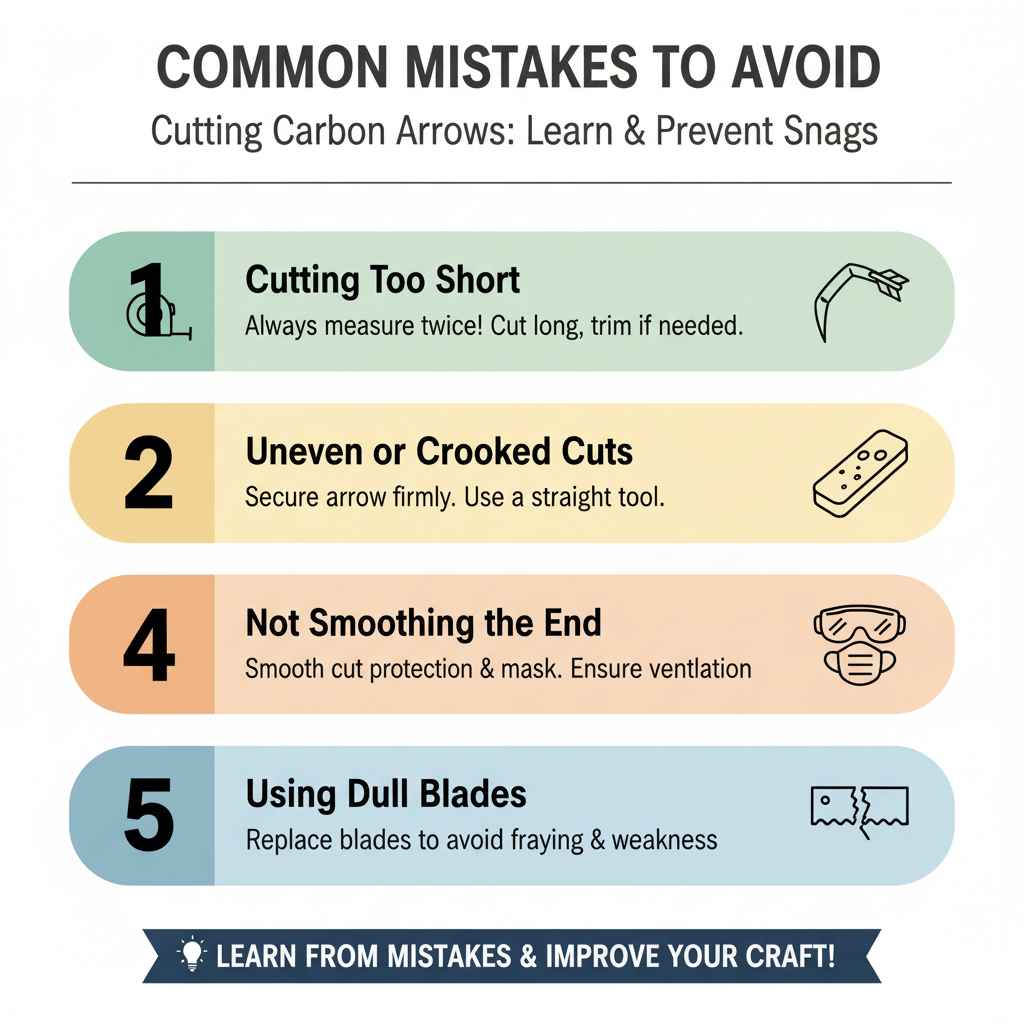
Common Mistakes to Avoid
Even with the best intentions, beginners can sometimes make a few common errors. Avoiding these will save you time and frustration.
- Cutting Too Short: The most common and irreversible mistake. Always measure twice (or thrice!) and cut once, or better yet, cut a little long and trim down if needed.
- Uneven or Crooked Cuts: This happens when the arrow isn’t secured properly or the cutting tool isn’t used straight. A crooked cut will negatively impact arrow flight.
- Not Smoothing the End: Leaving rough edges can damage your bowstring, arrow rest, or even cause the nock to seat improperly.
- Ignoring Safety Precautions: Cutting without proper ventilation, eye protection, and a mask can lead to health issues and injuries.
- Using Dull Blades: A dull blade will tear rather than cut the carbon, leading to a frayed, weak end and more dust.
FAQs
Q1: Can I cut carbon arrows with a regular hacksaw?
While a hacksaw is a cutting tool, it’s generally not recommended for carbon arrows. Hacksaws can easily create uneven, splintered cuts that weaken the shaft and negatively affect arrow flight. A sharp tubing cutter or a dedicated arrow saw will provide much cleaner and more accurate results.
Q2: How much carbon dust is produced when cutting?
Cutting carbon arrows does produce fine dust particles. The exact amount varies depending on the tool used and the quality of the cut, but it’s always present. This is why wearing a mask and ensuring good ventilation are critical safety measures.
Q3: What is the best way to measure for arrow length?
The most reliable method is to determine your draw length and then measure from the throat of the nock to the point where your arrow rests on your arrow rest, adding about 1.5 inches for the point and shaft insertion. Consulting with a pro shop or experienced archer is highly recommended for your first few arrow builds.
Q4: Can I cut aluminum arrows the same way as carbon arrows?
No, aluminum arrows are typically cut using a different method and tool, often a standard metal-cutting saw or tubing cutter with a blade suitable for metal. Carbon and aluminum have different material properties and require different cutting approaches.
Q5: What happens if I cut my carbon arrows too short?
If your arrows are cut too short, your arrow rest might not support the back of the shaft properly, and the arrow can underspook or enter the bow riser. This can lead to dangerous “dry fires” or erratic arrow flight, significantly impacting accuracy and potentially damaging your bow. Unfortunately, an arrow cut too short cannot be made longer.
Q6: How do I know if my arrow cut is perpendicular (straight)?
You can visually inspect the end of the shaft. For greater accuracy, use an arrow squaring device or place a flat ruler against the cut end at multiple points around its circumference. If the ruler touches the entire surface, the cut is likely straight. If there are gaps, more careful sanding or re-cutting (if there’s enough length) might be needed.
Conclusion
Cutting your own carbon arrow shafts is a valuable skill that puts you in control of your archery equipment. By using the right tools, following these simple steps, and prioritizing safety, you can achieve precise arrow lengths that will enhance your shooting experience. Remember to measure carefully, cut cleanly, and always protect yourself from carbon dust. With practice, this process will become second nature, allowing you to fine-tune your arrows for optimal performance and enjoy even greater accuracy and consistency on the range. Happy shooting!