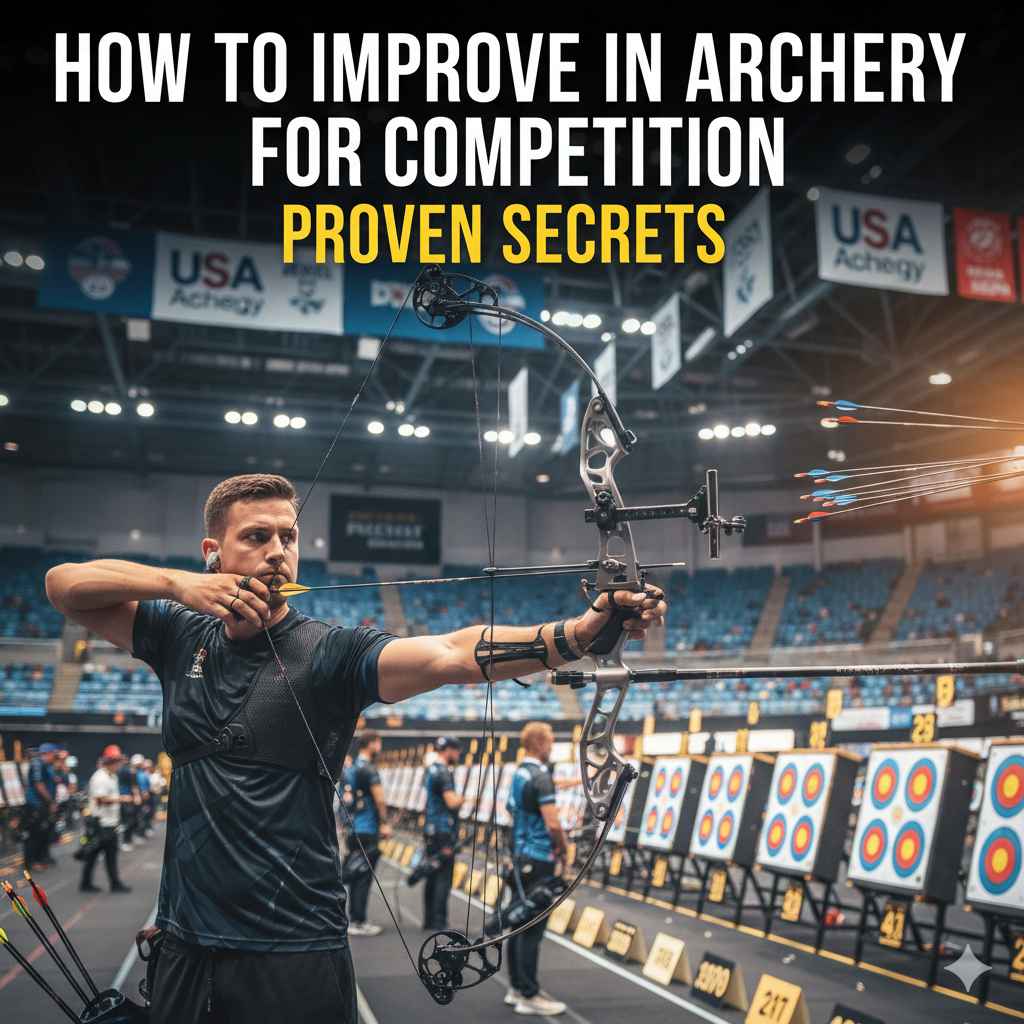
To improve in archery for competition, focus on mastering fundamental form, building a consistent shot routine, and tuning your equipment properly. Combine purposeful practice with mental training to manage pressure and build confidence for match day. This approach ensures every arrow you shoot is a step toward your competitive goals.
Stepping onto the competition line for the first time can feel exciting and a little scary. You see other archers hitting the bullseye, and you wonder, “How can I get that good?” It’s a common feeling, but don’t worry. The path from hobbyist to competitor isn’t about some hidden magic. It’s about building solid habits, one arrow at a time. I’m here to show you exactly how to do that. Together, we’ll walk through the proven secrets that will help you shoot with confidence and accuracy when it counts.
Welcome, archer! I’m Salman Arfeen, and I’m excited to guide you on your journey into competitive archery. Moving from casual shooting to a competition setting is a big step, but it’s one you can absolutely achieve. The key isn’t just to practice more; it’s to practice smarter. This guide will break down the essential areas you need to focus on: your form, your mindset, your gear, and your training plan. Let’s turn those practice sessions into winning performances.
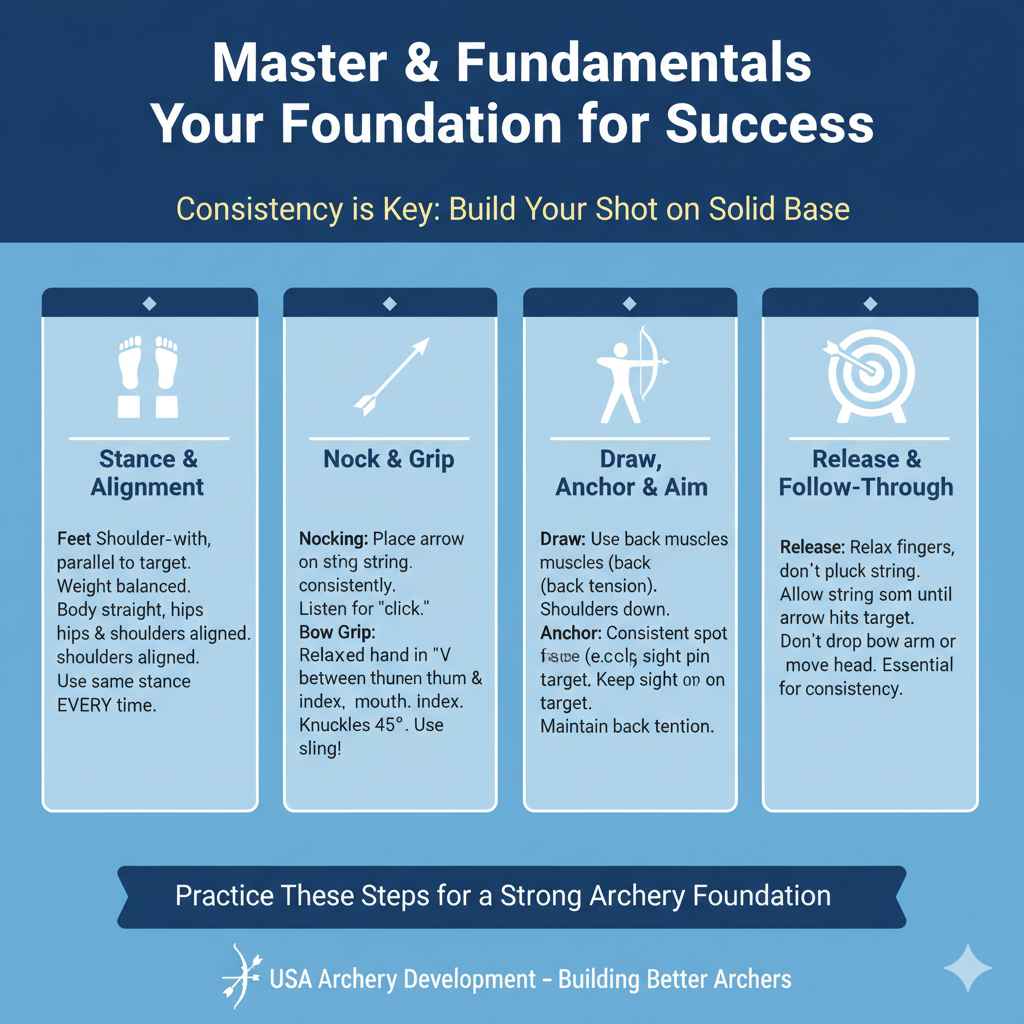
Master the Fundamentals: Your Foundation for Success
Before you can think about winning, you need a solid foundation. In archery, that foundation is your form. Every single shot should be built on the same strong base. Inconsistencies in your form will lead to inconsistencies on the target. Let’s break down the core elements you must master.
Perfect Your Stance
Your stance is where everything begins. It’s your connection to the ground and the source of your stability. An unstable stance means an unstable shot. Aim for a square stance, where your feet are shoulder-width apart and a line drawn between your toes would point directly at the target.
- Feet Position: Place your feet parallel to each other, like you’re standing on railroad tracks.
- Weight Distribution: Keep your weight balanced evenly between both feet, maybe slightly more on the balls of your feet. Avoid leaning back on your heels or too far forward.
- Body Alignment: Stand up straight. Your hips and shoulders should be aligned and relaxed. Imagine a string pulling you up from the top of your head, keeping your spine straight.
Once you find a comfortable and stable stance, use it every single time. Mark where your feet go on the shooting line if it helps you remember.
The Art of the Nock and Grip
How you place the arrow on the string and hold the bow are small actions with big consequences. Rushing these steps can ruin a shot before you even start to draw.
Nocking the Arrow: Always place your arrow on the string the same way. Listen for that satisfying “click” as the nock settles into place. Make sure the correct fletching (the “cock” feather, often a different color) is pointing away from the bow riser.
The Bow Grip: Your bow hand should be relaxed. Do not grip the bow tightly! A tight grip, often called “torquing” the bow, will twist the riser on release and send your arrow off-course. Instead, let the bow rest in the “V” between your thumb and index finger. Your knuckles should be at about a 45-degree angle. A finger sling or wrist sling is essential to help you trust this light grip, as it will catch the bow after the shot.
The Draw, Anchor, and Aiming Sequence
This is the heart of the shot process. It needs to be smooth, repeatable, and strong.
- The Draw: Raise your bow arm toward the target, keeping your shoulder down and relaxed. Use your back muscles, not your arm muscles, to pull the string back. Imagine squeezing a tennis ball between your shoulder blades. This is called back tension, and it’s the secret to a powerful and stable draw.
- The Anchor Point: Your anchor point is a specific spot on your face where you draw the string to every single time. For beginners, a common anchor is to bring the tip of your index finger to the corner of your mouth. Your anchor point must be identical for every shot. If it moves even a millimeter, your arrow’s impact point will change significantly.
- Aiming: Once at full draw and anchored, it’s time to aim. Look through your sight (if you have one) and place the pin on the center of the target. Try to keep the pin as steady as possible, but don’t panic if it floats a little. This is normal. Your focus should be on maintaining back tension and a solid anchor.
A Clean Release and Follow-Through
The release is not about letting go; it’s about relaxing. Simply relax your fingers, and the string will do the rest. Don’t pluck the string like a guitar. A clean release allows the arrow to fly straight.
After the release comes the follow-through. This is crucial! Do not drop your bow arm or move your head to watch the arrow fly. Keep everything exactly as it was at the moment of release until the arrow hits the target. Your drawing hand should slide back along your jawline. A good follow-through proves that you stayed in the shot and didn’t rush anything.
Consistency is King: Building a Repeatable Form
The best archers in the world can shoot thousands of arrows that all look identical. Their secret? A consistent shot routine. A routine turns the complex process of shooting an arrow into a simple, repeatable sequence of steps. This builds muscle memory and takes the guesswork out of your performance, especially under pressure.
Why a Shot Routine Matters
Under the stress of competition, your mind can race. A shot routine gives you a mental roadmap to follow. It keeps you focused on the process, not the outcome. Instead of worrying about hitting the 10-ring, you just worry about the next step in your routine. This is how you build mental toughness and perform your best when it counts.
Develop a Pre-Shot Checklist
Your routine should be a checklist you run through for every single arrow. It doesn’t need to be complicated. In fact, simpler is better. Here’s an example:
- Stance: Feet set and weight balanced.
- Nock: Hear the click, check the fletching.
- Grip: Bow hand relaxed, knuckles at 45 degrees.
- Set-Up: Raise the bow, engage back muscles.
- Draw: Smoothly pull to your anchor point.
- Anchor: Solidly touch your reference point (e.g., corner of the mouth).
- Aim: Let the sight pin float on the target center.
- Release: Relax your fingers and let the string go.
- Follow-Through: Hold your form until the arrow hits.
Write down your steps and practice them until they become second nature. You shouldn’t have to think about them; you should just do them.
Practice with Purpose: Drills to Build Muscle Memory
Just flinging arrows downrange isn’t enough. You need drills that reinforce good habits.
- Blank Bale Shooting: Stand about 5-10 feet from a large, empty target butt (the “blank bale”). Shoot arrows without aiming. The goal is not to hit a bullseye but to focus 100% on your form and shot routine. This is one of the most powerful ways to build muscle memory without the pressure of aiming.
- Scoring Drills: Once your form feels solid, introduce scoring. Shoot a full “end” (a set of 3 or 6 arrows, depending on the competition format) and write down your score. The goal is to practice the rhythm and pressure of a real competition. Track your scores over time to see your progress.
Gear Up for Glory: Choosing and Tuning Your Equipment
Your bow is your partner in competition. If it’s not set up correctly for you, you’ll be fighting it with every shot. You don’t need the most expensive gear to win, but you do need gear that is properly tuned and fits you well.
Is Your Bow Right for You?
A common mistake for beginners is using a bow with a draw weight that is too high. If you are struggling to pull the string back, you can’t focus on your form. You should be able to draw your bow smoothly and hold it at full draw for at least 10 seconds without shaking excessively. If you can’t, your draw weight is too high. It’s better to shoot a lower weight with perfect form than a higher weight with poor form.
Your draw length is also critical. An incorrect draw length will force you into an uncomfortable and inconsistent anchor position. Visit a pro shop to get properly measured and ensure your bow is set up for your body.
The Importance of Arrow Tuning
Even a perfect shot can go wrong if the arrow isn’t flying straight. Arrow tuning is the process of adjusting your bow’s arrow rest and nocking point to ensure the arrow leaves the string cleanly. A well-tuned bow is more forgiving of small form flaws. While complex tuning methods exist, a basic “paper tune” at a pro shop can make a world of difference. This involves shooting an arrow through a piece of paper and analyzing the tear to make adjustments.
Essential Competition Accessories
Certain accessories are not just helpful; they are essential for consistency in competition.
| Accessory | Why It’s Important for Competition | Beginner Tip |
|---|---|---|
| Sight | Provides a precise aiming reference, which is crucial for scoring at different distances. | Start with a simple, multi-pin sight. Learn to adjust it for one distance at a time. |
| Arrow Rest | Supports the arrow during the draw and drops away cleanly on release for better flight. | A “whisker biscuit” is very beginner-friendly. A drop-away rest offers higher performance but needs more tuning. |
| Release Aid | Provides a much cleaner and more consistent string release than fingers alone. Essential for compound bows. | A wrist-strap index-finger release is the most common and easiest to learn. |
| Stabilizer | Adds weight to the front of the bow, reducing vibration and making it easier to hold steady while aiming. | A simple 5-8 inch stabilizer is a great starting point to improve your balance. |
| Quiver | Holds your arrows safely and conveniently. | A hip quiver is standard for target competition. It keeps arrows out of the way but easy to reach. |
Train Your Brain: The Mental Game of Archery
Archery is often said to be 90% mental. You can have perfect form and a perfectly tuned bow, but if you can’t handle the pressure of competition, your scores will suffer. Mental training is just as important as physical practice.
Conquering Competition Nerves
It’s completely normal to feel nervous. The secret is to use that energy, not let it control you. Deep breathing is your best friend. Before you step to the line, take a few slow, deep breaths. Inhale for four seconds, hold for four seconds, and exhale for six seconds. This simple act can lower your heart rate and clear your mind.
Remember your shot routine? This is where it pays off. When you feel nervous, fall back on your routine. Focus on one step at a time: stance, nock, grip. By focusing on the process, you push the nervous thoughts out of your head.
Visualization Techniques
Top athletes in every sport use visualization. Before a competition, or even before each shot, close your eyes and imagine yourself executing a perfect shot. See the arrow fly perfectly and hit the center of the target. Feel the smooth draw, the solid anchor, and the clean release. This mental rehearsal builds confidence and prepares your mind and body for success.
Staying Focused Under Pressure
Distractions are everywhere in a competition: other archers, spectators, the wind, your own thoughts. Your job is to stay in your “bubble.” When you are on the shooting line, the only things that exist are you, your bow, and the target. If you have a bad shot, let it go immediately. Do not dwell on it. The most important arrow is always the next one. Learning to reset after a poor shot is a hallmark of a great competitor. For more on the rules and mindset of competitive archery, governing bodies like World Archery provide excellent resources.
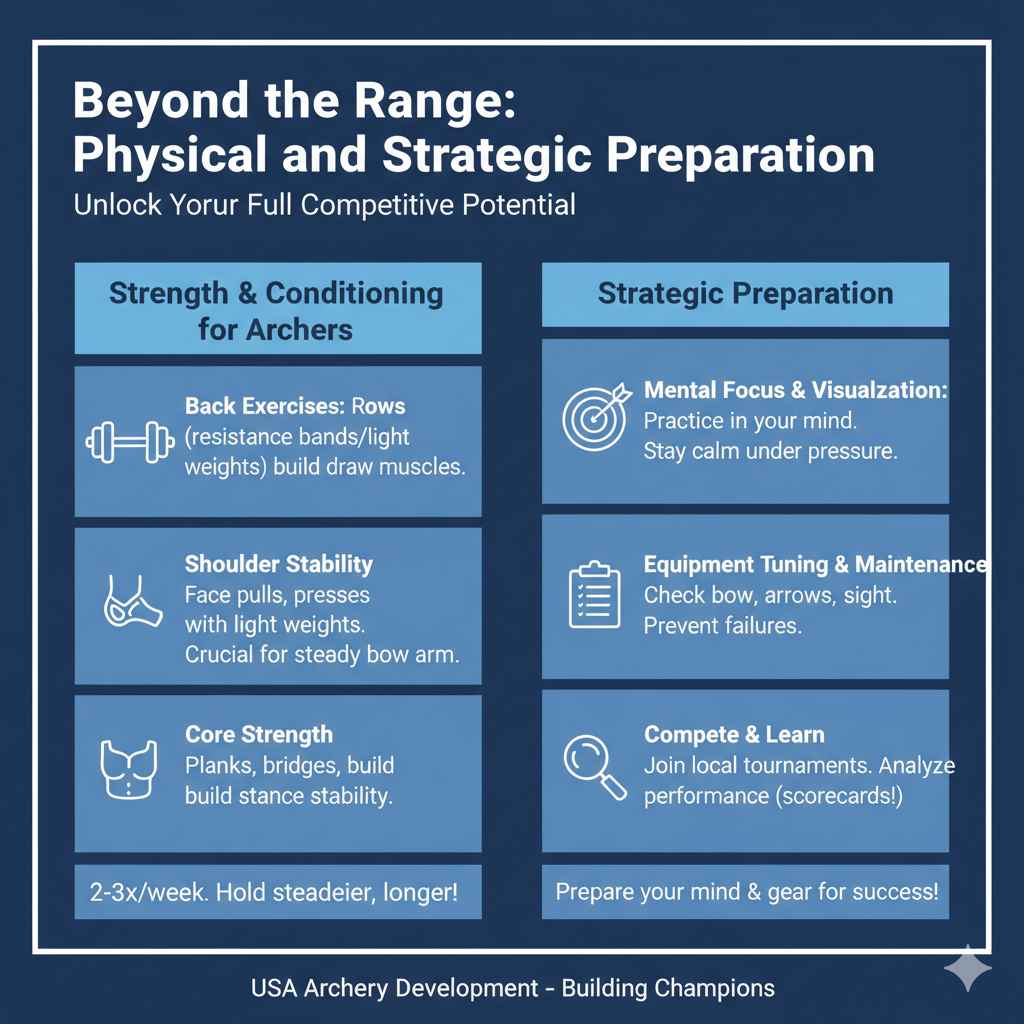
Beyond the Range: Physical and Strategic Preparation
Your journey to competitive success doesn’t end at the archery range. How you prepare your body and your strategy can give you a significant edge.
Strength and Conditioning for Archers
Archery is a physical sport. It requires specific muscle strength and endurance, primarily in your back, shoulders, and core. You don’t need to be a bodybuilder, but some simple exercises can dramatically improve your stability and stamina during a long competition.
- Back Exercises: Rows (using resistance bands or light weights) are fantastic for building the back muscles used in drawing the bow.
- Shoulder Stability: Face pulls and shoulder presses with light weights help strengthen the small stabilizer muscles around your shoulder joint, which is crucial for your bow arm.
- Core Strength: Planks and bridges build core stability, which is the foundation of your entire stance.
Incorporate these exercises into your routine 2-3 times a week. You’ll find you can hold your bow steadier for longer, especially at the end of a tournament.
Creating a Training Plan
Success loves a plan. A structured training plan ensures you are working on all aspects of your archery, from form to mental game to physical conditioning. It also helps you avoid burnout. Your plan should be balanced and realistic.
Here is a sample weekly training plan for a beginner archer preparing for their first competition:
| Day | Activity | Focus | Duration |
|---|---|---|---|
| Monday | Range Practice | Blank Bale Shooting: Focus purely on form and shot routine. | 60 minutes (approx. 60-72 arrows) |
| Tuesday | Physical Conditioning | Back, shoulder, and core exercises. | 30-45 minutes |
| Wednesday | Range Practice | Scoring Drill: Shoot at a target face, keeping score to simulate pressure. | 60-90 minutes (approx. 72 arrows) |
| Thursday | Mental Training & Rest | Visualization exercises (10-15 mins). Light stretching. | 20 minutes |
| Friday | Range Practice | Mixed Drill: Start with blank bale (20 arrows), then move to scoring (50 arrows). | 75 minutes |
| Saturday | Mock Competition / Rest | If possible, shoot a full competition round. Otherwise, rest. | As needed |
| Sunday | Rest & Gear Check | Active recovery (e.g., a walk). Check all equipment for wear and tear. | 30 minutes |
Adjust this plan to fit your schedule. The key is consistency. Three focused practice sessions a week are better than one long, unfocused session.
Frequently Asked Questions (FAQ)
How often should I practice for a competition?
For beginners, consistency is more important than volume. Aim for 2-3 focused practice sessions per week, each lasting about 60-90 minutes. This is enough to build muscle memory without causing fatigue or burnout.
What’s the best way to deal with a bad shot during a match?
Acknowledge it, then forget it. Don’t analyze what went wrong on the shooting line. Take a deep breath, step back, and restart your pre-shot routine from the very beginning. Your focus must be on the next arrow, not the last one.
Do I need expensive equipment to compete?
Absolutely not. A well-tuned, entry-level bow that fits you properly is far better than an expensive pro-level bow that is poorly set up. Focus on your skill and form first. You can always upgrade your gear as you advance.
How do I find local archery competitions?
Check with your local archery club or pro shop. They are usually the hubs for competition news. You can also search online on websites for national governing bodies like USA Archery, which often have event calendars.
What is “blank bale” shooting and why is it important?
Blank bale shooting is practicing your form at very close range without a target face. It removes the pressure of aiming and scoring, allowing you to focus 100% on the physical feeling of a good shot. It’s one of the most effective drills for building a consistent form.
How do I know if my draw weight is too high?
If you tremble uncontrollably at full draw, have to point the bow upwards to pull it back, or feel sore in your arms (instead of your back) after shooting, your draw weight is likely too high. You should be able to draw the bow smoothly while keeping it pointed at the target.
Is it better to aim longer or shoot faster?
It’s better to be smooth and consistent. Rushing the shot leads to mistakes. However, aiming for too long can cause fatigue and shaking. A good goal is to have a consistent rhythm where you can draw, anchor, aim, and release within about 8-12 seconds.
Your Path to the Podium Starts Now
Improving in archery for competition is a journey, not a sprint. It’s about building a solid foundation, being consistent, and training both your body and your mind. The secrets we’ve covered today—mastering your form, creating a routine, tuning your gear, and strengthening your mental game—are the building blocks used by every successful archer.
Don’t be intimidated. Every archer on that line started exactly where you are now. Embrace the process, celebrate small victories, and remember to have fun. Your dedication and smart practice will pay off. Now pick up your bow, focus on your next shot, and enjoy the journey. I’ll see you on the range!