How to Make a Traditional Bow From a Wood Stave: 8 Steps
What you’ll need before you start
- Bow stave: straight-grained wood blank, longer than the finished bow
- Draw knife: 8-10 inch blade for bark and cambium removal
- Large rasp
- Hatchet or machete for rough shaping
- Measuring tape
- Straight edge
- Pen or pencil for layout lines
- Tillering rack with cradle, pulley, and rope
- Bow string sized for the stave
- Gloves and eye protection
- Workbench or sawhorses with a clear floor area
Introduction: build a first bow for homeschool
Make a traditional bow from a wood stave in a handful of clear steps: choose a straight stave, mark the grip, rough out the limbs, tiller slowly, then finish with a suitable string. Rush the job, and the bow can twist, break, or shoot badly. I cover the wood choice, tools, measurement rules, and each step of building a homeschool-friendly bow that teaches wood science, patience, and safe handwork.
This guide is part of our Bow types and care: choosing, shooting, and upkeep series.
I like this project for homeschool because every stage gives a student a real task and gives an adult the risky parts. I have watched kids stay focused when they can measure, trace, sand, and see the limbs bend on the rack. They learn that wood has grain, memory, and limits. Adults learn that too, sooner or later.
How do you choose the right bow stave?
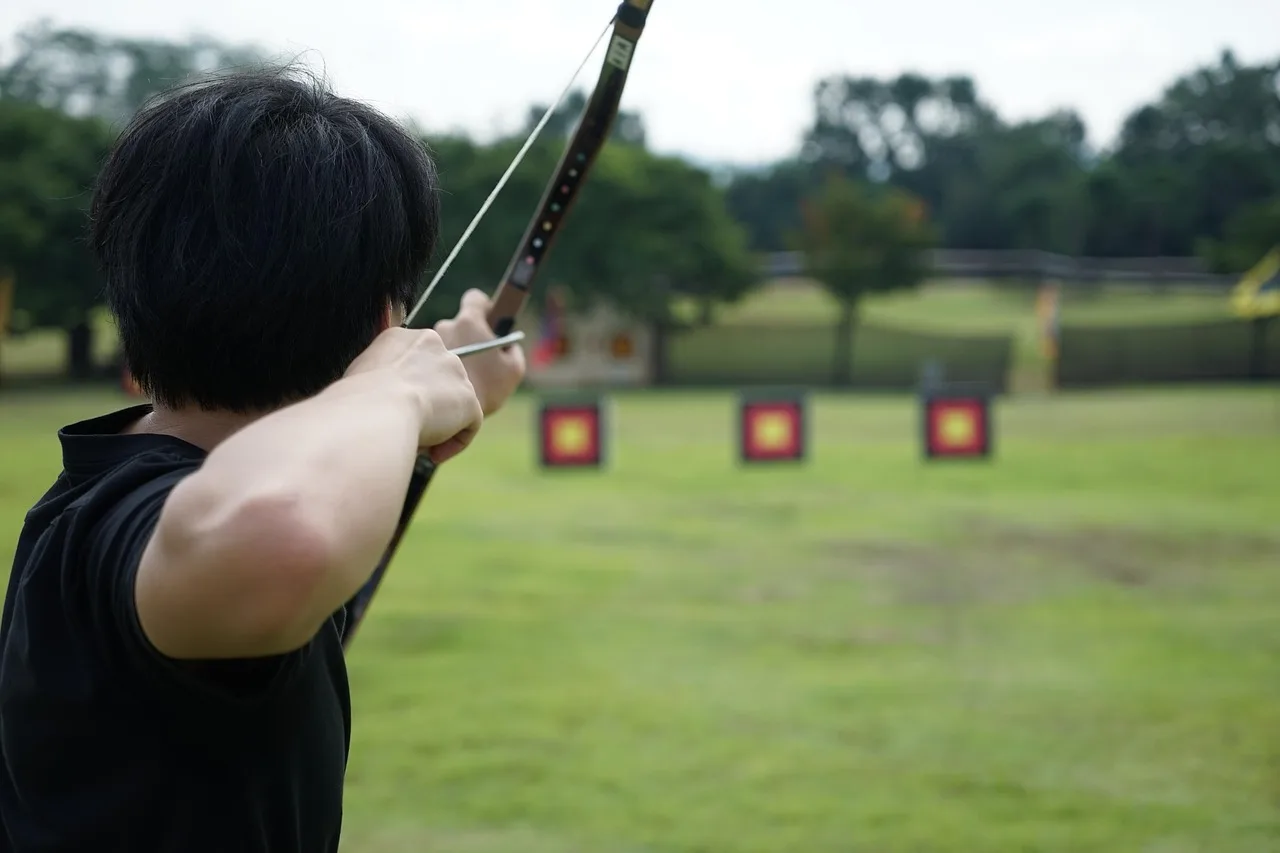
Pick a stave that is straight-grained, free of knots in the working limbs, and longer than the finished bow you want. For a beginner build, hickory or elm is often more forgiving than a premium wood like Osage orange, which can season more slowly and may cost more. The stave should feel predictable, not mysterious.
I look for a piece that lets me follow the grain from end to end without sudden dives or runout. A bow stave is the wood blank for the bow, and species choice changes both drying time and forgiveness. Hickory is tough and forgiving, and I have seen it tolerate beginner mistakes better than harder woods. Elm also works well for simple self bows. Osage orange is excellent wood, but it asks more patience than most homeschool projects can spare.
Step 1 to Step 3: mark, strip, and rough out the bow
- Measure the finished bow length and mark the grip, fades, and limb layout before cutting.
- Strip bark and cambium from the bow back with a draw knife, keeping the wood fibers intact.
- Rough-shape the limbs with a hatchet or machete, then refine with a rasp without thinning too far.
The back of the bow carries tension, so I never cut into those fibers. Species-specific handling matters here, because some woods take a light scrape and others punish it fast. A draw knife is a core tool for this stage, and the 8-10 inch blade size is the style I keep on the bench. It gives control without feeling clumsy.
The finished bow length is tied to draw length. A 28-inch draw bow is around 64 inches long, and the rule of thumb is double draw length plus six inches.
What wood is best for a beginner bow stave?
Hickory is the safest first choice for most beginners because it is tough, forgiving, and can be force-dried faster than harder woods. Elm is another good beginner option for simple self bows. I would leave Osage orange for later, when the builder has already learned how to read grain and tiller cleanly.
Clay Hayes points to hickory as a beginner-friendly bow wood, and that tracks with what I have seen on my own bench. Hickory survives small errors that would ruin a fussier stave. Elm builds a workable bow too, especially when the grain stays straight. Osage orange can make a beautiful bow, but it is expensive and slower to season than hickory, which matters in a homeschool calendar.
Step 4 to Step 6: start tillering the limbs
- Floor tiller first and watch for stiff spots before you ever string the bow fully.
- Move to the tillering rack and check limb bend from a distance.
- Correct hinge spots and twist slowly with small rasp strokes, then recheck.
The tillering rack teaches faster than talk. It often includes a cradle, a pulley, and a rope, and it can help me spot uneven tiller before the bow gets damaged. Limb tiller means an even, smooth bend, and that is what decides whether the bow survives first draw. If one section bends too much, stop there.
I once switched to a left-hand bow after learning I am left-eye dominant. My groups tightened within two weeks, and that taught me something useful for bow building too: the little corrections matter. A bow that is slightly off can be corrected. A bow that is forced past its limit usually breaks.
How long should a homemade bow be?
A homemade bow should usually be based on draw length, not guesswork. A 28-inch draw bow is around 64 inches long, and the rule of thumb is double your draw length plus six inches. That gives the bow room to bend without turning itself into a hinge.
For homeschool planning, I start with the draw length of the archer, then choose a stave longer than the finished bow so there is room for trimming and clean limb layout. If a student’s draw length changes later, the bow size may need to change too. That is a good lesson in measurement having consequences.
How do you tiller a wooden bow evenly?
To tiller a wooden bow evenly, remove a little wood, bend the bow, study the curve, and repeat until both limbs move in the same smooth arc. Keep your eyes on the whole limb, not one tiny spot. Uneven bend, twist, and hinge spots are the warning signs that tell you to stop.
I check tiller from a distance because close-up viewing lies. From across the room, a stiff section shows itself fast. If one limb is bending more than the other, or one section is collapsing early, I mark it, take off a little more wood, and test again on the rack. The bow survives because I respect the pace.
Step 7 to Step 8: finish the bow and do a first draw check
- Refine tiller and smooth the limbs until the bend looks even from tip to tip.
- String the bow, inspect the back and sides, then make a careful first draw.
At this point, I am looking for clean movement, not speed. A student can sand, wipe dust, and help inspect the limbs. An adult should do the first stringing and the first draw. If the bow creaks hard, shows a sudden set, or one limb dives forward, unstring it and go back to tillering.
How dry does bow wood need to be before shaping?
Bow wood needs to be dry enough that it will hold its shape while you rough out and tiller the bow. Hickory and elm are more forgiving if they are still finishing their seasoning, while Osage orange needs more patience. If the stave is too wet, the bow can keep moving after you have already shaped it.
Force-drying can be reasonable with hickory when you need a classroom-friendly timeline, because it is a forgiving wood. I would not rush harder or more sensitive staves the same way. If the wood still feels heavy, cool, or damp on fresh cuts, I wait. Wood that is not ready will tell you later, usually by warping or taking too much set.
What mistakes break a homemade wooden bow?
The biggest failures are back damage, hinge spots, twist, and over-thinning. Cut into the back of the bow, and you weaken the fibers that hold the bow together. Thin a limb too much, and the bow bends there first and may snap later. Beginner bows fail for honest reasons.
If that happens, I back up the build instead of pushing forward. First, stop and inspect the back for cuts or torn fibers. Next, compare both limbs for twist and hinge spots. If one area is too thin, do not “fix” it by thinning the opposite limb to match. That usually makes the mistake worse.
Prevention: make pencil layout lines before any cutting, and check the back after every bark-removal pass.
Common mistakes and when to stop
- Back damage: stop immediately if you cut into the fibers; retire the stave if the damage runs deep.
- Uneven tiller: stop when one limb starts bending more than the other; return to the rack.
- Hinge spots: stop if one section folds too early; remove only a little wood at a time.
- Twist: stop if the string tracks off-center; check grip alignment before any more rasp work.
- Over-thinning: stop if a limb feels light and springy before the curve is balanced.
Can kids safely help make a traditional bow for homeschool?
Yes, kids can safely help when the adult owns the cutting, draw-knife work, tillering, and first stringing. Students can measure, mark, sand, clean up shavings, compare curves, and record changes after each round. That makes the project useful without turning it into a knife lesson.
I keep younger students on observation and layout, then give older kids controlled tasks with close supervision. A homeschool build works best when the pace is slow enough for discussion. I have had better results treating it like a lab than a race.
Homeschool build planner
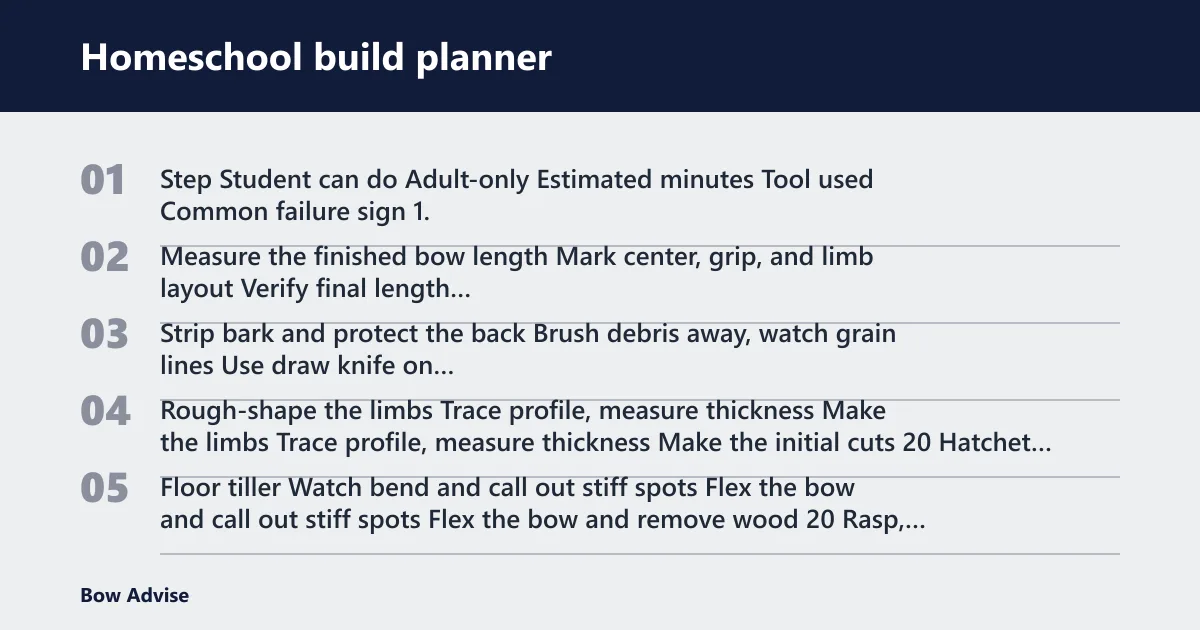
| Step | Student can do | Adult-only | Estimated minutes | Tool used | Common failure sign |
|---|---|---|---|---|---|
| 1. Measure the finished bow length | Mark center, grip, and limb layout | Verify final length and draw-length fit | 15 | Measuring tape, straight edge | Layout marks drift off center |
| 2. Strip bark and protect the back | Brush debris away, watch grain lines | Use draw knife on bark and cambium | 25 | Draw knife, gloves | Fibers on the back get cut |
| 3. Rough-shape the limbs | Trace profile, measure thickness | Make the initial cuts | 20 | Hatchet or machete, rasp | One limb gets too thin early |
| 4. Floor tiller | Watch bend and call out stiff spots | Flex the bow and remove wood | 20 | Rasp, straight edge | One spot bends much more than the rest |
| 5. Check on tillering rack | Read the limb curve from a distance | String, adjust, and unstring safely | 30 | Tillering rack, rope, pulley | String tracks off center |
| 6. Correct hinge spots and twist | Mark changes and record them | Remove wood in tiny passes | 25 | Rasp | A local area folds too quickly |
| 7. Refine tiller and smooth | Sand lightly and inspect surface | Check limb balance before final stringing | 20 | Rasp, sandpaper | Uneven arc remains visible |
| 8. String and first draw check | Observe, time, and log changes | String the bow and make first draw | 15 | Bow string | Crack, creak, or sudden limb dip |
Frequently asked questions
How do you make a traditional bow from a wood stave?
Start with a straight-grained stave longer than the finished bow, mark the grip and limb layout, strip bark without harming the back, then rough-shape and tiller slowly. String only after the limbs bend evenly. If the bow twists or hinges, stop and correct the shape before drawing farther.
What wood is best for a beginner bow stave?
Hickory is my first pick because it is tough and forgiving, and elm is a strong second choice for a simple self bow. Osage orange is a better bow wood in many cases, but it is slower to season and less forgiving for a first homeschool build.
What tools do you need to make a bow from wood?
Use a draw knife, large rasp, hatchet or machete for rough shaping, measuring tape, straight edge, bow string, and a tillering rack with a cradle, pulley, and rope. I also keep eye protection and gloves in reach. The work goes better when the tools stay sharp and the bench stays clear.
How long should a homemade bow be?
Use draw length as the starting point. A 28-inch draw bow is around 64 inches long, and the rule of thumb is double draw length plus six inches. That gives the limbs enough room to bend without crowding the design.
How do you tiller a wooden bow evenly?
Remove a little wood, flex the bow, study the curve, and repeat. I use the tillering rack to compare both limbs from a distance, because small bends show up more clearly that way. The goal is one smooth arc, not a limb that folds in one place.
Can kids safely help make a traditional bow for homeschool?
Yes, but the adult should handle cutting, draw-knife work, tillering, and stringing. Kids can measure, mark, sand, compare limb curves, and track changes in a build notebook. That keeps the project safe while still giving them real ownership of the work.