How to Measure Bow Draw Length with a Tape
Measure your draw from the bow’s pivot point to the string at full draw, then add 1.75 inches to match the ATA/AMO standard. Get it wrong and arrow length, spine, anchor, and sight setup start from a bad number. This guide covers the tape-measure method, the standard check, and a simple fit test.
Why draw length matters


Draw length changes accuracy, comfort, and arrow selection. Too much length usually pushes the shoulders forward and makes anchor points hard to repeat. Too little length can leave the bow cramped and shorten the power stroke. On a compound, the number also drives draw-board setup and arrow choice.
The practical goal is more than a number. You want a draw length that lets the archer reach anchor cleanly, hold alignment, and repeat the same face and string contact every shot.
How draw length is measured
Draw length on a compound or recurve bow is measured from the apex of the string to the deepest part of the grip, plus 1.75 inches. That is the ATA/AMO-style check most manufacturers use. Outdoor Life describes the reference as the string apex to the bow’s pivot point, which keeps the measurement consistent across bows.
Grip and string reference points
The grip reference is the pivot point, or deepest part of the grip. Do not start from the throat, shelf edge, or outer grip surface. The string reference is the nocking point or the inside edge of the center serving, depending on the setup and the tool used.
That choice matters. A few millimeters at the string side can change the final number enough to alter arrow length and how the anchor feels at full draw.
The simplest method is the full-draw tape check. Hold the bow at full draw, place the tape from the pivot point to the apex of the string or the inside edge of the center serving, read the distance, and add 1.75 inches. Repeat the reading a few times and average it if the first numbers do not match.
Draw length worksheet
Use this as a home check before finer tuning. It gives you a quick estimate, a measurement log, and a simple fit verdict.
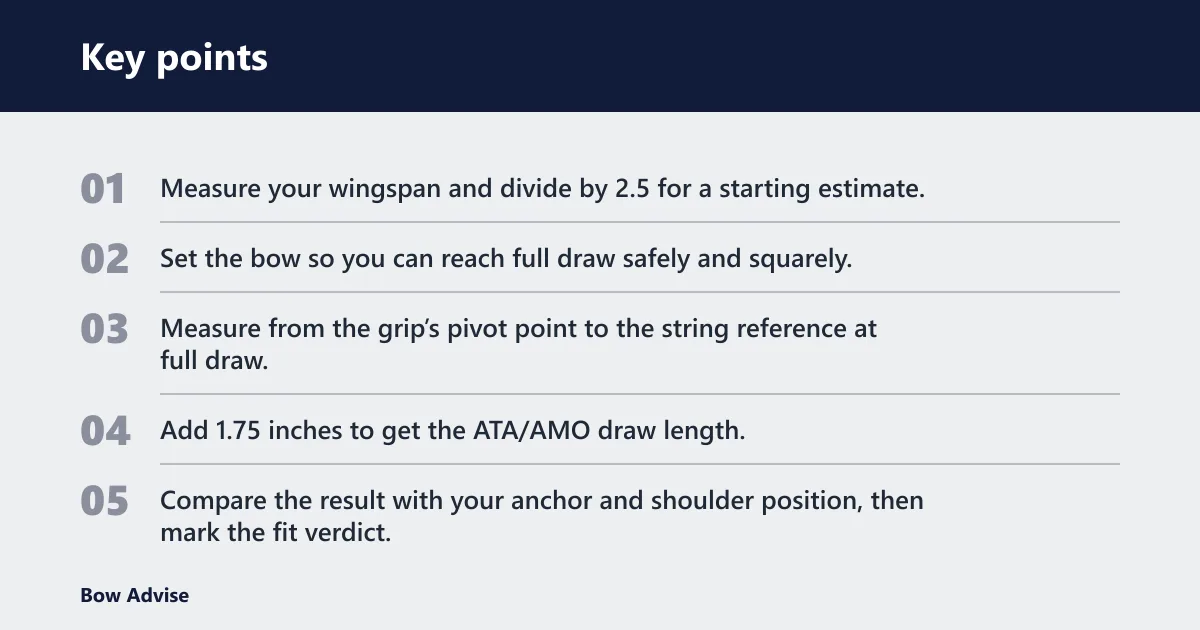
Bow draw length checklist
- Measure your wingspan and divide by 2.5 for a starting estimate.
- Set the bow so you can reach full draw safely and squarely.
- Measure from the grip’s pivot point to the string reference at full draw.
- Add 1.75 inches to get the ATA/AMO draw length.
- Compare the result with your anchor and shoulder position, then mark the fit verdict.
| Step | What to record | Example value | Fit verdict |
|---|---|---|---|
| 1. Wingspan estimate | Wingspan divided by 2.5 | 73-inch armspan → 29.2-inch estimate | Too short / close / too long |
| 2. Measured tape distance | Pivot point to string at full draw | 27.25 inches | Too short / close / too long |
| 3. ATA draw length | Measured distance + 1.75 inches | 29 inches | Too short / close / too long |
| 4. Anchor check | Corner of mouth, jaw, or chosen anchor lands cleanly | Comfortable / crowded / stretched | Too short / close / too long |
| 5. Final verdict | Does the bow hold alignment without strain? | Close | Too short / close / too long |
F1 and F2 line up cleanly: a 27.25-inch tape measurement becomes a 29-inch draw length after adding 1.75 inches. That is the kind of check a home archer can repeat without guessing.
| Setup variable | What it changes | Record it here |
|---|---|---|
| Release aid length | Can change practical anchor feel on a compound | Short / medium / long |
| D-loop presence | May add length to the usable anchor distance | Yes / No |
| Bow type | Compound or recurve changes how the number is checked | Compound / recurve |
Can you measure draw length at home?
Yes, if you treat the tape as a check, not a guess. The cleanest home workflow uses a helper or a draw board, because the bow can be held at full draw while the measurement is read from the pivot point to the string reference. Nock On also notes that taking the measurement 2 to 3 times and averaging is a pro tip.
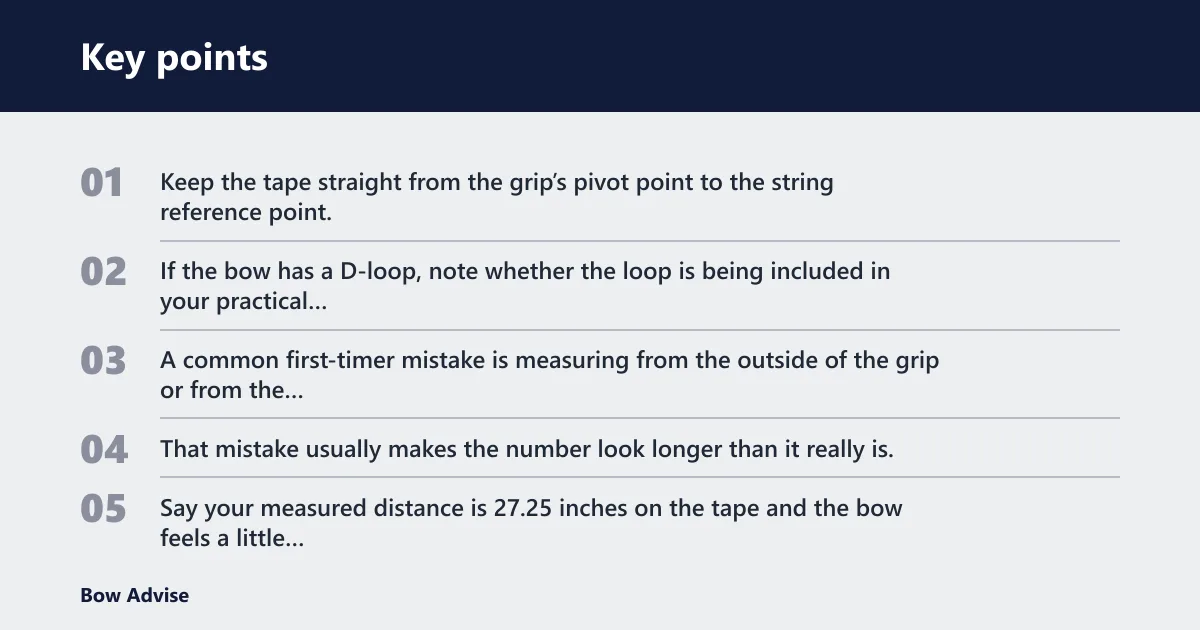
Tape-measure workflow
Start with the bow at full draw. Keep the tape straight from the grip’s pivot point to the string reference point, then read the distance. Add 1.75 inches for the ATA/AMO number. If the bow has a D-loop, note whether the loop is being included in your practical anchor feel, because that changes where the release settles.
A common first-timer mistake is measuring from the outside of the grip or from the throat instead of the pivot point. That mistake usually makes the number look longer than it really is.
Say your measured distance is 27.25 inches on the tape and the bow feels a little stretched at anchor. Add 1.75 inches and the ATA draw length is 29 inches. If the corner of the mouth still feels crowded, the issue is likely fit, not math.
Using a draw board
A draw board holds the bow at full draw so the measurement can be read more cleanly. The same source notes that a draw length measuring tool is commonly used at archery shops, and that approach reduces the chance of a crooked read. It is a better choice if the home setup is awkward or the release hand cannot stay still.
Keep the measurement method consistent. Use the same pivot point, the same string reference, and the same full-draw position each time. That is the only way to compare readings fairly.
How to read the number
The wingspan method is a starting point only. Divide wingspan by 2.5, then round carefully and verify on the bow. Elite Archery says calculated draw length uses armspan divided by 2.5, and recommends rounding the estimate up to the nearest 1/2 inch. Their 73-inch armspan example yields a 29.2 draw length estimate.
When wingspan is only a baseline
Wingspan helps when there is no help available. Nock On describes it that way, and it is a sensible first pass. It is not exact for every archer because anchor point, shoulder mobility, release aid length, and bow type all change the usable fit.
Suppose a beginner measures a 72-inch wingspan and gets a 28.8-inch estimate. That can be close, but the final fit still depends on whether the archer reaches anchor without collapsing the front shoulder or overextending the back arm.
Anchor and alignment changes
The anchor point changes the usable draw length. A corner-of-mouth anchor can fit one archer well and feel short or long on another, even with the same measured number. Alignment matters too. If the string hand must move to “find” anchor, the bow is usually not fit correctly.
For a first pass, a common rule of thumb is that a small change of about 0.25 to 0.5 inch is the right size of adjustment. Bigger moves should be checked on a draw board or by a shop fitter, especially on a compound.
Common setup variables
Compound bows and recurve bows do not always behave the same in a fit check. A compound often uses a release aid, and many setups use a D-loop. Those two items can change how far the hand sits from the string, so the practical anchor can feel different even when the measured draw length is unchanged.
On a recurve, the archer usually connects more directly to the string and anchor. That makes clean alignment especially important, because there is less hardware between the hand and the string reference.
When the number should be overridden
If the tape says one thing but the archer cannot reach a repeatable anchor without strain, the measured number should be overridden by form. That is the failure case many guides miss. A bow that “fits on paper” but forces the head forward or the shoulders up is not a true fit.
A shop fitting is safer when the archer is new, the anchor is unstable, or the bow will be used for hunting and needs a repeatable hold under pressure. The tape method gets the archer close; the form check decides whether that number stays.
Use the wingspan estimate, then verify the number at full draw. Measure from the pivot point of the grip to the string reference point, add 1.75 inches, and compare that result with your anchor and shoulder position. That gives a usable number, not just a guess.
Tell the bow’s draw length by checking where it lands in the shooter’s form. If the anchor is repeatable, the front shoulder stays down, and the string picture looks natural, the number is probably close. If the bow feels cramped or stretched, the measured number needs adjustment.