How to Set Up a Bow Hunting Pack for Day Hunts
Set up a day-hunt bow pack by dividing it into three access zones: top for fast-grab items, middle for quiet essentials, and bottom for bulky gear, with about 1-2 items in each pocket that are expected to be used before the shot. A badly packed bag makes noise, slows access, and leaves gear behind when a shot window opens. This guide shows exactly what goes in each zone for different hunt styles, and why each item belongs there.
Day hunt pack size and capacity
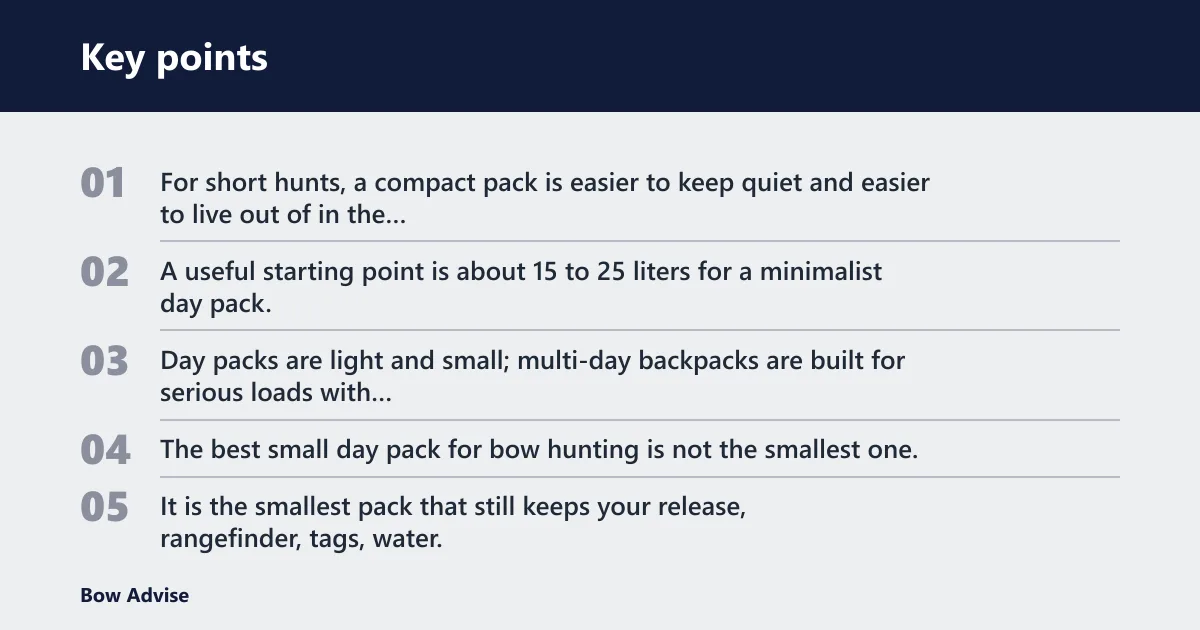


For short hunts, a compact pack is easier to keep quiet and easier to live out of in the dark. A useful starting point is about 15 to 25 liters for a minimalist day pack, about 20 to 30 liters for a standard setup, and about 30 liters or more only when extra insulation, water, or cold-weather gear must ride inside. Day packs are light and small; multi-day backpacks are built for serious loads with frame support.
The best small day pack for bow hunting is not the smallest one. It is the smallest pack that still keeps your release, rangefinder, tags, water, and a weather layer separated enough to reach without dumping the whole bag. A pack that is too small often forces gear into the wrong pocket, which makes every zipper pull louder and slower.
What separates a day pack from a multi-day pack
A day pack should stay close to the body, flatten when half full, and avoid extra frame bulk. A multi-day pack is built to carry meat, camp gear, and long-haul weight. For a bowhunter, that extra structure usually adds more material, more noise, and more space than a short hunt needs.
In practical terms, a day pack should hold one hydration load, one insulation layer, a small call kit, a rangefinder, release aid, tags, and a few flat tools. A multi-day pack starts to make sense only when the hunt includes a long hike, changing weather, or a plan to carry out more gear after dark.
When a larger day pack makes sense
A larger day pack makes sense when the morning starts cold and ends warm, or when the approach is long enough that water and layers cannot ride in a tiny bag. It also helps for saddle hunters who carry extra tether gear, or for anyone who keeps a spare release and a wet-weather cover in the pack.
Picture a hunter walking in with a 20-liter pack on a frosty ridge. By midmorning, the gloves and beanie come off, the jacket compresses, and the pack still closes without forcing straps outside. That is the kind of margin a larger day pack should provide. Not empty space. Controlled space.
What goes in a bow hunting day pack?
A useful bow hunting day pack should carry only the items needed to reach, wait, shoot, and leave cleanly. A common core loadout includes water, a release aid, a rangefinder, calls, tags, gloves, a beanie, and one insulation layer. Keep sharp or rigid items separated from the release and tags, and keep water reachable without unpacking the whole bag.
Core items every day hunt pack should hold
- Release aid in a small pocket or organizer panel
- Rangefinder in a quick-access pocket
- License and tags in a dry organizer sleeve
- Water in a bladder sleeve or side bottle pocket
- Call kit in a small sleeve or soft pocket
- Packable insulation layer near the top-access zone
- Gloves and beanie in the top lid or top pocket
What to keep in the pack versus the truck
Keep only what is needed before and during the shot. A drag rope, game bags, and some recovery tools can stay in the truck on many short hunts, especially when the plan is a morning sit with no pack-out expected until after the shot. If the plan changes, those items can come back into the pack later.
That separation matters because extra gear steals room from the items you need fast. A pack filled with recovery gear, spare clothes, and bulky pouches turns into a slow-moving box. The hunt starts to feel like loading camp, not hunting.
How to pack layers, water, and small tools
- Put the packable insulation layer near the top, under the lid or top pocket.
- Place gloves and beanie in the same top-access zone so they come out first.
- Store the release in a pocket that opens one-handed and keeps it away from hard tools.
- Set the rangefinder where a single hand can reach it without opening the main compartment.
- Keep water in a sleeve or bottle pocket that can be reached before unpacking.
Bow hunting day pack map
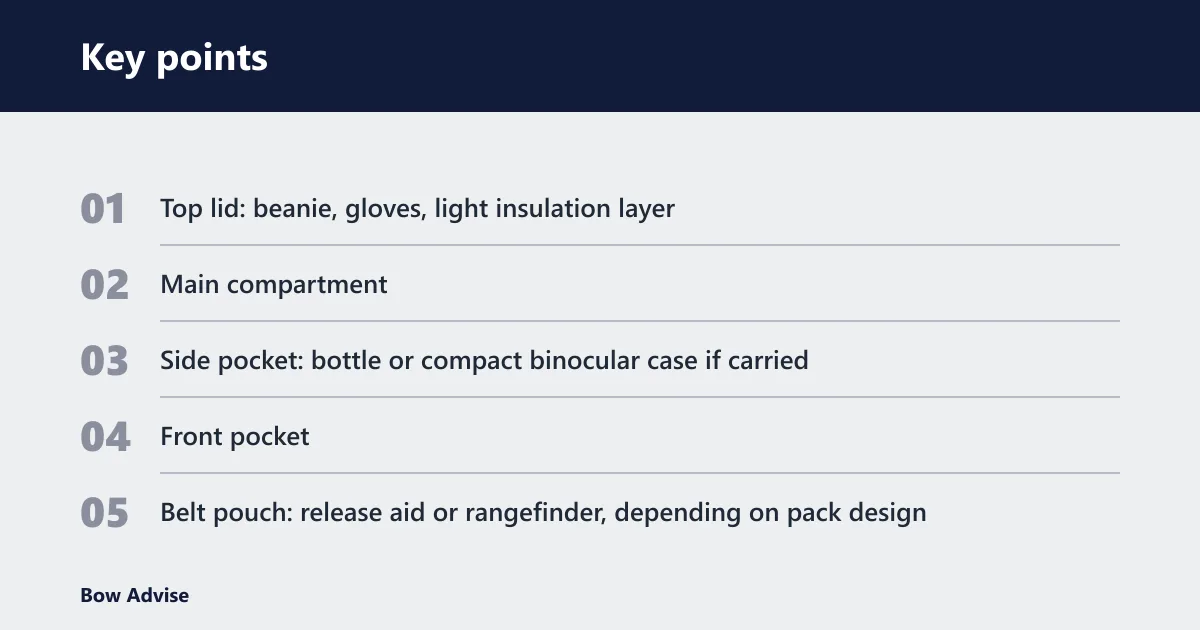
This pocket map turns the pack into access zones. The top lid or top pocket holds fast-grab items. The main compartment carries quiet essentials. Side pockets handle hydration. The front pocket works for tags and tools. The belt pouch, if present, should stay reserved for the highest-priority item or items you need with minimal movement.
Treestand loadout
A treestand setup should favor stillness and legal access. The stand hunter sits longer, so the pack needs quiet closures and a layout that lets the release, rangefinder, and tags come out without shifting the whole bag around a tree.
- Top lid: beanie, gloves, light insulation layer
- Main compartment: water bladder, spare sock pair, small first-aid kit
- Side pocket: bottle or compact binocular case if carried
- Front pocket: license, tags, wind check item, small snack
- Belt pouch: release aid or rangefinder, depending on pack design
Saddle and mobile loadout
Saddle and mobile hunters need a pack that stays slim and does not snag on stands, brush, or climbing steps. The loadout should keep the harness gear from tangling with the bow carry system and should leave the main compartment open enough to reach after the tree or platform is found.
- Top lid: rangefinder, gloves, beanie
- Main compartment: hydration bladder, compact insulation, tether accessories
- Side pocket: bottle or compact call sleeve
- Front pocket: release aid, tags, small flashlight
- Belt pouch: backup release or calls, if the pouch closes quietly
Ground blind loadout
Ground blind hunts allow a slightly fuller pack because movement is less constrained than in a tree, but access still matters. Keep the items used at the shot window in the easiest pockets, because blind setups often mean lower light and fewer clean movements.
- Top lid: beanie, gloves, light layer
- Main compartment: water, seat pad, spare scent-control layer if used
- Side pocket: bottle or small thermos-style container if allowed by the hunt plan
- Front pocket: rangefinder, tags, release aid
- Belt pouch: call kit or a second quick-access item
Text-only pocket map and first-reach order
| Loadout | Top lid | Main compartment | Side pocket | Front pocket | Belt pouch | Keep silent | First 5 items to grab on arrival |
|---|---|---|---|---|---|---|---|
| Treestand | Beanie, gloves, insulation layer | Hydration bladder, spare sock pair, small first-aid kit | Water bottle or binocular case | License, tags, wind check item, snack | Release aid or rangefinder | Zipper pulls, hard tools, loose strap tails | Rangefinder, release aid, tags, gloves, beanie |
| Saddle and mobile | Rangefinder, gloves, beanie | Hydration bladder, compact insulation, tether accessories | Bottle or call sleeve | Release aid, tags, small flashlight | Backup release or calls | Metal buckles, dangling tether parts, side-pocket clutter | Release aid, rangefinder, tags, gloves, hydration access |
| Ground blind | Beanie, gloves, light layer | Water, seat pad, spare scent-control layer | Bottle or small thermos-style container | Rangefinder, tags, release aid | Call kit or second quick-access item | Crunchy fabric, exposed zippers, loose lid straps | Rangefinder, release aid, tags, gloves, beanie |
How should you organize release, rangefinder, and calls?
The release, rangefinder, and calls belong in separate but nearby spaces so each can be reached in one motion. The release should be protected from sharp objects. The rangefinder should be grabbed one-handed. Calls should sit in a soft sleeve or quiet pocket so they do not clack against hard gear. Tags belong in the driest, fastest legal-access pocket.
Best pocket placement for a release aid
Put the release in a small, dedicated pocket or organizer panel near the top or front of the pack. It should not share space with knives, screwdrivers, arrows, or spare battery packs. A backup release can ride in the same zone if the pocket still closes quietly and the two items do not tangle.
A common first-timer mistake is dropping the release into the main compartment with gloves and water. That forces extra searching on arrival and raises the chance of snagging the jaws or hook on other gear. The release is a shot-critical item. Treat it that way.
Rangefinder access that stays quiet
Store the rangefinder in a front pocket or side pocket that opens quietly and allows one-handed retrieval. A tether can help, but only if it does not snag on brush or the bow string. The pocket closure should not require two hands, because the rangefinder is often needed when the bow is already in the other hand.
Call storage and tag organization
Keep calls in a small sleeve or a pocket lined with soft fabric or other sound-damping material. A grunt tube or doe bleat call should not rub against metal hardware. Tags, licenses, and harvest paperwork should stay in a dry pocket or organizer panel, separated from wet layers and water containers.
How do you set up a bow carry system on the pack?
A bow carry system should secure the bow without blocking access to the main compartment. For compound bows, the pack needs adjustable retention that matches the bow’s longer, asymmetric shape. Some packs use a dedicated boot or scabbard; others use face compression straps. The goal is simple: hands-free carry that still lets the pack open cleanly.
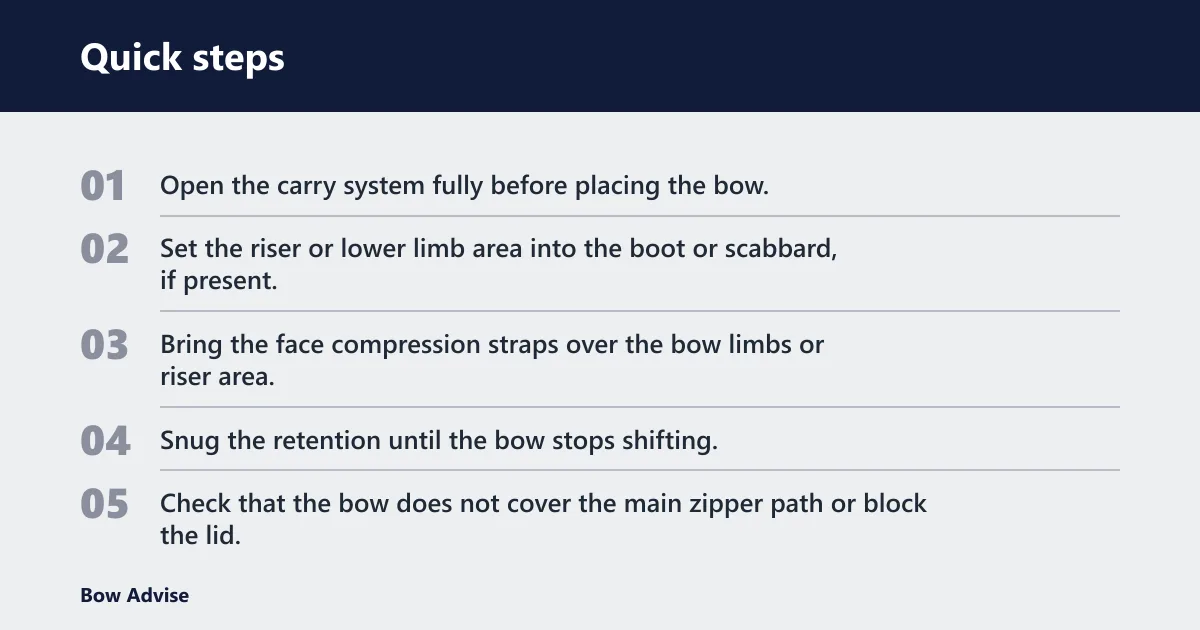
Compound bow attachment step by step
- Open the carry system fully before placing the bow.
- Set the riser or lower limb area into the boot or scabbard, if present.
- Bring the face compression straps over the bow limbs or riser area.
- Snug the retention until the bow stops shifting, but do not crush the cams or accessory mounts.
- Check that the bow does not cover the main zipper path or block the lid.
Bow and rifle packs are marketed as carrying a weapon securely without using your hands. Lone Trail says some packs include a dedicated boot or scabbard for weapon carry, and face compression straps are another method to pin the weapon to the pack. Lone Trail also identifies adjustable retention as an important buying question.
Retention points and strap tension
Retention should be firm enough to stop bounce on a climb or crossing, but not so tight that it pushes the bow into the pack body. Loose straps are a common failure case. They rattle, swing, and wear on the bow finish. Tighten them before the walk-in, then check them again after the first climb or steep section.
The same source notes that some premium packs charge extra for weapon carry or skip it entirely. That matters because a buyer may assume the carry system is included when it is not. It also matters because a pack that does include carry hardware still needs the right strap setup for the bow shape.
How bow carry affects main compartment access
The carry system should sit low enough and to one side enough that the main compartment can still open. If the bow blocks the lid zipper or presses against the front pocket, the setup is wrong for a day hunt. The pack should let the hunter reach tags, release, and water without removing the bow first.
Suppose a 25-liter pack carries a compound bow high on the back panel and the upper strap crosses the lid zipper. That setup may hold the bow, but it turns a simple tag check into a two-step job. Lowering the carry point or changing the strap angle usually fixes the access problem.
Water, layers, and weather changes
For a short hunt, carry enough water to get through the sit and the walk out without making the pack heavy for no reason. Many hunters do well with a single bottle or a bladder sized for a short day hunt, then refill from the truck as needed. Keep the water reachable so it does not force a full unpack. Morning temperature swings make top-access storage important for layers.
How much water to carry on a short hunt
A short hunt usually calls for about 1 to 2 liters of water, depending on heat, hike length, and how long the sit may run. If the hike is steep or the day starts warm, the higher end makes more sense. If the walk is short and the weather is cool, a smaller load may be enough.
Hydration bladder versus bottle
A hydration bladder spreads weight close to the back and keeps the pack tidy, but it should be easy to refill without turning the whole bag inside out. A bottle is simpler and faster to swap, and a side pocket makes it easy to reach. Either option works if the pack lets the hunter drink without unpacking layers or calls.
Top-access storage for gloves and beanie
Gloves and a beanie should stay near the top-access zone because they are often the first items off at dawn and the first items back on after a temperature drop. Keep them loose enough to pull with one hand, but not so loose that they float around and catch on zippers.
Wet-weather packing and dry storage
Weather changes call for a dry pocket or liner for tags, electronics, and dry gloves. Wet outer layers should never sit on top of the release or rangefinder. If rain is expected, the pack should still open cleanly with one hand and keep the legal paperwork separate from damp clothing and water bottles.
What makes a pack quiet and efficient?
Quiet gear matters because a short hunt has fewer chances to recover from mistakes. Zipper pulls should be controlled, buckles should not slap together, and strap tails should be secured. Compression straps help stabilize outside gear, but they must be tightened so they do not wave in the wind or snag brush.
Silent zipper and buckle habits
Open zippers slowly and support the pocket fabric with a hand so the slider does not slap the stop. Keep hard items from pressing against the zipper line. If a buckle must be used, make sure it does not ride against the bow, tree bark, or a climbing stick.
Compression straps and external carry control
Compression straps do more than flatten the pack. They pin loose gear down, reduce bounce, and keep the load from shifting under the bow carry system. External carry should stay minimal on a short hunt. Too many clipped-on items turn a tidy pack into a noisy one fast.
Common setup mistakes that add noise or bulk
- Overstuffing the main compartment so the zipper strains
- Leaving strap tails loose where they can brush bark or fabric
- Storing the release with metal tools or broadheads
- Blocking the main compartment with a poorly adjusted bow carry system
- Carrying multi-day loads on a short hunt without a real need
One more useful test: if the pack cannot be opened, checked, and closed with one gloved hand, it is too busy for a day hunt. The fix is usually not a bigger bag. It is a cleaner layout.
Frequently asked questions
What should I keep in my bow hunting day pack?
Keep the essentials for the shot and the sit: release aid, rangefinder, tags, water, calls, gloves, beanie, and one insulation layer. Add only what the hunt style needs. If an item is not needed before or during the shot, it usually belongs in the truck or in a larger pack setup.
How do I organize a hunting day pack for a short whitetail hunt?
Put fast-grab items at the top, shot-critical items in front pockets, water in a side sleeve or bladder slot, and quiet bulk in the main compartment. For whitetail sits, keep the release, rangefinder, and tags in separate easy-reach spots so you do not have to open the whole pack at dawn.
What is the best small day pack for bow hunting?
The best small day pack is usually the one that fits about 15 to 25 liters of gear without forcing items into the wrong pocket. It should have quiet fabric, a stable fit, hydration storage, and quick-access pockets. Size alone is not enough; layout and access matter just as much.
Do I need a bow holder on my hunting pack?
Hands-free carry is useful on climbs, creek crossings, and long walks, and bow and rifle packs are marketed for that reason. A holder is helpful if it does not block pack access. For a compound bow, adjustable retention and a proper boot or strap layout matter more than just having a carry feature.
How much water should I carry on a day hunt?
For a short hunt, 1 to 2 liters is a practical range for many situations. Use the higher end for warm weather, long hikes, or exposed ridges. Keep the water in a sleeve or bottle pocket so you can drink without unpacking the rest of the bag.
What’s the difference between a day pack and a multi-day hunting pack?
A day pack is light and small, built for short hunts and scouting. A multi-day pack is designed to carry serious loads with frame support. In real packing terms, the day pack keeps the hunt essentials close and quiet, while the multi-day pack has more structure and room than most short hunts require.