Spring Target Stand Tune-up: What to Inspect First
Inspect the stand for moisture damage, corrosion, and ground shift before shooting. Replace any softened wood, rusted hardware, or unstable footing before drawing a bow. One weak point can tip the stand, loosen the backstop, or send arrows into a damaged frame. This guide shows what to check, what to repair, and what to retest after a wet winter.
What you’ll need


- Socket set or wrench set that matches the stand hardware
- Screwdriver or driver bit set
- Tape measure
- Small level
- Gloves and eye protection
- Flashlight or headlamp for joints and underside checks
- Wire brush or abrasive pad for surface rust
- Replacement bolts, washers, nuts, and screws in the same sizes
- Wood sealer, exterior-grade glue, or replacement lumber if needed
- Stakes, sandbags, or blocks for re-anchoring
- Tarp or dry cover for drying parts before repair
How to inspect a target stand after winter
Work from the frame outward: structure first, hardware second, footing last. That order separates repairable damage from damage that means replacement. It also keeps you from retightening a stand that is already out of square or sinking into soft ground.
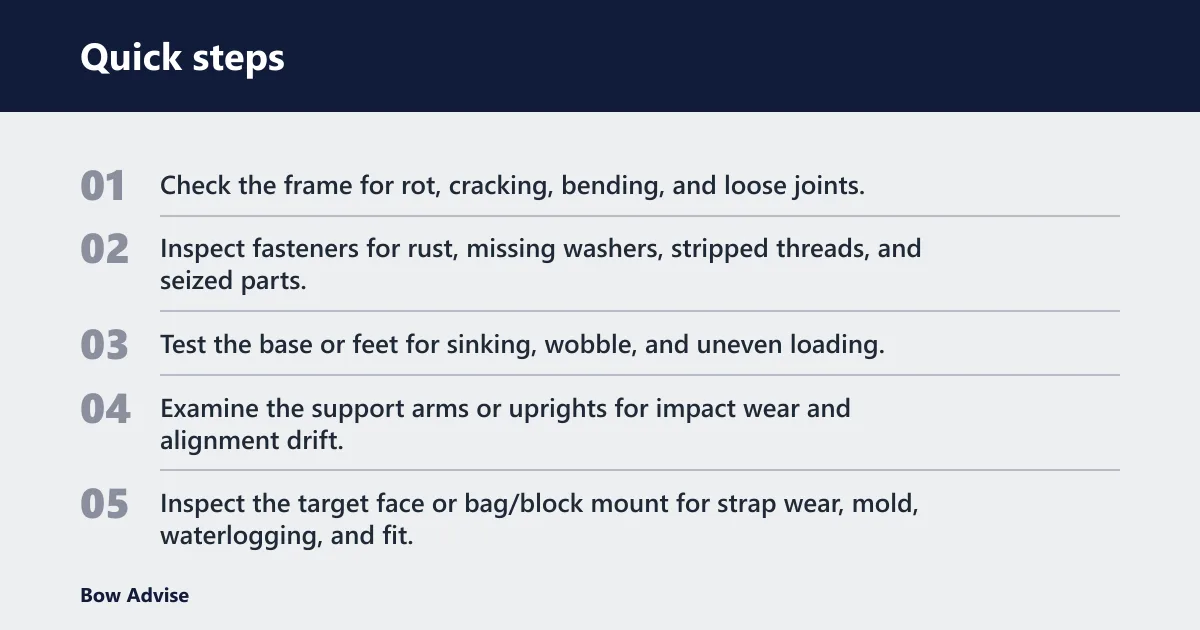
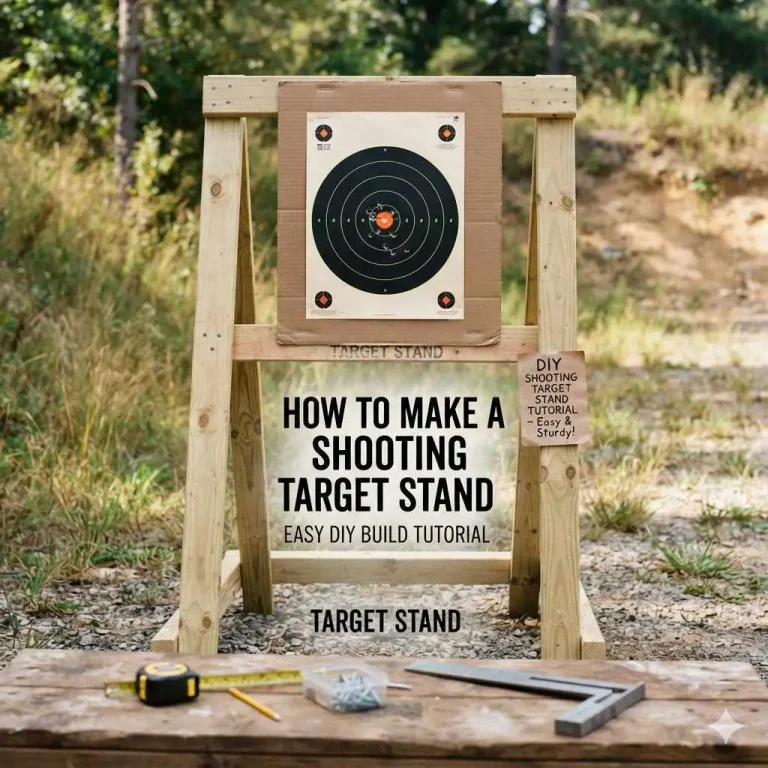
- Check the frame for rot, cracking, bending, and loose joints.
- Inspect fasteners for rust, missing washers, stripped threads, and seized parts.
- Test the base or feet for sinking, wobble, and uneven loading.
- Examine the support arms or uprights for impact wear and alignment drift.
- Inspect the target face or bag/block mount for strap wear, mold, waterlogging, and fit.
- Confirm level, stability, safe setback, and clearance before any shot.
Inspect the frame and joints first
Wood frames should be checked for swelling, splitting, delamination, soft spots, and exposed end grain. PVC frames should be checked for chalking, hairline cracks, and brittle joints. Rebar or steel frames should be checked for bending, rust at bends, and loose connection points. Any frame that is no longer square deserves a closer look before you retighten anything.
End grain absorbs water fastest, so swelling at cut ends often points to the worst moisture damage. Soft wood that compresses under finger pressure, flakes at a joint, or separates in layers is a replace-now sign, not a seal-and-forget sign. Surface discoloration alone is less serious than loss of stiffness or shape.
Check support arms and uprights for drift
Support arms and uprights take arrow impact and winter moisture in the same places. Look for dents, grooves, mushroomed edges, bent tubes, and brackets that no longer sit parallel. A small change in alignment can shift the target face and change arrow path at close range.
Suppose a 2×4 upright looks straight from the front but leans inward at the top after a thaw. That usually means the base or fastener pattern moved, not just the upright itself. Retest the whole frame, because a straight-looking top can still load one side of the stand harder than the other.
Is the stand still square and stable?
A stand may not be ready if it rocks, twists, or shows a visible lean under normal hand pressure. Stability matters more than appearance. If the frame shifts before an arrow is nocked, it will shift more when the target is hit, especially with a heavier block or bag.
Do a hand wobble test
- Stand at the side of the target and push the upper frame by hand.
- Watch for front-to-back and side-to-side movement at the feet.
- Press once from the left and once from the right.
- Retighten or re-anchor only after identifying where the movement starts.
Any wobble that keeps moving after the hand is removed is a safety issue. A little flex in a tall PVC frame may be normal, but a foot that lifts, twists, or shifts position is not usually considered normal. If the stand changes shape under a light push, stop and correct the cause before practice starts.
Check front-to-back and side-to-side level
Set a small level across the top rail and then across the side rail. If the bubble sits off center in both directions, the issue may be the footing rather than the frame. This matters because an off-level stand can load one support arm harder and make a bag or block slide over time.
Use the level check to confirm safe setback and clearance. There should be clear space behind the target for an arrow pass-through and enough room around the stand that a miss does not strike a fence, wall, vehicle, or another target.
Are the feet and ground still level?
Wet soil often changes the footing first. Feet sink, stakes loosen, and sandbags settle into softer ground. Frost heave can do the opposite and leave one corner high. If the stand sat well in autumn but leans now, the ground may be the main problem rather than the frame.
Look for soft-soil sinking and thaw shift
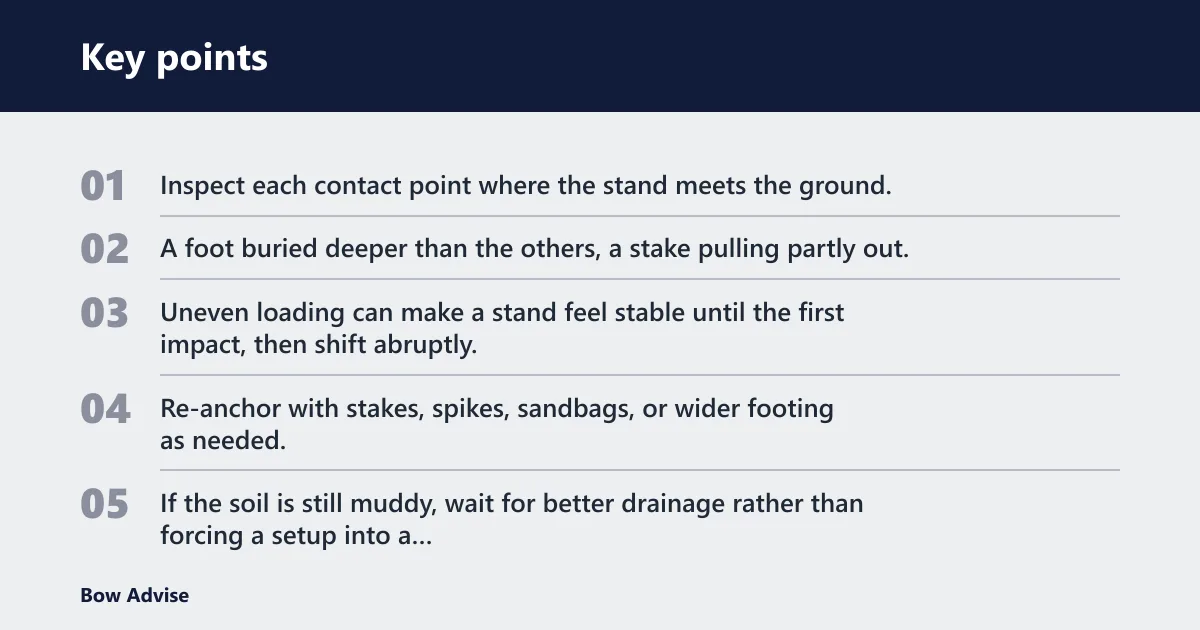
Inspect each contact point where the stand meets the ground. A foot buried deeper than the others, a stake pulling partly out, or a cinder block that has tilted can mean the load is uneven. Uneven loading can make a stand feel stable until the first impact, then shift abruptly.
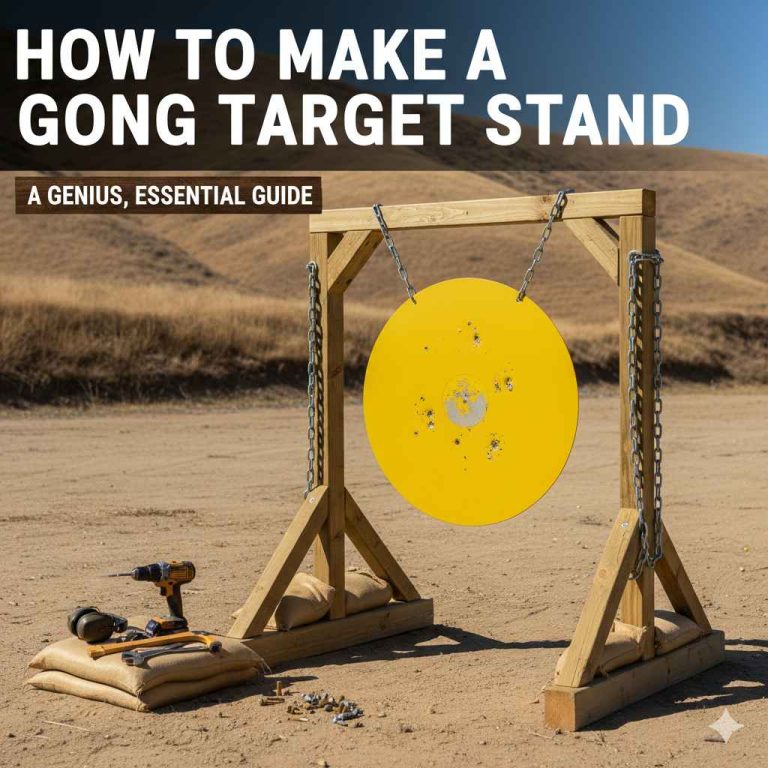
Re-anchor with stakes, spikes, sandbags, or wider footing as needed. If the soil is still muddy, wait for better drainage rather than forcing a setup into a weak patch. Moving the stand a few feet to firmer ground is often safer than adding weight to a sinking base.
Re-anchor after thaw or rain
Use the lightest correction that stops the movement. Reset the base, then add stakes or sandbags one at a time and retest after each change. A common first-timer mistake is stacking more weight on one side, which can hide the lean while making the other side carry more load.
Picture a backyard stand on soft turf where the left foot has sunk 1 inch after snowmelt. A wider footprint and one sandbag may correct it, but only if the frame is re-leveled afterward. If the stand still rocks after that, the base or lower joints need repair, not another bag.
Target stand inspection matrix

Use this matrix to match the symptom to the failure mode before deciding whether to dry, repair, replace, or retest. The replace-now threshold is the point where continued use is the wrong call.
| Component | Likely winter damage | Quick test | Safe to use? | Repair action | Priority |
|---|---|---|---|---|---|
| Wood frame | Rot, swelling, splitting, delamination | Press the wood, check joints, and look at end grain | Only if firm, square, and dry | Dry fully, reseal sound wood, replace soft or separated pieces | High |
| PVC frame | UV chalking, brittle cracking, loose fittings | Flex lightly and inspect for cracks near joints | Only if it flexes without cracking | Replace cracked pipe, fittings, or any part that snaps under light force | High |
| Rebar or steel frame | Bending, surface rust, joint looseness | Check straightness and brush rust spots | Yes, if bends are minor and connections hold | Retighten, clean rust, replace bent members | Medium |
| Fasteners and hardware | Rust, stripped threads, seized nuts, missing washers | Retorque by hand and check for thread bite | Only if hardware tightens cleanly | Replace rusted, stripped, or seized parts before first practice | High |
| Base or feet | Sinking, wobble, uneven loading | Push at the top and watch the feet | Only if all feet stay planted | Re-level, widen stance, add stakes or sandbags | High |
| Support arms or uprights | Arrow impact wear, moisture damage, alignment drift | Sight along the arm and look for grooves or bends | Only if alignment holds under load | Replace worn contact points and reset alignment | Medium |
| Target face or mount | Strap wear, mold, waterlogging, cover wear | Check tension and lift the face or bag slightly | Only if dry and secure | Dry, clean, or replace the cover and failed straps | High |
| Anchoring and ground | Wet soil, frost heave, mud, drainage problems | See whether the base shifts after a push | Only if the stand returns to level after retest | Move to firmer ground or re-anchor with stakes, feet, blocks, or sandbags | High |
What weather damage makes a target stand unsafe?
Field points usually wear a stand more slowly than broadheads, because broadheads cut and tear target faces, bags, and support materials faster. If the target mount is already loose, a broadhead can turn a small tear into a larger failure point. Use the mildest point type that matches the practice goal until the stand proves stable.
Unsafe damage can include cracked PVC, soft wood, rust that flakes through a fastener head, straps with visible cracking, and any foot that sinks under hand pressure. Moldy smell alone is not the problem; mold plus waterlogging, swelling, or surface separation is. If the structure changes shape when touched, it is not ready for live shooting.
Common mistakes
- Retightening bolts before checking whether the wood around them is crushed or split.
- Using a stand that is still damp inside joints or under the target face.
- Adding sandbags to a sinking base without re-leveling the frame afterward.
- Ignoring rust on fasteners because the outer surface still looks solid.
- Shooting broadheads first on a face or bag that has winter wear.
- Calling a stand safe because it looks straight, even though it wobbles by hand.
If that did not solve the problem, move from the easiest fix to the more invasive one: dry the material, retest the frame, re-anchor the feet, then replace the failed part. Do not keep stacking fixes on top of a stand that still moves or twists. That only hides the failure mode.
Prevention is simple: cover the stand, keep it off saturated soil when possible, and loosen winter tension on straps or mounts only if the manufacturer expects that storage state. A dry, drained setup usually comes back in better shape than one left sitting in mud.
Frequently asked questions
What should I inspect on my target stand after a wet winter?
Check the frame, fasteners, feet, uprights, and target mount in that order. Look for rot, rust, swelling, loose joints, and ground shift. If the stand is wood, press the ends and joints for soft spots before retightening. If it is PVC, watch for chalking and cracks near fittings.
How do I know if my target stand is still safe to use outdoors?
It is safe only if it stays level, does not wobble under a hand push, and holds the target without slipping. Any foot that sinks, any joint that twists, or any cracked support means the stand needs repair or replacement before outdoor shooting.
What parts of a DIY target stand rot, rust, or loosen first?
Wood end grain, lower feet, and the joints closest to the ground usually fail first because they stay wet longest. On metal stands, bolts, washers, and bend points rust early. On PVC, fittings and sun-exposed sections become brittle before the rest of the frame.
Do I need to replace the base, supports, or hardware before spring practice?
Replace the part that fails the test, not the whole stand by default. A base that sinks needs re-anchoring or a wider stance. A cracked support needs replacement. Hardware that strips, seizes, or no longer clamps firmly should be replaced before the first shot.
How do I check if a target stand is level and stable on soft ground?
Set a small level on the top rail, then push the stand from the side and front. If the bubble moves after the push or a foot shifts in the soil, the ground is the problem. Reset the feet, add stakes or sandbags, and test again.
What should I do if my target stand smells moldy, swells, or cracks after winter?
Move it to dry air, let it dry fully, and inspect the damaged area again before any repair. Moldy smell with swelling or cracking points to water intrusion. If the wood stays soft, layers separate, or a crack widens under light pressure, replace that section before shooting.