How to Make an Indoor Target Stand for Basement Practice
Build a basement target stand from a base about 24–30 in. deep, a vertical frame, and a layered backstop so arrows stop within the footprint and the stand can sit free without floor anchors. Poor basement setups let arrows skip out, tip, or hit concrete, which raises repair costs and injury risk. This guide covers compact dimensions, quiet materials, backstop choices, and a simple frame plan.
What do you need first?
Start with a tape measure, a square, a saw, a drill, and safety glasses. Add a pencil, screw bits, clamps, and hearing protection before you cut lumber, because basement clearance and stopping power matter more than frame shape.
Tools
- Saw: hand saw, miter saw, or circular saw
- Drill and driver bit
- Measuring tape
- Pencil or marker
- Square
- Safety glasses and hearing protection
- Work gloves for handling cut lumber
Materials
- 2×4 or 2×3 wooden planks for the frame
- 1×2 furring strips for the target holder rails
- Wood screws or deck screws, 3 inches long
- Foam stop, target bag, or layered dense backstop material
- Plywood or cardboard only as backing layers behind a real stop
- Rubber mat, stall mat, or other floor protection for slick concrete
Setup checks before cutting
Measure ceiling height, usable lane width, and the distance from the shooting line to the target wall. Check for pipes, lights, storage shelves, and anything that could catch a stray arrow. Leave room on both sides for safe stance and a clean draw.
How big should the stand be?
Size the stand to the basement first, then the target face. A compact frame needs enough height to hold the face comfortably, enough width to resist tipping, and enough depth to keep the stop inside the footprint. For a basement lane, those three numbers matter more than appearance.
Measure the room first
Check the ceiling height where the target will sit. Then measure the lane width and the clear space behind the shooting line. A low basement ceiling can limit how tall the frame can be, especially if the archer stands close and draws high.
Choose a stable footprint
A 24–30 in. deep base gives better tip resistance than a shallow one, especially on smooth concrete. The stand should also leave room for side clearance and a floor mat under the front edge. If the floor is slick, wider feet matter more than extra height.
Match height to the target face
The top rail only needs to sit high enough to support the target face and keep the arrow stop centered. The target holder is positioned about 18 to 24 inches from the ground. That puts the face in a practical range for short indoor practice without making the frame unnecessarily tall.
Target stand decision table
| Build option | Recommended footprint | Material list | Approximate cost range | Setup time | Main failure risk |
|---|---|---|---|---|---|
| Ultra-compact | 24 in. deep x 24 to 30 in. wide | 2×3 frame, 1×2 rails, foam backstop, rubber mat | $25 to $45 | 30 to 60 minutes | Tipping if the base is too light |
| Standard | 24 to 30 in. deep x 30 to 36 in. wide | 2×4 frame, 1×2 rails, target bag plus dense stop, floor mat | $40 to $70 | 45 to 90 minutes | Pass-through if the stop is too thin |
| Heavy-stability | 30 in. deep x 36 in. wide | 2×4 frame, 1×2 rails, layered foam stop, wider base feet, floor mat | $60 to $100 | 60 to 120 minutes | Too much bulk for narrow basement lanes |
Commercial target stands can cost upwards of $50. A DIY stand can cost as little as $10 to $40, but that low end usually assumes basic lumber and hardware only, not a serious basement stop system. For indoor use, the stop is part of the real cost.
What materials are best for a small indoor archery target stand?
Use 2x4s when you need extra mass and stiffness, and 2x3s when you need a lighter frame that is easier to move. Use 1×2 furring strips as replaceable target holder rails, because they are light and easy to swap after arrow damage. For the stop, choose foam or a target bag backed by a purpose-built layer, not cardboard alone.
2×4 lumber
2×4 lumber is the common frame choice for indoor stands because it holds screws well and resists wobble. The tradeoff is weight. That extra mass helps on smooth basement floors, but it also makes storage and transport harder. Use it when the stand will stay in one lane more than it will move.
1×2 furring strips
1×2 furring strips work well as target holder rails. They are lighter than a full timber rail and easier to replace after nicks and arrow wear. For small indoor targets, they keep the front of the stand simple and quiet.
Fasteners
Use wood screws or deck screws, 3 inches long, with pre-drilling to reduce splitting. A practical minimum is two fasteners per joint, and larger joints can use more if the load is on one corner. Screws also make a knockdown design easier for renters.
Backstop material
Foam panels, a dense target bag, or layered foam behind the face are better than plywood or cardboard alone. Use plywood or cardboard only as backing layers or covers, not as the stopping surface. That matters in a basement where a miss can hit concrete or a wall.
How do you build the frame?
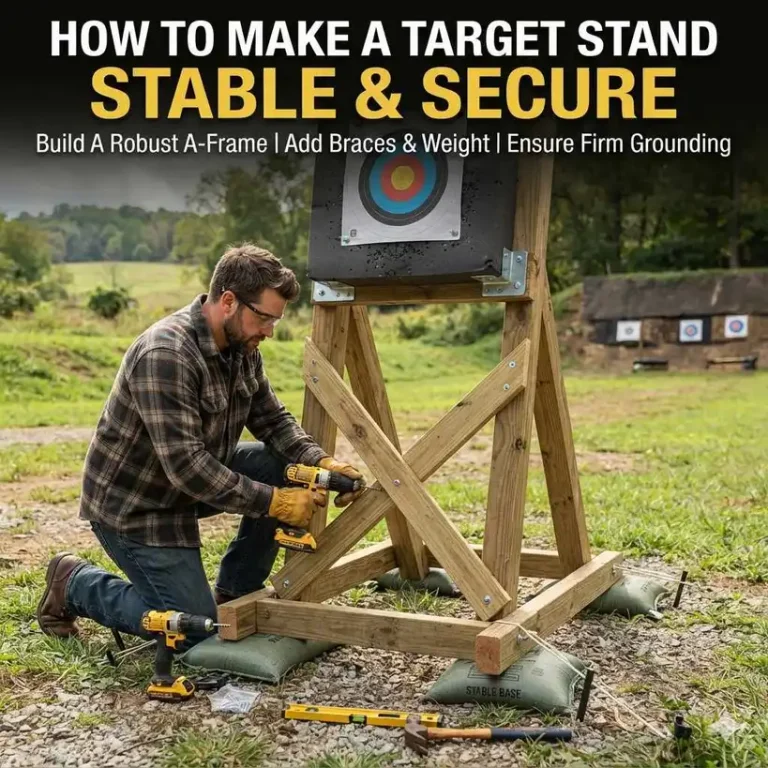
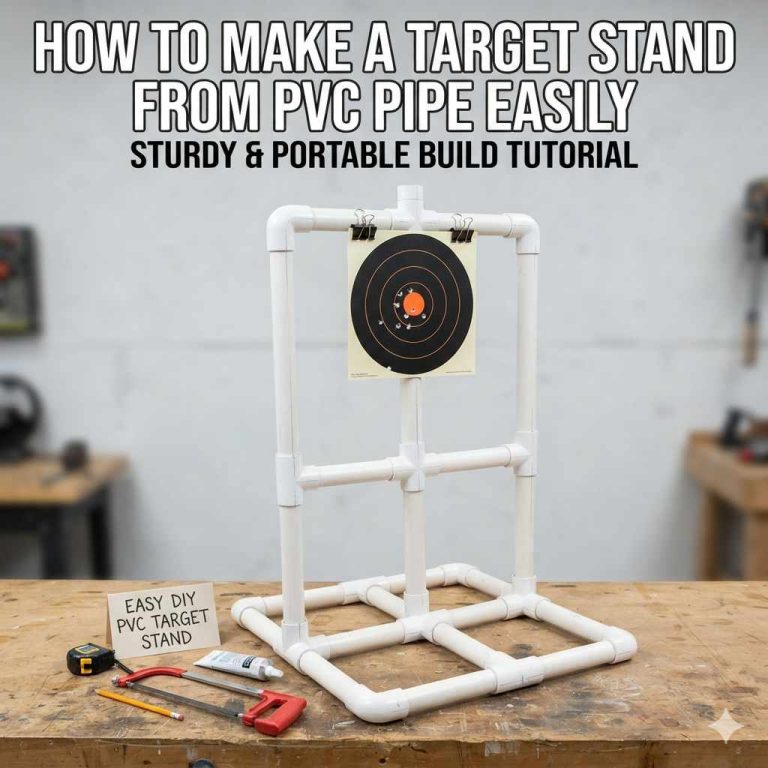
Cut the base, uprights, and rails to a finished size that fits the lane, then assemble the stand with pre-drilled screw joints. A simple knockdown frame is better for basement storage than a glued one. Keep the target holder low enough to stay centered and high enough for comfort.
- Cut two 24-inch base pieces and two 12-inch cross pieces for the base rectangle.
- Cut two vertical supports to 36 inches.
- Cut two 1×2 rails long enough to hold the target face width, plus a little extra for fastening space.
- Lay out the base on a flat floor and square the corners before driving screws.
- Pre-drill each joint, then fasten with at least two 3-inch screws per connection.
- Attach the vertical supports to the rear of the base so the frame stands upright without leaning.
- Fasten the 1×2 rails between the uprights about 18 to 24 inches from the ground.
- Place the foam stop or target bag behind the rails so arrows land inside the stand footprint.
- Add the floor mat under the front edge and test for wobble before any shooting.
- If the stand shifts, add 5 to 10 lb of removable weight at the base and recheck after each addition.
Suppose the basement lane is only 8 feet wide and the ceiling is low. A 24-inch-deep base with a 36-inch face frame will usually fit better than a taller, narrower build, because the short lane leaves little room for side sway. The tighter the space, the more the base shape matters.
In that case, lower the holder rails by 2 inches and check the lane again before adding height back anywhere else.
How do you stop arrows safely?
Use a real stopping system, not a decorative board behind the target. Foam, layered dense media, or a target bag backed by a serious stop will handle indoor misses better than thin sheet goods.
Build the stop around the bow
Short indoor practice at close range still sends enough energy to pass through weak material. Match the stop to the bow setup and the target maker’s limits. If the face shows pass-through or deep penetration, stop shooting and increase the density or thickness of the backstop system.
Add floor protection and a catch zone
Put a rubber mat or similar floor protection under the stand and extend it forward a bit. That reduces skittering if an arrow drops or glances off the face. It also helps on slick concrete, where a stand can creep after repeated shots.
Control tip risk
Keep the footprint wider than the upper frame feels necessary. Use low rails, a broad base, and removable weight instead of a narrow, tall stance. If the stand must move for storage, use a knockdown layout rather than trimming the base too much.
Common mistakes
- Using a weak stop behind the target. Replace thin layers with foam or a target bag plus dense backing.
- Building a base that is too narrow for the frame height. Widen the feet before adding more height.
- Skipping clearance checks for walls, ceiling, and side lanes. Measure the whole shooting lane, not just the wall space.
- Ignoring fastener splitting and loose joints. Pre-drill, use 3-inch screws, and check each joint before shooting.
- Leaving bare concrete under the front edge. Add floor protection so the stand does not slide.
Mark the floor position with tape after assembly and check the stand after every move. That makes it easier to spot creeping feet, loose joints, or a stop that has started to compress unevenly.
Frequently asked questions
How do I make an indoor target stand for basement practice?
Use a compact 2×4 or 2×3 frame, 1×2 target rails, and a real foam or bag-style stop. Keep the footprint deep enough to resist tipping, place floor protection under it, and confirm the lane has clear side space before shooting.
What size should an indoor target stand be for a basement?
A practical starting point is a 24–30 in. deep base with a frame tall enough to hold the target face at about 18 to 24 inches from the ground. The exact width depends on the target size and how narrow the basement lane is.
Can I build a target stand for a basement without power tools?
Yes. A hand saw, drill, tape measure, square, pencil, and safety gear are enough for a simple knockdown frame. Cut the lumber carefully, pre-drill every screw hole, and choose 2x3s if you want easier hand cutting.
How do I keep a basement target stand from tipping?
Widen the base, keep the target low, and add removable weight to the bottom of the stand. A deep footprint, two fasteners per joint, and a floor mat help on slick basement concrete, where sliding can start before visible tipping does.
What is the cheapest way to build a target stand for indoor practice?
The lowest-cost path is a simple wood frame with 2×3 or 2×4 lumber, 1×2 rails, basic screws, and a reused foam or bag stop. Commercial stands can cost upwards of $50, while a DIY build can cost as little as $10 to $40 before the stop system is upgraded.