How Much Does a DIY Target Stand Cost to Build in Wood?
A DIY target stand usually costs roughly $25–$45 in wood, $20–$35 in PVC, and $60–$140 in metal, with wood often cheapest for backyard use and metal generally better for heavier, longer-term use. Cheap builds crack fast in wind, or wear out parts you keep replacing, which usually costs more than buying the right material once. I’ll break down real material cost, tool needs, build difficulty, and durability so you can pick the lowest-cost stand that fits your shooting style.
How much does a DIY target stand cost to build?
The real cost sits in three buckets: frame material, hardware, and the backer you hang targets on. A light wood stand can stay cheap if you already own a saw and drill. PVC looks cheaper at the register, but cracked fittings and flex can make it the pricier choice by the end of the season. Metal costs more up front because steel and tools add up fast.
I look at cost as build price plus one-season damage. If a stand needs new screws, fresh paint, or a replacement side rail after a wet month, that belongs in the total. That is where cheap builds stop being cheap.
What drives the price up or down?
Target width and height change the bill first. A wider frame needs longer boards or pipe, more fasteners, and a heavier base. A tall stand catches more wind, so it often needs extra bracing or a wider footprint. Portability also matters. If you want to move it often, you usually pay for hinges, extra hardware, or a heavier base that keeps it upright.
Backer choice changes the total too. Cardboard is light and cheap. Plywood lasts longer and costs more. Corrugated plastic sits between them, with better moisture resistance than cardboard and less weight than plywood.
Upfront cost versus one-season replacement cost
A stand that looks inexpensive can turn costly after a wet spring. Wood may swell and break down over time when used in bad weather. PVC can crack at joints or flex enough that fittings loosen. Metal usually lasts longer, but rust protection and better tools push the first bill higher.
For a backyard shooter who practices often, I care more about one-season replacement cost than the sticker price alone. If you shoot paper targets on weekends, a low-cost wood frame may be fine. If you leave the stand outdoors, metal or well-sealed wood becomes easier to justify.
Who should care most about material choice?
Beginners, renters, and casual backyard shooters should care most. I want them to avoid buying the wrong thing twice. Hunters who sight in through fall and leave gear outside may value durability more than a cheap start. If you move the stand often, weight and portability matter as much as material.
According to $15 Cardboard Target Stand: The DIY Cardboard Base — One DIY cardboard and paper target base should cost less than $15 to build in most U.S. areas.
What should you budget for a wood target stand?
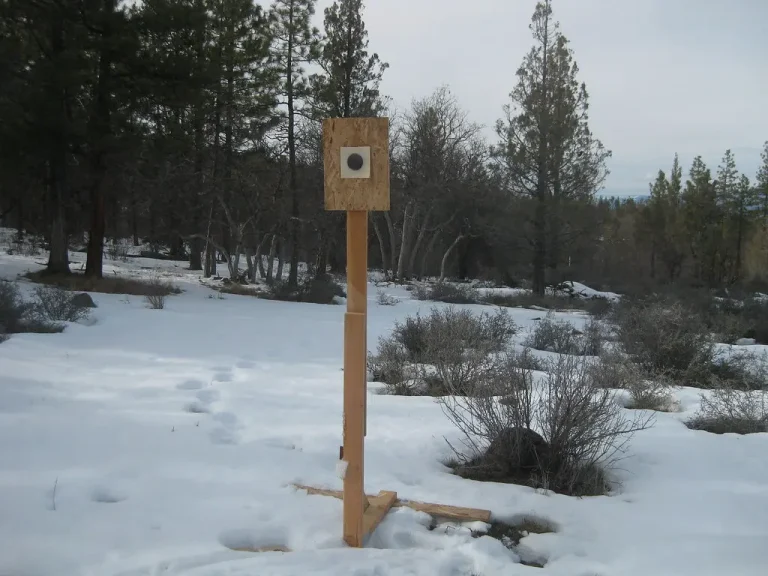
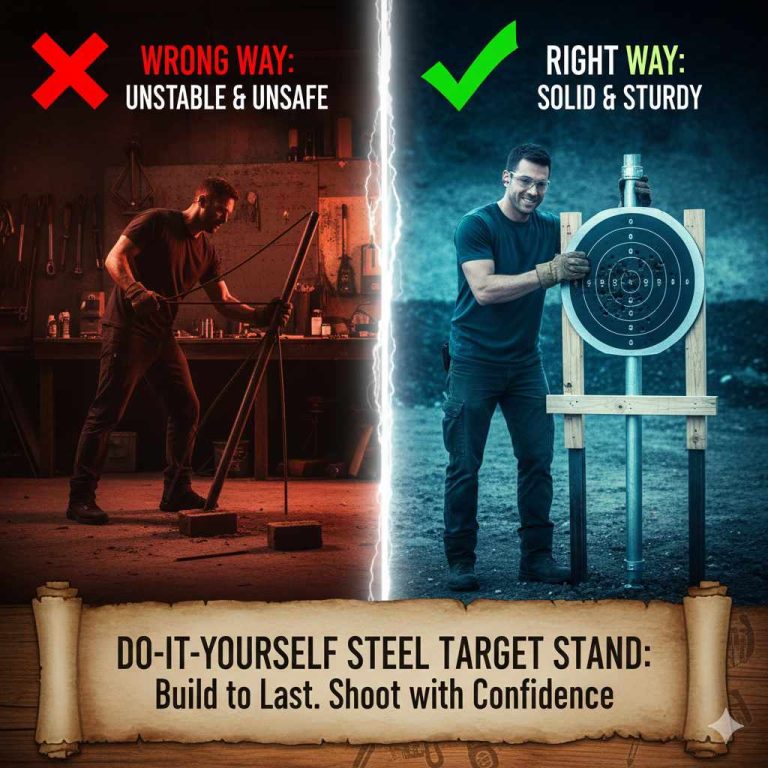
For wood, I would budget roughly $25–$45 for a simple stand if you buy basic lumber and already own hand tools. A tighter build can come in lower, especially with furring strips or scrap 2x4s. Add weatherproofing, better screws, and a sturdier base, and the price climbs into the mid-range fast.
Common lumber choices and sample cut list
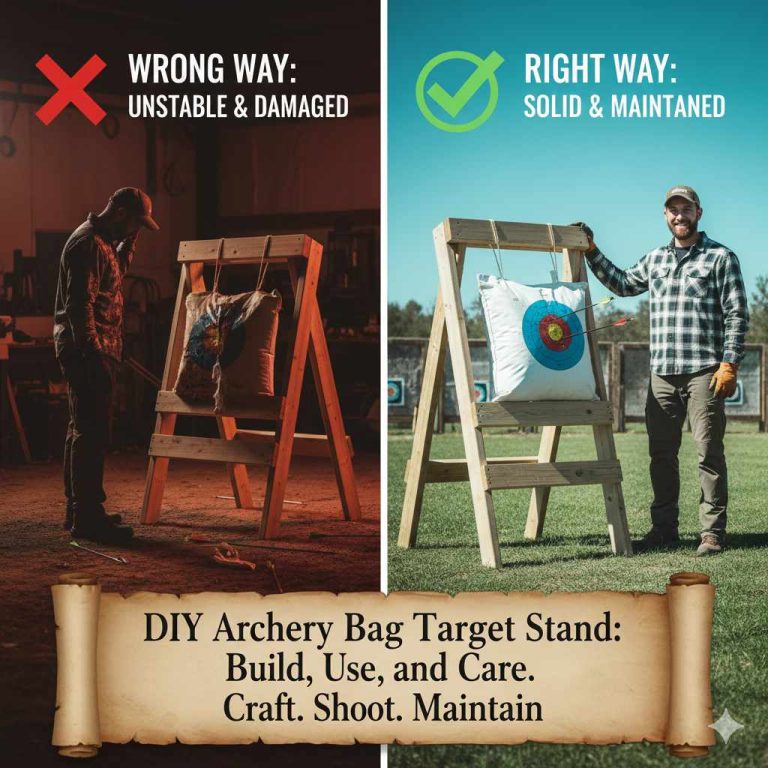
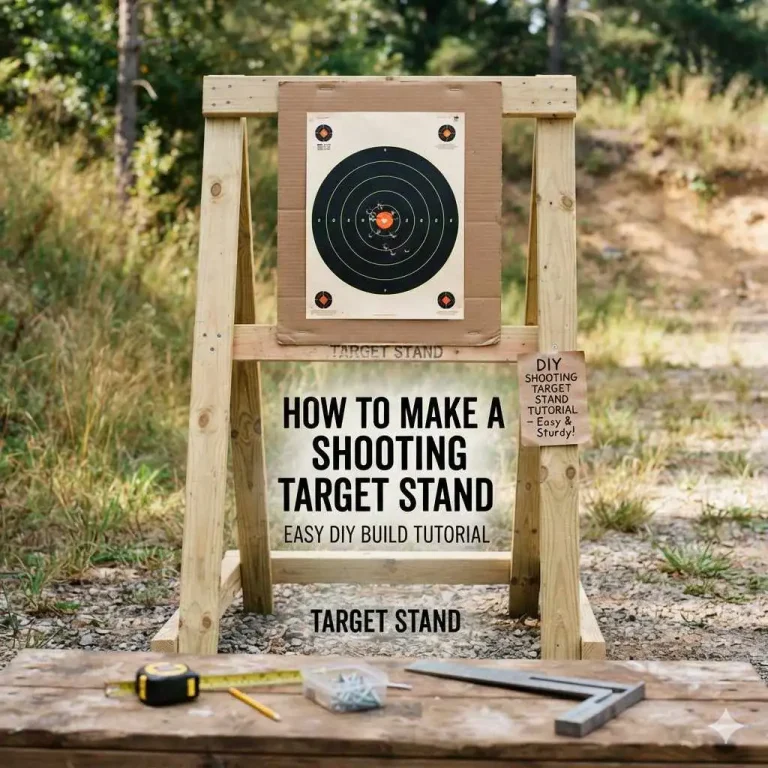
Wood stands usually start with 2x4s, 2x6s, or furring strips. A 2×4 frame gives better strength for a small backyard setup. Furring strips lower the cost, but they bend more and split easier. I like 2x4s for the legs and crosspieces when I want a stand that will not wobble every time I pull an arrow.
The example DIY target stand materials list includes at least 8 screws. The same tutorial suggests 2×24-inch pieces, 2×36-inch pieces, 1×40-inch piece, and 1×60-inch piece. That kind of cut list fits a simple frame and keeps waste low.
Fasteners, pre-drilling, and weather protection
Screws matter more than people think. Exterior-grade screws hold better than soft interior fasteners, and pre-drilling helps reduce splitting in the legs and cross rails. Nails are faster, but screws usually give a stronger and more serviceable joint for a stand that gets moved.
Budget another $5–$15 for sealant or paint if the stand will live outside. That small spend can slow moisture damage and reduce swelling. I have seen unsealed wood get fuzzy, then soft, then loose at the joints after repeated rain and sun.
Where wood breaks down outdoors
Wood can swell, split, and rot. That is the tradeoff. The same wood/PVC/steel comparison page lists DIY wooden target stand plans as delicate and weather-sensitive. If you want the cheapest wood build, keep it covered, store it dry, and accept that you may replace a leg or brace sooner than you would on metal.
How much does a PVC target stand cost to build?
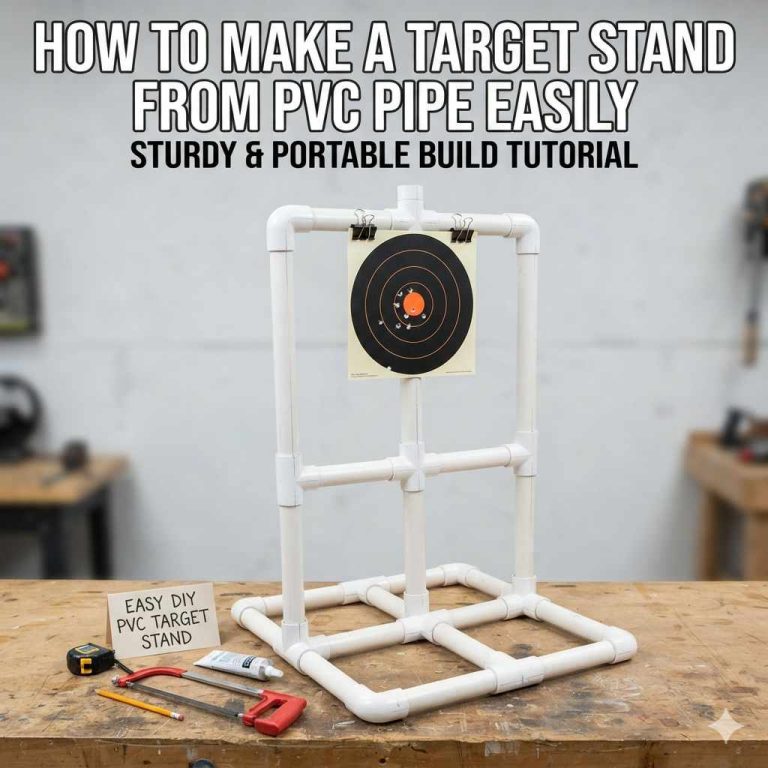
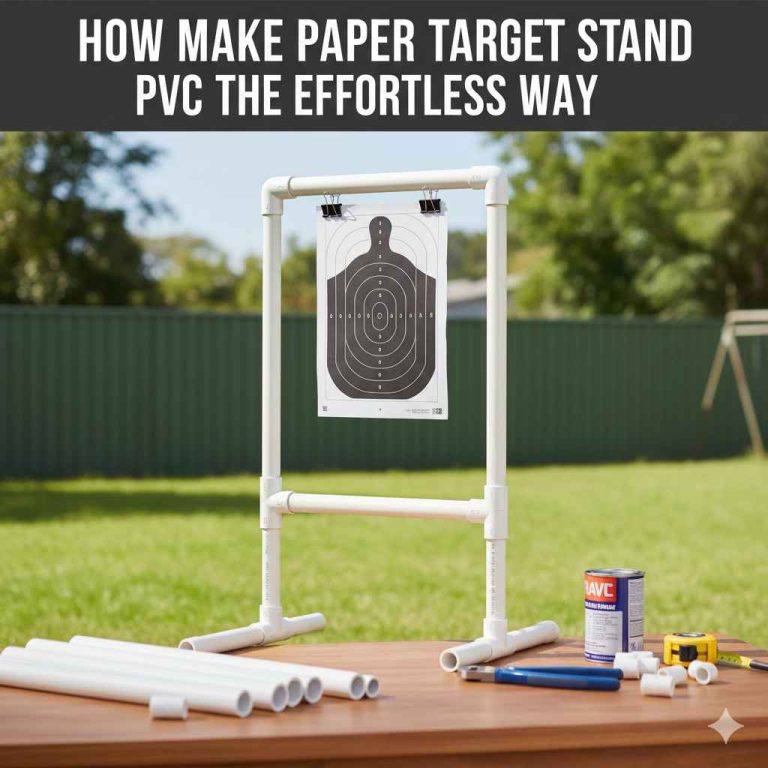
A PVC target stand usually costs in the roughly $20–$35 range when you buy pipe, fittings, and basic connectors. PVC looks like the lowest-cost route at first because the pipe is light and easy to cut. The problem is that flexible pipe and loose joints can shorten its useful life, especially if the stand stays outside.
Pipe, fittings, and base options
Most PVC builds use pipe sections, elbows, tees, and end caps. That sounds cheap until you add enough fittings to keep the frame from twisting. A portable stand needs a heavy base on that comparison page, and that extra weight can eat into the low material price.
If you build it for paper targets only, you can keep the frame simple. That helps if you use cardboard or corrugated plastic as the backer. For heavier target bags or more wind exposure, PVC needs more support than many beginners expect.
What makes PVC cheap at first?
It is easy to source and easy to cut. No welding. No fancy joinery. A saw, a drill, and a tape measure get you moving fast. That keeps the first bill low and the build time short.
The same page says DIY PVC target stand plans are expensive to make, and I think that usually means expensive relative to how flimsy they can feel if you overbuild them for strength. More fittings and more pipe quickly push the cost up.
Why cracked joints and flex matter
PVC can crack at stress points when a stand gets bumped, dragged, or left in the sun. Flex also matters. If the frame sways, your target face moves, and arrows can hit the frame instead of the paper. That leads to extra replacement parts and a higher one-season cost.
If I were building a stand for a kid’s practice lane or light paper work, PVC still has a place. If I wanted a stand to live in wind and rain, I would spend the extra money elsewhere.
Is a metal target stand worth the higher cost?
Metal is worth the higher cost when you want the stand to last and stay put. A steel or square tubing frame usually runs in the roughly $60–$140 range because the material, cutting, and assembly tend to be more demanding. The payoff is durability. Steel stands last a long time, especially if you protect them from rust.
Steel tube or square tube shopping list
A metal stand needs tubing, corners or brackets, bolts or welds, and a rust-resistant finish. Square tubing is common because it resists twisting better than thin pipe. Add a backer mount, and the list grows again. Even a plain frame can cost more than a wood stand before you add any finish.
Welded versus bolt-together builds
Welded frames are stronger and cleaner, but they require welding gear and skill. Bolt-together frames are easier for a home shop, though they need more hardware and careful tightening. That hardware adds cost, but it also makes the stand easier to take apart for storage or transport.
I would not recommend metal as the cheapest first build unless you already own the tools. The material is only part of the bill. Cutting steel cleanly and joining it safely changes the whole project.
Tool and skill cost compared with wood and PVC
Wood needs a saw, drill, screws, and maybe a clamp. PVC needs less force, but it still benefits from accurate cuts and secure joints. Metal asks for more: a cut-off saw, angle grinder, drill bits for steel, and often a welder. If you pay a shop to cut or weld, labor can overtake the raw material cost quickly.
That is why metal works best for shooters who want one stand to last through many seasons. If you only need a seasonal practice frame, the first cost may not be worth it.
Which backer material changes the total price the most?
The backer often changes the total more than the frame does. Cardboard is the cheapest and shortest-lived. Plywood costs more but holds up better. Corrugated plastic sits in the middle and resists moisture better than cardboard. If you shoot paper only, the backer choice can determine whether the stand feels disposable or durable.
Cardboard, plywood, and corrugated plastic compared
A cardboard base should cost less than $15 to build in most U.S. areas. The cardboard base uses 2X4 boards for strength and target support, and it is described as stable even though it is lightweight. It is meant for paper only, so do not expect it to carry heavy target bags for long.
Plywood costs more, but it usually survives more hits and more weather. Corrugated plastic resists moisture better than cardboard and stays light. I see it as the middle ground for shooters who want paper targets without replacing the backer every few weeks.
How backer choice affects replacement rate
Backers wear out faster than most people budget for. Cardboard may need replacement several times over a season if it sits outside. Plywood can last longer, though edges and screw holes still take abuse. Corrugated plastic often lasts well for paper use, but it can warp if stored badly or hit hard in the wrong spot.
How do hardware, finish, and stand shape affect the bill?
Hardware, finish, and geometry can add a surprising amount to the total. Screws, bolts, hinges, staples, paint, and sealant each seem small on their own. Together, they decide whether the stand feels solid, portable, or annoyingly flimsy. Wide bases and good fasteners usually cost more, but they prevent tip-overs and early repairs.
Screws, bolts, staples, and exterior-grade parts
Exterior-grade screws and bolts cost more than plain fasteners, but they hold better outside. Staples are fine for cardboard or paper attachment, not for the frame itself. Hinges add cost if you want folding legs or a collapsible design. Every moving part increases the chance of loosening, so I count it as a durability tradeoff.
Pre-drilling pays off with wood. It reduces splitting and keeps joints tighter. That is a low-cost step that saves money later.
Sealant, paint, and moisture protection
Weatherproofing usually adds a modest extra cost, often around $5–$20 depending on what you buy and how much surface area needs coverage. Sealant helps wood resist moisture. Paint helps block sun and rain. UV protection matters most on PVC and exposed wood, because sun and water work together to age both faster than indoor use would.
If the stand will stay outdoors, I would budget for protection on day one. A cheap frame that rots or cracks before fall is not cheap anymore.
A-frame and H-frame stability versus portability
An A-frame spreads the legs and gives good tip resistance for a small footprint. An H-frame can feel steadier for wider targets because it spreads load across a broader base. A portable stand often gives up some stability, and that is where a heavy base becomes necessary.
More width usually means more material and more weight. That is the hidden cost of stability. If you move the stand a lot, you will spend more to keep it portable. If you leave it in one place, you can spend more on a heavier, safer base.
What does the cost comparison table show?
The table below shows the difference between upfront cost, tool add-ons, and likely one-season replacement cost. I built it around common backyard use, not a perfect shop setup. The point is to show how a cheap first build can become expensive once you count tools, weather protection, and repairs.
| Build type | Sample material list | Upfront material cost | Estimated tool add-ons | Likely one-season replacement/repair cost |
|---|---|---|---|---|
| Wood | 2x4s or 2x6s, exterior screws, cardboard or plywood backer, sealant or paint | $25–$45 | $0–$25 if you already own saw, drill, bits | $5–$20 for screws, sealant touch-up, or a warped brace |
| PVC | PVC pipe, elbows, tees, connectors, cardboard or corrugated plastic backer | $20–$35 | $0–$20 for cutter or saw, drill, measuring tools | $10–$30 for cracked fittings, loosened joints, or UV damage |
| Metal | Steel or square tubing, bolts or welds, rust-resistant finish, plywood or corrugated plastic backer | $60–$140 | $20–$150 for grinder, steel bits, welder or shop labor | $5–$25 for paint, bolts, or rust touch-up |
What the table means in plain terms
Wood is usually the cheapest practical build for most backyard archers. PVC can be the lowest upfront bill if you keep the frame small and the backer light, but weak joints can force repairs. Metal costs the most to start, yet it often wins for long-term outdoor use because it holds up better under weather and repeated assembly.
If you want the cheapest overall, choose the material that matches your shooting frequency and storage plan. Cheap and durable is possible. Cheap and outside all year is where most builds fail.
Frequently asked questions
How much does it cost to build a target stand out of wood?
For most backyard builds, I would budget $25–$45 for wood. That usually covers 2x4s or similar lumber, exterior screws, and a simple backer. If you already own the tools, the total stays lower. Add sealant or paint if the stand will live outside.
How much does a metal target stand cost to build?
I would plan on $60–$140 for a metal stand. Steel or square tubing pushes the material cost up, and the tool bill can be high if you need cutting gear, drill bits for steel, or welding equipment. It pays off best for long-term outdoor use.
What is the cheapest material for a DIY target stand?
PVC is often the cheapest at the register, but wood can be the cheapest overall if you already own the tools and want fewer repairs. If you only need a paper-target stand, a cardboard-based wood build can stay very low. The cheapest choice depends on how long you expect it to last.
Can I build a target stand for under $20?
Yes, but only in a narrow case. A paper-only cardboard base should cost less than $15 to build in most U.S. areas, and it uses 2X4 boards for strength and target support. That type is stable even though it is lightweight, but it is meant for paper only.
What tools do I need to build a target stand cheaply?
At minimum, I want a saw, a drill, a tape measure, and basic bits. Wood also benefits from pre-drilling to reduce splitting. PVC can be cut with simple tools. Metal needs far more, especially if you are welding or drilling steel.