How to Build a Target Stand with a Carry Handle and Quick Setup
Build a target stand from 1x4s or EMT conduit with two side legs, a crossbar, and a carry handle; use slip-fit joints or hitch pins so one person can set it up in under 2 minutes. A stand that is too heavy, wobbly, or slow to assemble gets left behind, and that usually means less practice. This guide covers a beginner-friendly portable build, the parts list, the cut sizes, and the fastest assembly method.
Build spec table
| Layout | Carry method | Part count | Estimated setup time | Estimated weight | Stability tradeoff |
|---|---|---|---|---|---|
| 2×3 pine A-frame | Balance-point top handle | 7 main pieces | 2-4 minutes | Moderate | Best mix of speed and tip resistance for cardboard or lighter foam |
| PVC slip-fit frame | Center handle on top cross member | 9-11 pieces | 3-5 minutes | Lightest | Easy to move, but the least forgiving in wind and cold weather |
| EMT conduit frame | Top handle with pinned joints | 8-10 pieces | 3-6 minutes | Light to moderate | Stronger than PVC and still portable, but needs cleaner connectors |
Frame, handle, and quick-lock joint
Build a target stand from 2×3 pine or EMT conduit with two side legs, a crossbar, and a carry handle; use slip-fit joints or hitch pins so one person can set it up quickly. A stand that is too heavy, wobbly, or slow to assemble gets left behind, and that usually means less practice. This guide covers a beginner-ready portable frame, the parts list, the cut sizes, and the fastest assembly method.
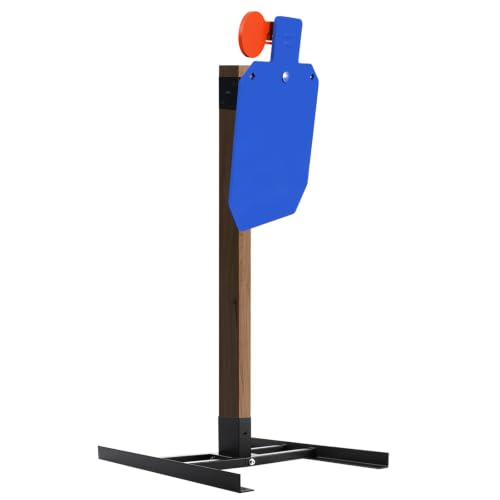
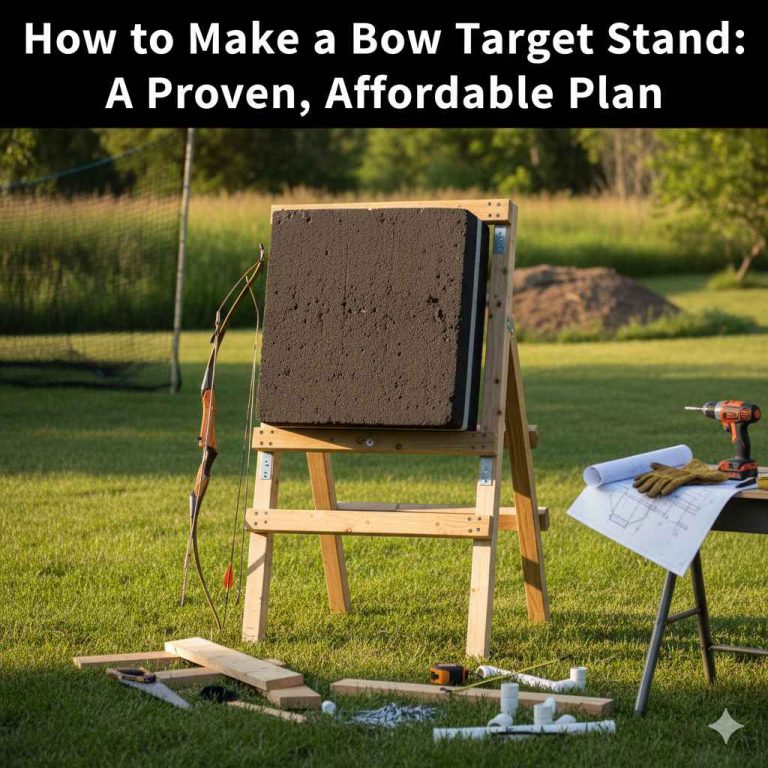
The simplest portable layout is a foldable A-frame with a spread limiter. That gives you a carry point at the balance point, legs that open fast, and a top bar that holds cardboard, foam, or a bag target without a tricky bracket. Make the crossbar removable so target swaps stay quick.
Exact cut list and hardware
Use pine 2x3s for the simplest wood version. Cut two side legs at 60 inches, two lower rails at 36 inches, two upper braces at 24 inches, and one 60-inch top support. For the hardware, use two 1/4-inch carriage bolts for the top hinge points, four flat washers, two wing nuts, and one second 1/4-inch bolt or quick-release pin for the spread limiter. That gives one complete build plan with the frame pieces and the fasteners needed to assemble it.
Hardware should stay simple. Use one 1/4-inch carriage bolt through each top hinge point, with a flat washer on both sides and a wing nut for adjustment. Use a second 1/4-inch bolt or a quick-release pin through the spread limiter, so the legs stop at the same angle every time. Keep the bolt snug enough to hold position, but loose enough that the joint rotates freely without binding.
How to find the carry point
Assemble the frame once, then set the target support in place and lift the stand with one hand under the upper cross member. Slide the grip until the stand hangs level. Mark that spot, because that is the balance point for the carry handle. Mount the handle there, not near a leg end, or the stand will twist and bang against the shin during transport.
A short webbing loop works well for wood, while a fixed bar handle is better on EMT. The handle should sit high enough to clear the ground and low enough to keep the center of gravity close to the hand. That matters more than a padded grip. A comfortable handle in the wrong place still drags.
Target support layout
The top bar should support the target face or the backer, and the connection should let the target come off fast. A notched bar, a cleat strip, or a pair of removable hooks all work. For heavier foam or bag targets, add a second lower crossbar so the load does not swing. Cardboard backers can clip to the top rail and rest on a lower stop.
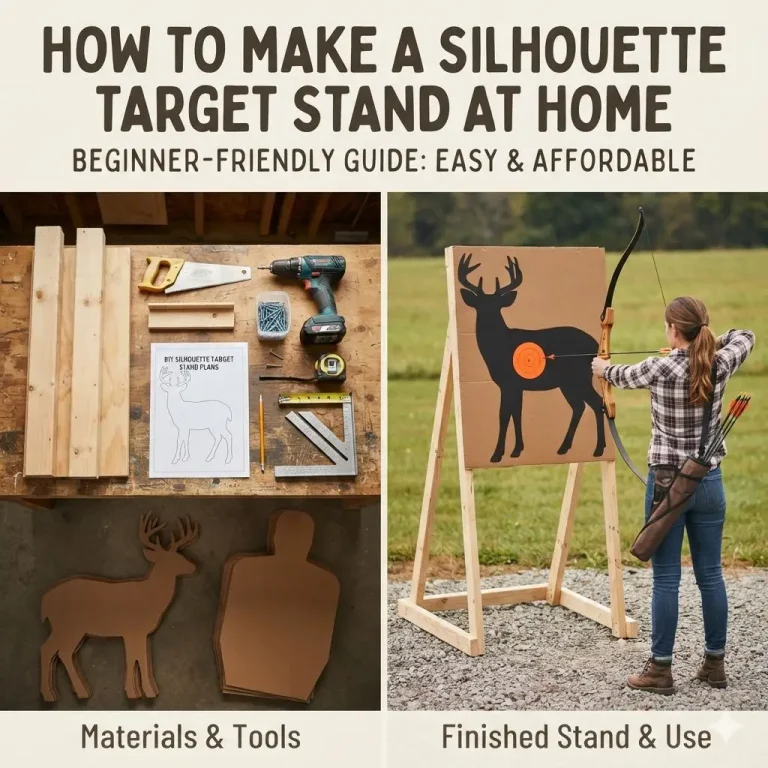
A common first-timer mistake is choosing a lightweight frame that lifts easily by the handle but flexes so much that it wobbles as soon as the target is mounted. A silhouette face around 25 x 45 inches can ride on a light frame, but a heavier bag target may need a wider lower brace and a stiffer upright. The target footprint and the stand footprint must work together, or the whole frame shifts forward after a few shots.
What is the easiest portable target stand design for archery?
The easiest portable design is a foldable A-frame with a spread limiter, a top crossbar, and a balance-point carry handle. It packs flat, sets up with one or two pins, and holds a cardboard, foam, or bag target without a lot of hardware. For a beginner, it is the best mix of speed, stability, and simple parts.
This style also fits quick target changes. The top support can be notched or cleated so the backer lifts out without rebuilding the frame. That is why the portable build is better than a fixed rectangle for most backyard practice. The frame spends less time on the ground and more time holding a target.
Step-by-step quick assembly
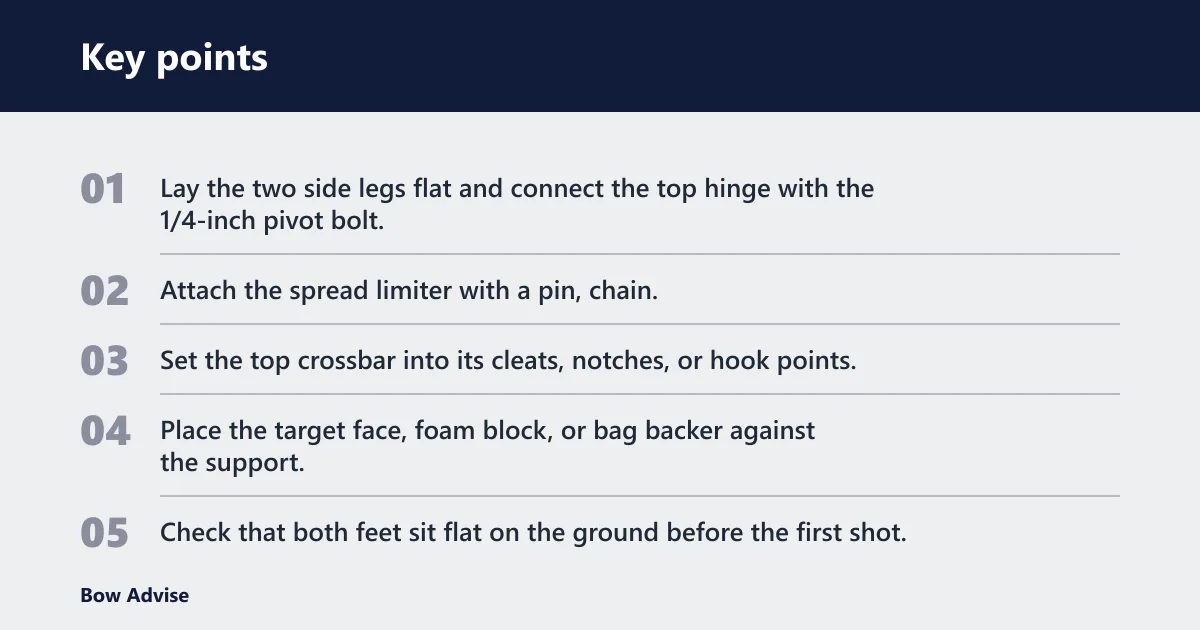
- Lay the two side legs flat and connect the top hinge with the 1/4-inch pivot bolt.
- Attach the spread limiter with a pin, chain, or webbing strap so the legs stop at the same angle.
- Set the top crossbar into its cleats, notches, or hook points.
- Place the target face, foam block, or bag backer against the support.
- Check that both feet sit flat on the ground before the first shot.
What materials should I use for a lightweight DIY target stand?
For a lightweight build, choose timber 2×3 or 2×4 pine, PVC conduit, or steel EMT. Pine is cheap and easy to cut, PVC is the lightest and lowest cost, and EMT is stronger than PVC while staying lighter than timber. The right choice depends on target weight, how often the stand moves, and how much wobble you can tolerate.
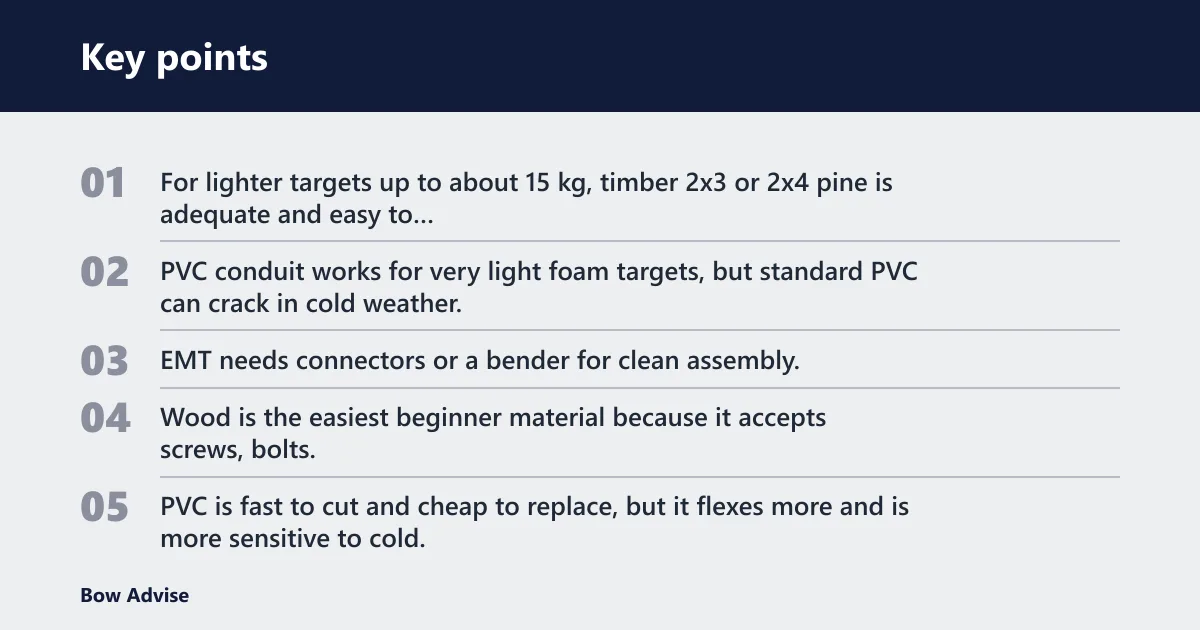
PVC conduit works for very light foam targets, but standard PVC can crack in cold weather. EMT needs connectors or a bender for clean assembly, yet it gives a stiffer frame when the stand must be moved a lot.
Wood, PVC, and EMT tradeoffs
Wood is the easiest beginner material because it accepts screws, bolts, and simple cleats without special fittings. PVC is fast to cut and cheap to replace, but it flexes more and is more sensitive to cold. EMT costs more than PVC, but the finished stand usually feels steadier and survives repeated transport better than thin plastic pipe.
If the goal is a one-person carry-and-deploy build, wood is the simplest start. If the goal is the lightest pack, PVC wins, but only for lighter foam targets. If the stand must live in the trunk and get set up often, EMT is usually the better middle ground.
How wide should the base of a target stand be?
The base width should be at least the target width, and wider is better as target weight increases. Center of gravity matters because a tall, narrow frame tips more easily when a gust hits, a shot lands low, or the target face sits high above the feet. A wider stance gives the frame more resistance without adding much setup time.
For a 25 x 45-inch silhouette target, one portable build uses a base approximately 26¼ inches apart. That works as a compact footprint for a light silhouette face. For heavier foam blocks or bag targets, widen the stance and lower the crossbar so the load sits closer to the ground.
When to widen the stance
Widen the feet when the target is taller than the support, when the ground slopes, or when the frame flexes after a shot. A lower brace also helps. The wider stance does not need to be extreme, but it should keep the feet outside the swing line of the target mass.
Say your target is a foam block on uneven grass and the stand rocks after you press it. That is a sign the feet are too close together or the support is too high. Moving the feet out a few inches usually solves more wobble than adding extra screws at the joint.
How do I make a target stand that folds or comes apart fast?
Use slip-fit joints, quick-release pins, or pivot bolts with wing nuts. Those parts let the frame fold flat or separate without a tool box. The goal is not just portability. The goal is a stand that comes out of the car, locks open, and holds a target with the least number of loose parts.
A folding wooden version is described as easier to store and transport, and that is the right direction for a beginner who moves between practice spots. A simple pin and hinge layout is faster than bolting every leg permanently, and it reduces the chance of dragging a bulky one-piece frame through the yard.
Quick-lock details that matter
Do not overtighten the pivot bolt. If the joint binds, the legs will not swing open smoothly. A washer under the head and nut spreads the load and keeps the wood from crushing. Use wing nuts only where the joint needs to stay clamped, and use a pin where you want quick removal.
A simple wood-and-hardware-store build can be made with basic parts from the store, which keeps the layout easy to replace if a pin or brace wears out. Those simple parts are why this style is friendly for beginners.
What tools do I need to build a simple target stand?
A simple stand needs only basic cutting, drilling, and measuring tools. A saw, drill, square, tape measure, and pencil are enough for the wood version, while PVC cutters or a fine-tooth saw help with pipe. For EMT, a conduit cutter or bender makes the joints cleaner and easier to align.
Use a drill bit sized for the pivot bolt, not a random bit that is too tight. A 1/4-inch bolt needs a clean 1/4-inch hole or slightly oversized hole if the joint must rotate freely. Add a wrench for the nuts, and keep a second wrench or pliers nearby if the bolt head spins while tightening.
Consumable and spare parts to keep on hand
A few spare wing nuts, flat washers, and 1/4-inch bolts are worth keeping with the stand. Small hardware gets lost in grass fast. A short length of chain, webbing, or cordage is also useful as a spread limiter replacement if the original strap frays or stretches.
How do I keep a DIY target stand from wobbling or tipping?
Keep the center of gravity low, the base wider than the target face, and the joints tight enough to stay still. Wobble usually comes from loose pivots, a narrow stance, or a target that sits too high above the feet. Tipping usually starts with a side load from wind, uneven ground, or a heavy backer hung too far forward.
For outdoor placement, choose the flattest patch of grass or dirt you can find. If the ground is uneven, shorten one foot setup slightly and place the heavier side downhill only if the frame stays square. A bag target may need a lower brace, while a cardboard face often needs only the upper support.
Suppose a shooter sets the stand on packed dirt and the left foot sinks after the first arrow. The frame can lean forward even though the joints feel tight. A wider foot print or a small wood shim under the low side usually fixes that faster than rebuilding the whole stand.
Backstop and miss control
Place the target so misses stop safely behind it. A proper backstop matters because a portable stand should not invite arrows to pass through open space. Keep the target in front of an earthen berm, netting, or another safe impact area, and leave enough room on both sides for an arrow that drifts off center.
Can I build a target stand for backyard practice on a budget?
Yes. A budget build is possible with timber, PVC, screws, and a few bolts, and the materials can come from a hardware store. One budget build is described as possible for $6, another for $7, and another for $10. Those low-cost versions make sense when the target is light and the frame will not be moved constantly.
The cheapest path is usually a simple wood frame with a fixed crossbar and a light target face. The next step up is a folding version with pins or wing nuts. The budget still matters, but the design should stay honest about what it can hold without wobbling.
Budget setups
| Setup | Best use | Example product or material | Price | Main drawback |
|---|---|---|---|---|
| Starter | Very light backyard practice | PVC or simple wood frame | $6 to $10 | Least stable in wind and cold |
| Mid | Portable foam or cardboard target support | Wood strip and PVC pipes | Roughly $19 | More parts to manage during takedown |
| Serious | Heavier target hanging and repeat transport | EMT conduit with pinned joints | $14.69 to $37.99 for listed accessories | Higher cost and cleaner fit needed |
Must-have
 As an Amazon Associate we earn from qualifying purchases. Prices and availability are accurate as of the date shown and are subject to change.

uxcell 2 Pcs Quick Release Pin
These 1/4-inch push-button locking pins fit the quick-setup idea well, especially for the spread limiter or a removable crossbar. The 304 stainless steel body is a plus for outdoor use, but the 2-inch length may not suit every joint thickness, so the hole spacing must match the frame.
Spread limiter and pivot hardware
The must-have function here is fast joint release without tools. A quick-release pin is better than a permanent bolt where the frame needs to fold flat. It also keeps setup repeatable, which matters when the stand is moved from the car to the range and back again.
Nice-to-have
As an Amazon Associate we earn from qualifying purchases. Prices and availability are accurate as of the date shown and are subject to change.

Herbert-fty AR500 Steel T-Post Target Hanger
Secondary hanger for faster target changes
A quick-hook target hanger reduces the time spent threading cords or retying a face every session. That is helpful when switching between cardboard and a small hanging plate. The drawback is cost and added metal weight, so it fits better on a stronger frame than on a thin PVC build.
Consumables and spares
As an Amazon Associate we earn from qualifying purchases. Prices and availability are accurate as of the date shown and are subject to change.
POSTYBAY 3/8″ Thick AR500 Steel Target
Fasteners and wear items
Keep spare wing nuts, washers, and bolts with any portable stand. Repeated transport loosens hardware. Weather protection matters too. Seal wood cuts, touch up exposed holes, and check for crushed holes around the pivot bolt so the stand keeps folding cleanly.
Frequently asked questions
What is the best stand design for moving between shooting spots?
The best design is a fold-flat A-frame with a balance-point handle and pinned or slip-fit joints. It carries with one hand, sets on the ground without a long assembly sequence, and accepts cardboard, foam, or a light bag target. For frequent moves, fewer loose parts matter more than a decorative frame shape.