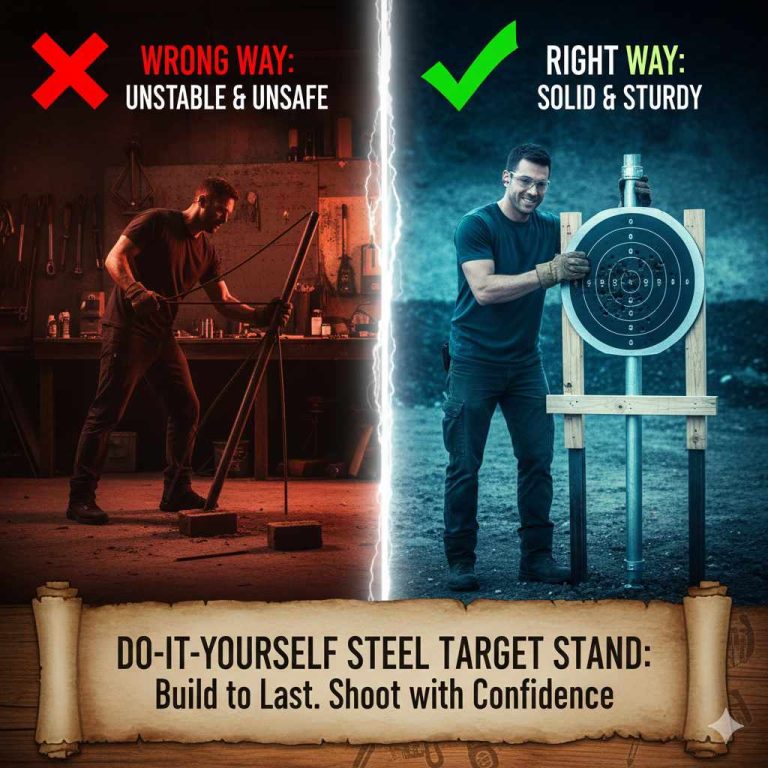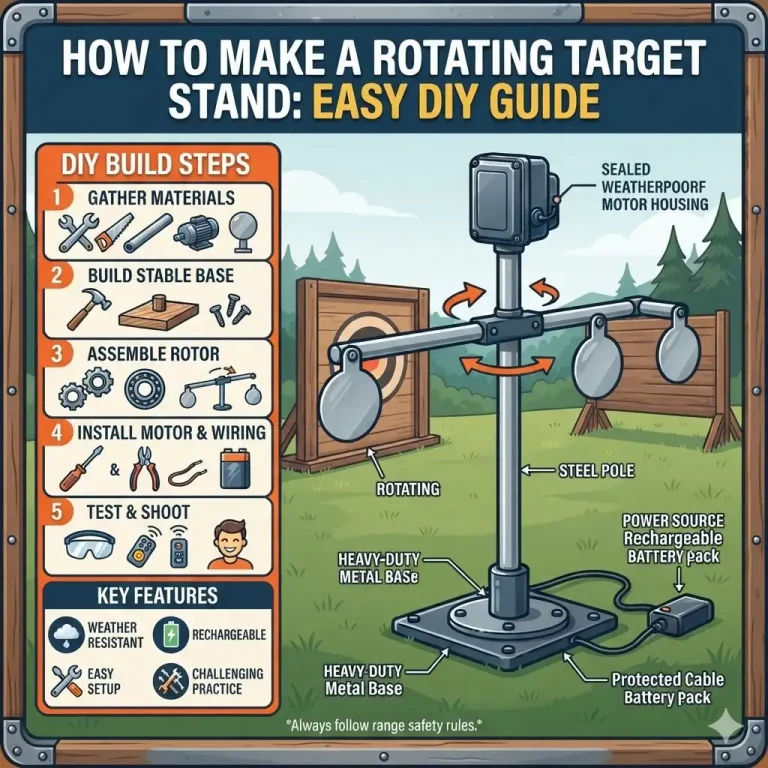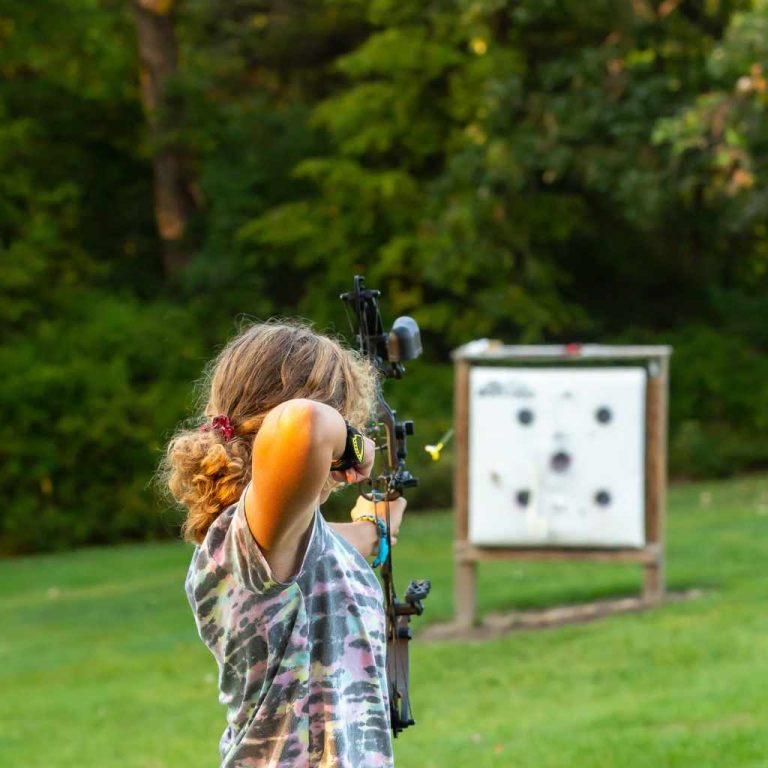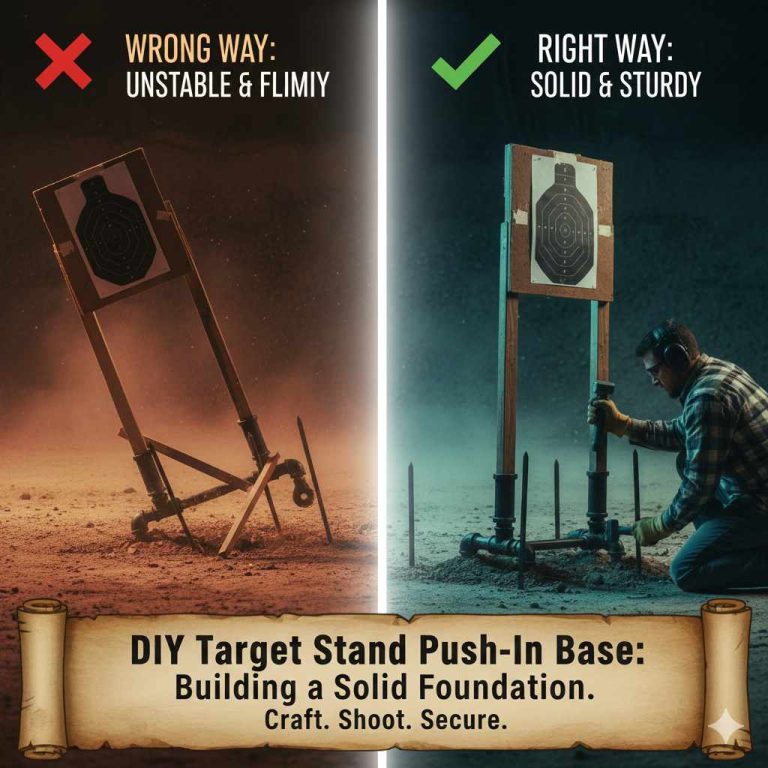
Target Stand DIY: Plans, Materials, and Builds for Archery
Build a DIY target stand by matching the frame to the target weight, target style, and bow energy. For most backyard setups, that means a base roughly 24–30 inches deep, a frame that supports the target without pinching it, and anchoring that fits your ground and wind. I’ll cover the safest stand types, exact build plans, and the failure points I’ve seen matter most with bag, block, 3D, and occasional broadhead practice.
I wrote this from repeated DIY stand builds, setup adjustments, and archery practice sessions focused on backyard portability, wind stability, and arrow-safe support layouts. The observations below are practical build notes rather than lab testing: where PVC joints start twisting, where crossbars sag, how bag targets wear at contact points, and why broadhead setups need a different support and back-area plan than field-point practice.
What you’ll need

Tools by build type
- Measuring tape
- Square
- Marker or pencil
- Drill and driver bits
- Hand saw or power saw for wood builds
- PVC cutter or fine-tooth saw for PVC builds
- Hammer or mallet for stakes and rebar setups
- Wrenches or socket set for bolts, washers, and lock nuts
- Clamps if you want cleaner assembly
Frame materials
- Wood A-frame: 2×4 legs, base rails, crossbar, diagonal braces, exterior screws, carriage bolts for fold points if making it collapsible
- PVC portable frame: PVC pipe, elbows, tees, couplers, through-bolts or screws at key joints, hanging straps or hooks
- Rebar/heavy-duty frame: rebar stakes or rods, wood or steel cross support, wire ties or clamps, ground sleeves if you want repeatable placement
Target support, anchoring, and wear parts
- Ratchet straps, paracord, bungees, or webbing loops for bag targets
- Horizontal shelf or sling support for foam blocks
- Ground pins or side restraints for 3D targets
- 10–12 inch steel tent stakes for firm dirt, 15–30 inch screw-in dog tie-out anchors for softer ground, or two 40–60 lb sandbags set on the base corners
- Replaceable wear strips where target edges rub the frame
- Backstop layer hung behind the target, with safe spacing
- Exterior latex paint, deck sealer, or copper naphthenate wood preservative for pine 2x4s left outside
- Rust-resistant hardware and rust-inhibiting paint for metal parts
Safety and material guidance used for this article: follow manufacturer instructions for the specific target and broadhead-rated media you use; keep a clear overshoot area and do not rely on a frame or fabric alone to stop arrows. Practical guidance here is aligned with published recommendations from the Archery Trade Association, National Field Archery Association range-safety guidance, and manufacturer care guidance from major target makers such as Block/GLENDEL and Morrell on broadhead use, target wear, and support setup.
Which stand design fits your bow, target, and yard?
Choose the design before you buy materials. Light recurves and youth bows can work on PVC or light wood, but full-power compounds usually justify braced wood, and broadhead or 3D practice changes the support system even more than the frame material.
Use this decision matrix before you buy anything
| Use case | Best stand design | Material set | Why this works | Anchoring method | Failure to watch for |
|---|---|---|---|---|---|
| Light recurve, small bag, low wind, frequent moving, basic hand tools | PVC portable rectangle with rear kickers | PVC frame, webbing hangers, sandbags, replaceable contact sleeves | Low mass target, quick carry, fast breakdown | Two sandbags on base corners or short stakes through base loops | PVC joint twist and leg spread |
| Recurve or moderate compound, bag target, mixed wind, backyard left assembled | Freestanding wood A-frame | 2×4 legs, crossbar, diagonal braces, exterior screws, hanging straps | Better stiffness, cleaner hang, easy repair | Ground stakes at rear legs or screw-in anchors with straps | Crossbar sag and fastener pull-out |
| Compound, dense foam block, mixed wind, moderate portability | Wood A-frame with lower cradle or sling | 2×4 frame, shelf or sling, wear strips, backstop layer | Foam blocks hate hard pinch points and need bottom support | Rear stake plus front sandbags | Target bounce and edge crushing |
| High wind yard, larger bag target, compound use, power tools available | Wide-base wood A-frame with heavier bracing | 2×4 or heavier stock, bolts at high-load joints, wide feet | Wind loads the empty stand and the bag face hard | Screw-in anchors and straps on both sides | Tip-over from narrow stance |
| 3D target, uneven ground, field-point use | 3D support setup, not a hanging stand | Ground pins, side brace, leveling shims, backstop behind lane | 3D bodies want stabilization at the feet and flank, not suspension | Ground pins through factory feet plus one side tether | Target roll, lean, and bad angle presentation |
| Occasional broadhead practice, dense broadhead-rated core, low portability | Heavy wood frame with suspended core and clear miss zone | Braced wood frame, hanging core, replaceable wear strips, broadhead-safe back area | Broadheads chew supports fast and punish any hard contact point | Screw anchors or driven stakes, plus anti-tip ballast | Cut straps, frame strikes, and dangerous pass-throughs |
| Trunk transport, seasonal use, no saw beyond cutter or hacksaw | Collapsible PVC or bolted knock-down wood frame | PVC with pinned joints or wood with carriage-bolt fold joints | Breaks down into short pieces without giving up all stability | Portable sandbags after setup | Loose joints after repeated assembly |
Quick comparison by bow, target, wind, portability, and anchoring
| Factor | PVC portable frame | Wood A-frame | Collapsible trunk-fit build |
|---|---|---|---|
| Best bow type | Youth bows, light recurve, light field-point use | Recurve, moderate compound, heavier bag and block targets | Light recurve to moderate compound, depending on brace layout |
| Best target type | Small bag target | Bag target, foam block, suspended broadhead-rated core | Small bag or medium foam block with sling support |
| Wind tolerance | Low to moderate with ballast | Moderate to high with anchors and wide rear stance | Low to moderate; anchor every session |
| Portability | Best | Lowest | Very good |
| Best anchoring method | Sandbags or short stakes | Screw-in anchors, stakes, or sandbags | Sandbags plus one rear anchor if possible |
| Main weakness | Joint twist and UV/heat aging | Weight, rot if untreated, crossbar sag if undersized | Hardware loosening after repeated assembly |
My quick picks by archer type
For a beginner with a light recurve, I usually point them to a low portable frame first.
For a compound shooter, I move fast toward wood. When the bow already punishes form mistakes, a wobbly stand makes practice worse in a hurry.
For 3D and broadhead work, I stop thinking “hanger” and start thinking “support system.” The target and the safe miss zone should drive the build.

Step 1: Size the stand around the target and the shooting lane
Use a repeatable sizing method
- Measure the target width, height, and depth before buying frame stock, for example a 20x20x10 inch bag or an 18x18x16 inch foam block, so your crossbar, base depth, and clearances match the actual target.
- Set stand width to target width plus extra room on each side for hangers, sway, and hand clearance; small bag targets usually end up happiest on a stand roughly a hand-width wider per side.
- Set base width by target height and wind exposure; in my builds, low-profile foam blocks can live near the lower end of that 24–30 inch base, while taller bag targets often need the wider end.
- Set upright height so the target clears the ground and the lowest scoring area is not flirting with dirt splash or wet grass.
- Place the crossbar high enough that a hanging bag clears the base while still keeping the load low enough to limit sway.
- Leave open space behind the target for a backstop layer and safe overtravel, because a target tight against a fence turns one miss into property damage.
Bag, block, and 3D sizing notes
Bag targets want suspension. If the stand squeezes the bag at the sides or crushes the top handle, seams wear early and the bag starts leaning.
Foam blocks want support without hard pressure points. I like a shelf, sling, or broad lower contact area, because two skinny rails can dent the block and speed breakdown around the edges.
3D targets are different. Size the lane and the backstop behind them, then stabilize the target itself at the feet and flank.
Frame geometry that changes the outcome
Base width matters first. After that, watch stance angle and crossbar placement. A narrow stand with tall uprights feels fine empty, then gets sketchy the minute wind hits a large bag face.
I prefer the uprights to lean just enough to keep the center of gravity inside the base. Too vertical, and the stand feels tippy. Too splayed, and you lose lane width and start kicking legs while pulling arrows.
Exact sizing rules I use before cutting material
For a typical 20x20x10 inch bag target, I build around a finished stand width of 32 inches, a front-to-back footprint of 28 inches, and a crossbar set about 50 inches off the ground. That usually leaves enough side clearance for straps and enough bottom clearance to keep the bag off damp grass.
For an 18x18x16 inch foam block, I aim for a 30-inch width, 26-inch depth, and either a sling or shelf that holds the block with about 2 inches of side clearance total. The key is support under the bottom third, not side squeeze.
For a larger 24-inch class bag target in a windy yard, I would move to a 36-inch width and 30-inch depth minimum, then anchor it. That extra depth is what usually stops the annoying rear-leg lift that shows up in gusts.
Step 2: Build the frame to resist sag, twist, and leg splay
Assemble in the order that keeps the frame square
- Cut every piece and dry-fit it on flat ground before driving screws or glue.
- Build the base first and check it with a square, because a crooked base telegraphs wobble all the way up the stand.
- Attach the uprights next, keeping both legs matched in angle and spacing.
- Add the crossbar only after the legs stand evenly, so you do not lock twist into the frame.
- Brace the rear or the side triangles early, because that is where most DIY stands stop racking.
- Shake-test the empty frame from the top corners before hanging a target; if it walks or wrings, brace it now.
Failure modes most pages skip
Crossbar sag: Long spans carrying a dense bag or foam block slowly bow. If the target hangs from the middle of a thin member, the stand starts leaning inward and your target height changes over time.
Fastener pull-out: Screws into end grain, or bolts too close to the edge, loosen fast when the target swings. I see this most on bargain builds that look fine for a week.
Leg splay: The base corners spread when the target loads the top. Add a tie piece, rear brace, or wider foot before the stand starts settling wider every session.
PVC joint twist: Dry-fit PVC is quick, but repeated carrying and wind load can rotate joints. A pinned or screwed joint at the stress points keeps the frame shape consistent.
Material tradeoffs that actually matter
Wood: Best all-around choice when you need stiffness, easier repairs, and better behavior in wind. The weak spots are rot, split ends, and pull-out if the joint layout is lazy.
PVC: Good when trunk fit and light carry matter more than long-term stiffness. It hates heat, UV, and twisting loads unless you reinforce the layout.
Rebar: Best for ground-driven support and rough fields. It is poor as a direct arrow-path contact surface, and I never want exposed metal sitting right behind likely impact zones.
Precise build plans: PVC, wood A-frame, and trunk-fit collapsible
These dimensions are for a common backyard target class: roughly a 20×20 inch bag or an 18×18 inch foam block. If your target is much larger or heavier, scale the width and depth up before copying the cut list.
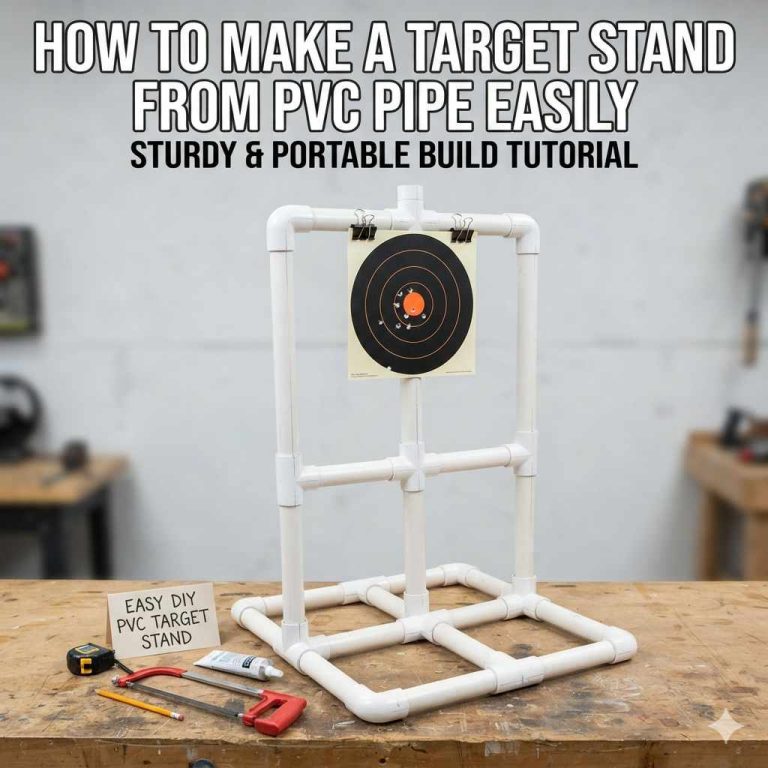
PVC portable rectangle plan
Finished size: about 32 inches wide, 28 inches deep including rear kickers, and 52 inches tall.
PVC cut list: two uprights at 48 inches, one top crossbar at 32 inches, two bottom rails at 24 inches, two front feet at 12 inches, two rear kickers at 16 inches, and four short connector pieces at 3 inches each if your fittings need inserts between tees and elbows.
Fittings and hardware: four 90-degree elbows, four tees, two end caps, four 1/4-inch through-bolts with washers and lock nuts for the stress joints, two webbing loops or straps, and two sandbags.
Assembly steps: build the lower rectangle first, then add the uprights, then the top crossbar. Add the rear kickers low on the back side using tees so the frame gains front-to-back depth. Dry-fit, square it, then pin or screw the two lower corners and the two upper side joints to stop twist. Hang the bag from webbing loops over the crossbar, or rest a foam block in a sling between the uprights.
Best use: light recurve, youth bows, and field-point practice with smaller bag targets.
What failed first in my notes: unpinned top corners and rear-kicker joints. Once those rotate, the target starts hanging crooked and the base narrows under load.
Wood A-frame plan
Finished size: about 36 inches wide, 30 inches deep, and 54 inches to the crossbar.
Wood cut list from standard 2×4 stock: two base rails at 30 inches, one front base tie at 32 inches, two legs at 60 inches with matching angle cuts, one top crossbar at 36 inches, two rear braces at 30 inches, and two diagonal stiffeners at 18 inches. If supporting a foam block, add one lower shelf rail at 32 inches or use a sling between the legs.
Hardware: 3-inch exterior structural screws, two 5/16 x 4-inch carriage bolts with washers and lock nuts for the upper leg-to-crossbar joints if you want serviceable assembly, two hanging straps or webbing loops, and exterior sealer or paint.
Assembly steps: screw the base rails to the front base tie to make a rigid U-shaped footprint. Stand the legs on the outside edges of the base rails and match the angle on both sides. Install the crossbar after checking the leg spacing at the top. Add the rear braces from the legs down to the base rails to form triangles. Add the diagonal stiffeners if the frame racks side to side. For bag targets, hang from two straps spread apart near the outer thirds of the crossbar. For foam blocks, install a shelf rail low enough to support the block without forcing it against the uprights.
Best use: moderate compound, all-around backyard use, larger bag targets, and better wind resistance.
What failed first in my notes: crossbars that were too long and unsupported, and screws driven into end grain at the upper joints. Bolting or overlapping those joints lasts longer.
Collapsible trunk-fit plan
Finished size: about 30 inches wide, 26 inches deep, and 50 inches tall when assembled; packed pieces stay at or under 30 inches for easier trunk fit.
Cut list: for wood, use two legs at 30 inches each side with a bolted center overlap to create folding 60-inch legs, one top crossbar split into two 15-inch pieces joined by a sleeve or flat-plate splice, two base rails at 26 inches, one front tie at 28 inches, and two removable rear braces at 24 inches. For PVC, use paired 24-inch uprights coupled at setup, a 30-inch top bar in two 15-inch sections, two 22-inch base rails, and removable rear kickers at 14 inches.
Hardware: four carriage bolts with washers and lock nuts for fold points or knock-down joints, removable hitch pins or clevis pins for fast setup, and two sandbags for every session.
Assembly steps: build the base first, unfold or join the uprights, install the crossbar, then pin the rear braces last. Number the pieces with marker so the same joints always mate together; that reduces wobble over time. Keep the target centered and do not skip ballast, because collapsible builds give up some rigidity for portability.
Best use: seasonal practice, car transport, and archers who cannot store a full-size wood A-frame.
What failed first in my notes: repeated assembly loosens the exact same holes. Oversize washers, lock nuts, and replacing worn pins early matter more here than on a fixed stand.
Testing conditions and what they changed
In calm conditions, all three styles can function if the target is sized correctly. In breezy conditions, the practical separation shows up fast: the PVC build stays useful with a small bag and ballast, but the wood A-frame is noticeably calmer at full draw and while pulling arrows. The collapsible build works, but only if I treat anchoring and joint checks as part of every setup.
The most useful test is not just shooting into the target. It is loading the target, tugging it side to side, pulling arrows from low hits and edge hits, and then checking whether the frame stayed square. Several stands that seemed fine during assembly showed their weakness only when arrow removal started rocking the target.
Choosing lumber that resists sag and rot
Selecting the right wood determines whether a DIY target stand remains square and stable or quickly develops bowed uprights and loose joints. Pressure-treated 2x4s offer the best balance of rot resistance and stiffness for permanent outdoor setups, while kiln-dried pine or fir provides a lighter option for portable frames that still withstands repeated arrow impacts.
The supporting guide compares common lumber species by stiffness, weight, cost, and failure mode to prevent premature tipping or sagging under heavy bag targets. Understanding these material trade-offs ensures your frame survives seasonal weather and broadhead practice without constant repairs. Review the full breakdown of best wood options to match your specific build requirements and budget before purchasing materials.
Step 3: Add the target, wear points, and arrow-stopping system
Mount the target according to how it absorbs arrows
- Hang bag targets from straps, webbing, or hooks that support the top evenly instead of crushing one handle point.
- Set foam blocks on a shelf, sling, or broad support so the lower edge is carried without two hard pinch lines.
- Pin or brace 3D targets at the feet first, then add a side restraint only if the body rocks on uneven ground.
- Cover contact points with replaceable wear strips where target fabric or foam rubs the frame every shot cycle.
- Hang the backstop layer behind the target with air space, because a backstop pressed tight to the target transfers impact and chews both layers faster.
- Keep hardware, rebar, and hard edges out of common miss paths, especially around broadhead setups.
How do I choose the right backstop to protect arrows and reduce wear?
Pick a backstop that hangs and gives, not one stretched tight like a wall. Leave space behind the target, keep hard frame parts out of the likely miss lane, and accept that field-point backstops and broadhead backstops are different jobs.
For field points, I want a sacrificial hanging layer behind the target that can move. Movement bleeds energy. Tight fabric or rigid sheeting often does the opposite and can increase bounce or shaft damage.
For broadheads, I get stricter. Broadheads can cut supports, straps, and fabrics quickly. If I am not using a core that is specifically broadhead-rated with enough clearance around it, I do not shoot hunting heads at that setup.
Replaceable contact points matter here. A cheap strip of sacrificial material where the bag or block rubs the frame can save the stand itself.
One important safety point: a backstop is not a substitute for a safe shooting lane and overshoot area. Target makers and archery organizations consistently treat backstops as wear-reducing and arrow-slowing components, not as a guarantee that every missed or pass-through arrow will be safely contained.
How do you keep a DIY target stand from tipping in wind?
Use three controls together: enough base width, the right anchor for your ground, and a target shape the stand can actually carry. Most tip-overs I see are not material failures first. They start with a tall bag on a narrow footprint, then one rear leg lifts.
Match the anchor to the ground
On grass or dirt, stakes are fast and work well for lighter stands. On softer ground or taller bag targets, screw-in anchors hold better because they resist both lift and drag.
On hard ground where staking is poor, sandbags are the practical answer. Put weight low at the base corners, not halfway up the legs where it adds force in the wrong place.
Widen the base without making the stand miserable to use
A wider front-to-back stance helps more than simply making the stand broader side to side. Side width helps with sway. Front-to-back depth fights the forward and rearward tip that wind usually starts.
If you shoot in a cramped backyard, flare the rear feet more than the front. That preserves arrow-pulling space in front of the stand.
Level uneven ground before you blame the build
One short leg starts the whole failure. Shim or reset the stand so every foot is planted. If one corner hovers, the first gust loads the opposite diagonal and the frame starts wracking.
If that didn’t work
- Add temporary sandbags at the base corners and test the stand in the next session.
- Replace light stakes with screw-in anchors and side straps if the stand still walks or pivots.
- Increase the rear stance or rebuild the base deeper if the target remains top-heavy in wind.
- Move from PVC to braced wood if the joints keep twisting under the same target load.
What mistakes ruin DIY target stands early?
The fastest way to kill a stand is to mismatch it to the target and the bow. A light portable frame under a heavy bag, exposed metal behind the strike zone, and no backstop spacing will cost you arrows, hardware, and confidence fast.
Common mistakes and how to avoid them
Buying materials before choosing the design: This is where wasted money starts. Pick the use case first, then the geometry, then the material set.
Building around the frame instead of the target: If the target decides the load path, the stand lasts longer. If leftover lumber decides it, the target usually hangs awkwardly and wears out the contact points.
Ignoring bow energy: Light recurve practice is forgiving. Strong compounds are less so. The stand does not absorb the arrow, but it does control sway, bounce, and where a pass-through ends up.
Treating broadheads like field points: Broadheads change everything. They cut hangers, backstops, sleeves, and the edge of foam blocks. Use a broadhead-capable core with clean miss space, or skip broadheads on that stand.
Putting hard hardware in the miss lane: Bolts, rebar, and metal brackets behind the target face are bad news. I keep them outboard, below, or well clear of likely impacts.
Skipping replaceable wear parts: The target should rub a sacrificial strip, not the structural member itself.
Using the wrong support for the target style: Bags want even suspension, foam blocks want bottom support, and 3D targets want stabilization at the feet. Forcing all three into one generic hanger is where strange wear starts.
Assuming a backstop makes an unsafe lane safe: It does not. Broadhead and field-point practice both need a safe direction of fire, an overshoot area, and no hard impact hazards behind the target.
Cost planning by build tier
The cheapest beginner build is usually a small PVC or light wood stand for a modest bag target, with simple ballast instead of fancy anchoring. Replacement sleeves, straps, and one spare joint matter more than cosmetics.
The mid-range backyard build is a braced wood A-frame. It costs more up front in lumber and hardware, but repairs are simple and the stand stays useful when you move from light recurve to a stronger bow.
The heavy-duty wind-resistant build spends money on geometry first: wider base, better anchors, stronger braces, and better wear parts. That is where the budget should go.
Prevention: Keep one small box with spare straps, screws, wear strips, and anchor hardware. Most stand failures start at those parts, not the main frame.
How to Modify a DIY Stand When Changing Target Types
When you replace a bag target with a block target, the stand’s geometry must change. The article explains that a block needs a wider, deeper base, greater support spacing, and tighter anchoring to prevent tipping or sag under the heavier load. It walks through the exact adjustments to base width, leg placement, height, and strap tension, plus the hardware that holds up best for each style. Understanding these differences helps you avoid collapse, improve accuracy, and extend the life of your DIY stand.
See the detailed side‑by‑side checklist in bag vs block stand for step‑by‑step changes.
How much does a DIY target stand cost by material?
A DIY target stand typically costs $25–$45 in wood, $20–$35 in PVC, or $60–$140 in metal. Wood is usually the most affordable option for backyard setups, while metal holds up better under heavy use and harsh weather. Choosing the cheapest material often backfires because flimsy stands crack in wind or wear out quickly, forcing repeated replacements that exceed the price of building it right the first time.
The total bill also depends on your chosen backer material, hardware, finish, and frame shape. Before buying lumber or pipe, review this breakdown of DIY target stand cost to compare real material prices, required tools, and build difficulty so you can select the lowest-cost option that actually fits your shooting style.
Frequently asked questions
What materials are best for a target stand: PVC, wood, or rebar?
Wood is my default for most backyard archers because it stays stiffer under bag and foam loads and is easier to repair. PVC makes sense when trunk transport matters. Rebar is best as an anchor or ground support piece, not as a hard strike-zone structure.
How tall and wide should a target stand be for archery practice?
Start with the target, then add room for sway, hangers, and safe ground clearance. In my builds, a small backyard stand often lands in that 24–30 inch base range, with uprights tall enough to keep the bag or block off wet ground and clear of the base.
What is the cheapest target stand I can build for beginner archery?
A small portable stand for a light bag target is usually the lowest-cost path. Keep the frame simple, ballast it with sandbags, and spend a little on replaceable wear points. I would rather see a modest, stable stand than a tall cheap one that starts wobbling on day two.
How do I make a target stand that works with 3D archery targets?
Do not hang a 3D target like a bag. Stabilize it at the feet, level it on the ground, and add a side restraint only if it rocks. Then build the backstop and miss space behind the lane, because the support system matters more than a crossbar.
How do I make a target stand safe for broadhead practice?
Use a broadhead-rated core or target, keep all hard hardware out of likely impact lanes, and leave clear space around the support so cut heads do not strike straps or wood edges. If the setup depends on tight fabric, bungees, or exposed hooks, I would not use broadheads on it.
Can I build a collapsible target stand that fits in a car trunk?
Yes. I would use pinned PVC sections or a bolted wood frame with fold points and removable cross members. The tradeoff is stiffness, so plan on sandbags or anchors every time you set it up and check the joints often after repeated assembly.
s
- Archery Trade Association safety and range-planning guidance on safe direction of fire, overshoot, and target-lane setup.
- National Field Archery Association range guidance and common range-safety practices for target placement and clear shooting areas.
- Morrell Targets product guidance on field-point versus broadhead use and target wear limits.
- BLOCK and GLENDEL manufacturer guidance on broadhead-rated targets, support, and expected media wear.
- General PVC and exterior wood durability considerations from standard building practice: UV exposure, heat-related deformation risk, moisture protection, and corrosion-resistant hardware for outdoor assemblies.