Cheap Target Stand DIY Ideas for Beginners on a Budget
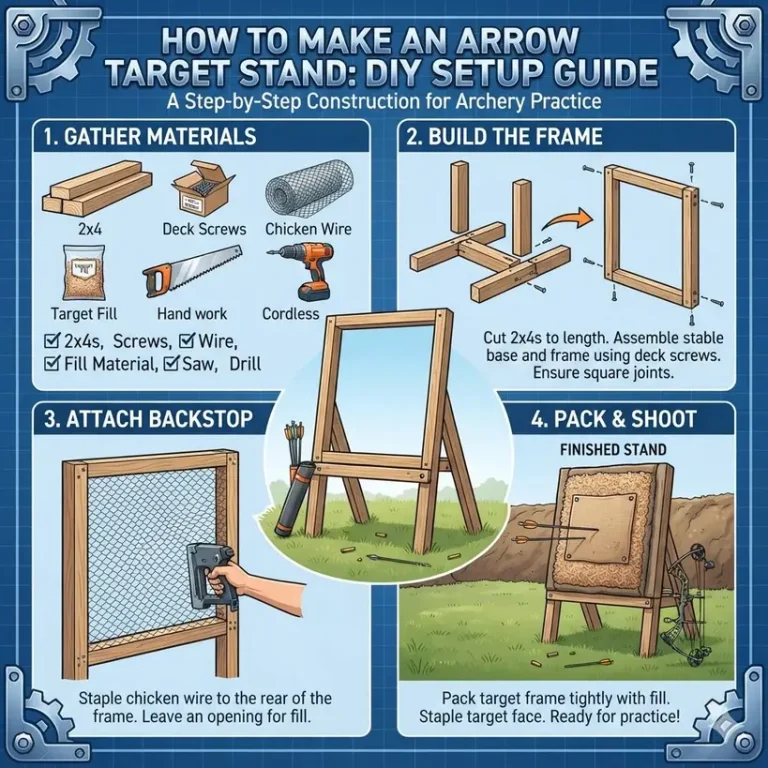
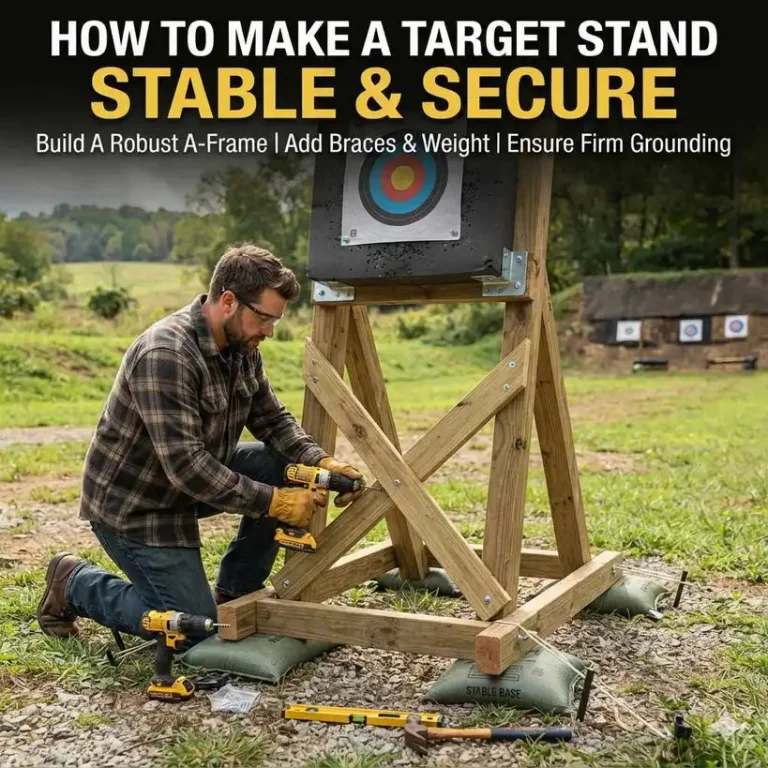
A simple 2×4 A-frame with a rear brace and rubber feet is often a practical beginner target stand, and the lumber and hardware may cost around $15–$30; PVC is often cheaper, but it is usually too wobbly for real practice. A flimsy stand tips, wastes arrows, and can send points into the ground or a fence. This guide ranks budget builds by cost, tool count, and portability, then shows which ones stay steady enough for backyard target work.
What is the cheapest target stand that still works?
What makes a stand cheap versus usable
Cheap means low material cost. Usable means the frame holds a target face upright, resists wind, and does not shift every time an arrow lands. Those are not the same thing.
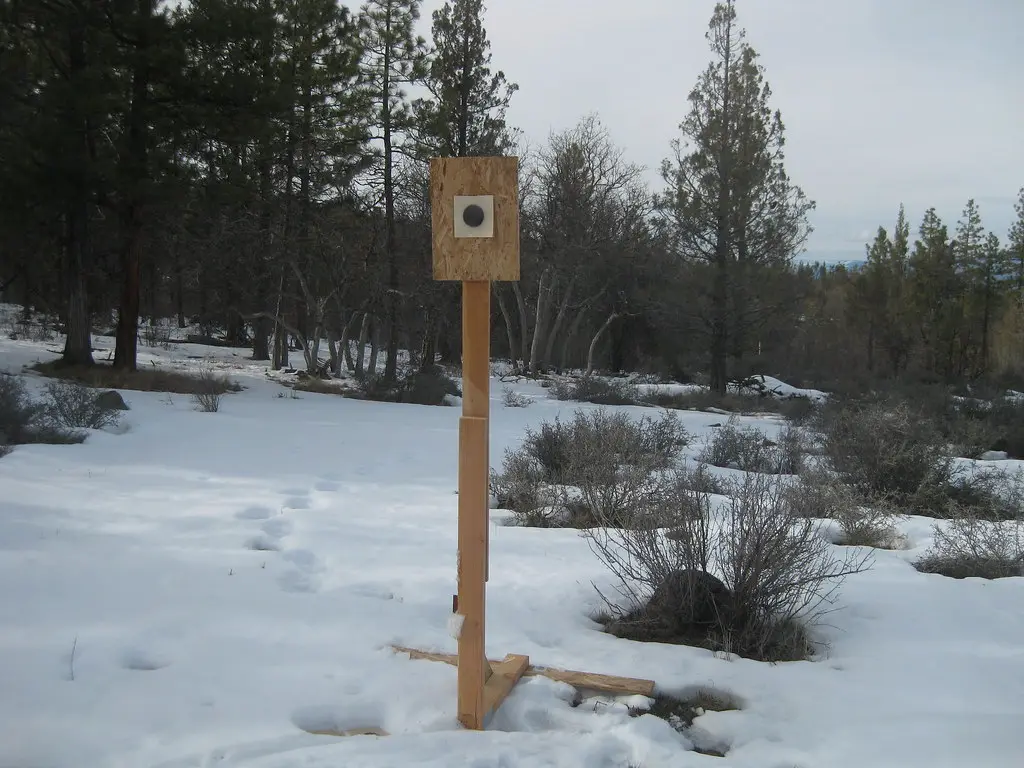
A true budget target stand build keeps the layout simple, uses common hardware-store parts, and avoids complex joints. The lowest price often comes from fewer cuts and fewer fasteners, but the stand still needs a stable base.
When to choose portability over absolute price
If the stand will live in a backyard and move often, portability matters more than shaving a few dollars. A portable target stand is easier to carry, easier to store, and faster to set up. Some portable stands use foldable wooden legs, which helps when the stand must go in a garage or truck bed.
Picture a beginner with a small yard who wants to shoot for 20 minutes after work. A heavy frame left in the rain becomes a nuisance. A lighter stand with a simple fold or knock-down design gets used more often.
Budget build comparison: 4 beginner options side by side
| Beginner build | Estimated total cost | Required tools | Cut count | Portability | Stability risk |
|---|---|---|---|---|---|
| Cardboard face on simple wood frame | About $6 | Measuring tape, saw, staple gun, hammer | 4 to 6 cuts | Good | Medium |
| Basic PVC frame with wood hanger | About $7 | Measuring tape, pipe cutters, saw, hammer | 6 to 8 cuts | Good | High |
| Portable wooden stand with foldable legs | Roughly $19 | Measuring tape, saw, hammer, staple gun | 8 to 10 cuts | Very good | Low to medium |
| Conduit or metal rod frame | About $10 to $30, depending on hardware | Measuring tape, pipe cutters or metal saw, hammer | 4 to 8 cuts | Fair | Low |
The cheapest option is not always the best beginner choice. The cardboard stand wins on price, but the portable wooden stand usually wins on everyday usefulness because it is easier to keep upright and easier to move. The conduit option is more durable than cardboard and wood, but it is heavier to transport and less beginner-friendly.
📊 A portable target stand can be made for roughly $19. Source: 15 DIY Target Stand Projects.
How do you build a PVC and wood target stand?
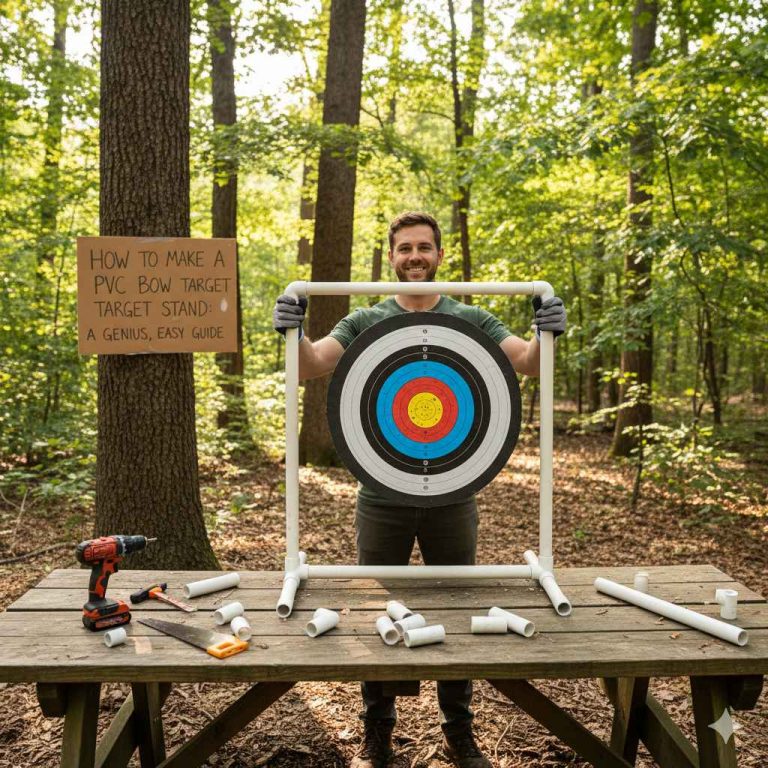
A PVC and wood target stand can be built with a short parts list, basic tools, and straight cuts. The simple version uses PVC for the legs and base, then wood strips as the top hanger or arm where the target support rests. It is affordable, but stability needs attention.
Cut list and basic dimensions
One common PVC layout uses four 1½-inch PVC 90-degree elbows and two 1½ PVC T sockets. Those fittings create a simple rectangular base with uprights. The wood strips sit across the top and need straight cuts so they fit cleanly into the PVC fittings.
For a B-27 class silhouette target, the target is 25 x 45 inches, and the base should be approximately 26¼ inches apart. That gives the stand enough width to support the face without crowding the edges.
Simple assembly steps for beginners
- Measure the target first, then mark the stand width.
- Cut the PVC or wood pieces square so the joints sit flat.
- Assemble the base before adding the top hanger.
- Insert the wood strips into the PVC fittings for the upper support.
- Check that the frame stands level before attaching the target face.
- Test for wobble, then add weight or a rear brace if needed.
A common first-timer mistake is building the frame too narrow. That makes the stand easy to tip when the wind catches a cardboard face or when an arrow hits near one edge.
Why wood strips matter in this build
Wood strips act as the top hanger or arm in many low-cost stands. They are easy to source at hardware stores, and they can be cut with a basic saw. Straight cuts matter because a crooked end makes the strip sit loose in the fitting, which creates wear at the attachment point.
That wear shows up fast if the target is moved often. A snug fit reduces rocking, and rocking is what loosens budget frames.

Which build is best for cardboard target faces?
Cardboard target faces make sense when the goal is the lowest cost and the lightest possible setup. They are best for budget builds because they are cheap, easy to replace, and simple to attach with tape or staples. They are not a great choice for windy yards unless the frame is braced well.
Cardboard face attachment methods
Cardboard target face is a low-cost target material that works well on a plain frame. It is lightweight, so the stand does not need much strength just to hold the face itself. Most beginners tape the cardboard to the frame or staple it to a backing board.
Staples are faster on wood. Tape is easier for quick swaps. Either method works if the frame has enough support at the top and sides.
Target size and frame width
The frame should be wider than the target face, not equal to it. For a full-size cardboard or bag target, the stand must support the edges without bending inward. If the target is too large for the frame, the face sags and the support points wear out faster.
For small backyard practice, a compact cardboard face is enough. For larger practice targets, match the frame width to the target body, then leave room for the attachment method.
When cardboard is too light
Cardboard is cheap, but it can move in the wind. If the stand is in an open yard, a light face can act like a sail and pull the frame over. In that case, add ground weight, a wider base, or rear bracing.
Suppose the stand sits on grass near a fence and the cardboard face flaps in a crosswind. The frame may lean after only a few shots unless the legs are weighted or buried a little deeper.
What makes a target stand stable on a budget?
Base stability matters more than the lowest price. A stand that leans, twists, or hops when an arrow lands will waste time and can damage equipment. Most budget failures come from a narrow base, weak joints, or a face that catches wind.
Weighting the base
The easiest fix is added weight. Sandbags, bricks, or a low bag of gravel can keep the feet planted. Weight should sit low, near the ground, so the center of gravity stays down.
If the stand keeps shifting on hard ground, rubber feet or short blocks under the base can help reduce sliding. On grass, broader feet usually work better than narrow ones.
Burying or bracing legs
Some stands bury the feet slightly in soil or brace the legs with a rear support. That is useful when the target will stay in one place for a season. It is less useful if the stand needs to move often.
Rear braces help stop back-and-forth motion. They also reduce the chance that the top hanger twists when arrows strike off center.
Common tipping points and weak spots
- A base that is narrower than the target face.
- Loose fittings around the top hanger.
- Heavy target material hanging too far forward.
- Uneven ground under one foot.
- Wear at staple points or joint holes.
These failure modes show up early, which is useful. They tell the builder where the frame needs a wider stance, more weight, or better fasteners.
When should you choose conduit or metal rod instead of PVC?
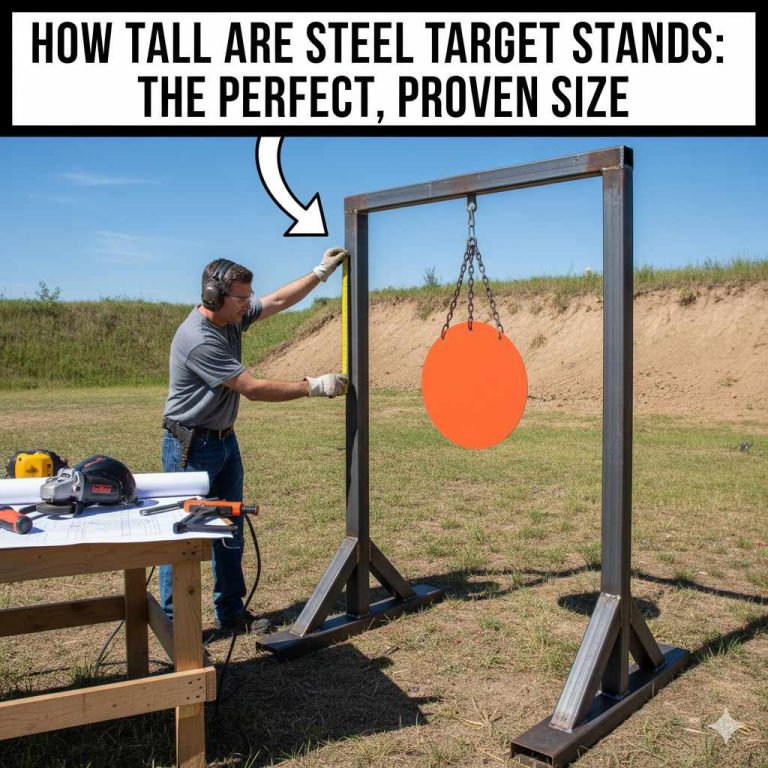
Choose conduit or a metal rod frame when durability matters more than low weight. The conduit option is described as more durable than cardboard and wood. It can handle repeated use better than a soft plastic frame, but it is heavier to carry and usually less beginner-friendly to cut and assemble.
Durability versus carry weight
PVC is light and easy to cut, which is why beginners reach for it first. Conduit feels more solid and lasts longer under repeated loading, especially if the stand stays outdoors. The tradeoff is simple: more durability usually means more carry weight.
If the stand will live in one spot and only move a few times a year, conduit can make sense. If it must fit in a car trunk every weekend, the lighter frame is easier to live with.
Skill level and tool needs
Conduit and metal rods often need more effort to cut cleanly. That can mean a metal saw or pipe cutters, plus more careful measuring. For a beginner with limited tools, PVC or wood is usually simpler.
Basic tools for most budget builds include a hammer, saw, pipe cutters, measuring tape, and staple gun. A build that needs more than that should offer a clear reason for the extra work.
Best use cases for heavier frames
Heavier frames suit backyard target work where the stand stays in one place. They also make sense for larger target faces or situations where wind is a problem. If the frame is carrying a full-size face and needs to stay put, extra mass helps.
The main drawback is transport. A heavy stand is less convenient to store and less likely to get moved out of the way after practice.
What tools do I need to build a simple target stand?
A simple stand can be built with a short list of common tools. Most beginners need a hammer, saw, pipe cutters, measuring tape, and staple gun. Those tools cover wood, PVC, and many cardboard-backed builds without requiring specialty equipment.
Tool-minimal options for beginners
The lowest-tool option is usually a cardboard face on a basic wood frame. It can be assembled with a saw, tape measure, and staple gun. PVC adds pipe cutters, which makes clean cuts easier and speeds the build.
If a builder only has hand tools, the simplest geometry is best. Fewer parts mean fewer chances for a bad cut or a loose joint.
How much does a DIY target stand cost for beginners?
Beginner cost depends on the material, the target size, and how much hardware the frame needs. A cardboard target stand can be built for about $6. Another budget target stand example costs about $7. One budget build is described as costing about $10, and a portable target stand can be made for roughly $19.
Itemized cost logic
- Cardboard target face: low-cost and easy to replace.
- PVC fittings and short lengths of pipe: cheap, but the hardware adds up once elbows and T sockets are included.
- Wood strips: often low cost, especially for straight hanger pieces.
- Conduit or metal rod: stronger, but usually adds transport cost and more tool effort.
The cheapest build path depends on what is already on hand. If the builder already has a saw and tape, wood becomes easier to justify. If the builder needs pipe cutters and fittings, PVC may still stay low cost, but the stand can be less stable.
Frequently asked questions
What is the cheapest way to build a target stand for archery?
The cheapest way is usually a very simple cardboard-faced stand with a minimal wood frame. That can land near the low end of the budget range, around $6 to $10 in common examples. Price alone does not decide the winner, though. The stand still needs enough base stability to stay upright.
Can I make a target stand with PVC pipe and wood?
Yes. A common beginner setup uses PVC for the frame and wood strips as the top hanger or arm. The wood needs straight cuts so it seats properly in the fittings. This is an affordable path, but it is more likely to wobble than a heavier wooden or conduit frame.
How do I make a portable target stand I can move easily?
Use a lighter frame, keep the base simple, and consider foldable wooden legs. Portable target stands are easier to store and carry when the parts break down into short sections. If the stand must move often, avoid overbuilding it with unnecessary heavy pieces.
What size should a target stand be for cardboard or bag targets?
Build the frame to match the target face, then add a little width for support. For the B-27 class silhouette target, the target is 25 x 45 inches, and the base should be approximately 26¼ inches apart. Bag targets often need a frame that supports the full bag width without sagging.
Is a cardboard target stand sturdy enough for practice?
Yes, if the frame is braced and the stand is used in calm conditions. Cardboard is lightweight, so it is best for budget builds and quick replacement. It is not the best choice for strong wind or loose, uneven ground unless the base is weighted or anchored.
What tools do I need to build a simple target stand?
Most beginner builds can be handled with a hammer, saw, pipe cutters, measuring tape, and staple gun. That set covers wood, PVC, and cardboard-backed designs. If only a few tools are available, pick the design with the fewest cuts and the fewest joints.