How to Build a Target Stand for 3D Archery Targets That Works
Build a 3D target stand from a 24-inch-deep base, 36 to 48 inches wide, with a lower cross brace, a top stop, and ground stakes or sandbags so the target cannot rock or tip.
This guide is part of our Target stand DIY: Plans, materials, and builds series.
A shallow or unbraced stand lets foam tear out, sends arrows in odd angles, and can drop the target after the first hard hit. This guide gives the dimensions, cut list, bracing, anchoring, and mounting details that keep a 3D target stable for practice and tuning.
What you’ll need


- 2×4 or 4×4 lumber for uprights and base members
- Galvanized screws, carriage bolts, washers, and eye bolts
- Straps, brackets, or a replaceable crossbar/support arm
- Saw, drill, measuring tape, square, and wrench
- Stakes, sandbags, or ground screws for anchoring
- Sealant or exterior paint for weather protection
- Safety netting or a bale/backstop for the area behind the stand
- Optional handle hardware for knock-down or portable builds
📊 The cited cardboard target stand can be made for roughly $6. Source: 15 DIY Target Stand Projects.
What makes a 3D target stand different?
A 3D archery target is a foam animal target with more width and depth than a flat bag target, so it needs a broader footprint and better tie-in points. The main job is to stop side load, not just vertical weight. A stand that works for a flat face often fails when foam shifts or twists.
That extra depth changes everything. The target body can act like a lever, especially if the mounting point sits too high or the base is narrow. A simple frame is enough for small foam bodies on calm, level ground. Bigger targets, windy sites, and uneven dirt need a wider stance and solid anchoring.
Common build options
- Wood strip and PVC pipe portable target stand
- Low-cost cardboard target stand
- Wood frame with a wide A-frame base
- Conduit stand for a stiffer frame, though it is heavier to transport
- Foldable wooden-leg design for easier storage and moving

How do you size the stand for your target?
Size the stand to the target’s footprint first, then set the upright spacing and base depth around that body. A 3D target should sit in the frame without squeezing the foam or hanging so far out front that it starts to swing. The mount point should support the center of mass, not just the top edge.
For a B-27 class silhouette stand, one DIY model uses a 25 x 45 inches target size with a base spacing of approximately 26¼ inches apart. That kind of fit works because the frame matches the load instead of letting the target hang off one side.
| Target size | Recommended stand width | Upright spacing | Base depth | Anchoring method |
|---|---|---|---|---|
| Small 3D target, under 24 inches wide | 30 inches | 18 to 22 inches | 18 to 24 inches | Stakes on dirt; sandbags on gravel |
| Medium 3D target, 24 to 32 inches wide | 40 inches | 24 to 28 inches | 24 inches | Stakes plus one rear tie-down or sandbags |
| Large 3D target, 32 to 40 inches wide | 48 inches | 28 to 34 inches | 24 to 30 inches | Ground screws or double sandbagging |
| Very large target or heavy foam body | 50 to 60 inches | 34 to 40 inches | 30 inches | Ground screws with rear tie-in and backstop |
Build the base and uprights
Cut the base members wide enough to resist side load, then fasten the uprights so they stand square and do not twist. Use 2×4 lumber for lighter targets and 4×4 lumber when the foam body is large or the site is windy. Drill or slot the uprights so the crossbar or straps can be replaced after arrow damage.
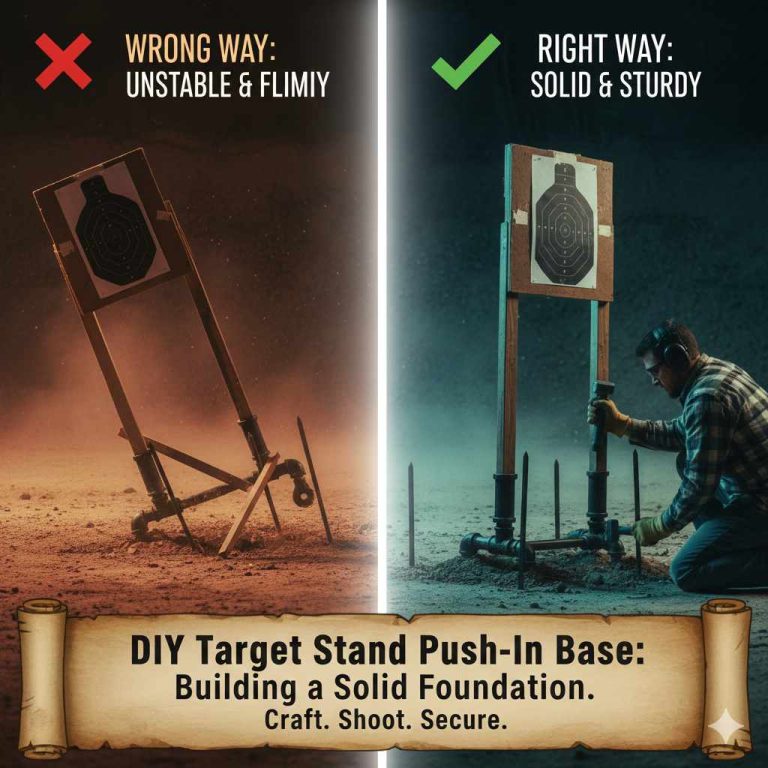
Keep the lower brace low and the contact point broad. A narrow mount concentrates stress and lets the target swing. Carriage bolts and washers hold better than loose screws where vibration and repeated hits are part of normal use.
How do I keep a 3D target stand from tipping over?
Use A-frame or outrigger geometry so the stand has a wide stance before weight or wind ever acts on it. Then anchor it for the surface you actually have. On dirt, stakes are quick. On gravel, sandbags or ground screws are usually more reliable. The goal is to stop the stand from becoming a lever.
Keep the target low enough that the frame does not put the center of mass high above the base. A tall mount can tip even when the feet look wide enough. Say your target sits on a slope in spring mud; a foot that moves an inch can start a slow lean that ends in a fall after a few shots.
If that didn’t work, try this next
- Increase rear leg depth by 6 to 12 inches.
- Add a second anchor point behind the stand.
- Move the target lower on the uprights.
- Switch from light straps to bolts with washers.
What hardware should I use to hold a 3D target in place?
Use galvanized screws, bolts, washers, eye bolts, or carriage bolts that stay tight under impact vibration. The target body should rest against a wide contact area, not a knife-edge bracket. Straps are useful when the foam shell needs a forgiving tie-in, but the strap anchor still needs solid hardware.
For replaceable wear points, make the crossbar or front stop a sacrificial part. That keeps repeated arrow strikes from damaging the main frame. Cardboard or a backing panel can help shape the contact zone, but it should not replace the main support on larger foam targets.
How do I build the stand for my bow setup?
Compound bows usually send more energy into the target, so the stand needs more bracing, a wider base, and a backstop behind it. Recurve setups are often gentler on the mount, but a weak frame can still wobble and tear. Broadhead practice needs extra caution because broadheads cut foam and can loosen poor mounts fast.
Place safety netting or a bale/backstop behind the stand, especially with higher-poundage bows. A pass-through on a 3D foam target can travel farther than expected. A common mistake is hanging a heavy target from a thin top rail, then shooting broadheads without a backstop. That setup fails quickly.
Simple build variants
- Wood frame with a wide A-frame base for the most common home setup.
- Portable wood strip and PVC pipe frame for lighter 3D targets.
- Foldable wooden-leg frame for easier transport and storage.
- Conduit frame when stiffness matters more than carrying weight.
How do I weatherproof an outdoor target stand?
Use outdoor-rated lumber, then seal or paint every cut end before the frame goes outside. Moisture works into screw holes and end grain first, so those spots need the most care. Store the stand off the ground when it is not in use, and avoid leaving wet straps or foam against raw wood.
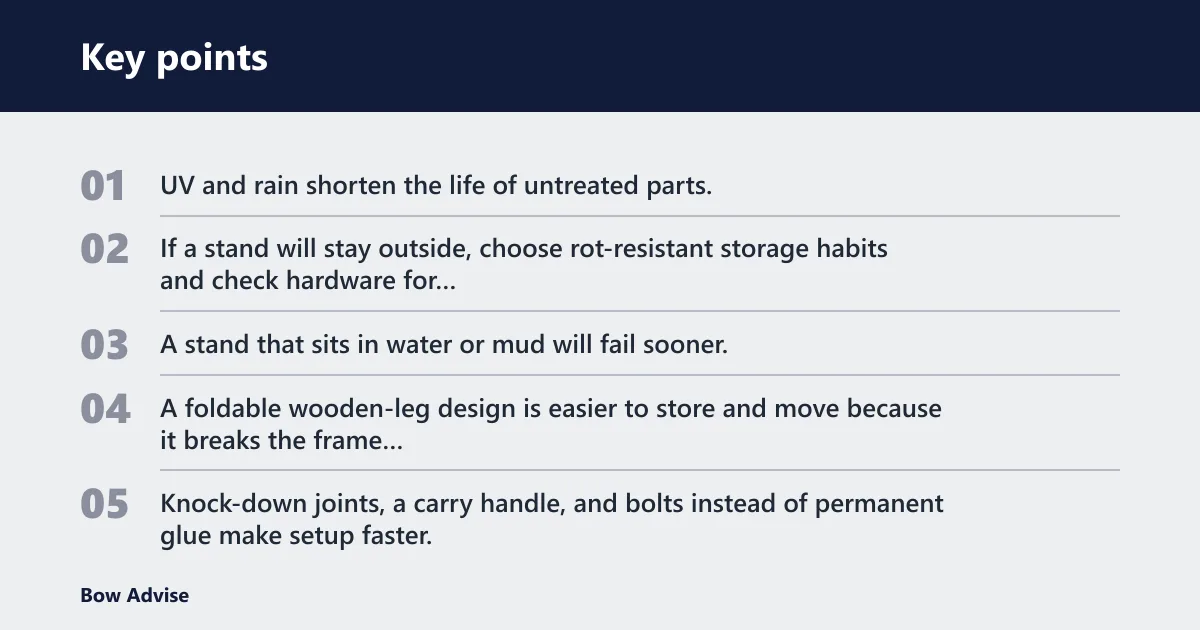
UV and rain shorten the life of untreated parts. If a stand will stay outside, choose rot-resistant storage habits and check hardware for loosening after wet weather. A stand that sits in water or mud will fail sooner, even if the frame looked strong on day one.
How do I make a target stand that is easy to move and store?
A foldable wooden-leg design is easier to store and move because it breaks the frame into smaller pieces. Knock-down joints, a carry handle, and bolts instead of permanent glue make setup faster. A stand that fits a car trunk or range storage is more useful than one that is hard to lift.
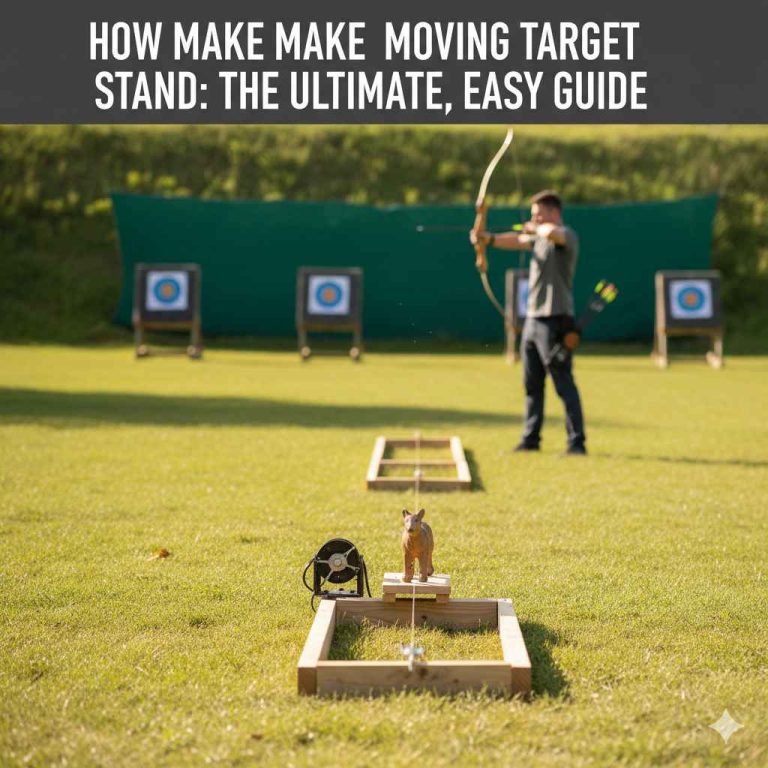
Portable target stand projects often use wood strip and PVC pipe materials, and a cardboard target stand can be made for roughly $6. One DIY target stand is described as costing roughly $19. For a heavier frame, conduit is stiffer but heavier to transport.
What wood is best for a 3D archery target stand?
2×4 lumber works for many light to medium builds, while 4×4 lumber is better when the target is large, deep, or likely to see wind. The best choice is the one that keeps the target square without flexing. Exterior-rated lumber and sealed cut ends last longer outdoors.
Can I use a target stand for broadhead practice?
Yes, but only with a strong backstop and a frame that can tolerate cut foam and repeated impacts. Broadheads chew up contact points faster than field points, so use replaceable face material or a sacrificial backing panel. A weak mount can loosen quickly after only a few hits.
How tall should the uprights be for a 3D target?
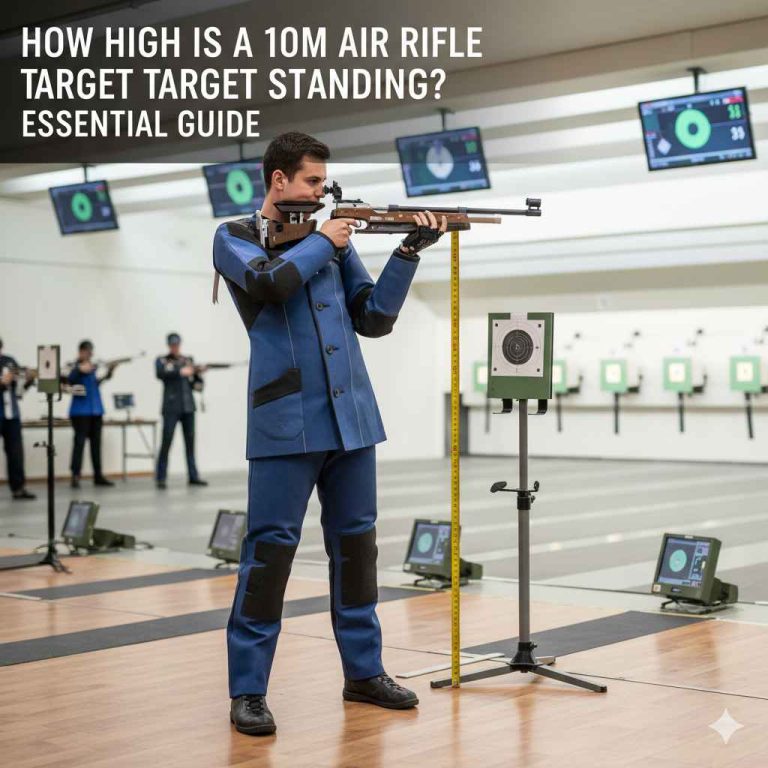
Set upright height to the target size and the mounting height you need, then keep the center of mass low. For most home stands, the uprights should rise only high enough to hold the body and upper tie-in points without making the target sit like a flag on a pole.
How do I keep a 3D target stand from tipping over?
Use a wider base, rear bracing, and anchoring matched to the ground. Stakes work in soft soil, sandbags help on gravel, and ground screws are a strong option in exposed spaces. The safest setup keeps the target low and the feet spread wide.
How do I weatherproof an outdoor target stand?
Seal all cut ends, paint exposed wood, and store the stand off wet ground. Use galvanized fasteners so rust does not loosen the frame. Check straps, bolts, and anchor points after rain, because moisture and repeated vibration can change how tight the stand feels.
Common mistakes
Using a narrow base for a wide foam body is the fastest way to get wobble. Mounting the target too high turns the stand into a lever. Skipping anchors on uneven or windy ground invites rotation. Raw wood left outside will swell, split, and loosen fast. A stand placed without a safe backstop behind it also creates avoidable risk.
Suppose a 3D deer target sits on a 24-inch-wide frame but the shoulders hang past the uprights. The first side hit can start a twist, and the second shot may pull the target over. A wider stance and rear tie-in would have stopped that failure.