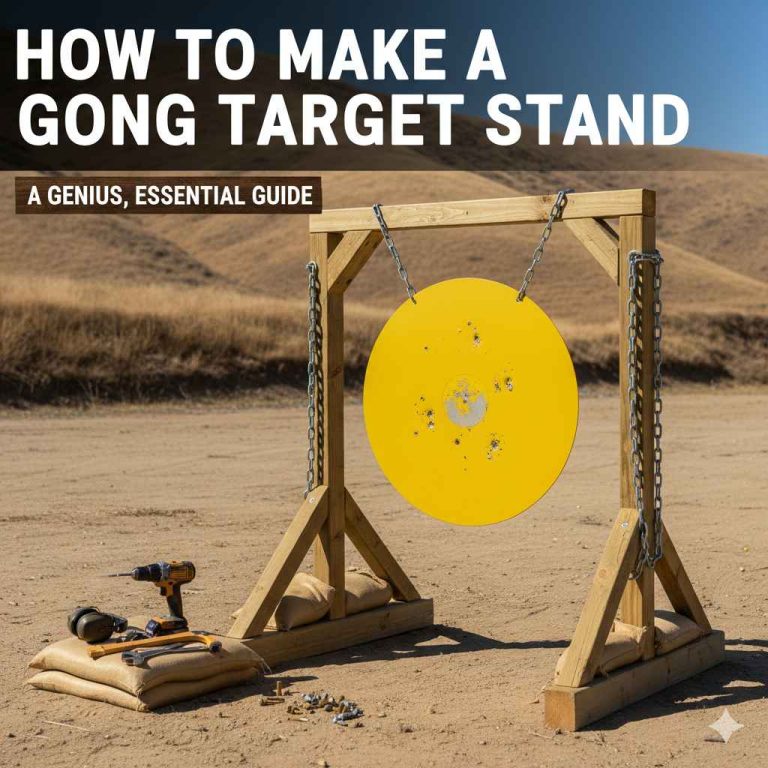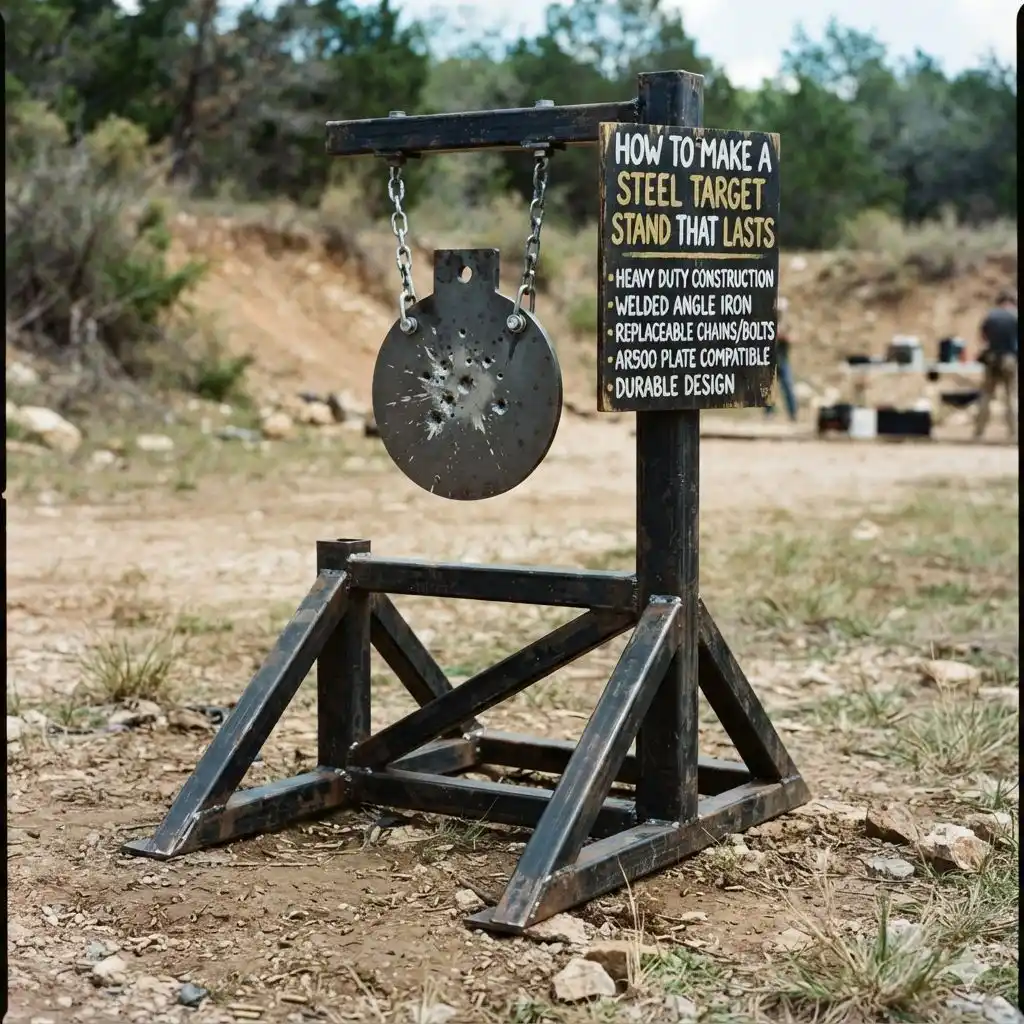
How To Make A Steel Target Stand That Lasts
Building your own steel target stand can save you money. It also lets you make it just right for your needs. But making one that really lasts can be tricky.
You don’t want it to wobble or break after just a few uses. This guide will help you build a strong and steady stand. We’ll cover everything from picking the best metal to putting it all together.
Understanding Steel Target Stands
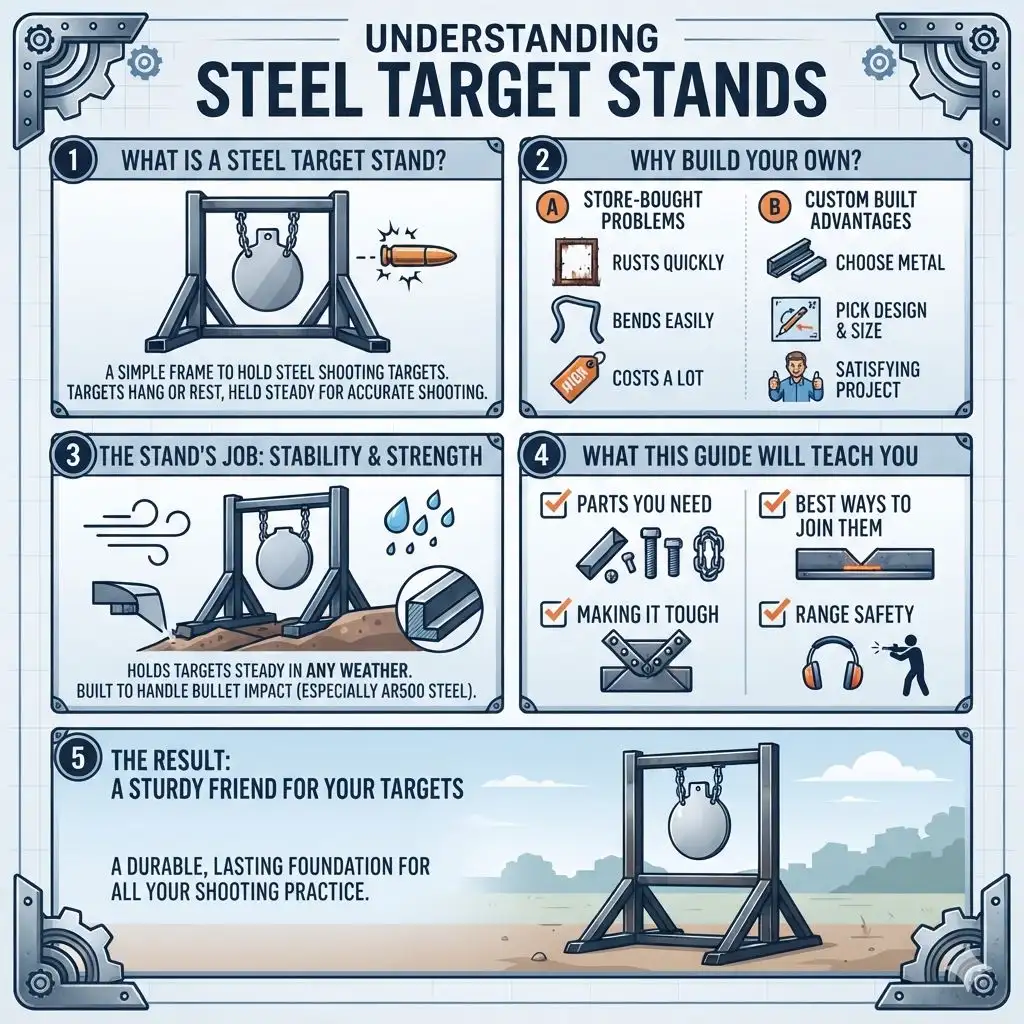
A steel target stand is a simple frame. Its job is to hold up your steel shooting targets. These targets hang or rest on the stand.
They need to be held steady so you can shoot at them. A good stand is built strong. It should be able to handle the impact of bullets.
It also needs to be stable in different weather.
Why build your own? Store-bought ones can cost a lot. Some are not built very tough.
You might find they rust quickly. Or they might bend easily. Making your own means you choose the metal.
You pick the design. You can make it taller or wider if you need to. This way, you get exactly what you want.
It’s a project that feels good to complete.
This guide will walk you through making a stand that lasts. We’ll look at the parts you need. We’ll talk about the best ways to join them.
You’ll learn how to make it tough. You’ll also learn how to make it safe for the range. Let’s get started on building a sturdy friend for your steel targets.
My First Wobbly Stand
I remember the first steel target stand I ever tried to make. I was so excited to get out to the range with my new steel gong. I grabbed some scrap metal I had lying around the garage.
It was some thin rebar and old angle iron. I didn’t really have a plan. I just started welding pieces together.
It looked okay at first. It held the target up.
But the very first time I shot at the gong, the whole thing started to shake. It was like a leaf in the wind. After a few more shots, one of the legs started to bend.
I was really annoyed. I had wasted time and materials. And now I still didn’t have a good stand.
It taught me a big lesson. You can’t just wing it. You need to plan and use the right stuff.
That experience made me do my homework. I talked to people at the range. I looked at designs online.
I learned about different types of steel. I figured out how thickness matters. I also saw how important a wide base is.
It’s not just about welding things together. It’s about building something solid. Something that won’t let you down when you need it most.
A strong steel target stand needs good materials and a stable design. Key elements include heavy-duty steel tubing or angle iron for the frame, wide-set legs for balance, and a secure method for attaching the target. Proper welding or strong bolt connections are crucial. A well-built stand ensures safety and longevity on the shooting range.
Choosing the Right Materials for Durability
The biggest factor in a stand’s life is the material. You want metal that can take a beating. It should also resist rust.
For a strong stand, think about steel. There are many kinds. But some are much better than others for this job.
Steel Tubing vs. Angle Iron
Many stands use steel tubing. This is pipe-shaped metal. It’s strong and light.
It’s also easy to find. Square tubing is often best. It gives you flat sides to weld.
Round tubing can work too. But it can be harder to join pieces at right angles.
Angle iron is another good choice. It looks like an L-shape. It’s very strong.
It’s good for corners and supports. You can often find it in thick sizes. This makes for a very sturdy stand.
Sometimes, people mix tubing and angle iron. They use angle iron for the base and tubing for the uprights.
For a stand that really lasts, pick thicker metal. Thin metal will bend. It might even break.
Look for steel that is at least 1/8 inch thick. 3/16 inch is even better. For really heavy-duty stands, you can go thicker.
But remember, thicker metal is heavier. It will be harder to move.
Metal Thickness Matters
Thin Metal (e.g., 16 gauge): Okay for light targets, but can bend easily. Might not last long.
Medium Metal (e.g., 1/8″ or 11 gauge): A good balance. Strong enough for most common steel targets. Should last a good while.
Thick Metal (e.g., 3/16″ or 1/4″): Very strong. Best for heavy targets or if you want maximum durability. Will be heavier to carry.
Rust Protection: Painting and Coatings
Steel looks great when new. But it rusts outside. Rust weakens the metal.
It also looks bad. You need to protect your stand. Painting is the most common way.
Use a good metal primer first. Then apply a few coats of durable enamel paint. Many spray paints work well for metal.
For extra protection, consider other coatings. Powder coating is very tough. It’s a dry finish.
It’s baked onto the metal. It resists chips and scratches better than regular paint. Some people use galvanizing.
This is a zinc coating. It’s very good against rust. But it can be expensive and harder to do yourself.
When you paint, make sure the metal is clean. Remove any oil or grease. Sand off any existing rust.
A clean surface is key for paint to stick. Get into all the nooks and crannies. Don’t forget the bottom of the legs.
That’s where moisture can collect.
Surface Prep Steps
- Clean: Wash metal with soap and water. Use a degreaser if needed.
- Sand: Use sandpaper or a wire brush. Remove loose rust and old paint.
- Wipe Down: Use a tack cloth or clean rag with mineral spirits. Remove all dust.
- Prime: Apply a rust-inhibiting metal primer. Let it dry fully.
- Paint: Apply 2-3 thin coats of your chosen metal paint.
Fasteners: Welding vs. Bolts
How you join the metal parts matters a lot. Welding is the strongest way. Good welds make the stand a single, solid piece.
If you can weld, this is the best option. You’ll need a welder and know how to use it safely.
If welding isn’t an option, bolts are next best. Use strong bolts. Use washers too.
Lock washers or nylon insert nuts help keep bolts tight. Vibrations from shooting can loosen bolts over time. You’ll need to check them now and then.
Use the thickest bolts you can fit. 3/8 inch or 1/2 inch diameter bolts are good.
For bolt-together stands, drilling clean holes is important. Make sure the holes line up well. This makes assembly easier.
It also makes the joints tighter. Don’t rush this step. A poorly bolted stand will be wobbly.
Designing for Stability and Safety
A strong stand is good. But a stable stand is also safe. You don’t want it tipping over.
Especially when you’re shooting. Stability comes from the base and the design.
The Importance of a Wide Base
Think about standing. If your feet are close together, you can fall easily. If your feet are far apart, you are much more stable.
The same is true for a target stand. A wider base means more balance.
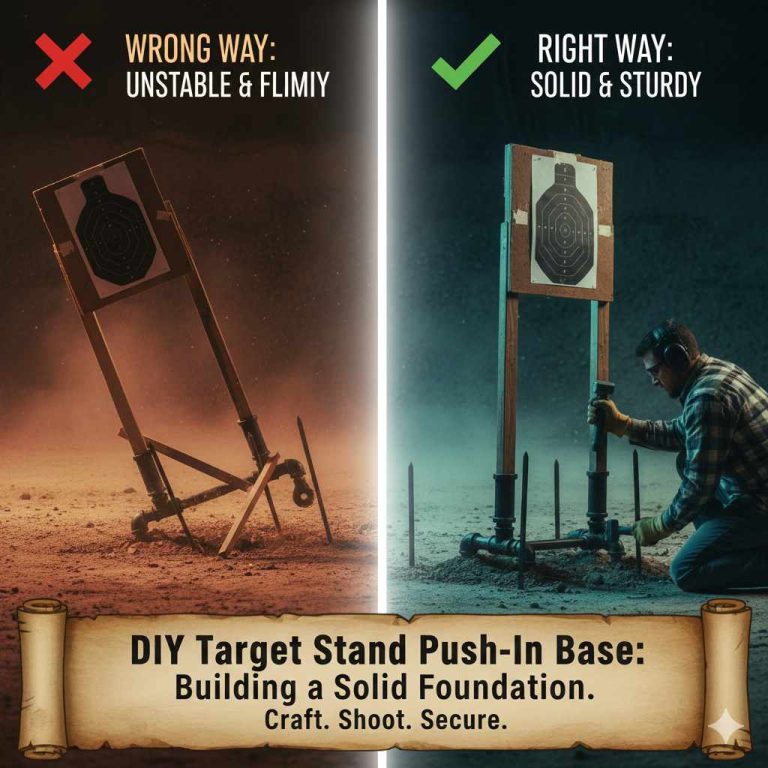
Most good stands have legs that spread out. They don’t just go straight down. They angle outwards.
This creates a wide footprint. This is super important. A narrow stand will tip.
Especially if a bullet hits it. Or if the wind blows it. Aim for a base width that is at least as wide as the stand is tall.
Or even wider.
You can make legs that are fixed. Or you can make them fold. Folding legs are handy for transport.
But make sure they lock securely. When they are open, they should feel solid. No wiggling.
Some designs have an ‘H’ shape base. Others have an ‘X’ shape. Both can be very stable if built right.
Stability Checklist
- Leg Angle: Do the legs spread outward?
- Base Width: Is the base wide enough for the height?
- Footing: Can the legs sit flat on uneven ground? (Consider foot plates)
- Center of Gravity: Is the target hanging low, not high up?
Target Hangers and Adapters
How the target attaches is also key. Many steel targets have holes. You can use chains, S-hooks, or bolts to hang them.
The stand needs a way to hold these. Often, this is a simple steel bar or a welded loop.
The hanger should let the target swing freely. This reduces wear on the stand. It also makes a nice sound when you hit it!
But it shouldn’t swing too wildly. A very loose chain can make the target hit the stand itself. That can damage the stand and the target.
Think about the type of targets you use. Do you have AR500 steel plates? Do you use silhouette targets?
Make sure your stand can handle the weight. And make sure the hanger is strong enough. For hanging targets, consider using thick chain.
Or sturdy wire rope. Avoid thin rope or cord. Those will break.
Some stands have a simple ‘T’ top. This is good for hanging targets with chains. Other stands have a flat top.
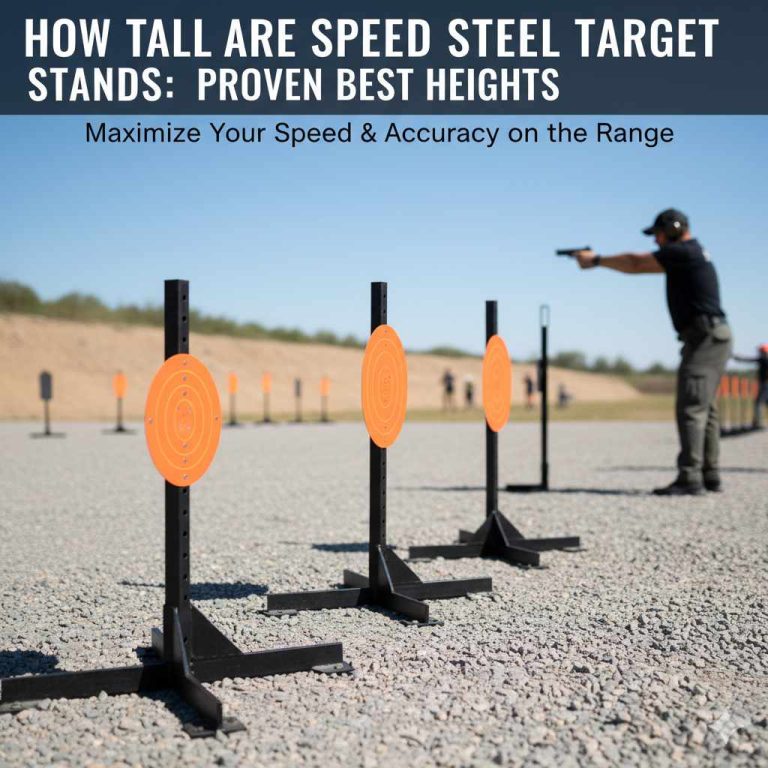
You can place targets on these. Or use a bracket to hold them. For rifle targets, you want them high enough.
So rounds don’t hit the stand legs. For pistol targets, lower is usually fine.
Bullet Deflection and Safety Spacing
This is a very important safety point. Bullets don’t always go where you aim. Sometimes they hit the edges of the target.
Or they hit the target stand itself. This is called a “ricochet.” A ricochet can send bullets off in unpredictable directions.
You need to design your stand to minimize ricochets. Most stands have legs that are angled. This often means the legs are slightly forward.
Or they are spread wide at the bottom. This helps deflect rounds away from the center. It directs them down into the ground.
Always make sure there’s enough space. Keep the target high enough so bullets won’t hit the stand legs. This is especially true for rifle shooting.
Pistol rounds are less powerful. But they can still ricochet. Never shoot at targets that are too close to hard objects.
Or near people.
Some people add a “deflector” plate. This is a piece of steel placed above the main target. Or behind it.
It catches stray rounds. It directs them safely into a berm or backstop. This adds an extra layer of safety.
It can also protect your stand from direct hits.
Safety First Design Tips
- Angled Legs: Ensure legs angle away from the shooting area.
- Target Height: Keep targets high enough for rifle rounds.
- Backstop: Always shoot towards a safe backstop (like an earth berm).
- Clear Area: Ensure no people or property are behind or to the sides of the target.
- Stand Material: Avoid using soft materials that bullets can easily penetrate or deflect off of unpredictably.
Building Your Stand: Step-by-Step
Let’s put it all together. This is a basic plan. You can change it to fit your needs.
We’ll aim for a simple ‘X’ or ‘A’ frame stand. It will use steel tubing and angle iron. This is a strong and common design.
Gathering Your Tools and Supplies
Before you start, get everything ready. This makes the job much smoother.
Tools You Might Need
- Welder (MIG, stick, or flux core) – if you’re welding
- Angle grinder with cutting discs and grinding discs
- Drill with metal drill bits
- Measuring tape
- Marker or scribe
- Clamps (welding clamps or C-clamps)
- Safety glasses and welding helmet/shield
- Gloves (welding gloves and work gloves)
- Wire brush
- Metal file
- Socket wrench set or adjustable wrench (if using bolts)
Materials for a Medium-Sized Stand
- Legs: Two pieces of 1.5″ square steel tubing, 1/8″ or 3/16″ thick. Each piece about 4 feet long.
- Top Frame: Two pieces of 1.5″ square steel tubing, 1/8″ or 3/16″ thick. Each piece about 2 feet long.
- Center Brace: One piece of 1″ square steel tubing, 1/8″ thick. About 1 foot long.
- Target Hanger: One piece of 1/4″ or 3/8″ steel rod or thick angle iron. About 1 foot long.
- Fasteners: Bolts, nuts, and washers (if not welding). Use 3/8″ or 1/2″ diameter.
- Paint: Metal primer and durable enamel top coat.
Cutting and Preparing the Metal
Accuracy here helps a lot later. Measure twice, cut once. Always wear safety glasses.
Cut the Legs: Take your two 4-foot tubing pieces. These are your main legs. You need to cut them so they form an ‘X’ or an ‘A’ shape.
A simple way is to cut a shallow angle on the top end of each leg. This lets them join together cleanly at the top.
Cut the Top Frame: Cut your two 2-foot tubing pieces. These will form the top rectangle or square that holds everything. You’ll weld or bolt these to the tops of your legs.
Cut the Center Brace: This piece goes across the top frame. It gives you something to attach your target hanger to. Cut it to fit inside your top frame.
You might need to notch the ends a bit if it’s going to sit flush.
Cut the Target Hanger: This could be a rod or a piece of angle. Cut it to the desired width. You’ll attach this to the center brace.
Smooth the Edges: After cutting, there will be sharp burrs. Use a grinder or file to smooth all cut edges. This is a safety step.
It also makes welding or bolting easier.
Assembling the Stand (Welding Method)
If you’re welding, this is where the stand takes shape.
Join the Legs: Lay your two main leg pieces on a flat surface. Angle them so they meet at the top. Clamp them securely.
Weld them together at the top joint. You might need to add a small reinforcing plate. This makes the joint super strong.
Attach the Top Frame: Place your two top frame pieces on top of the leg joint. Weld them to form a square or rectangle. Make sure it’s level and square.
This frame is what your target hanger attaches to.
Install the Center Brace: Weld your center brace piece across the top frame. This provides a solid point for hanging your target. You might weld it flat or slightly angled for clearance.
Add the Target Hanger: Weld your target hanger rod or angle iron to the center brace. Make sure it’s sturdy and centered. This is where you’ll hook your chains or S-hooks.
Weld the Legs to the Top Frame: Now, fully weld the tops of the legs to the top frame. Ensure a strong bond. If you angled the legs, they should spread out to form a stable base.
Assembling the Stand (Bolting Method)
If you’re using bolts, you need to drill holes.
Prepare Leg Tops: Decide how the legs will join at the top. You might overlap them or butt them together. Drill holes through both pieces where they connect.
Use strong bolts and nuts.
Prepare Top Frame: Drill holes in the ends of your top frame pieces. These will bolt to the tops of the legs. You might also drill holes for the center brace.
Attach Top Frame to Legs: Align the top frame with the leg assembly. Bolt them together securely. Use washers under the bolt heads and nuts.
Lock washers or nylon insert nuts are recommended.
Install Center Brace: Bolt your center brace across the top frame. Ensure it’s tight. You might need to drill holes in the frame and the brace.
Add Target Hanger: Bolt or weld your target hanger to the center brace. If bolting, use sturdy bolts and ensure it doesn’t wobble.
Reinforce Joints (Optional): For extra strength, you can add corner brackets or gussets where the legs meet the frame. Drill holes and bolt these in place.
Check for Wobble: Once assembled, stand the stand up. Push on it. Does it feel solid?
Tighten all bolts if needed. If it still wobbles, you might need to add more bracing or wider legs.
Assembly Tips
- Flat Surface: Work on a level, hard surface.
- Measure Carefully: Accurate cuts make assembly easier.
- Pilot Holes: For bolts, start with smaller pilot holes. Then drill to final size.
- Tighten Evenly: For bolts, tighten nuts evenly in a criss-cross pattern.
- Inspect Welds: Look for good penetration. No cracks or gaps.
Real-World Context and Usage
Where and how you use your stand matters. A stand built for dry, calm weather might not last in a rainy, windy place. Thinking about your shooting environment helps you build a better stand.
Outdoor Environments
Most steel targets are used outside. This means facing the elements. Rain, snow, humidity, and sun all affect metal.
Moisture is the biggest enemy of steel. It causes rust.
If you live in a very humid area, you need extra protection. Make sure your paint job is perfect. Consider more frequent touch-ups.
Storing your stand indoors when not in use is a huge help. Even a tarp can keep off some rain.
Wind can also be a problem. A light target on a narrow stand can blow over. That’s why a wide, heavy base is so important.
For very windy areas, you might want to add weight to the legs. Or stake them down.
Shooting Habits and Target Choice
What kind of shooting do you do? Are you mostly shooting pistols at close range? Or are you using high-powered rifles at longer distances?
Pistol shooting is generally easier on stands. The rounds are slower. They hit the target with less force.
You can often get away with lighter materials. Or a less robust design.
Rifle shooting is much harder on stands. The bullets are faster. They carry more energy.
They can hit harder. They can also travel further. For rifle targets, you need a stand made of thicker steel.
The target should be hung higher. This keeps rounds from hitting the stand legs.
The size and weight of your steel target also matter. A small .22 rimfire target is light. A large 12-inch AR500 steel plate is heavy.
Make sure your stand can support the weight of your target. And the force of the impact.
Target Impact Considerations
Light Handgun Calibers (.22LR, 9mm): Less impact force.
Transport and Storage
Do you need to move your stand often?
Or will it stay in one place? If you move it a lot, weight is a factor. You might choose lighter materials.
Or a design that breaks down easily.
Folding legs are great for transport. Some stands can be completely disassembled. This makes them easier to carry.
But ensure that any connection points are strong. And that the stand reassembles easily and securely.
If the stand will stay in one spot, you can build it heavier. And more permanent. You might even dig the legs into the ground for extra stability.
For storage, consider a dry place. A garage or shed is ideal. Keeping it out of the weather will greatly extend its life.
What This Means for You
Knowing how to build a good stand is useful. It means you can have a reliable piece of gear. It also means you can save money.
But it’s important to know what’s normal and what’s not.
When is it Normal?
It’s normal for a steel target stand to get scratched. It’s normal for paint to chip over time. Especially if it’s hit by shrapnel.
It’s normal for the stand to vibrate when you shoot. Especially with larger calibers.
It’s also normal to need to check the bolts or welds now and then. Things can loosen up. Rust can start in small spots.
A little maintenance goes a long way.
If your stand has a wide base and strong legs, and it holds your target steady, that’s normal. If it doesn’t fall over when you shoot, that’s good and normal.
When Should You Worry?
You should worry if the stand wobbles badly. If it looks like it’s about to tip over. Especially with just light targets.
If you see cracks in the welds. Or if bolts are constantly coming loose. This means the stand is not safe.
If the metal is bending or deforming significantly after just a few shots. This suggests the metal is too thin. Or the design is weak.
If you have rust holes forming. This means the protection isn’t good enough.
Any sign that the stand is failing structurally is a reason to worry. Your safety, and the safety of others, depends on a solid stand.
Simple Checks You Can Do
Before you shoot, take a quick look. Push on the stand. Does it feel solid?
Are all the legs on the ground? Check any visible welds for cracks. If it’s bolted, give the bolts a tug to see if they are tight.
If you used paint, look for new spots of rust. Touch them up if you find them. If your stand folds, make sure the locking mechanism is secure.
This quick check takes maybe 30 seconds. But it can prevent a dangerous situation. It’s part of responsible shooting.
Quick Fixes and Tips for Longevity
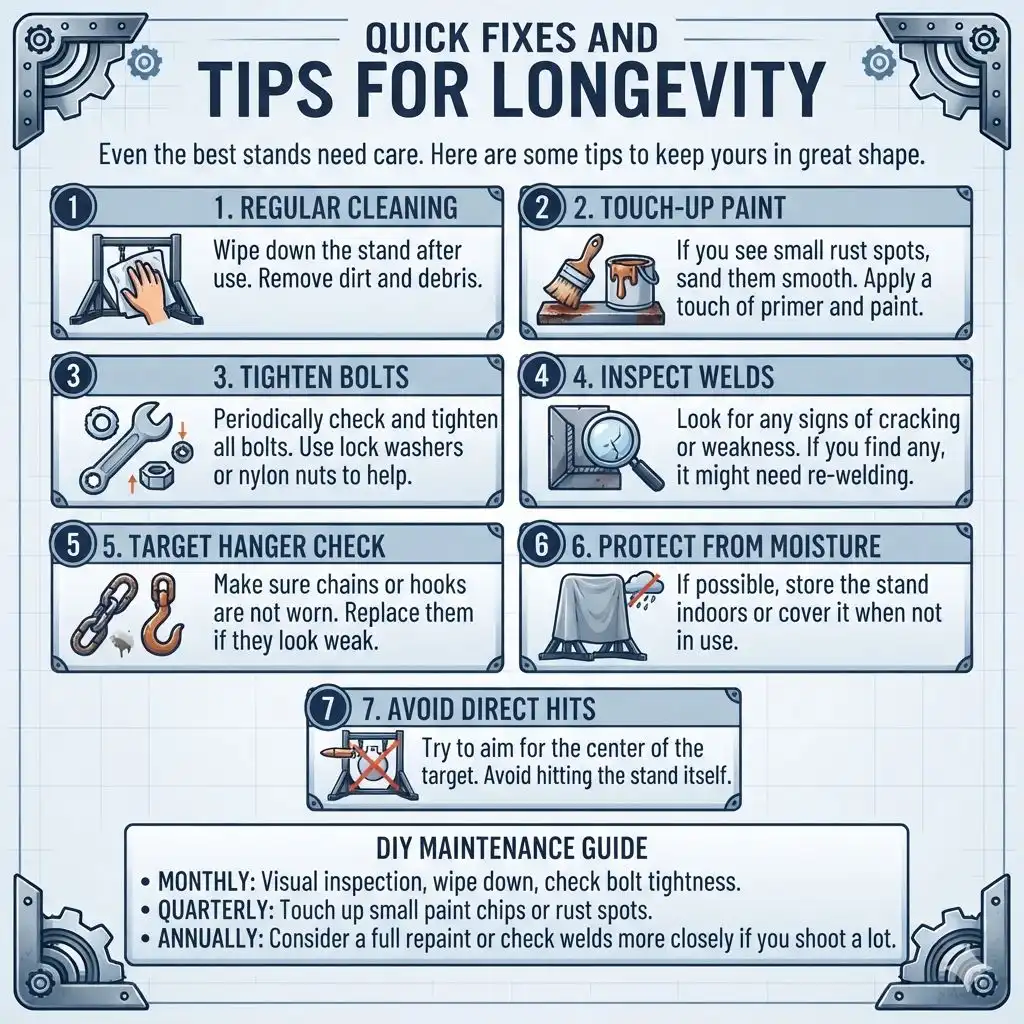
Even the best stands need care. Here are some tips to keep yours in great shape.
- Regular Cleaning: Wipe down the stand after use. Remove dirt and debris.
- Touch-Up Paint: If you see small rust spots, sand them smooth. Apply a touch of primer and paint.
- Tighten Bolts: Periodically check and tighten all bolts. Use lock washers or nylon nuts to help.
- Inspect Welds: Look for any signs of cracking or weakness. If you find any, it might need re-welding.
- Target Hanger Check: Make sure chains or hooks are not worn. Replace them if they look weak.
- Protect from Moisture: If possible, store the stand indoors or cover it when not in use.
- Avoid Direct Hits: Try to aim for the center of the target. Avoid hitting the stand itself.
DIY Maintenance Guide
Monthly: Visual inspection, wipe down, check bolt tightness.
Quarterly: Touch up small paint chips or rust spots.
Annually: Consider a full repaint or check welds more closely if you shoot a lot.
Frequently Asked Questions
What is the best type of steel for a target stand?
For a stand that lasts, thick mild steel tubing or angle iron is best. Look for material that is at least 1/8 inch thick, and preferably 3/16 inch or 1/4 inch. This provides strength to withstand impacts and vibrations.
How wide should the base of my steel target stand be?
A good rule of thumb is that the base should be at least as wide as the stand is tall. A wider base provides better stability and prevents tipping, especially when using heavier targets or in windy conditions.
Is welding or bolting better for a target stand?
Welding creates a stronger, more unified structure. It’s generally the preferred method for maximum durability. However, a well-built stand using strong bolts, washers, and lock nuts can also be very durable and offers the advantage of disassembly.
How do I protect my steel target stand from rust?
Proper surface preparation and painting are key. Start with a rust-inhibiting metal primer. Then apply multiple coats of a durable enamel paint.
Keeping the stand clean and dry, and storing it indoors when not in use, will also significantly reduce rust.
Can I use thin metal for a steel target stand?
While you can technically build a stand from thin metal, it is not recommended for longevity or safety. Thin metal can bend, warp, or break under the stress of impacts and vibrations. It’s best to use thicker gauge steel for a reliable stand.
How do I ensure my target is hung safely?
Ensure the target hanger is strong and securely attached. Hang the target using chains or hooks that allow it to swing freely but not excessively. Make sure the target is high enough to avoid bullets striking the stand legs, especially when using rifles.
Conclusion
Building a steel target stand that lasts is achievable. It comes down to using good materials. And thinking about a stable design.
Don’t rush the process. Take your time with measurements and cuts. Protect your metal from rust.
And always think about safety.
A well-made stand will serve you for years. It will be a reliable part of your shooting setup. Enjoy the process of building something strong.
And enjoy the many times you use it.