DIY Target Stand Mistakes That Wreck Stopping Power
Most DIY target stand mistakes that cause poor arrow stopping and early wear come from loose support, wrong angle, and a weak backstop. Fix those three first, and most backyard stands stop arrows better and last longer. Ignoring them means pass-throughs, bent arrows, shredded foam, and a stand that gets unstable fast outdoors. This guide shows the failure signs, the usual build errors, and the fixes that improve stopping power and slow wear.
What you’ll need

- Measuring tape, square, pencil, and level
- Drill and bits sized for your fasteners
- Saw for timber, or tube cutter for conduit
- Carriage bolt, washers, and wing nut for a pivot
- Chain or webbing for a spread limiter
- Rebar anchors, ground stakes, or screw-in anchors
- Timber, aluminium tube, PVC conduit, or EMT steel conduit
- Target foam, bag target, or fabric target body
- Ballistic nylon, rubber-backed cargo netting, rubber mats, or dense foam panels for the backstop
- Exterior wood sealant, tarp, or corrugated roofing for weather cover
Why your target stand fails early
Read the arrow path first: if arrows punch through the center, bounce out from the face, or strike low and chew one edge, the stand geometry is usually wrong before the target itself is blamed. A stand can fail by tipping, racking, or letting the target sit too vertical, and each pattern leaves a different wear mark.
Separate stand failure from target failure by looking at the frame. A loose pivot, a narrow footprint, or a weak limiter lets the frame move after each shot, so the same area of the face takes repeated abuse. That drives torn loops, crushed foam, and early soft spots long before the target is “worn out.”
What to look for first
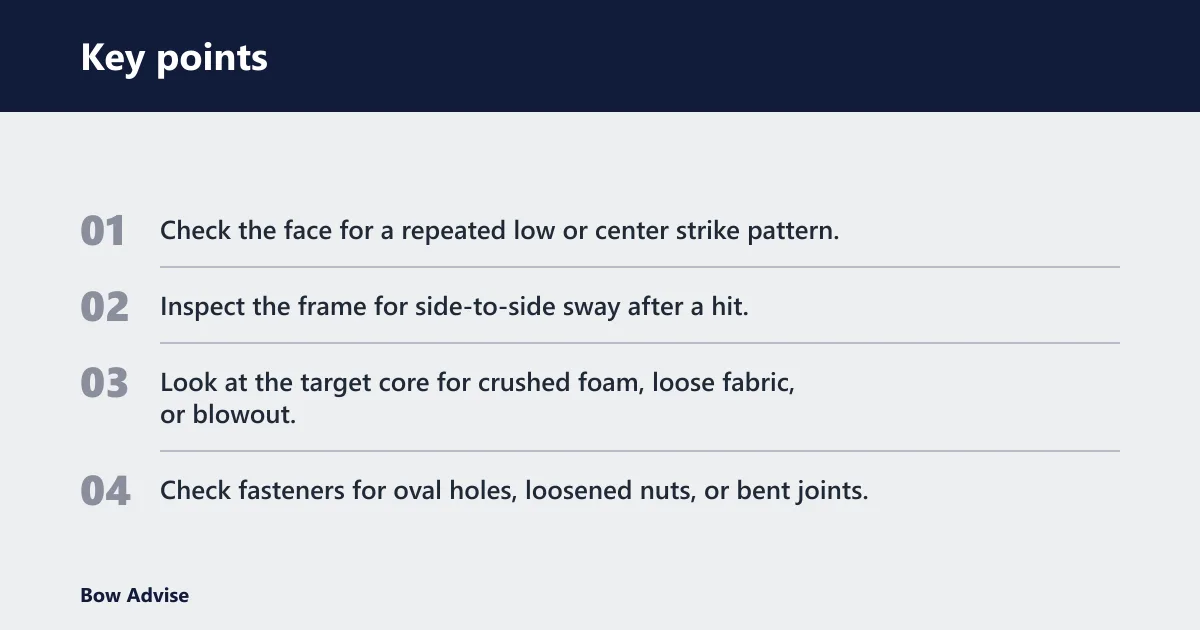
- Check the face for a repeated low or center strike pattern.
- Inspect the frame for side-to-side sway after a hit.
- Look at the target core for crushed foam, loose fabric, or blowout.
- Check fasteners for oval holes, loosened nuts, or bent joints.
What makes a homemade target stand wear out faster?
Wrong height, weak packing, and wind exposure usually shorten life fastest. If the target sits too high or too low, arrows hit the most stressed part of the face and core over and over. If the fill is loose, arrows drive deeper and enlarge the damage zone. Outdoor exposure then dries, softens, or warps the parts that hold the load.
Say your bag target sits on a narrow frame and the fill has settled near the bottom. Arrows from a compound bow will drive into the lower half, the bag will bulge there first, and the same spot will blow out early unless the fill is repacked and the height is reset.
How wear builds up
- Crushed foam means the core is packing too loosely or taking impacts off-center.
- Torn loops usually point to shock from movement or poor suspension points.
- Base racking means the frame is twisting under repeated hits.
- Faded, brittle covers usually point to sun and rain exposure.
Should a DIY target stand lean backward?
Yes. Set the face back 10°–15° for most backyard stands. That angle cuts bounce-out and sends arrow energy into the core at a better downward path. A face that sits too vertical throws more force back toward the shooter, while a slight lean helps the shaft settle into the target instead of skimming out.
A too-vertical stand also makes the target absorb force more abruptly, which speeds face wear. The fix is geometry, not just thicker material. Set the stand so the target is tilted back, the center of gravity stays low, and the front edge does not carry the whole load.
Set the lean the right way
- Set the frame on level ground and measure the rear lean with a level.
- Adjust the rear leg position until the face sits at 10°–15° backward tilt.
- Lock the spread with a chain or webbing limiter so the angle does not drift after shots.
- Recheck tilt after the first 20 arrows and tighten if the frame settles.
How wide should the base of a target stand be?
The base width should be at least equal to the target width, and wider is better for heavier bag targets. For a standard 60 cm foam target, the legs should spread at least 60 cm. A wider footprint lowers the center of gravity and gives the stand more resistance to tipping and racking.
A narrow footprint does two bad things at once: it makes the stand easier to tip, and it concentrates shock into the same joints every time. That is why the target may look fine while the frame slowly loosens and the face starts tearing off-center.
Use the right footprint
- Measure the target width before cutting the frame.
- Set the leg spread to match that width at minimum.
- For heavier bag targets, widen the stance beyond the target edge.
- Add a spread limiter so the legs stop at the chosen width every time.
What materials stop arrows best in a DIY setup?
Tight packing matters as much as the shell. Dense foam, compressed fabric, and a firm bag fill stop arrows better than loose stuffing because loose packing lets shafts travel too deep before they slow. A backstop then catches misses or pass-throughs so the main target does not take every shot.
For backing, ballistic nylon, rubber-backed cargo netting, rubber mats, and dense foam panels all reduce the load on the target. A 20 lb youth recurve and a 70 lb compound need different backstops because the faster setup drives deeper and needs more stopping margin.
Match the target to the bow
- Recurve at lighter draw weight: a denser target face and a simpler backstop often suffice.
- Compound at higher draw weight: use a firmer core and a stronger backstop layer to reduce pass-throughs.
- Loose bag fill: repack before the target becomes soft enough for deep penetration.
Diy target stand mistakes table
| Mistake | Visible symptom | Likely cause | Immediate fix | Long-term redesign |
|---|---|---|---|---|
| Too-vertical lean | Bounce-outs, shallow entry marks | Face sits nearly upright | Reset to 10°–15° backward tilt | Add a fixed rear leg stop or chain limiter |
| Narrow footprint | Stand rocks or tips after impact | Leg spread is too small | Widen the legs to at least the target width | Recut the base for a wider A-frame geometry |
| Loose pivot | Frame shifts, wobble grows over time | Fastener hole wear or loose hardware | Tighten the carriage bolt and wing nut | Use washers and a harder pivot point |
| Under-anchoring | Stand walks in wind | Not enough ground hold | Drive in rebar anchors or ground stakes | Build anchor points into the base |
| Wrong target height | Top or bottom edge blows out first | Impact zone is too high or too low | Reset the center to the shooter’s line of fire | Make the support adjustable |
| Poor backstop choice | Pass-throughs reach the area behind | Backstop is too light or too thin | Add dense foam panels or rubber-backed netting | Build a separate backstop frame |
| Overexposed weathering | Wood checks, foam hardens, cover fades | Sun and rain on unprotected parts | Cover the stand after use | Add exterior wood sealant and roof cover |
| Mismatched setup | Fast wear on a light stand | High-speed bow on light-duty build | Reduce shot volume or upgrade the backstop | Use heavier materials for compound use |
Build the joints and mounts
A carriage bolt through both legs creates a pivot for timber builds, and that joint should stay movable without becoming sloppy. Tight joints matter because wobble becomes base racking after repeated hits. If the frame shifts a few millimeters each shot, the target wears unevenly and the limiter starts taking load instead of controlling it.
PVC conduit is only suitable for lighter targets, and standard PVC can crack in cold weather. Timber builds suit targets up to around 15 kg. Aluminium tube and EMT steel conduit handle more abuse, but each still needs a controlled pivot and a spread limiter or chain to keep the geometry fixed.
Lock the frame without freezing it
- Drill the pivot hole square through both legs.
- Install the carriage bolt with washers on both sides.
- Use a wing nut so the joint stays adjustable.
- Add chain or webbing so the legs stop at the planned spread.
- Check for wobble after every 50 shots and retighten if the joint moves.
How do I keep a stand from tipping in wind?
Anchor it with rebar or ground stakes, reduce exposed weight, and keep the center of gravity low. Wind resistance is not only about mass; it is also about how much flat surface the stand presents and how much it can move before the base slips. A light stand with a tall target face is the easiest to flip.
Four pieces of ½-inch rebar, 12 inches long, are used for anchoring in one common timber build. That kind of anchoring helps the base stay put while the target face catches wind. If the site is exposed, use a backstop frame and add weather cover so the whole setup moves less and lasts longer.
Wind and weather fixes
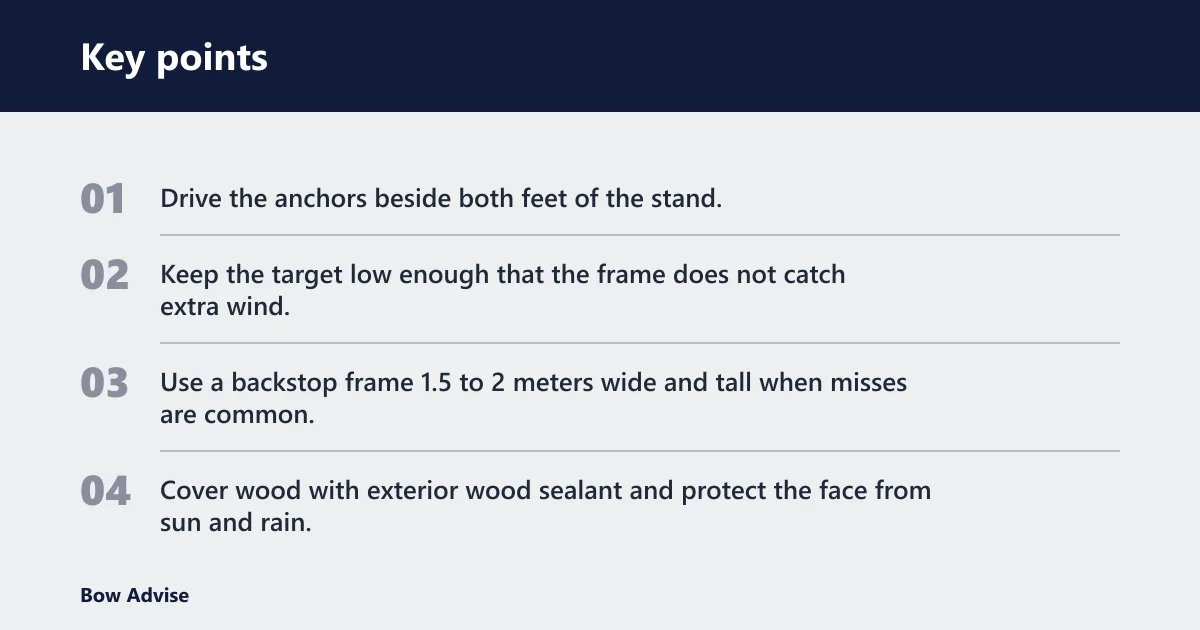
- Drive the anchors beside both feet of the stand.
- Keep the target low enough that the frame does not catch extra wind.
- Use a backstop frame 1.5 to 2 meters wide and tall when misses are common.
- Cover wood with exterior wood sealant and protect the face from sun and rain.
Common mistakes
- Using a stand that is too tall and too narrow for the target size.
- Skipping the limiter and letting the base spread change over time.
- Mounting a fast compound setup on a light PVC frame.
- Leaving foam, fabric, or wood uncovered in direct sun and rain.
- Ignoring loose hardware until the frame starts racking.
- Placing the target so low that arrows strike the most damaged lower section.
A common first-timer mistake is treating a soft face as the only problem. If the stand is too vertical and the base is too narrow, new foam will still fail quickly because the geometry is wrong. Fix the frame first, then replace the target surface.
How do I make a DIY target stand last longer outdoors?
Use weather protection on wood, foam, and suspension parts, then inspect them on a regular cadence. Seal timber with exterior wood sealant, cover the target between sessions, and keep rain off the frame whenever possible. Sun and moisture age the support parts as quickly as arrow impacts do.
Preventive maintenance should be simple: tighten the pivot, check the chain or webbing, inspect anchor points, and rotate or flip the target face before one area caves in. If the cover is split, repair it before water reaches the core. That slows both wear and deformation.
Maintenance cadence
- After each session: inspect the face, backstop, and anchors.
- Every 50 shots: check pivot tightness and base racking.
- After rain or strong sun: dry or cover the target before storage.
- When the face softens: rotate, repack, or replace the worn section.
Frequently asked questions
Why do my arrows pass through my DIY target stand so easily?
That usually means the target is too loose, too thin, or too fast for the setup. Start by increasing packing density, then add a denser backstop layer. If the bow is a compound, move to a firmer core or a separate backstop because the energy transfer is higher than for a light recurve setup.
How do I keep a target stand from tipping in wind?
Anchor it with rebar or ground stakes, reduce the exposed surface, and keep the center of gravity low. Four pieces of ½-inch rebar, 12 inches long, are a common anchoring approach for timber builds. In open yards, a separate backstop frame also helps reduce movement.
Can I use PVC for an archery target stand?
Only for lighter targets. PVC conduit is suitable for lighter builds, but standard PVC can crack in cold weather and it is a poor choice for heavier or high-impact setups. Timber, aluminium tube, or EMT steel conduit hold shape better when the target sees repeated use.
What target stand mistakes cause arrow bounce-out?
The biggest ones are a too-vertical face, a loose frame, and a target that is too hard or too shallow at the strike point. Set the backward tilt first, then check packing density and pivot tightness. A stable stand with a proper angle reduces rebound better than extra thickness alone.