How to Make a Target Stand for Broadhead Practice Safely
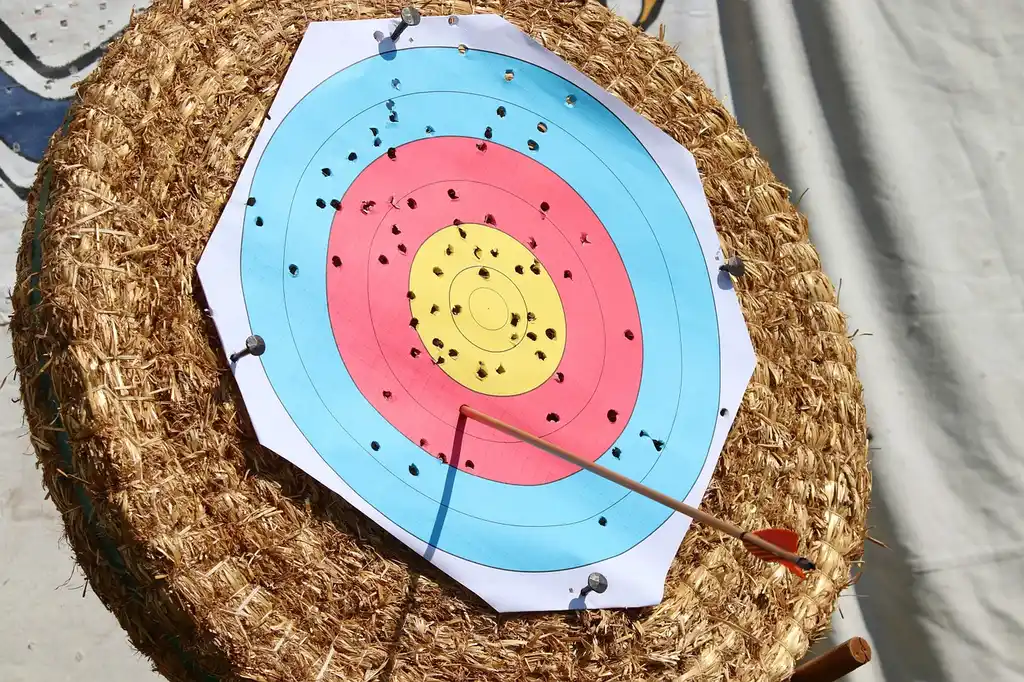
Build a broadhead-safe target stand with a wide, braced base that is at least as wide as the target. Use lag-screwed 2x4s or metal legs, and add a replaceable sacrificial face so arrows stop without chewing up the frame. A weak stand tips fast, and a broadhead can cut through, sending arrows low or into hardware. This guide shows the safest beginner build, the spacing and bracing that stop tip-over, and the face materials that stand up to broadheads.
This guide is part of our Target stand DIY: Plans, materials, and builds series.
What you’ll need before you build
- 4 pressure-treated or exterior-grade 2x4s for the base and uprights
- 2 more 2x4s for diagonal braces
- 3-inch exterior screws or lag screws
- Carriage bolts, washers, and lock nuts for the main joints
- 1 sheet of 1/2-inch exterior plywood for a replaceable backer if your target needs one
- Rubber feet, patio pavers, or sandbags for ballast
- Ground stakes or earth anchors for outdoor use
- Drill/driver, saw, measuring tape, square, and level
- Target straps, ratchet straps, or heavy hook-and-loop straps
Build the stand frame
Cut the stand to a safe size
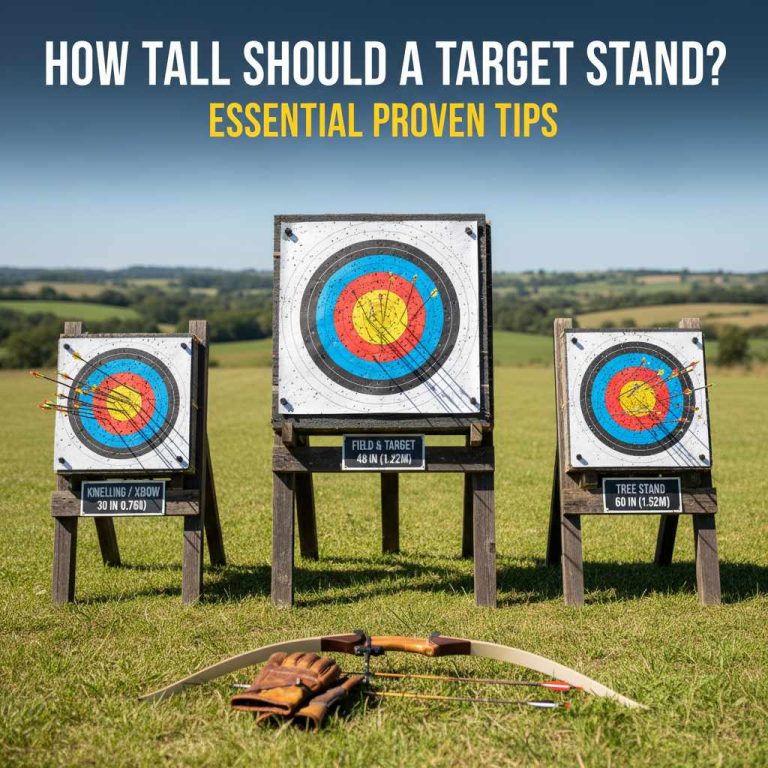
Cut a base that measures about 48 inches wide and 30 inches deep. Cut two uprights at 48 inches. Cut two diagonal braces at about 24 inches each, then trim them to fit cleanly after a dry fit. That footprint gives a beginner lane enough width to resist rocking when the target is hit off-center.
Assemble the base
- Lay the two long base pieces flat and square them with the 30-inch crosspieces.
- Pre-drill every fastener hole to reduce splitting.
- Fasten each corner with two 3-inch exterior screws or one carriage bolt plus washer and lock nut.
- Add a second crosspiece where the target will sit, so the face has support and the frame does not rack.
Mount the uprights and braces
- Stand the uprights at the back corners of the base.
- Fasten each upright with two bolts or three long screws through the base rail.
- Add the diagonal braces from the lower base rail to the upper upright.
- Check square with a framing square, then tighten every joint again.
Attach the target and set the face
Mount the target so its center sits roughly 36 to 40 inches above ground. That keeps the load low enough for stability while leaving room for most practice targets. Use straps instead of screws through the target itself, because broadhead practice wears the face and the stand should not force fasteners through the impact zone.
Why broadheads change the build

Broadheads cut, tear, and can pass through where field points may stop cleanly. The first failure is often not the bow or arrow; it is the stand tipping, the target face shredding, or an exposed screw becoming a strike hazard. Fixed-blade broadheads usually grab and cut more aggressively, while mechanical broadheads often open on impact and can still pass through thin material if the target is too light.
What can fail first: the stand, the target, or the lane?
The stand usually fails first when the base is too narrow or the target sits too high. The target fails first when the face is thin or already cut up from repeated hits. The lane fails when the stand is stable, but the area behind it is not clear enough for an occasional pass-through. Keep the frame out of the arrow path and give the target a broadhead-rated stopping surface.
How fixed-blade and mechanical broadheads behave differently
Fixed-blade heads tend to shred the face faster because the blades are already exposed. Mechanical heads may punch in a cleaner line at first, but they still require a target rated for broadhead use. A target that stops field points can still break down quickly under broadheads, especially if the same spot gets repeated hits.
What a safe backyard setup must resist
Your setup needs to resist tip-over, deflection, pass-throughs, and face damage. A broadhead-safe lane uses a wide footprint, low center of mass, and no hardware in the strike zone. If the stand sits outdoors, weather exposure matters too. Wood can be simple and low-cost, but it needs replacement over time if left outside.
Wood, PVC, or steel?
Wood is the simplest and cheapest way to build a target stand, but it weathers faster than the other options. PVC can work outdoors, but it is usually costlier than a basic wood frame and less straightforward to make well. Steel lasts longer than wood or PVC, though the material cost is higher and the layout must keep metal out of the arrow path.
Wooden target stand
A wooden target stand is the best starting point for most beginners. It is low-cost, easy to cut, and easy to repair with standard tools. Left outdoors, though, wood absorbs weather, loosens at the joints, and eventually needs replacement parts. If you want a temporary backyard setup, wood is usually the most practical choice.
PVC target stand
PVC is best treated as an outdoor option for light portability or weather resistance, not the easiest beginner build. It can cost more than wood once you buy fittings, and the structure needs careful bracing because broadhead impact can push it around. Use it only if the design keeps the target low and the base heavily weighted.
Steel target stand
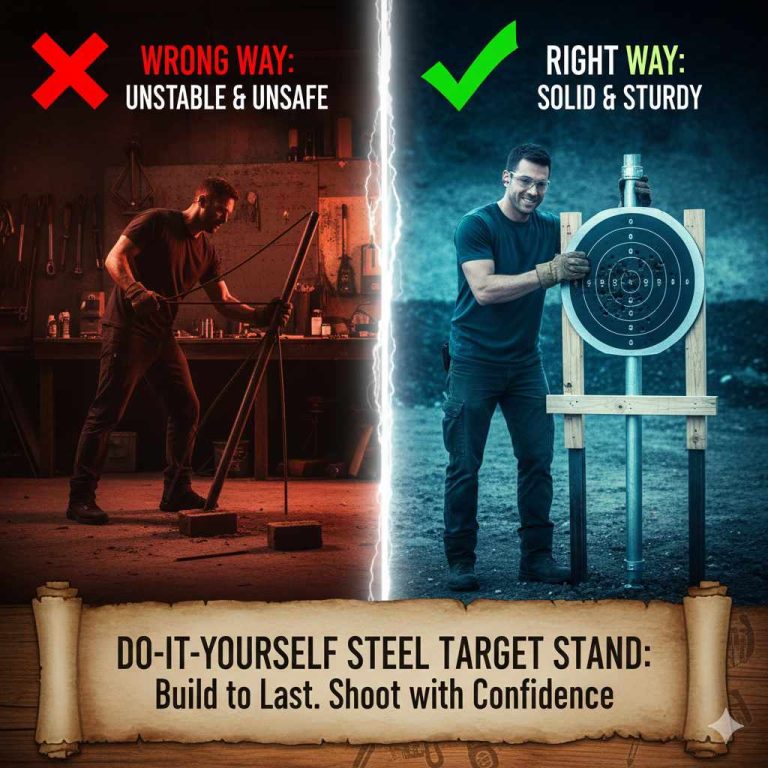
Steel gives the longest service life, especially for outdoor use, but it costs more and must be designed carefully. The frame should never place exposed metal where a broadhead can strike it. Steel makes sense when the target stays in one place for a long time or needs repeated relocation with a strong, compact frame.
Portable, fixed, and folding stand choices
A portable target stand is built to move, so it needs a heavy base or ballast. A fixed target stand is better for permanent installation, but it is not ideal if you need to relocate the target later; moving it means a new setup. A folding target stand saves space and is easier to transport, but hinges and latches must stay tight under repeated impact.
How do you keep it stable outdoors in wind?
Use a wide footprint, add ballast, and anchor the stand for the surface you are on. Outdoor use demands stronger materials and better restraint because wind and repeated hits both try to move the frame. Keep the target low enough that the center of mass stays inside the base, and do not rely on the target itself as a stabilizer.
Set a stable footprint and target height
For a backyard lane, a base about 48 inches wide and a target center around 36 to 40 inches high is a sensible starting point. Lower is steadier. If the target face is very tall or heavy, widen the base before you add more weight on top. The stand should be at least as wide as the target face.
Anchor for wind, slope, and repeated hits
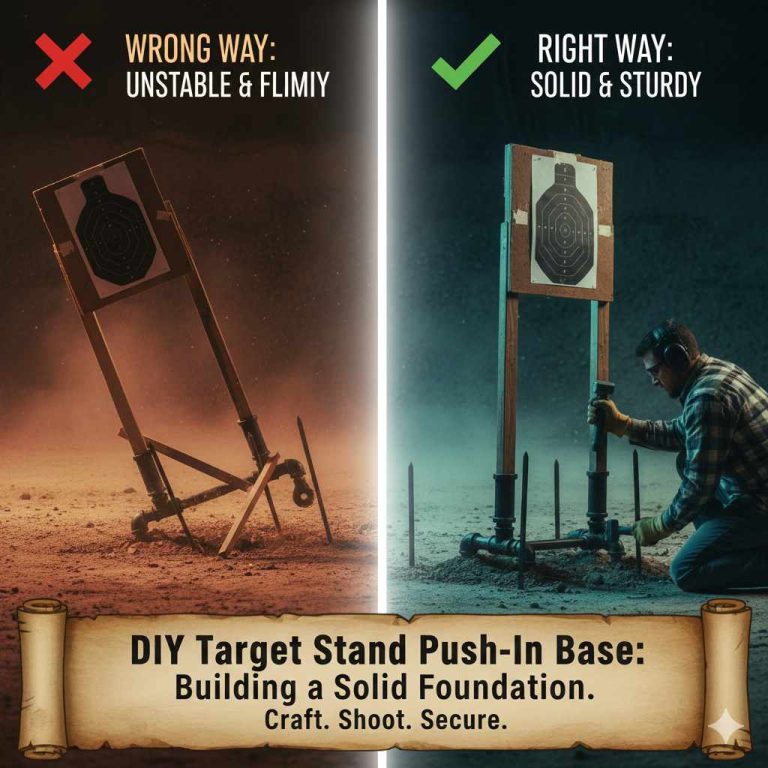
On grass, use ground stakes or earth anchors through the base or lower brace points. On concrete or a deck, use sandbags or pavers against the base rails. If the ground slopes, level the feet first, then add ballast. Say your stand starts to lean after a side hit; add one more sandbag per side, then recheck the level and fasteners.
Leave enough setback for a clear shooting lane
Leave a clear lane with no hard objects near the target and no hardware sticking into the strike area. A broadhead that passes through should meet open space, not a fence, post, or wall. If the target is outdoors, keep it away from doors, vehicles, and anything a deflected shaft could reach.
Target stand checklist
Use this table before you build or before you shoot. It focuses on the two failure modes that matter most: tip-over and broadhead damage.
| Stand dimension | Hardware | Anchoring method | Failure risk | Pass/fail inspection steps for fixed-blade and mechanical broadheads |
|---|---|---|---|---|
| 48-inch width x 30-inch depth base | 3-inch exterior screws or carriage bolts with washers | Sandbags or pavers on hard surfaces | Tip-over from side hits | Pass if the stand does not rock and no fastener heads sit in the strike path; fail if the frame shifts after one hit or the base twists. |
| 48-inch uprights with 36-40-inch target center | Diagonal braces on both sides | Ground stakes or earth anchors outdoors | Wind lift and rearward lean | Pass if the target stays vertical and the braces stay tight; fail if the target leans or the braces creak under load. |
| Target face mounted with straps only | Ratchet straps, hook-and-loop straps, or heavy bands | Ballast low on the base rails | Frame damage from direct hardware hits | Pass if no metal or screw heads are exposed to arrows; fail if broadheads can reach the frame through worn foam or a torn face. |
| Replaceable sacrificial face in front of the backer | Exterior plywood backer if needed | Level ground plus ballast | Pass-throughs and target-face shredding | Pass if both broadhead types stop in the target and the backer shows no cutting; fail if fixed-blade heads carve channels or mechanical heads push through repeatedly. |
| Portable build with heavy base | Bolts, washers, and removable feet | Carry weights separately, then add before shooting | Movement during relocation | Pass if the stand stays square after being moved and reset; fail if bolt holes oval out or the base loosens after transport. |
Common mistakes
The most common mistake is a base that is too narrow for the target size. The next is putting screws, bolts, or hooks where a broadhead can hit them. A third mistake is assuming a target that stops field points will also stop fixed-blade broadheads. Those heads wear the face faster and expose weak spots sooner.
A common mistake is mounting a foam block on a flimsy stand and setting the bullseye too close to the ground, where an errant broadhead can hit the base. That makes the stand easier to tip when a hit lands high or off-center. Another is setting the stand on soft ground without stakes or ballast. The frame may look stable until the first side hit.
- Keep the base wider than the target face.
- Use straps instead of exposed fasteners in the strike zone.
- Anchor the stand before the first shot outdoors.
- Replace torn face material before it exposes the frame.
Prevention: Mark the target face with a simple rotation pattern and move high-wear zones after each session so broadheads do not keep cutting the same spot.
Frequently asked questions
How do you make a target stand for broadhead practice without it tipping over?
Start with a base about 48 inches wide, keep the target center around 36 to 40 inches high, and brace both uprights diagonally for added stability. Outdoors, add sandbags, pavers, or earth anchors. If the stand still rocks after one hit, lower the target or widen the base before shooting again.
What wood should I use for a DIY archery target stand?
Use exterior-grade or pressure-treated 2x4s for the frame and braces. Avoid warped lumber, which makes squaring the stand harder and increases wobble. If the stand will stay outside, plan on replacing weathered pieces over time rather than expecting raw lumber to last indefinitely.
How big should a target stand be for broadhead targets?
A practical beginner size is 48 inches wide and 30 inches deep, with uprights about 48 inches tall. That gives enough footprint for stability without making the stand hard to move. For a larger target, widen the base before increasing height.
Can I use PVC for a broadhead target stand?
Yes, but only if the design is braced well and the base is weighted heavily. PVC usually costs more than a simple wood frame and is less straightforward to build cleanly. It works better as a portable outdoor option than as a first cheap build.
How do I keep a target stand stable outdoors in wind?
Use ground stakes in soil or sandbags on hard surfaces. Keep the target low, tighten all joints, and avoid mounting any hardware where arrows can hit it. If wind keeps pushing the stand, add ballast low on the frame rather than raising the target further.
What is the cheapest way to build a target stand?
A simple wood stand is usually the cheapest route: exterior 2x4s, exterior screws, and straps for the target. Skip cosmetic parts, but do not skip braces. Cheap only works if the stand is still wide, square, and anchored well enough to survive broadhead impact.