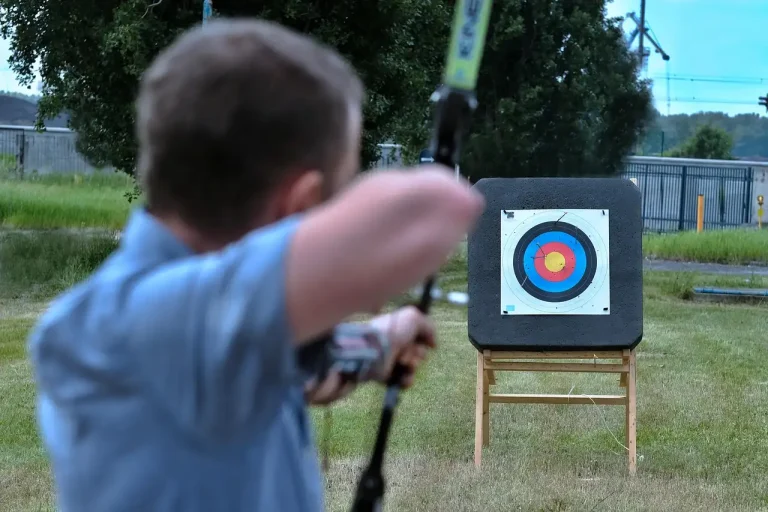
How to Build a Collapsible Target Stand That Fits in a Car Trunk
Build the stand so its folded length is no more than the trunk depth, with the open base spread at roughly 60% or more of the stand height. That keeps it portable and stable. Miss those numbers and the stand may slide in transit, tip under impact, or waste trunk space. This guide shows how to size the folded frame, choose the pivot, and set the base.
Why trunk-fit planning comes first
Start with the car, not the lumber. Measure trunk opening width, trunk depth, and usable height, then decide how many pieces the stand can break into for carry. A folding stand that can be taken down and set up in seconds, and fit in a car, only works if the folded bundle matches the cargo space from the start.
Measure the trunk before any cuts
Write down three numbers: opening width, depth from the latch to the rear seat, and the usable height under the parcel shelf or hatch lip. The folded bundle must pass through the opening, lie flat in the depth available, and stay low enough that the hatch or lid closes without pressure on the frame.
For a sedan, opening height is often the limiting dimension even when the depth looks generous. For a hatchback, the opening is usually easier, but loose bundles can still shift if the stand is split into too many pieces. Keep the carry plan simple: one folded frame, one target support, and one strap or bag for small parts.
Set folded size before material choice
Do not pick PVC, wood, EMT, or aluminum first. Pick the folded length, folded height, and bundle thickness first, then choose the material that can meet those limits with the fewest awkward parts. A foldable stand that loads fast is usually better than one that saves a little weight but needs extra loose fittings.
| Trunk-fit sizing worksheet | How to use it |
|---|---|
| Trunk opening width | Record the smallest clear width at the opening. The folded stand must pass through this first. |
| Trunk depth | Measure from the opening to the rear seat or hard stop. A common recommendation is to keep the folded leg length no more than the trunk depth. |
| Usable height | Measure the tallest flat bundle you can lay under the hatch or lid. |
| Target size | Use the target width to set minimum base width. |
| Recommended folded leg length | Choose a folded leg length that is 20 to 40 mm shorter than trunk depth for easy loading. |
| Recommended hinge position | Place the upper pivot about 10% to 15% down from the top end of each leg so the open legs clear the target face and fold flat. |
| Recommended limiter length range | Set the limiter so the open base matches the target-width table below, then leave a small adjustment range for ground slope. |
Materials that suit a folding stand
Timber is the simplest choice for a first build. It cuts with ordinary tools, accepts a pivot bolt easily, and gives enough stiffness for many foam block and lighter bag targets. Legend Archery says timber is strong enough for targets up to around 15 kg, and their example uses 2×3 pine legs at 150 cm each with an M10, 80 mm carriage bolt.
PVC is light and quick to move, which suits foam block targets and short sessions. The same source says standard PVC can crack in cold weather under repeated vibration, so it is a better fit for fair-weather use and smaller loads. EMT gives better stiffness than PVC with moderate weight, while aluminum is the lightest carry weight and the costliest material of the four.
ToolsRadar lists a DIY 2×4 target stand as cost effective and estimates one version at $2-$5, which fits the wood-first approach for a budget portable stand. That low cost does not remove the need for a wide base. A portable stand still needs a heavy base or broad stance to resist tipping.
| Material | Transport weight | Durability | Assembly time | Weather exposure |
|---|---|---|---|---|
| Wood | Moderate | Good for foam and many bag targets | Fast | Needs sealing and edge protection |
| PVC | Light | Best for lighter foam setups | Very fast | Sensitive to cold and repeated vibration |
| EMT | Moderate | High stiffness for its weight | Moderate | Good with rust control |
| Aluminum | Lightest | Good corrosion resistance | Moderate | Good, but higher cost |
Target stand sizing worksheet
This worksheet ties target width, folded dimensions, and base spread together. Use it before you buy stock. If the numbers do not fit the trunk, change the design. Do not force the car to accept a stand that was sized on paper without cargo measurements.
| Target width | Minimum base width | Suggested limiter length range | Notes |
|---|---|---|---|
| 60 cm | 60 cm or wider | 52 to 58 cm between pivot centers | Legend Archery uses 60 cm as the example target width. |
| 70 cm | 70 cm or wider | 60 to 67 cm between pivot centers | Better for light foam blocks than for heavy bags. |
| 80 cm | 80 cm or wider | 68 to 76 cm between pivot centers | Use a stronger frame if the target is dense or heavy. |
| 90 cm | 90 cm or wider | 77 to 86 cm between pivot centers | Best paired with timber or metal, not light PVC. |
Folded-dimension calculator
Use this simple calculator after measuring the trunk. If the result exceeds the trunk depth, shorten the legs, move the pivot slightly, or split the stand into fewer thick parts. If the bundle is too tall, flatten the lower support and keep all loose hardware in one pouch.
| Input | Formula or recommendation | Output |
|---|---|---|
| Trunk depth | Measured value | Maximum folded leg length should be 20 to 40 mm shorter |
| Trunk opening width | Measured value | Folded bundle thickness must pass through this width |
| Target width | Measured target face | Minimum base width should match or exceed this width |
| Stand height | Choose to suit target size | Hinge position about 10% to 15% down from the top |
Build the collapsible A-frame
Legend Archery names the A-frame as the most reliable geometry for a foldable build, and that is the right shape for trunk storage too. It folds flat, keeps the target centered, and gives a simple path for the leg pivot and the spread limiter. The result is easier to pack than a fixed stand.
Cut list and parts count
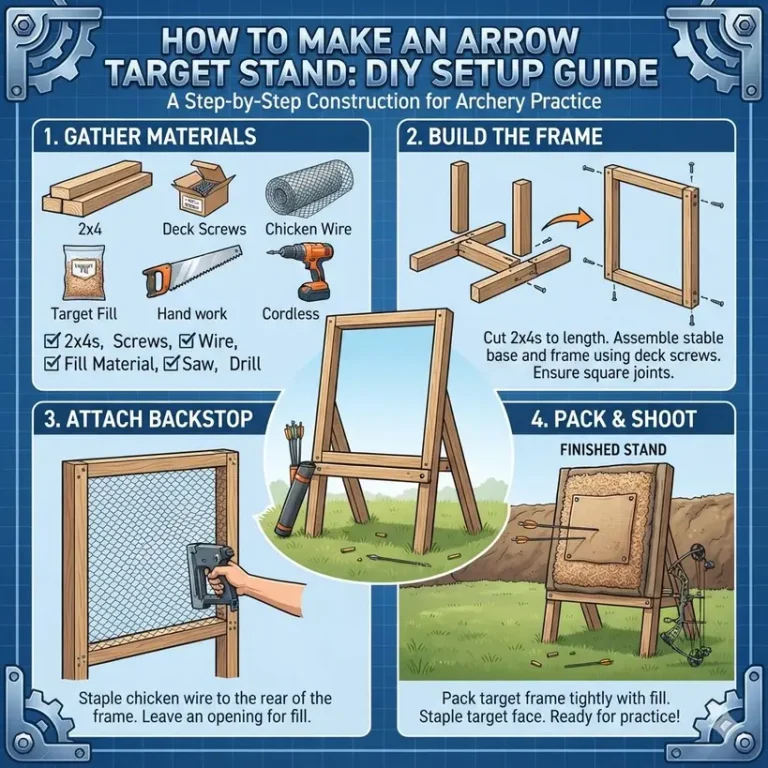
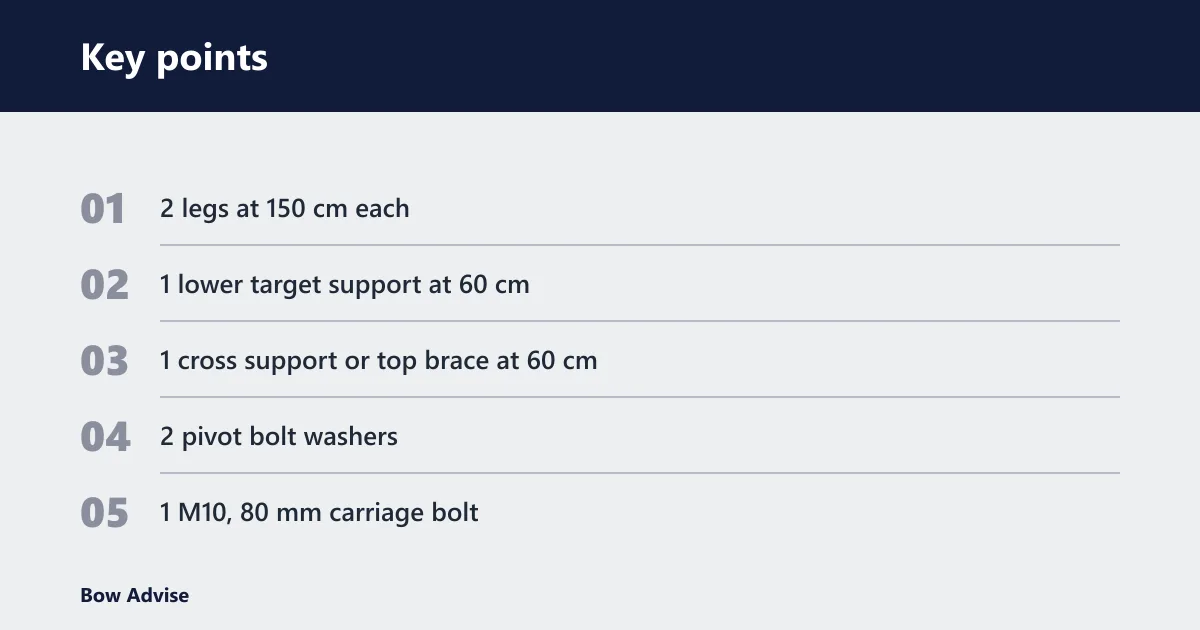
This timber version uses 7 main parts plus hardware. It is a complete single-target frame, built to fold and travel in a trunk. Keep the cuts square so the open base sits flat on the ground and the folded bundle stacks neatly.
- 2 legs at 150 cm each
- 1 lower target support at 60 cm
- 1 cross support or top brace at 60 cm
- 2 pivot bolt washers
- 1 M10, 80 mm carriage bolt
- 1 wing nut
- 1 chain, webbing strap, or equivalent limiter
Assembly sequence
- Cut both legs to the same length, then round the outer corners that may touch the trunk lining.
- Mark the upper pivot point on each leg at the same distance from the top end.
- Drill the pivot holes straight through both legs so the bolt passes cleanly.
- Place the lower target support between the legs at the height needed for the target face, then fasten it square.
- Install the top joint with washers on both sides of the wood, then fit the carriage bolt and wing nut.
- Add the spread limiter between the lower portions of the legs so the open angle stops at the planned base width.
- Set the stand on flat ground, open it fully, and check that the target face sits centered.
- Fold the legs together and confirm the bundle length still fits the trunk depth and opening width.
Suppose the trunk depth is 92 cm and the opening width is 88 cm. A leg length of 150 cm still works if the folded bundle runs lengthwise in the cargo area and the lower support stays attached. If the trunk depth drops to 82 cm, shorten the leg stock before drilling the pivot, rather than trying to force a longer bundle into the car.
A common first-timer mistake is to drill the pivot too high and then try to fix the spread with a shorter limiter. That often leaves the stand tall but narrow, which raises the center of gravity and makes a bag target feel wobbly. Size the base first, then place the pivot, then confirm the fold.
How do you set the pivot and limiter?
The pivot bolt and wing nut should allow leg rotation without side play that grows after repeated folding. Use washers on both sides of the joint, keep the hole aligned, and tighten only until the joint turns smoothly without rattling. Do not overtighten the wing nut, or the legs will bind and wear the pivot holes faster.
Pivot bolt and washer stack
For timber, the simplest stack is bolt head, washer, first leg, second leg, washer, wing nut. If the bolt shank is long enough, a washer under the nut helps reduce wear. If the joint starts to loosen after several sessions, replace the washers before the hole elongates.
Limiter options and length
The same source says a spread limiter can be chain or webbing. Either one can use S-hooks or carabiners at the ends. Chain is simple and tolerant of grit. Webbing folds quieter and packs flatter. Use the limiter to stop the stand at the planned base width, not to pull the legs inward after they are already opened too far.
| Target width | Limiter type | Practical limiter range | Best use |
|---|---|---|---|
| 60 cm | Chain or webbing | 52 to 58 cm | Foam block and light travel use |
| 70 cm | Chain or webbing | 60 to 67 cm | Light bag target or larger foam block |
| 80 cm | Chain preferred for stiffness | 68 to 76 cm | Heavier target and outdoor grass setup |
| 90 cm | Chain preferred | 77 to 86 cm | Heavier bag target with wider base |
How wide should the base be?
The same source recommends a base width at least equal to target width. That is the floor, not the ceiling. A wider base helps when the target is heavier, the ground is uneven, or the wind catches the face. Stability depends on footprint and center of gravity, so a bag target needs more stance than a foam block.
Foam block targets
A foam block target is lighter, so a portable PVC or light timber frame can work well if the base width matches the target face and the limiter is set tightly. A small foam block on a narrow base may still stand upright indoors, but outdoor use needs more margin because wind and ground slope change the load path.
Bag targets
Bag targets are heavier than foam blocks and hang more mass away from the base. That extra mass pushes the center of gravity forward, which is why a wider stance matters. For bags, choose timber or metal more often than PVC, and keep the base at least as wide as the target, with a little extra if the ground is soft.
Picture a 60 cm foam block on a 60 cm base and a 60 cm bag on the same base. The foam block may stay calm on a flat indoor floor. The bag target can sway after a few arrows, especially if the stand is on gravel or grass and the pivot has any looseness.
Storage, transport, and wear checks
The pack-down checklist matters as much as the cut list. A collapsible stand that lives in a trunk between sessions needs a set routine, or the pivot will loosen, the limiter will fray, and the folded bundle will start rattling. Johnny Tactical says these stands can be taken down and set up in seconds and fit in a car, but that only holds when the parts stay organized.
Collapsible target stand fits checklist
- Fold the legs together until the bundle is flat.
- Secure the wing nut so it does not back off in transit.
- Stow loose hooks, carabiners, or spare washers in one pouch.
- Wrap the limiter so it does not snag on upholstery.
- Carry the bundle by the top joint or a fixed handle point, not by the target face support.
- Check that the folded length is still no more than trunk depth.
Wear points to inspect
After repeated folding, inspect the pivot holes for elongation, the wing nut for loosening, and the limiter anchors for fray or bend. Wobble that appears after a few cycles often points to joint wear, not to bad ground. If the pivot feels sloppy, add washers or replace the bolt before the hole gets oval.
Wood should be sealed if the stand will live outdoors or ride in a trunk where moisture changes are common. Keep the cut ends coated, sand any sharp edges, and dry the frame before storage. EMT needs rust control at cut ends. Aluminum resists corrosion better, but its hardware still needs inspection.
How do you make a DIY target stand that sets up fast?
Fast setup comes from fewer loose parts, one clear pivot, and a limiter that always lands at the same base width. The same source says a build can be set up in seconds, and Legend Archery says a folding stand can be assembled without tools in under two minutes. The quickest versions keep the target support attached and leave only the limiter to clip on.
What stays attached
For trunk use, keep the lower target support fixed to the frame if possible. That reduces loose pieces and shortens setup time. A single folded frame with one attached support beam is easier to lift in and out of a sedan or hatchback than a stand that breaks into many short pieces.
What slows setup
Too many bolts, loose spacers, and separate braces turn a quick fold-up stand into a small assembly job. If the frame needs tools every time, it no longer fits the goal of a car-trunk target stand. The best folding version is the one that opens, locks, and carries without hunting for hardware.
Frequently asked questions
What materials make the best foldable target stand for archery?
Wood is the easiest starting point because it is simple to cut, drill, and repair. The same source gives better stiffness for carry weight, and aluminum is the lightest but usually costs more. PVC works for light foam-block use, but it is less suited to repeated cold-weather folding and heavier bag targets.
How wide should a portable target stand base be?
A portable base should be at least as wide as the target face, and wider if the target is heavy. The same source gives 60 cm as an example target width and recommends the base be at least equal to target width. Add extra width for bag targets, uneven ground, or windy conditions.
Can I make a target stand with PVC that is easy to transport?
Yes, PVC can be easy to transport because it is light and packs well. It works best with foam block targets and short sessions, not heavy bags or rough cold-weather use. The same source notes that standard PVC can crack in cold weather under repeated vibration, so inspect it often.
How do I stop a folding target stand from tipping over?
Keep the base wide, keep the pivot tight enough to avoid wobble, and use a limiter that stops the legs from closing or spreading too far. Match the stance to the target weight. A bag target needs more base width than a foam block because the center of gravity sits higher and farther forward.
What size target stand will fit in a sedan trunk?
A sedan trunk usually demands a folded length that stays within the measured trunk depth, with enough clearance at the opening to load the bundle without forcing it. Do not guess. Measure the opening width and depth first, then cut the legs so the folded frame is a little shorter than the trunk depth.
Is a folding archery target stand better than a fixed one?
For trunk storage, yes. A folding stand is the better choice because it packs flat, moves more easily, and is easier to keep in a car between sessions. A fixed stand can be stable, but it does not solve transport. If the stand must live in a trunk, collapsible geometry is the right starting point.