How to Build a Target Stand with Replaceable Supports
Build a target stand with a 2×4 or 1×2 top support made as a replaceable cap or crosspiece, so only that top part takes arrow wear and can be swapped in minutes. If that support is fixed in place, shafts chew into the frame, the stand loosens faster, and replacement costs climb. This guide covers a simple materials list, stable frame options, fast-swap support details, and safe outdoor setup.
Target stand basics


The frame should last longer than the wear parts. That means the base, legs, and braces stay permanent, while the top rail, wood strip, or insert is the piece that gets hit by arrows. This keeps repair time short and avoids replacing an entire stand after a few missed shots.
This design suits cardboard backers, light foam blocks, and similar beginner targets. It is a poor fit for heavy broadhead use unless the target face and backstop are built for it. For outdoor shooting, pressure-treated lumber helps resist rot, while PVC stays light and weather-resistant but is less rigid and can get damaged by repeated arrow strikes.
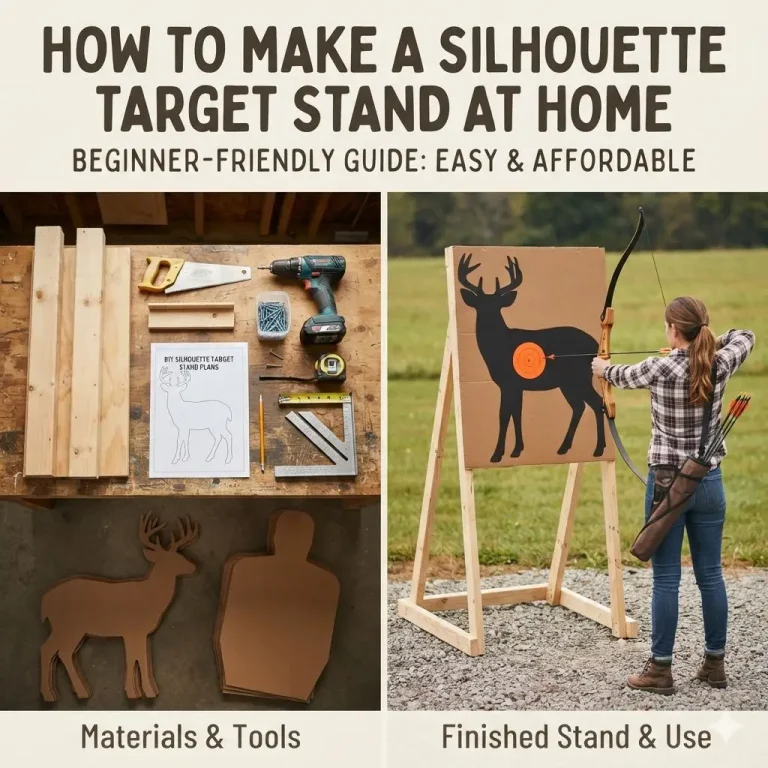
Competitor build notes give a useful starting point: two 8-foot-long 2x4s, four 3-foot-long 2x4s, and two 1-foot-long 2x4s are enough to form a simple frame with legs about 3 feet apart and diagonal X-shaped bracing.
What you’ll need
- 2×4 lumber for the permanent frame
- 1×2 or 2×4 lumber for the replaceable top support
- Cardboard target backer or foam target face
- Exterior wood screws
- Carriage bolts with washers and wing nuts, or hitch pins
- Staple gun or nails for attaching a cardboard face
- Drill and bit set
- Saw, square, tape measure, and level
- Optional PVC or metal conduit for the frame if the stand will stay outdoors longer
- Sandbags or ground-buried supports for added stability
Materials and hardware for fast swaps
Use wood for the permanent frame if beginner-friendly cutting and repair matter most. Use PVC only when lighter weight matters more than stiffness, and avoid placing hard PVC directly where arrows may strike. Metal conduit is tougher and more durable than cardboard or wood, but it is heavier to transport and less beginner-friendly.
For the swap joint, carriage bolts and wing nuts are the simplest fastener choice. Hitch pins are even faster if the holes line up well. Quick-release clips work too, but only if the load is light and the holes do not wallow out over time.
How do you keep it safe?
Use a proper backstop, aim toward a safe shooting direction, and keep hard PVC or exposed hardware out of the arrow path. No stand is safe on its own. A missed shot can pass through cardboard, and a hard strike on metal or PVC can send an arrow off line.
Plan for pass-through and rebound risk before the first shot. A layered backstop such as dense netting, earth berm, or a purpose-built stopping surface should sit behind the target. Do not place bolts, washers, or conduit where a shaft can hit them after it passes through the face.
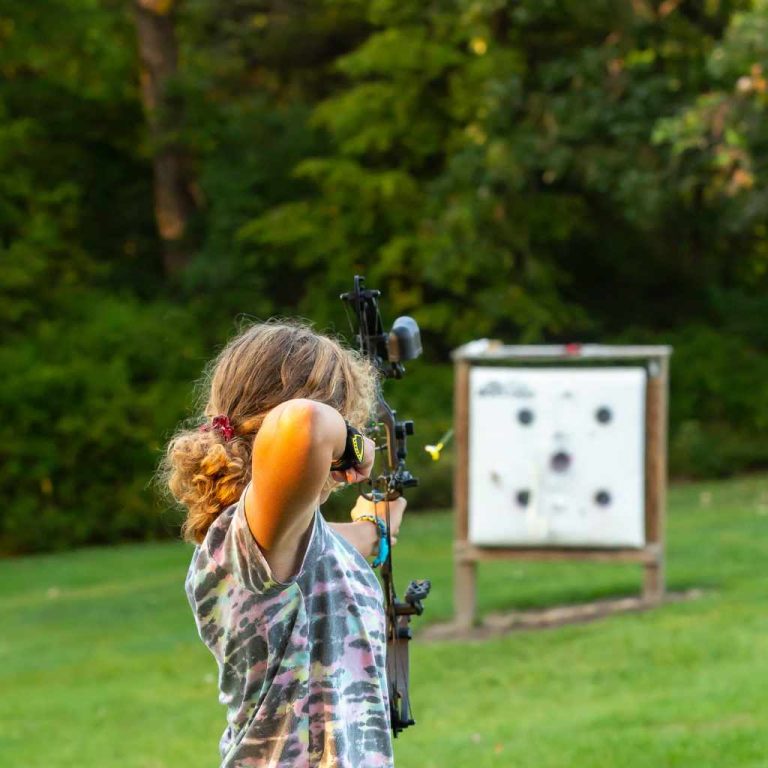
Suppose a beginner shoots a foam face mounted on a 2×4 frame in a backyard. If the foam is thin and the backstop is missing, the arrow can punch through and hit the frame, which is exactly why the consumable part should be the top support, not the whole stand.
Replaceable parts cut list
This cut list separates permanent parts from sacrificial parts. The idea is simple: the frame stays square and stable, while the top support is cheap enough to replace as soon as it starts to split, groove, or loosen.
| Part | Material | Cut length | Role | Typical replacement timing |
|---|---|---|---|---|
| Side rails | 2×4 lumber | 2 x 8-foot pieces | Permanent frame | Only if rot, split, or major warp appears |
| Cross supports | 2×4 lumber | 4 x 3-foot pieces | Permanent frame bracing | Only if fasteners loosen or wood splinters |
| Stabilizer pieces | 2×4 lumber | 2 x 1-foot pieces | Permanent gusset support | Only if repeated hits damage the ends |
| Top support | 1×2 or 2×4 lumber | 1 x target width, cut to fit | Sacrificial wear part | When arrow grooves, splits, or looseness appear |
| Cardboard backer | Cardboard sheet | Match the target face | Sacrificial face support | When holes tear out or staples no longer hold |
Target stand maintenance matrix
| Part | Should be sacrificial? | Common failure mode | Fastest fix |
|---|---|---|---|
| Top support | Yes | Splintering and arrow cuts | Pull pins, slide out, replace |
| Cardboard face | Yes | Tearing and staple pull-out | Remove staples, staple on a new sheet |
| Frame rails | No | UV damage, rot, or warp | Seal or replace only when structural damage appears |
| Fasteners | No | Loosening over time | Re-tighten, then replace bent hardware |
How do you make the target support parts easy to swap out?
Use a simple slot or sleeve at the top of the frame, then secure the support with two aligned holes and quick hardware. The support should slide out without dismantling the full stand. That is the difference between a serviceable stand and a disposable one.
Cut a shallow notch, pocket, or sleeve into the upright posts so the replaceable top rail rests in the same place every time. Drill matching holes through the rail and uprights for carriage bolts with wing nuts or hitch pins. Keep the holes close enough to stop wobble, but not so tight that the rail jams.
Check fit before final tightening. The rail should lift out by hand after the pins or bolts are removed. If a hammer is needed, the joint is too tight for a fast swap.
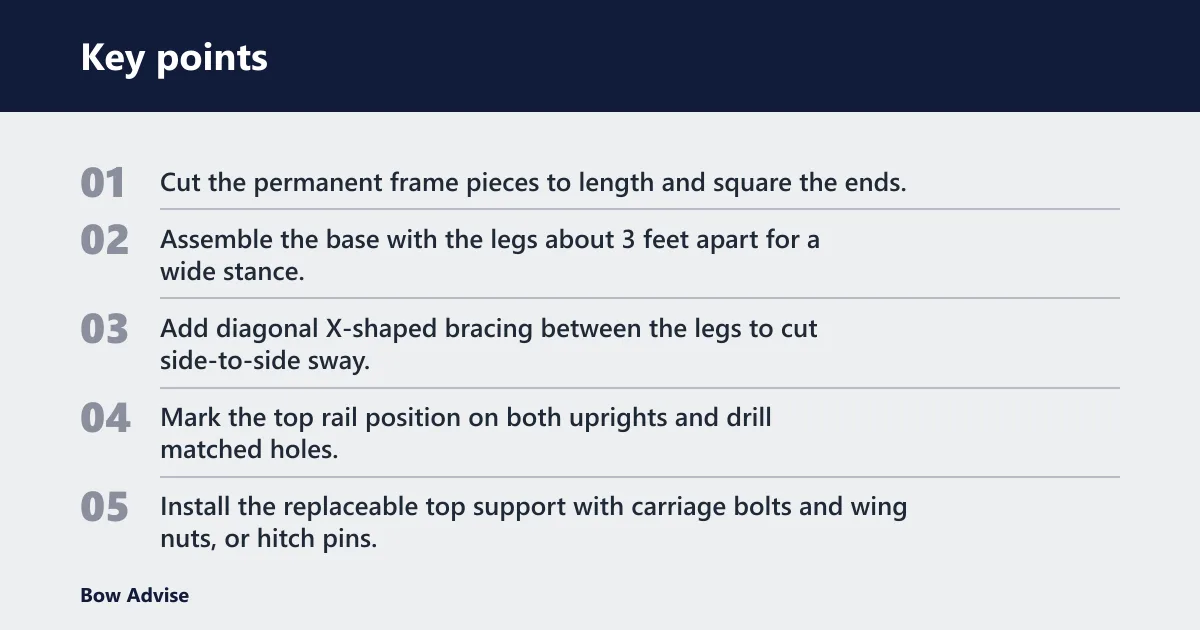
- Cut the permanent frame pieces to length and square the ends.
- Assemble the base with the legs about 3 feet apart for a wide stance.
- Add diagonal X-shaped bracing between the legs to cut side-to-side sway.
- Mark the top rail position on both uprights and drill matched holes.
- Install the replaceable top support with carriage bolts and wing nuts, or hitch pins.
- Attach the cardboard backer or target face to the sacrificial top support, not the permanent frame.
- Set the stand on level ground and use a level to keep the legs straight.
- Add sandbags or ground-buried supports if the stand shifts under wind or impact.
- After every few sessions, loosen the fasteners, inspect for splinters, and retighten before the next shoot.
How do you build the swap joint?
Use a slot, not a permanent wrap. A top rail that sits in a shallow notch, then locks with pins or bolts, gives the fastest replacement path. This works for wood strips supporting cardboard, and it also works for a heavier top piece on a wider frame.
For a cardboard target stand, staple the sheet to the replaceable wood strip. When the strip gets shot up, remove the staples, pull the pins, and replace only that strip. The frame stays in place, which keeps the stand square and saves lumber.
Make the holes slightly oversized only if the rail still sits firmly. Oversized holes speed wear at the joint, and loose hardware is one of the main reasons a stand starts to wobble after repeated shooting.
How do you keep it stable outside?
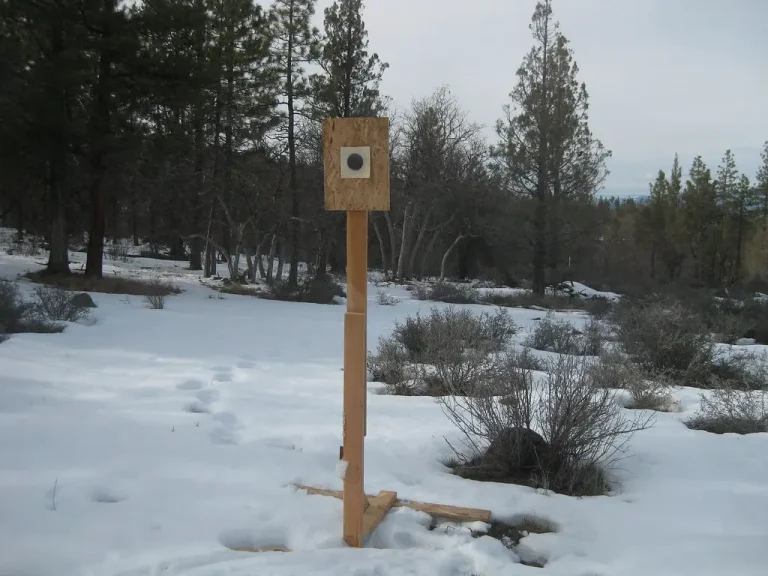
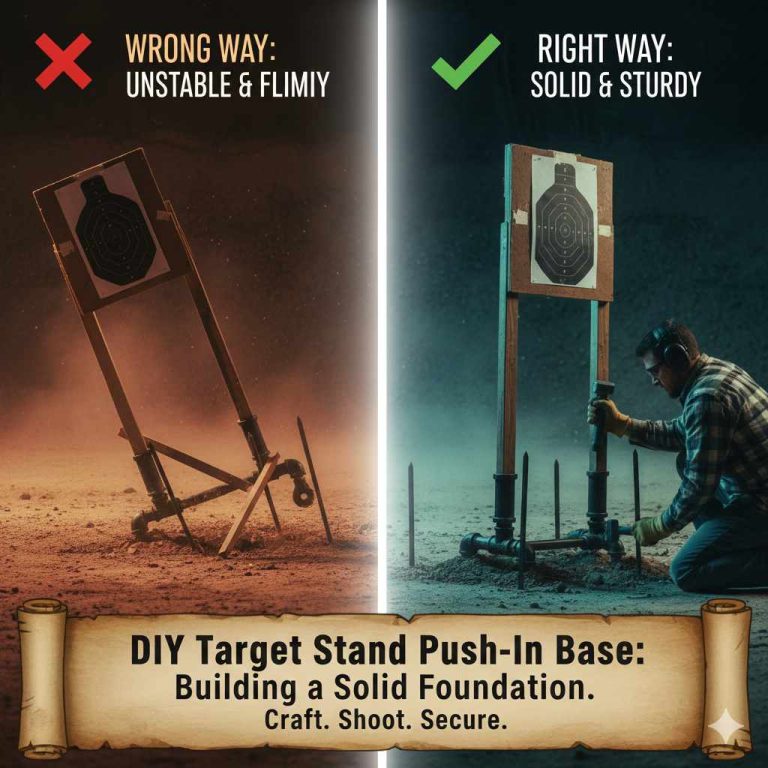
Wide feet, braces, and weight at the base matter most outdoors. Foldable legs help a stand store and transport easily, but they should lock open firmly. If the stand stays in one place, ground-buried supports can add balance and reduce shifting in soft soil.
Use foldable legs when portability matters. Use buried stakes, posts, or buried leg ends when the stand will remain in a backyard setup. PVC can be useful here because it is lightweight and weather-resistant, but the frame still needs enough stiffness to keep the target from rocking.
Say a backyard archer wants a target that comes out only on weekends. A foldable wood frame with a replaceable top rail and sandbags at the feet is easier to store than a fixed post frame, while still allowing quick setup before shooting.
Portable versus fixed builds
Portable stands work best when the frame folds flat and the top support slips out without tools. Fixed stands work better when the target stays in one yard corner and extra weight is acceptable. The tradeoff is simple: portability saves storage space, while fixed supports usually stay steadier in wind.
Outdoor materials by use case
For cardboard and paper, wood strips are the most practical target hangers because they are easy to cut and replace. For a longer-lasting outdoor frame, pressure-treated lumber resists rot better than untreated wood. Metal conduit is tougher, but it adds weight and can be less forgiving for a first build.
Common mistakes
Do not put hard PVC or exposed bolts where arrows will hit. That creates unnecessary ricochet risk and shortens arrow life. Keep all hardware behind the target face or outside the arrow lane.
Do not make the support permanent. If the top piece is nailed in place, the whole frame becomes the wear item. That defeats the point of a serviceable stand and drives up repair time.
Do not ignore splintering, UV damage, or loosening fasteners. A split top rail should be replaced before it fails mid-session. A common first-timer mistake is tightening a loose joint by adding more screws, when the better fix is to replace the worn rail or re-drill the joint cleanly.
Frequently asked questions
What size wood or PVC should I use for a DIY target stand?
For a beginner wood build, 2x4s are the most practical default because they are easy to cut, brace, and replace. PVC can work for lighter portable frames, but larger pipe gets bulkier and less rigid. If the stand will stay outdoors, pressure-treated lumber is the better long-term choice.
Can I build a portable target stand that is easy to carry?
Yes. Foldable legs and a removable top support make the stand easier to move and store. A lighter wood frame is usually simpler for beginners than a heavier conduit build. If wind is an issue, add sandbags at setup instead of making the whole frame heavier.
What is the cheapest way to build a target stand?
The cheapest serviceable build usually uses 2×4 lumber, a cardboard backer, and a replaceable top strip so only the worn part gets replaced. Cheap hardware is fine if the holes stay tight. Saving money by making the frame disposable usually costs more over time.
How do I keep a target stand stable on the ground?
Set the legs wide, brace them diagonally, and keep the frame level before shooting. For soft soil or windy yards, add sandbags or ground-buried supports. If the stand rocks when pushed by hand, it will move more under arrow impact and should be corrected first.
What materials work best for a cardboard target stand?
Wood strips work best because cardboard staples cleanly to them and replacement is fast. Cardboard itself should be treated as the sacrificial face, not the structure. A simple 2×4 frame with a removable wood top rail keeps the setup beginner-friendly and easy to repair.
How do I make a target stand for outdoor shooting?
Use rot-resistant lumber, weather-resistant hardware, and a backstop behind the target. Keep hard surfaces out of the arrow path, because outdoor misses can travel farther. If the stand will stay outside, pressure-treated lumber and a replaceable top rail are the most practical starting points.