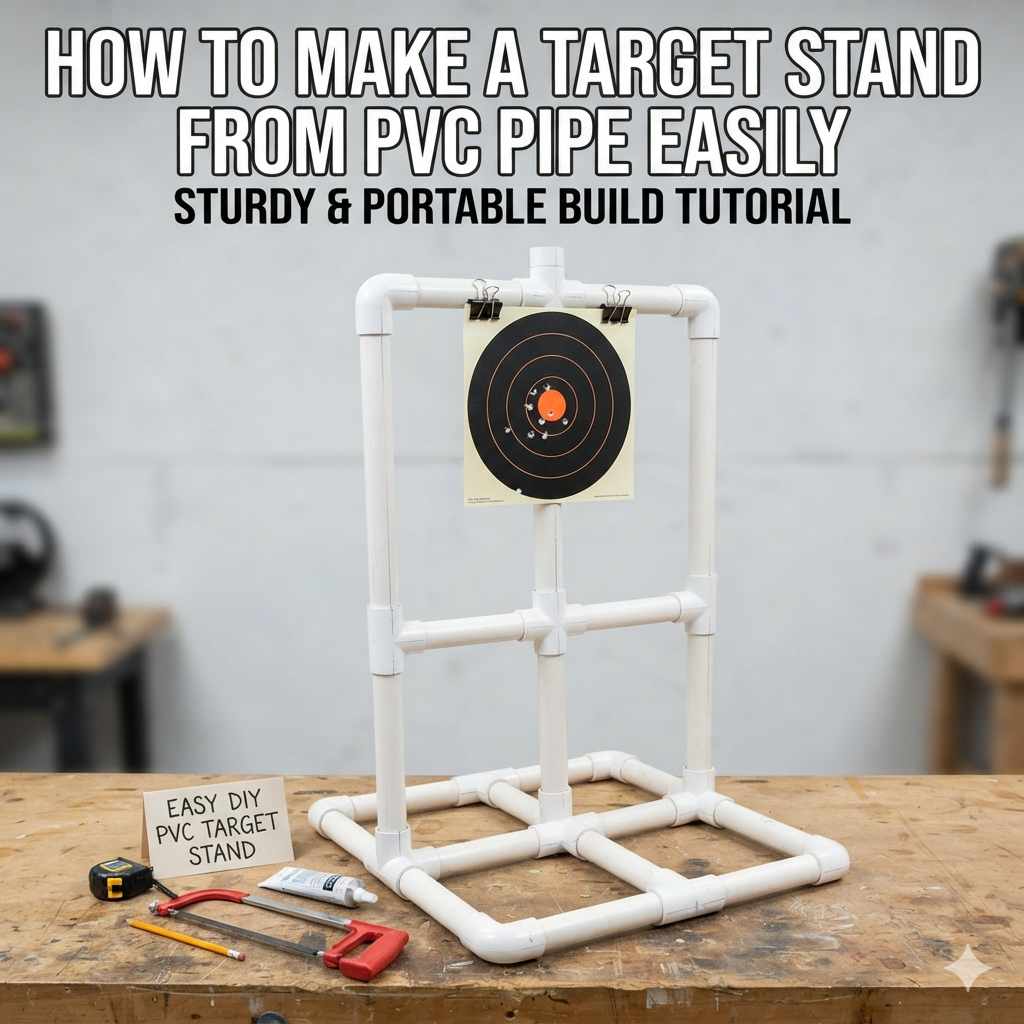
How To Make A Target Stand From Pvc Pipe Easily
What if I told you that you could build a really effective target stand using something you might even have lying around, or that’s super easy to get at any hardware store? We’re talking about PVC pipe. It’s lightweight, durable, and incredibly easy to work with. In this guide, we’ll walk through making a simple yet strong target stand from PVC pipe. You’ll learn just how straightforward this project can be, even if you’re not super handy. Let’s get this done so you can start practicing!
Building a PVC pipe target stand is a simple DIY project that provides a sturdy and portable solution for various shooting sports or practice sessions. It uses readily available materials and basic tools, making it an accessible and cost-effective option for creating your own target setup.
What is a PVC Pipe Target Stand?
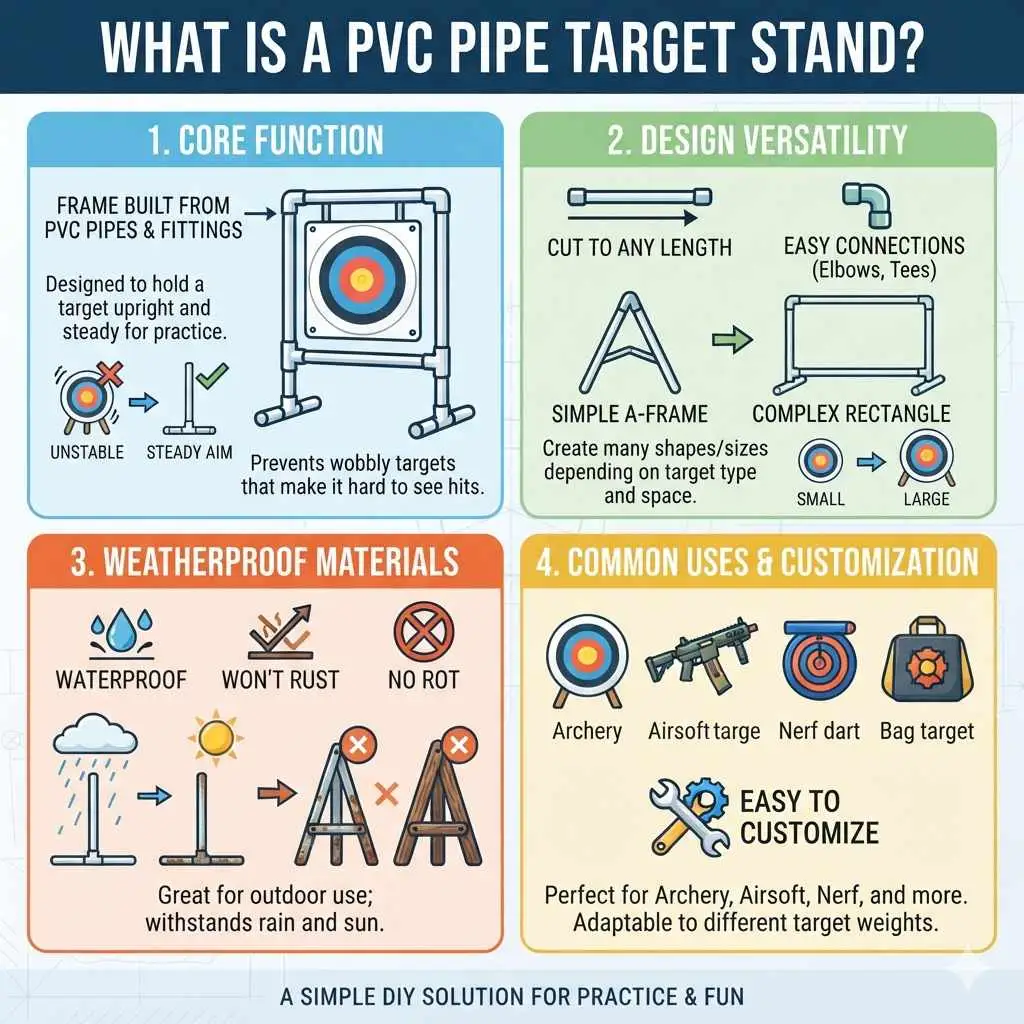
A PVC pipe target stand is simply a frame built from polyvinyl chloride (PVC) pipes and fittings. It’s designed to hold a target of some kind. Think of it like a skeleton for your target. This frame gives the target something to lean against or be attached to. It keeps the target upright and steady. This is key for any kind of shooting or throwing practice. Without a stable target, your practice session can get frustrating fast. A wobbly target moves when you shoot at it. This makes it hard to see your hits. It can also make the target fall over.
The beauty of using PVC pipe is its versatility. You can cut it to any length you need. It connects easily with special PVC fittings like elbows and tees. This lets you create many different shapes and sizes. You can make a simple A-frame. Or you could build a more complex rectangular shape. The design depends on what kind of target you have. It also depends on how much space you have. And how much wind you expect. PVC is also waterproof. It won’t rust like metal. It also doesn’t rot like wood. This makes it great for outdoor use. You can leave it out in the rain or sun.
This kind of stand is perfect for many activities. Archery targets are a common use. You can also use it for airsoft targets. Or for Nerf dart targets. Even for some types of bag targets or reactive targets. The weight of the target matters. Heavier targets might need a stronger or wider stand. But for most common targets, a basic PVC stand works wonders. It’s a project that lets you customize your setup easily. You can change it later if you need to.
My Experience Building a PVC Target Stand
I remember one sweltering Saturday afternoon. I’d just bought a new compound bow. I was so excited to go out and practice. I had this awesome archery target. It was one of those foam ones. But I didn’t have anything to hold it up. I tried leaning it against a tree. That was a disaster. Every shot that hit even close to the center made it wobble and lean more. A few missed shots sent it tumbling down into the grass. It was so annoying. I was spending more time picking up my target than shooting.
I looked online for target stands. The metal ones were hundreds of dollars. The wooden ones seemed complicated to build or too heavy to move easily. I almost gave up. Then, I stumbled upon a forum thread about using PVC pipe. Honestly, I was skeptical at first. Could something made of plastic really be strong enough? But the pictures looked promising. The users shared simple plans. I grabbed my measuring tape and headed to the hardware store. I bought a few pipes, some elbows, and tees. The total cost was less than twenty dollars. Back home, cutting the pipe was a breeze with a simple hacksaw. Snapping the pieces together with the fittings was incredibly satisfying. In under an hour, I had a stable, A-frame target stand. It was perfect. It held my target steady. It didn’t budge. And it was light enough to carry anywhere. That day taught me that you don’t need a lot of money or fancy tools to build something really useful.
Common PVC Pipe Sizes for Stands
When you head to the store, you’ll see PVC pipe in different diameters. The most common size for a sturdy target stand is 1 inch or 1.5 inch diameter.
- 1 inch PVC: Great for lighter targets or smaller setups. It’s very lightweight and easy to handle.
- 1.5 inch PVC: Offers more rigidity and strength. It’s better for larger targets or if you expect stronger winds.
- 2 inch PVC: Overkill for most casual target stands, but it’s the strongest option if you need extreme durability.
Stick with 1 or 1.5 inch for a good balance of strength, weight, and cost.
Gathering Your Materials
Okay, before we start building, let’s make sure you have everything you need. This makes the actual building process smooth. You don’t want to be halfway through and realize you’re missing a crucial piece. It’s like trying to bake a cake without flour!
The good news is, the list is pretty short. And most of it is very affordable. We’re going to focus on a simple A-frame design. It’s one of the easiest to build and very stable. Here’s what you’ll need:
- PVC Pipe: You’ll need a few sections of PVC pipe. The length depends on how big you want your stand. A good starting point is about 6 feet of 1-inch or 1.5-inch diameter pipe.
- PVC Fittings: These are the connectors. For an A-frame stand, you’ll need:
- Tee Connectors: Usually four of these. They look like the letter ‘T’.
- Elbow Connectors: You’ll need four 90-degree elbows. These look like corner pieces.
- PVC Primer and Cement (Optional but Recommended): This stuff glues the pipes and fittings together permanently. It makes the stand much stronger. If you want a stand that will last and won’t come apart easily, use this. It’s a two-step process: primer first, then cement.
- Measuring Tape: To get all your pieces the same length. Accuracy here helps a lot.
- PVC Cutter or Hacksaw: A PVC cutter is ideal as it makes very clean cuts. A regular hacksaw works too. Just make sure you have a sturdy blade.
- Marker: To mark your cutting lines on the pipe.
- Sandpaper (Medium Grit): To smooth any rough edges after cutting. This is good for safety and for a better fit with the glue.
If you’re building a stand for a larger target, you might need more pipe or fittings. You can also use slightly larger diameter pipe for extra strength. Think about the size of your target. Measure its width and height. This will help you decide the best dimensions for your stand. For most common archery targets, a stand about 3 feet wide and 4 feet tall is a good size.
Choosing Your PVC Pipe
The color of PVC pipe doesn’t really matter for this project. White is most common for plumbing. Gray is often used for electrical conduit. Either will work just fine. Just make sure it’s schedule 40, which is standard and strong enough.
Designing Your A-Frame Stand
The A-frame is a classic shape for a reason. It’s stable, easy to build, and uses common fittings. We’ll make a basic design that you can adjust. Think of it as two legs that form an ‘A’ shape. These connect at the top. Then, there’s a crossbar to hold the target.
Let’s break down the pieces you’ll need for one side of the ‘A’:
- Legs: You’ll need two long pieces for each side. Let’s say 4 feet each. So, four pieces total, 4 feet long.
- Top Connector: One piece that connects the top of the two legs on each side. This piece will connect to a tee fitting. Let’s make this about 1 foot long. So, two pieces total, 1 foot long.
- Bottom Crossbar: One piece that connects the bottom of the two legs on each side. This will also connect to a tee fitting. Let’s make this about 3 feet long. So, two pieces total, 3 feet long.
Now, let’s talk about the fittings and how they connect.
Fittings Explained
Tee Fittings: These have three openings. One straight through, and one at a 90-degree angle from the middle. This is perfect for joining pipes at junctions.
Elbow Fittings (90-degree): These have two openings at a right angle. They are used to make corners and turns.
We will use Tee fittings to connect the legs to the top and bottom crossbars. We will use Elbow fittings to connect the two sides of the A-frame at the top and to create the feet at the bottom for stability.
So, for the frame, you’ll have two identical ‘A’ shapes. These will be connected by a central bar or poles that your target hangs on. Let’s refine the plan a bit.
A very common and easy design looks like this:
Simplified A-Frame Plan
- Four pieces of PVC pipe, each 4 feet long (these are the main legs).
- Two pieces of PVC pipe, each 3 feet long (these will be the bottom crossbars).
- Two pieces of PVC pipe, each 1 foot long (these will connect the top of the ‘A’s).
- Four Tee fittings.
- Four 90-degree Elbow fittings.
This makes two A-frames that are about 4 feet tall. The base will be about 3 feet wide. You’ll connect these two A-frames with more PVC pipe to hold your target.
Step-by-Step Construction
Now, let’s get building! This is where the fun really starts. Follow these steps carefully, and you’ll have a target stand in no time.
Step 1: Cut Your Pipes
Using your measuring tape and marker, mark your PVC pipes. Cut them to the lengths we decided: four 4-foot pieces, two 3-foot pieces, and two 1-foot pieces. If you’re using a PVC cutter, make sure it’s set to make a straight cut. If using a hacksaw, try your best to cut straight across. After cutting, take your sandpaper and lightly smooth the cut edges. This removes any sharp bits.
Step 2: Assemble the First A-Frame Leg
Take one 4-foot pipe (a leg). Take one Tee fitting. Slide the pipe into one end of the Tee fitting. It should go in about half an inch to an inch. This is where the optional PVC cement comes in handy later. For now, just make sure it’s snug. Now, take one 3-foot pipe (a bottom crossbar). Slide it into the bottom opening of the Tee fitting. Again, make sure it’s snug. You now have a ‘T’ shape with one leg pointing up.
Step 3: Add the Second Leg and Form the ‘A’
Take another 4-foot pipe (the second leg). Attach it to the other side opening of the same Tee fitting. You should now have two legs pointing upwards from the crossbar. These two legs will form one side of your ‘A’.
Step 4: Create the Top Angle
Take one 1-foot pipe (the top connector). Insert it into the top opening of the Tee fitting you just used. Now, take one 90-degree Elbow fitting. Attach the open end of the Elbow to the end of the 1-foot pipe. This Elbow will point outwards, ready to connect to the other side of your ‘A’.
Step 5: Build the Second A-Frame Leg Structure
Repeat Steps 2 through 4 to build the other half of your first A-frame. You will use the other 4-foot pipe, the other 3-foot pipe, the other 1-foot pipe, another Tee fitting, and another 90-degree Elbow fitting. When you’re done, you’ll have two leg structures, each with a bottom crossbar and a top elbow pointing outwards.
Step 6: Connect the Two A-Frame Sides
Now, we connect the two structures to form the complete A-frame. Take the first 90-degree Elbow fitting from one side. Connect it to the second 90-degree Elbow fitting on the other side. This joins the tops of your legs. Your stand should now look like a freestanding ‘A’.
Step 7: Add Stability to the Feet
To make the stand even more stable, we’ll add feet to the bottom. Take two more 90-degree Elbow fittings. Attach them to the ends of the bottom crossbar pipes that are sticking out. These feet help the stand sit flat and not wobble.
Step 8: Build the Second A-Frame (Repeat Steps 2-7)
You need two of these A-frame structures to create a stand that can hold a target. So, repeat all the steps above to build an identical second A-frame. You’ll need another set of pipes and fittings.
Adding PVC Cement
If you decide to use PVC primer and cement for a permanent bond:
- Apply primer to the outside end of the pipe and the inside of the fitting.
- While the primer is still wet, apply a thin layer of cement to both surfaces.
- Quickly twist the pipe into the fitting about a quarter turn.
- Hold it firmly for about 30 seconds.
- Wipe away any excess cement.
Let the cement cure according to the product’s instructions (usually a few hours) before putting any stress on the joints.
Step 9: Connect the Two A-Frames for Target Support
Now, you have two complete A-frame structures. They look like two large ‘A’s. You need to connect them so they can hold your target. You’ll need a few more pieces of PVC pipe. The length of these will depend on the width of your target. Let’s say you need two pipes that are 3 feet long to span the distance between your two A-frames.
Take the two remaining 3-foot pipes. You will insert one end of each into the top Tee fitting of one A-frame. Then, take the other ends and insert them into the corresponding top Tee fitting of the second A-frame. This creates a strong horizontal bar. Or, you could use two shorter pipes and a Tee in the middle if you want a central point to hang something.
Another common method is to use 4-way connectors if you have them, or to build a simple rectangle on top. For simplicity, let’s stick with the two 3-foot pipes connecting the top Tee fittings. Your stand should now look like a sturdy, connected frame ready for a target.
Mounting Your Target
With your PVC target stand built, it’s time to put your target on it. How you do this depends on the type of target you have. The PVC frame is very adaptable.
For Archery Targets:
- Bag Targets: Many bag targets have loops or handles. You can simply hang these over the horizontal PVC pipes you added to connect your two A-frames.
- Foam Block Targets: These often have holes in the back or sides. You can use zip ties, bungee cords, or rope to secure them to the horizontal PVC pipes. Make sure it’s pulled snug so it doesn’t sway too much.
- Field Targets: Some field targets have a frame that can be propped against the stand. You might need to use a couple of bungee cords to keep it from tipping forward or backward.
For Nerf or Airsoft Targets:
- Cardboard Targets: You can easily attach cardboard targets using zip ties, tape, or even binder clips to the horizontal PVC pipes.
- Plastic Targets: Many plastic targets have holes. Use zip ties or thin rope to attach them.
- Bucket or Can Targets: You can suspend these from the top bars using string or wire.
Tips for Mounting:
- Keep it Secure: Whatever method you use, make sure the target is held firmly. You don’t want it falling down or swinging wildly.
- Center of Gravity: Try to hang your target so its center of gravity is well supported by the frame. This prevents it from pulling down unevenly.
- Check Clearance: Make sure your arrows, darts, or projectiles have a clear path to the target.
Making It Portable
PVC stands are naturally lightweight. To make them even more portable:
- Disassemble: If you used PVC cement, this isn’t an option. But if you only pushed the pipes together, you can often pull the stand apart into smaller sections for easier transport.
- Wheels: For a more advanced touch, you could add small caster wheels to the bottom of the legs. This makes it rollable over smooth surfaces.
Real-World Context: Where and Why This Works
Why is a PVC pipe target stand such a popular choice for so many people? It comes down to a few key advantages that fit perfectly into real-world situations.
Environment: Outdoors and Indoors
These stands are fantastic for backyard practice. They handle grass, dirt, and even concrete well. If you have a safe indoor space, like a basement or garage with a proper backstop, a smaller PVC stand can work there too. The lightweight nature means you can easily move it from your yard to a storage area.
Habits: Practice and Fun
Many people want to improve their skills. Whether it’s archery for hunting preparation, target practice with an air rifle, or just a fun Nerf battle setup, having a reliable target is essential. A DIY PVC stand makes this practice accessible without a big investment. It encourages people to set up practice sessions more often because it’s so easy to deploy.
Design and Materials: Simple Engineering
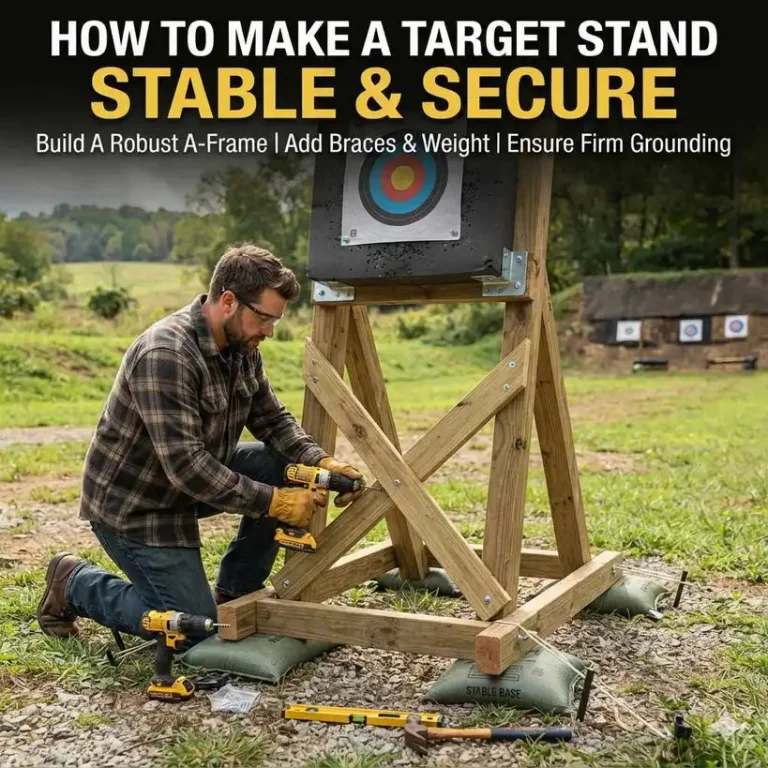
The strength of a PVC stand comes from its design and how the material distributes force. The A-frame shape is inherently stable. It spreads the weight and any impact force across its structure. PVC pipe is strong enough to resist bending under the weight of most targets. The fittings create solid connection points. Using PVC cement makes these connections virtually unbreakable, turning multiple parts into one solid unit.
User Behavior: Customization and Affordability
People love that they can customize a PVC stand. Need it wider? Add longer crossbars. Need it taller? Use longer legs. Want to hang two targets? Add more horizontal supports. This flexibility is key. Plus, the low cost means it’s a project almost anyone can tackle. It avoids the expense of pre-made stands, making target practice more inclusive.
Contrast: PVC Stand vs. Metal Stand
Myth: Only expensive metal stands are strong enough.
Reality: A properly built PVC stand is more than sufficient for most common targets. While metal is stronger pound-for-pound, PVC is lighter, cheaper, and easier to work with. For the forces involved in typical target practice, PVC offers excellent value and performance.
What This Means for You: Normalcy and Concerns
So, what should you expect from your new PVC target stand? When is it perfectly normal, and when should you think about making adjustments or keeping a closer eye on it?
When It’s Normal:
- Slight Wobble: If your target is hit near the edge, the stand might sway just a tiny bit. This is normal. The weight of the target and the flexibility of the PVC can cause this.
- Quiet During Use: The stand should remain quiet. You shouldn’t hear creaking or groaning sounds unless you’re dealing with extreme conditions.
- Steady Support: When the target is mounted, the stand should hold it upright. It shouldn’t lean significantly forward or backward on its own.
- No Visible Bending: The PVC pipes should not appear to be bending under the weight of the target. They should hold their shape.
When to Worry (and What to Do):
- Significant Leaning or Sagging: If the stand starts to lean heavily or the horizontal bars sag noticeably, it might be overloaded or the joints are weak. You may need to reinforce it with more bracing or use thicker pipe.
- Cracking or Splitting: If you see any cracks forming in the PVC pipes or fittings, stop using the stand. This means the material is stressed beyond its limit or has been damaged.
- Joints Pulling Apart: If the pipes are not glued and they start to pull out of the fittings, it’s a sign the connections aren’t secure enough.
- Unstable Base: If the stand wobbles uncontrollably or tips over easily, especially without being hit, the feet might not be even, or the overall design needs to be wider or heavier.
Simple Checks:
Before each use, give your stand a quick check. Ensure all connections look solid. Make sure the ground where you place it is relatively flat. If you’ve used cement, inspect for any signs of wear or damage. For non-cemented joints, ensure they are still pushed in firmly.
Quick Tips for a Better Stand
Want to take your PVC target stand from good to great? Here are a few simple ideas you can implement:
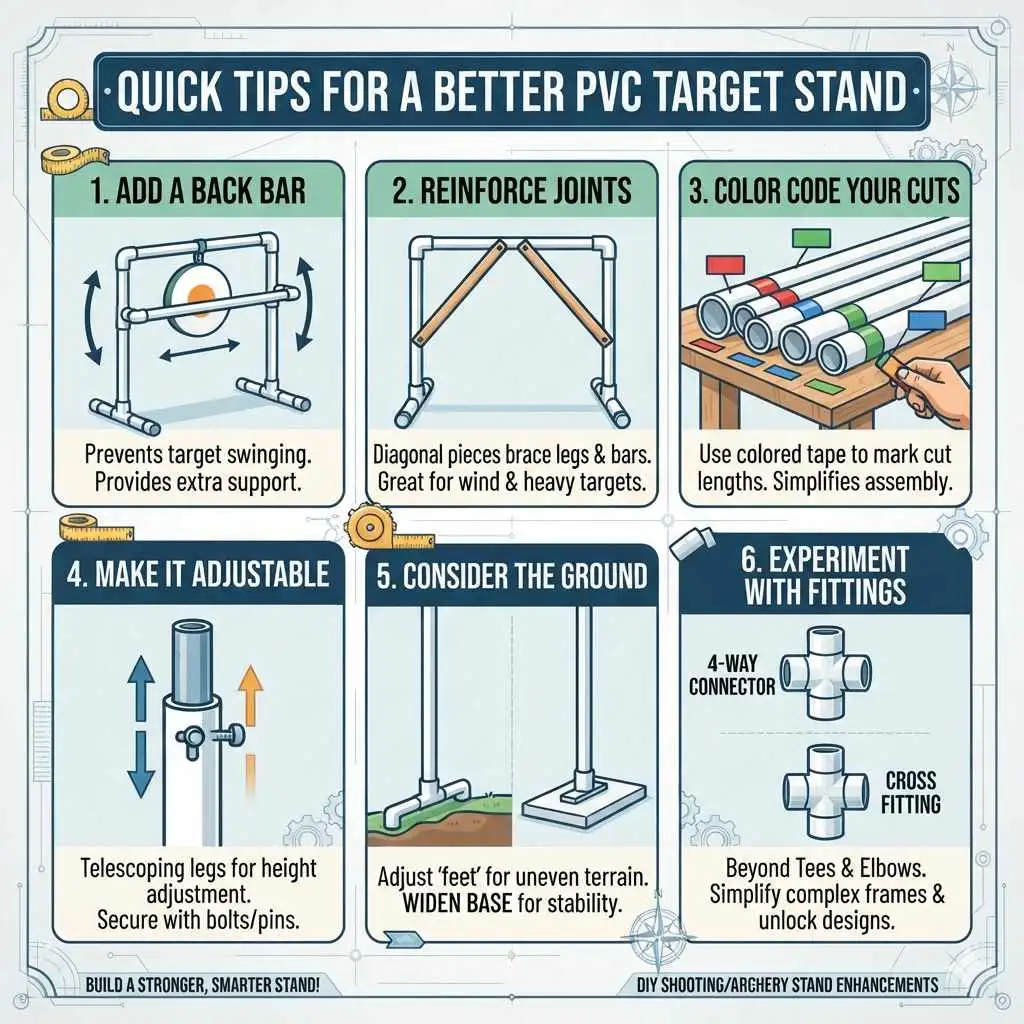
- Add a Back Bar: For some targets, especially ones that hang, adding a second horizontal bar to the back of the stand can provide extra support and prevent the target from swinging too much.
- Reinforce Joints: If you live in a windy area or use a heavier target, consider adding extra bracing. You could add diagonal pieces of PVC from the legs to the horizontal bars.
- Color Code Your Cuts: If you’re building a complex stand or multiple stands, marking your cut pieces with different colors of tape can help you keep track of which pieces go where during assembly.
- Make it Adjustable: Instead of cutting all your leg pieces to the same length, you can create telescoping legs. Use a larger diameter pipe as the outer sleeve and a smaller diameter pipe that slides inside. This allows you to adjust the height of your target. You’ll need to secure these with bolts or pins.
- Consider the Ground: If you’re setting up on uneven ground, you can adjust the length of the ‘feet’ pieces to compensate. Or, consider adding a wider base to the legs for better stability.
Tip: Using Different Fittings
While we used Tees and Elbows, other fittings exist.
- 4-Way Connectors: These can simplify connecting multiple pipes at a single junction, creating more complex frames easily.
- Cross Fittings: Similar to a Tee but with openings on opposite sides and the perpendicular side.
Experimenting with different fittings can unlock more design possibilities!
Frequently Asked Questions
How tall should a PVC target stand be?
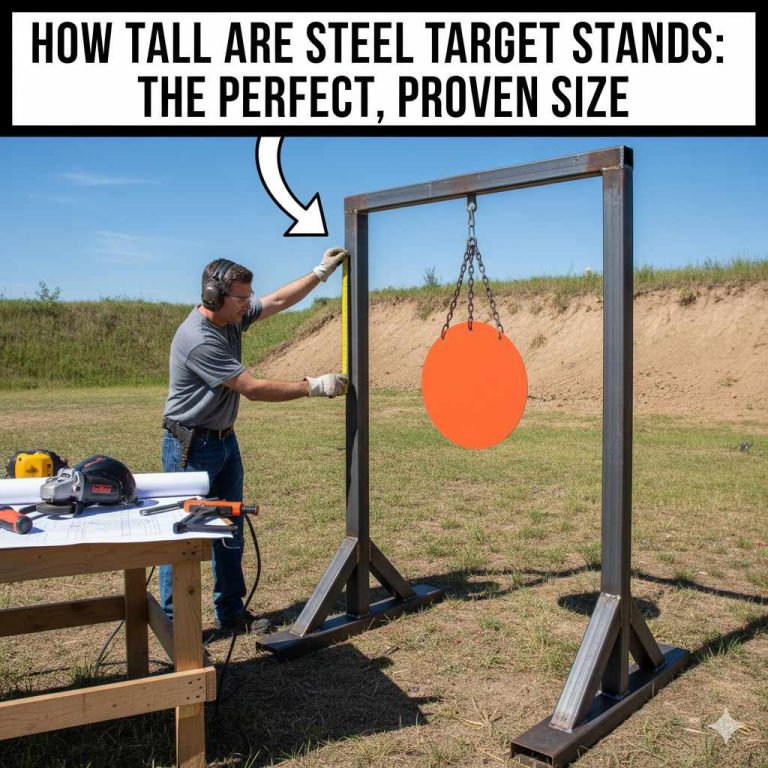
The ideal height depends on your target and what you’re practicing. For archery targets, a height of 3 to 5 feet is common. You want the target to be at a comfortable shooting height. For smaller targets like those for Nerf guns, a shorter stand might be fine.
Can I use smaller diameter PVC pipe?
Yes, you can use smaller diameter PVC pipe, like 3/4 inch. However, it will be less rigid. It’s best suited for very lightweight targets or if you plan to reinforce the structure heavily. For most standard targets, 1-inch or 1.5-inch pipe is recommended for good stability.
Do I really need PVC cement?
Using PVC primer and cement makes your stand much more durable and permanent. If you want a stand that can withstand a lot of use and won’t come apart, cement is highly recommended. If you plan to take it apart frequently for storage, you might skip the cement, but be aware the joints might loosen over time.
How wide should the base of the target stand be?
The width of the base determines stability. For an A-frame stand, a base width that is at least two-thirds of the height is generally good. So, for a 4-foot tall stand, a base width of around 3 feet is a good starting point. A wider base will be more stable.
Can I make a square or rectangular target stand with PVC?
Absolutely! Square or rectangular stands are also very popular. You would use Tee fittings and Elbow fittings to create the corners and connect the pieces. The design principle is similar – create a stable frame that can support your target. These can sometimes be more challenging to get perfectly square but offer excellent stability.
What kind of targets can I hang on a PVC stand?
You can hang a wide variety of targets! This includes foam archery targets, bag targets, cardboard targets, plastic silhouette targets, and even DIY targets made from old buckets or containers. The key is to securely attach the target to the horizontal bars of your stand.
Conclusion
Building your own PVC pipe target stand is a rewarding and practical project. You’ve seen how simple it is to gather materials, design a stable frame, and put it all together. It’s a fantastic way to get the practice setup you need without breaking the bank. Remember, the key is sturdy construction and secure mounting for your target. Now you’re all set to enjoy more focused practice sessions or fun target games!