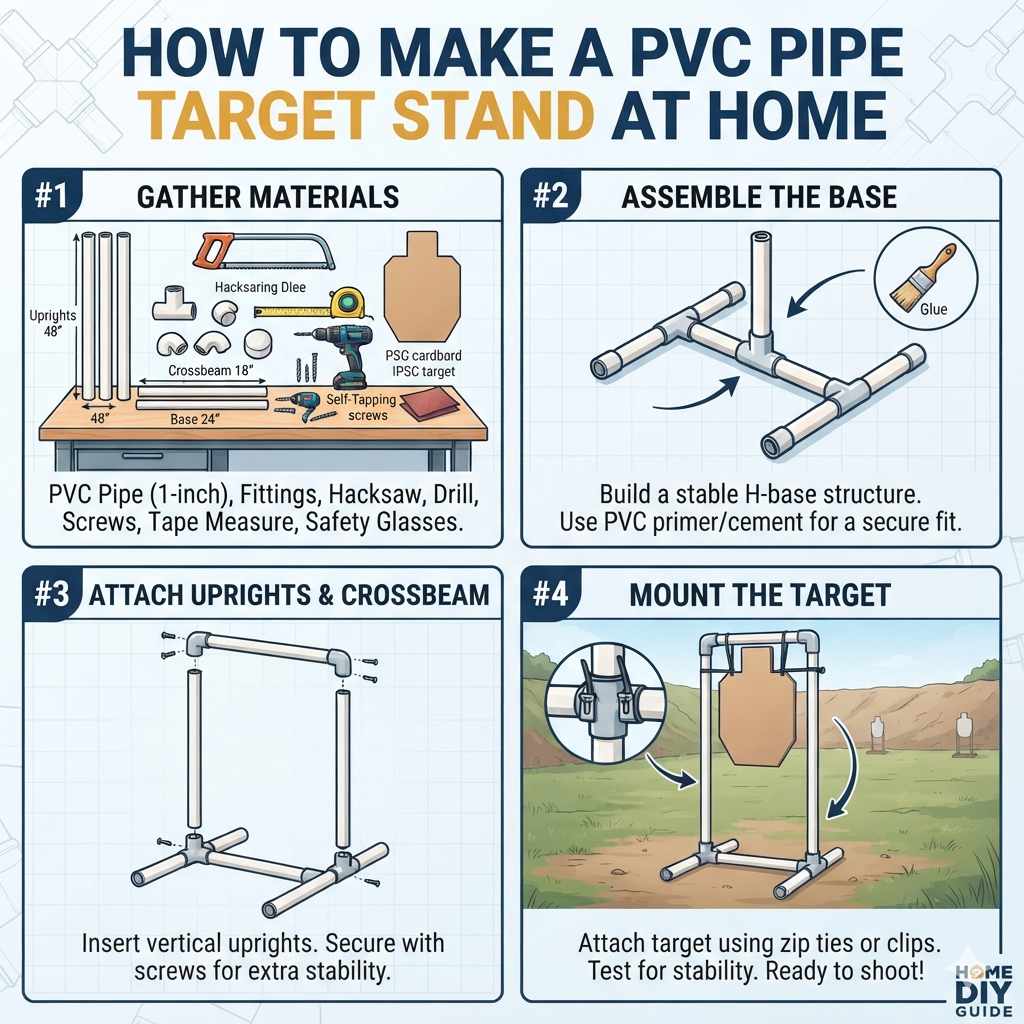
How To Make A Pvc Pipe Target Stand At Home
Ever feel like you’re chasing targets all over the place? It’s a common frustration for anyone practicing archery or shooting at home. You want to focus on your aim, not on resetting your backstop or finding your dropped targets.
A good target stand makes all the difference.
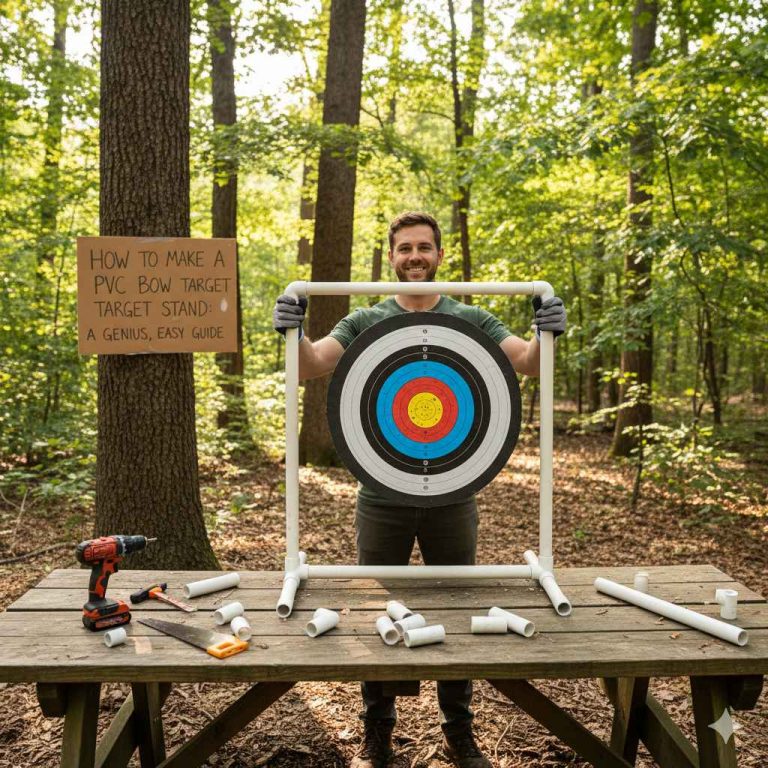
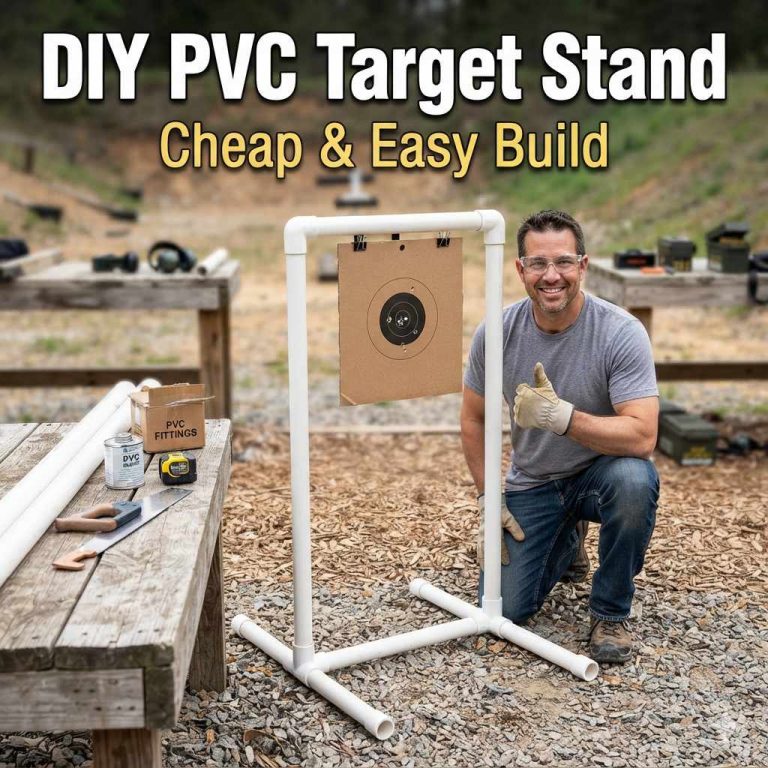
A simple PVC pipe target stand can be built at home to provide a stable base for targets. This DIY project uses common materials and basic tools, offering a budget-friendly solution for practice sessions, ensuring your targets remain upright and ready for repeated use.
Understanding the PVC Pipe Target Stand
So, what exactly is a PVC pipe target stand? Think of it as a homemade frame. It’s built using strong, lightweight plastic pipes.
These pipes connect together to form a stable base. This base then holds your target or backstop.
Why is this setup so popular? It’s incredibly cost-effective. PVC pipes and fittings are much cheaper than metal or wood alternatives.
Plus, you don’t need fancy tools or advanced building skills. This makes it a great weekend project for most folks.
The basic idea is simple physics. You create a wide, stable footprint on the ground. This wide base prevents the stand from tipping over easily.
Legs spread out, offering good balance. Then, a crossbar or frame connects the legs. This is where your target attaches.
Many designs exist. Some are simple ‘A’-frames. Others look more like a small easel.
The best design for you depends on the size of your target and how you plan to use it. We’ll explore a popular, effective design.
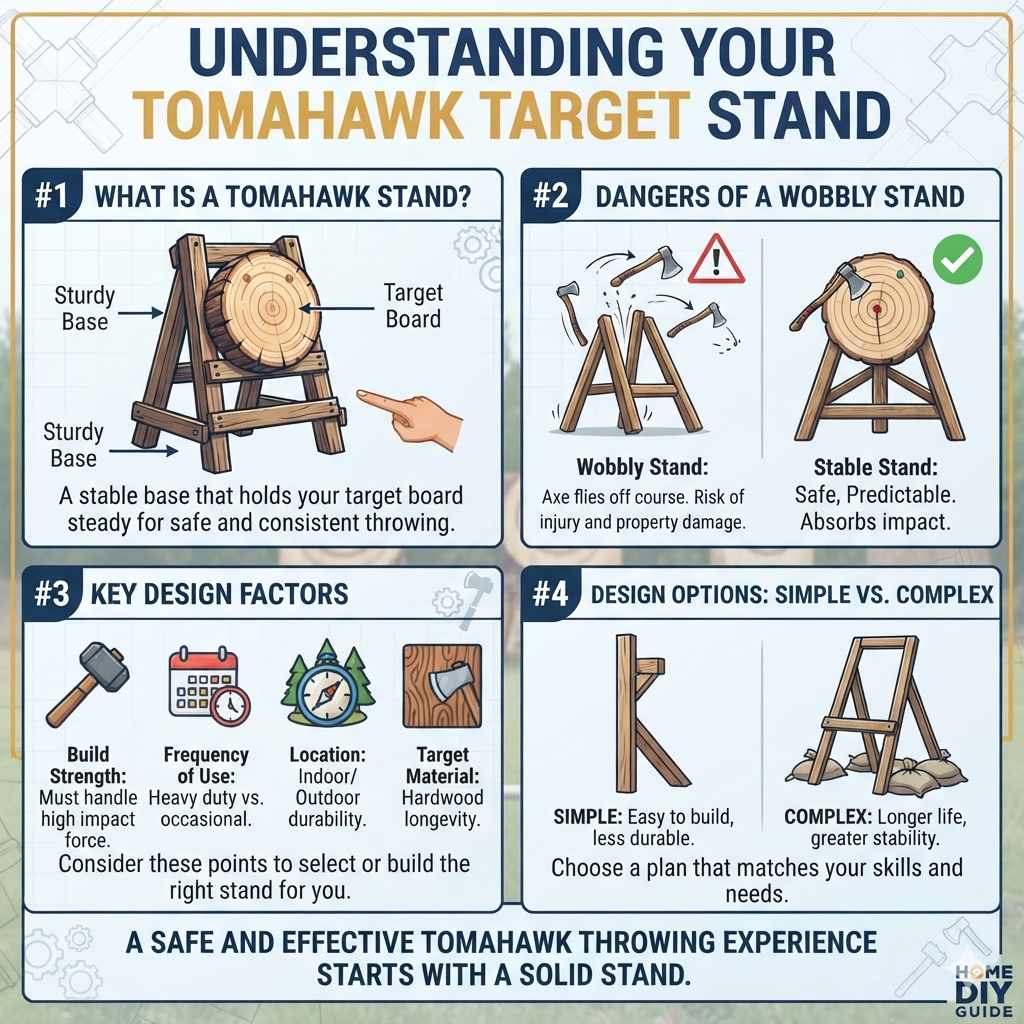
My First Target Stand: A Learning Curve
I remember my first attempts at setting up a practice area in my backyard. I’d prop targets against old trees or stack up cardboard boxes. It worked, sort of.
But after a few shots, especially with arrows, things would wobble. Boxes would collapse. Targets would fall over.
I was spending more time fixing my setup than actually shooting. It was frustrating. One afternoon, after a particularly annoying arrow that went right through a loose box, I decided there had to be a better way.
I needed something sturdy and reliable. Something I could build myself without breaking the bank.
I started researching DIY target stands. I saw lots of ideas using wood, which looked nice but seemed like more work than I wanted. Then I stumbled upon PVC pipe stands.
They looked surprisingly robust. I thought, “This could be it!” I grabbed some pipe and fittings from the local hardware store. The first design wasn’t perfect.
It was a bit wobbly. But it was a huge step up from boxes. That early experience taught me a lot about balance and joint strength.
Popular PVC Stand Styles
‘A’ Frame Stand: This is a classic. Two angled legs meet at the top. It’s simple and stable.
Easel Style Stand: Looks like an artist’s easel. It leans back for balance. Good for larger targets.
Rectangle Frame Stand: A boxy frame. Very stable, can hold large backstops.
Tripod Stand: Three legs spread out. Offers great stability on uneven ground.
Gathering Your Materials
To build a basic PVC pipe target stand, you’ll need a few things. Don’t worry, most are easy to find at any hardware store. Think of this as your treasure hunt for awesome shooting practice.
First, the pipes. We’ll use standard 3/4-inch or 1-inch Schedule 40 PVC pipe. Schedule 40 is strong enough for most targets.
The size depends on your target’s weight and the stand’s size. For most home practice, 3/4-inch is fine. For bigger targets, go with 1-inch.
Next, the fittings. These are the connectors. You’ll need 4-way tees and 90-degree elbows.
These shape your stand. The number you need depends on your chosen design. We’ll detail a simple design below.
You’ll also need a PVC pipe cutter or a hacksaw. A PVC cutter makes clean, straight cuts much easier. It’s a small tool but worth it.
Don’t forget PVC primer and cement. These are crucial for making strong, permanent joints. They chemically bond the pipe and fittings.
Finally, something to hold your target. This could be a piece of plywood with screws, or eye bolts. For larger backstops, you might need a way to attach it securely.
Think about zip ties, bungee cords, or even simple rope.
Basic Tool & Material List
- PVC Pipes: 3/4-inch or 1-inch Schedule 40
- Fittings: 4-way Tees, 90-degree Elbows (quantity depends on design)
- PVC Cutter or Hacksaw
- PVC Primer & Cement
- Measuring Tape
- Marker
- Sandpaper (optional, for smoothing cuts)
Designing Your Simple Stand (A-Frame Style)
Let’s plan a straightforward ‘A’-frame stand. It’s a solid choice for many types of targets. This design gives good stability and is easy to build.
We’ll aim for a stand that’s about 3 feet wide and 3 feet tall. You can adjust these numbers later.
You’ll need four pieces of pipe for the legs. Each will be about 2.5 feet long. This length, when angled, will give us our desired height.
You’ll also need two shorter pipes, about 1 foot each, for the crossbar. This crossbar connects the two ‘A’ frames.
Here’s a breakdown of fittings. You’ll need four 90-degree elbows. These form the tops of your ‘A’ frames.
You’ll also need two 4-way tees. These will be the base of each ‘A’ frame, connecting two legs and the crossbar. And you’ll need two more 90-degree elbows for the other ends of the crossbar.
So, for one ‘A’ frame: two 2.5-foot pipes, one 90-degree elbow. For the base of the ‘A’ frame, you’ll use one 4-way tee. Attach the two 2.5-foot pipes into the two angled openings of the 4-way tee.
The tee’s straight opening will face forward or backward.
For the crossbar: take one 1-foot pipe. Attach it to the straight opening of the 4-way tee on one ‘A’ frame. On the other ‘A’ frame, use another 4-way tee, but this time, attach your crossbar pipe to the straight opening.
The other end of the crossbar pipe goes into another 90-degree elbow. Then connect this elbow to the remaining leg pipe.
This sounds a bit confusing. Let’s break it down into legs and crossbars. You’re essentially making two identical ‘A’ shapes.
Then you link them together with a crossbar. The ‘A’ shapes give height and stability. The crossbar ties them together and provides a place for your target.
Example Cutting List (for one 3’x3′ A-Frame stand):
- (4) x 2.5-foot lengths of 3/4-inch PVC pipe (Legs)
- (2) x 1-foot lengths of 3/4-inch PVC pipe (Crossbars)
Step-by-Step Assembly Guide
Now for the fun part – putting it all together! Work on a flat surface. This makes sure everything lines up correctly.
Take your time. This is a simple build, but doing it right makes it last.
Step 1: Cut Your Pipes. Measure and cut all your PVC pipe pieces. Use your PVC cutter or saw. If you use a saw, try to make the cuts as straight as possible.
You can smooth rough edges with sandpaper if you have it. This helps the cement stick better.
Step 2: Dry Fit Everything. Before you use glue, put all the pieces together without cement. This is called a “dry fit.” Make sure all the pipes slide into the fittings snugly. Check that your stand looks symmetrical and the angles are right.
You want to catch any mistakes now.
Step 3: Prepare for Gluing. Once you’re happy with the dry fit, take it apart. Lay out your pipes and fittings in order. Have your primer and cement ready.
Make sure you’re in a well-ventilated area. The primer and cement have strong fumes.
Step 4: Prime and Cement the Joints. This is where the magic happens. Apply a thin, even coat of primer to the outside end of a pipe and the inside of the fitting. The primer cleans and softens the PVC.
Immediately, apply a thin, even coat of PVC cement to both surfaces.
Step 5: Assemble and Hold. Push the pipe into the fitting with a slight twist. Hold it firmly for about 30 seconds. This ensures a strong bond.
Wipe away any excess cement with a rag. Work quickly, as the cement sets fast.
Step 6: Repeat for All Joints. Go through each joint, one by one. Assemble one ‘A’ frame first. Then do the second.
Finally, connect them with the crossbar. Always prime and cement. Always hold for 30 seconds.
Step 7: Let It Cure. After you’ve glued everything, let the stand sit and cure. The cement needs time to harden completely. Check the cement can for recommended curing times.
Usually, 24 hours is best for full strength. Don’t put any stress on it before it’s fully cured.
Step 8: Attach Your Target Support. Once cured, you can attach your target holder. This could be a piece of wood screwed to the crossbar, or eye bolts. Whatever you choose, make sure it’s secure.
Gluing Tips for Strong Joints
- Work in a well-ventilated area.
- Apply primer AND cement to both surfaces.
- Push and twist the pipe into the fitting.
- Hold for 30 seconds.
- Let the stand cure for at least 24 hours.
Real-World Context: Choosing Your Spot
Where you set up your target stand matters. Think about your shooting practice. Are you in a wide-open field, or a smaller backyard?
Safety is always the number one priority.
You need a safe backstop. For home practice, this often means a large bale of hay, a specialized archery backstop, or a substantial wall of stacked cardboard or wood. Your PVC stand holds the target in front of this backstop.
It’s not a substitute for a proper backstop.
Consider the ground. Is it flat and level? If not, an ‘A’-frame might need slight adjustments to sit evenly.
Some people add small rubber feet or even drill holes in the bottom of the legs to insert stakes for extra stability on soft ground.
Weather is another factor. PVC can become brittle in very cold temperatures. Leaving your stand out in harsh sun for long periods can also degrade the plastic over time.
While they are tough, bringing your stand indoors during extreme weather can extend its life.
Also, think about the type of shooting you do. Archery arrows will impact differently than .22 caliber bullets. Arrows can stick in targets and pull them.
Heavier rounds might cause more vibration. Your stand needs to be robust enough for your specific needs.
Setting Up Safely
Location: Choose an area with plenty of clear space behind your target. Ensure no people or animals can accidentally walk into your line of fire.
Backstop: Always use a reliable backstop. This stops stray shots and recovers arrows.
Ground: Make sure the stand is level and stable on the ground.
Clearance: Ensure the stand doesn’t interfere with your shooting stance or bow/gun movement.
What This Means for Your Practice
Having a reliable target stand changes how you practice. It means less time fiddling and more time improving your skills. You can set up your target quickly and get to shooting.
For archers, a stable target means more consistent arrow impacts. Arrows will group better if the target doesn’t move with each shot. You can also easily adjust the height of your target if needed, which is great for training different shooting positions.
For shooters using firearms, especially at closer ranges, a sturdy stand ensures your aim isn’t thrown off by a wobbling target. You can trust that your shots are hitting where you aim, not being influenced by target movement.
It also means you can practice in more places. If you have a large backyard, a portable PVC stand is easy to move around. You can set it up on grass, dirt, or even a paved area.
Don’t underestimate the mental aspect. When you know your setup is solid, you can relax and focus. This confidence boost can lead to better performance.
It removes a small but significant stressor from your practice session.
Benefits of a Sturdy Stand
Increased Focus: Less time fixing, more time shooting.
Improved Consistency: Targets don’t move, leading to tighter groups.
Versatility: Can be used in various locations and for different target types.
Cost-Effective: Affordable materials make it accessible.
Durability: When built correctly, it lasts for years.
Quick Fixes and Tips for Your Stand
Sometimes, even the best-made things need a little tweak. Here are a few common issues and simple solutions for your PVC target stand.
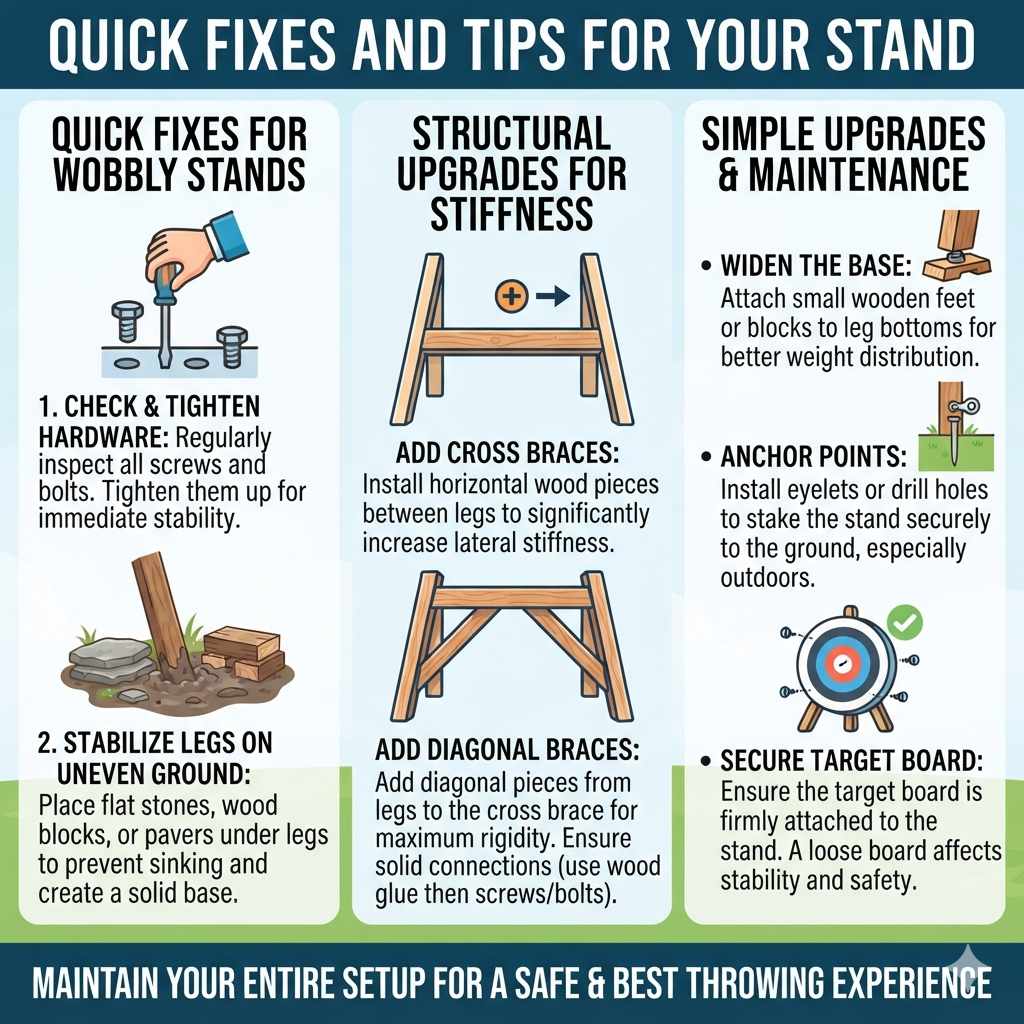
Wobbly Legs: If the ground isn’t level, the ‘A’ frames might not sit right. Try adding small wedges under the legs. For softer ground, consider adding stakes through drilled holes in the leg bottoms.
Or, you can buy specialized rubber feet for PVC pipes.
Target Sagging: If your target material is heavy, the crossbar might sag over time. Use thicker PVC pipe (like 1-inch instead of 3/4-inch) for the crossbar. You can also add an extra vertical support piece from the ground to the middle of the crossbar for added strength.
Joints Coming Loose: While PVC cement makes permanent bonds, sometimes a joint might loosen if not glued properly or if subjected to extreme stress. You can try re-gluing it. If it’s a joint that you want to be able to take apart, use threaded PVC fittings and adapters instead of cementing them.
Attaching Targets: For archery, using large eye bolts screwed into the crossbar works well. For paper targets, you can use zip ties or clips. If you’re using a large backstop, ensure you have a way to securely fasten it to the frame, like strong bungee cords or straps.
Portability: If you need to move your stand often, consider building it in sections that can be easily connected and disconnected. Using threaded fittings at key connection points allows for quick assembly and disassembly.
Pro Tips for Your Stand
Reinforce the Crossbar: For heavy targets, use a larger diameter pipe or add a central support.
Ground Anchors: Use stakes or weights if shooting in windy conditions.
Modular Design: Consider threaded fittings for easy disassembly and transport.
Weather Protection: Store indoors or cover during harsh weather.
Target Management: Use sturdy fasteners like eye bolts or heavy-duty zip ties.
Frequently Asked Questions About PVC Target Stands
What is the best type of PVC pipe to use for a target stand?
Schedule 40 PVC pipe is recommended. It’s strong, durable, and readily available. For lighter targets, 3/4-inch diameter is usually sufficient.
For heavier targets or backstops, consider 1-inch diameter pipe for extra strength.
How do I make sure the stand is stable enough?
A wider base provides more stability. Ensure the legs are spread out sufficiently. For uneven ground, you may need to add shims or stakes.
Ensure all glued joints are fully cured for maximum strength.
Can I use this stand for different types of targets?
Yes, PVC stands are very versatile. They can hold paper targets, cardboard targets, and even smaller archery backstops. The key is how you attach the target to the stand.
You might need different mounting hardware for different target types.
Do I need to glue all the fittings?
For a permanent and sturdy stand, yes, gluing all fittings with PVC primer and cement is highly recommended. If you need a stand that you can take apart frequently, consider using threaded PVC fittings and adapters instead of cementing them.
How tall should my target stand be?
The ideal height depends on your target and your shooting stance. For archery, you often want the center of the target at shoulder height. For rifle or pistol practice, you might want it lower.
A typical height is around 3 to 4 feet, but you can adjust it.
What happens if the PVC stand gets wet?
PVC is waterproof, so getting wet is not an issue for the pipe itself. However, ensure the ground it’s on drains well. If the stand is constantly in standing water, it might encourage mold or algae growth on the pipes, but it won’t damage the PVC.
Can I paint my PVC target stand?
Yes, you can paint PVC pipe. For best results, lightly sand the surface first and use a primer designed for plastics. This will help the paint adhere properly.
Many people paint them to match their outdoor decor or for better visibility.
Conclusion: Ready, Aim, Build!
Building your own PVC pipe target stand is a rewarding project. It’s affordable, achievable, and greatly improves your practice sessions. You get a sturdy place for your targets.
This lets you focus on what matters: improving your aim. Happy building, and even happier shooting!