How Indoor Archery Works: Proven Best
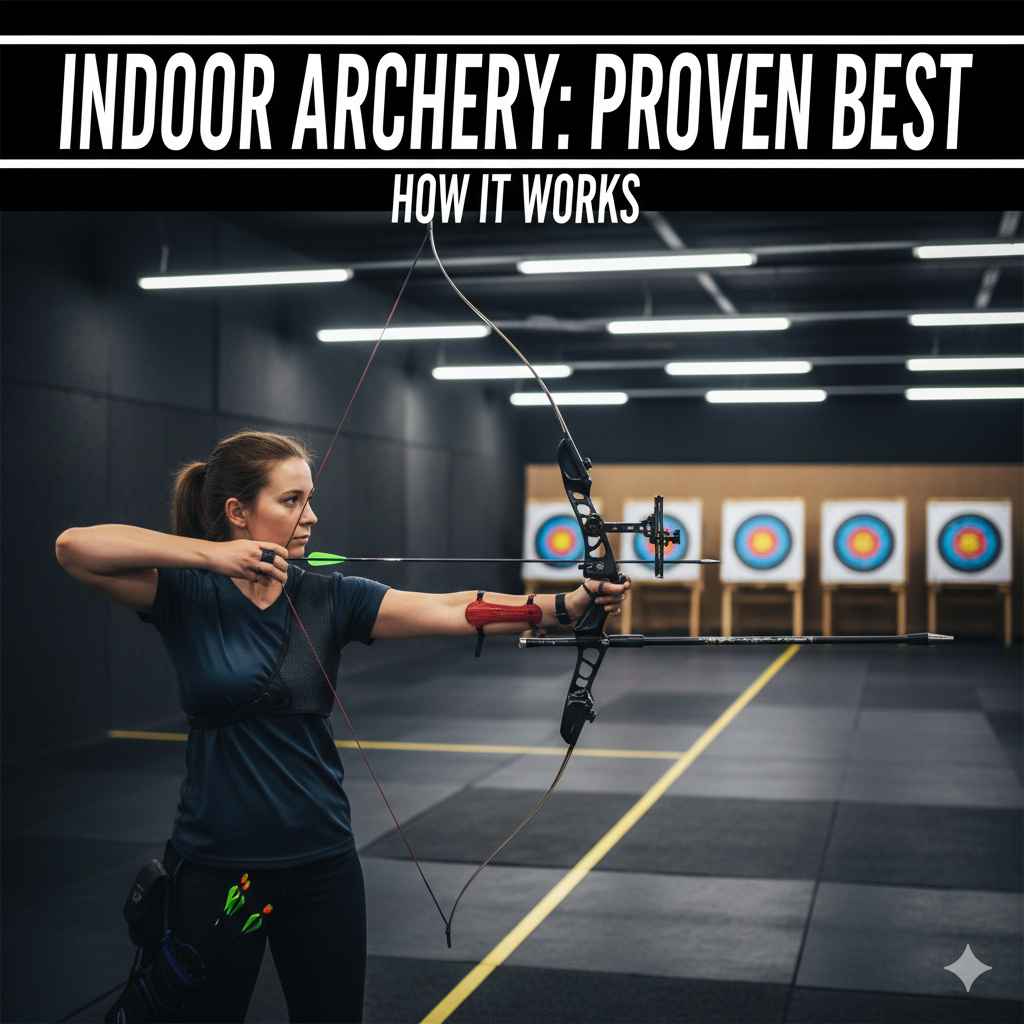
Indoor archery is a fun, accessible way to shoot a bow and arrow in a controlled environment, focusing on accuracy and consistency regardless of weather. It involves setting up a safe shooting range with targets at specific distances, typically indoors, allowing archers to practice year-round. This guide breaks down everything you need to know to get started and enjoy this rewarding sport.
Ever felt the urge to try archery but got daunted by needing a vast outdoor space or perfect weather? You’re not alone! Many beginners think archery is only for sunny days in a big field. But what if I told you there’s a fantastic way to hone your skills, build strength, and enjoy the thrill of hitting the bullseye, all from the cozy indoors? That’s exactly what indoor archery offers. It’s incredibly accessible and perfect for learning the ropes in a safe, controlled setting. We’ll explore how indoor archery works, what you need, and how you can start your own archery journey or visit a dedicated facility. Get ready to discover a new passion!
What is Indoor Archery?
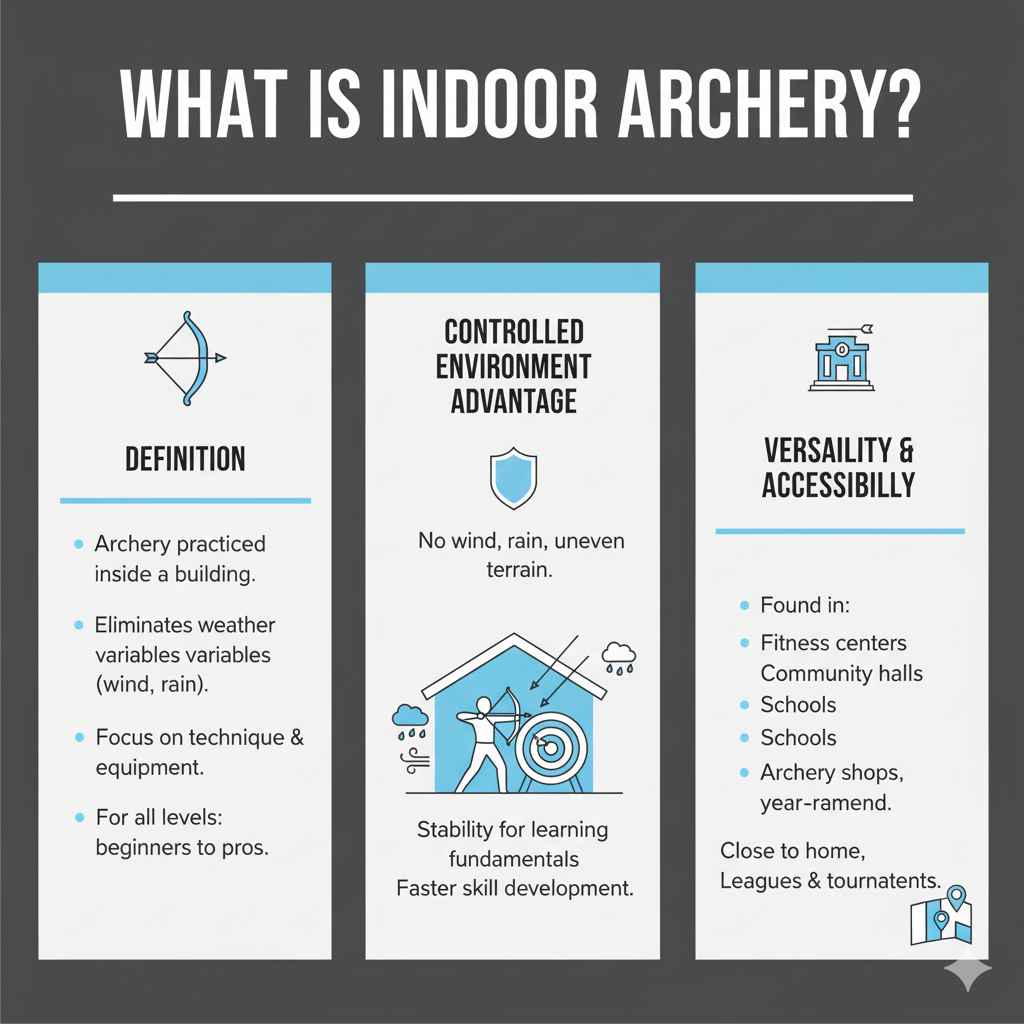
Indoor archery is exactly what it sounds like: practicing the sport of archery inside a building. This eliminates the variables that weather can introduce, like wind and rain, allowing archers to focus purely on their technique and equipment. It’s a popular way for archers of all levels, from absolute beginners to seasoned competitors, to train, compete, and simply enjoy shooting a bow and arrow.
The Controlled Environment Advantage
The biggest draw of indoor archery is the controlled environment. Unlike outdoor shooting, where wind, rain, uneven terrain, and varying light conditions can affect your shot, indoor ranges offer stability. This consistency is invaluable for beginners learning the fundamentals. You can focus on your stance, draw, aim, and release without worrying about external factors throwing off your arrows. This allows for more effective practice and faster skill development.
Versatility and Accessibility
Indoor archery makes the sport accessible to a much wider audience. Many fitness centers, community halls, schools, and dedicated archery shops offer indoor ranges. This means you can often find a place to shoot close to home, regardless of your location or the season. It also opens up opportunities for leagues, tournaments, and casual practice sessions that aren’t dependent on weather forecasts. For those with busy schedules, the ability to shoot year-round without weather constraints is a huge plus.
How Indoor Archery Works: The Setup
Setting up an indoor archery range, whether it’s a dedicated facility or a temporary setup, follows a core principle: safety and target presentation. The goal is to create a safe zone for shooting and place targets where archers can see them clearly and measure their progress.
Safety First: The Range Design
Safety is paramount in any archery setup, and indoor ranges are no exception. The primary concern is ensuring that arrows cannot escape the shooting area and pose a hazard. This involves several key components:
- Backstops: These are essential to stop incoming arrows. Modern indoor ranges often use specialized materials like high-density foam blocks, rubber mats, or mesh curtains designed to absorb the arrow’s energy safely. For a home setup, a sturdy, thick material like specialized archery target butts or even large bales of hay or straw can serve as a backstop, though professional materials are recommended for safety and arrow retrieval.
- Shooting Lanes: Dedicated lanes, often marked on the floor or with physical dividers, ensure archers are shooting in a controlled direction and maintain a safe distance from others.
- Clearance: Adequate space behind the archer is crucial. Shooters need room to stand, draw their bow, and shoot safely without hitting walls, ceilings, or equipment behind them. A minimum of 10-15 feet behind the shooter is generally recommended.
- Controlled Access: Ranges typically have clear signage and protocols to ensure only authorized individuals are on the shooting line and that no one enters the target area until it is declared safe. Organizations like the USA Archery provide extensive safety guidelines and certifications that many ranges adhere to.
Target Placement and Distances
Targets in indoor archery are typically placed at measured distances. The most common distances vary based on the type of archery and the range size, but here are some popular options:
- 10 yards (approx. 9 meters): This is a standard distance for many introductory indoor archery programs and beginner leagues. It’s close enough for new archers to see good results quickly and focus on form.
- 18 yards (approx. 16 meters): This is a very common distance for indoor target archery competitions sanctioned by organizations like World Archery and USA Archery. It’s a good test of accuracy for archers of intermediate to advanced skill levels.
- 20 yards (approx. 18 meters): Similar to 18 yards, this distance is also used in some competitive formats and practice sessions.
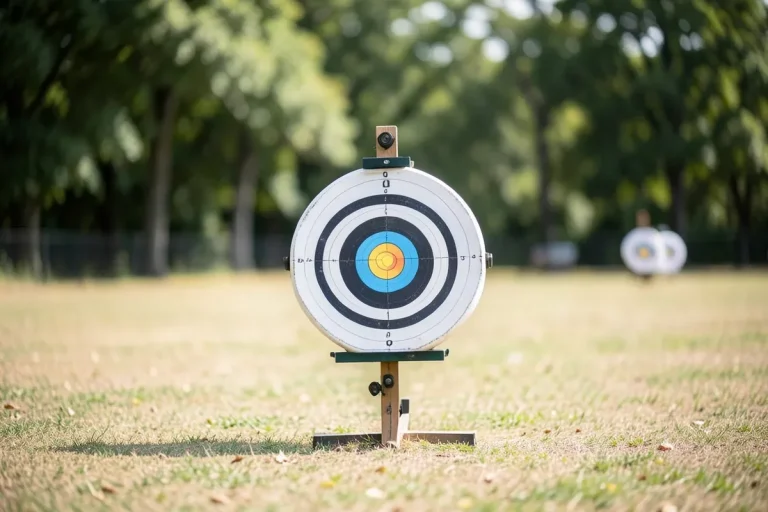
The targets themselves are usually traditional round bullseye targets with concentric scoring rings. The size of the target face and the rings can vary depending on the specific discipline (e.g., World Archery FITA targets, NFAA outdoor targets used indoors for practice).
Essential Equipment for Indoor Archery
While you can rent equipment at most indoor ranges, having your own can enhance your experience and speed up learning. Here’s what you’ll need:
The Bow
For indoor archery, recurve bows and compound bows are the most common. Your choice will depend on your preference, budget, and what your archery coach or instructor recommends.
- Recurve Bows: Often recommended for beginners due to their simplicity and direct feedback. They are usually lighter and less mechanically complex than compound bows. Many recurves used indoors are “takedown” models, meaning the limbs can be detached from the riser (the handle part) for easier transport and storage.
- Compound Bows: These bows use a system of pulleys (cams) to reduce the holding weight, making them easier to draw and hold steady for aiming. They can be more accurate once dialed in but have a steeper learning curve and are generally more expensive.
For indoor shooting, bows with lower draw weights are often sufficient, especially for practice. A weight of 20-30 pounds for recurve or a compound bow set to a similar effective draw weight is usually adequate to shoot targets at typical indoor distances.
Arrows
Arrows are crucial, and the type you use will depend on your bow and the indoor range rules.
- Material: Arrows are commonly made of carbon, aluminum, or a composite of both. Carbon arrows are popular for their durability and straightness.
- Spine: This refers to the stiffness of the arrow shaft. It needs to match your bow’s draw weight and length for optimal flight. An archery professional can help you select the correct spine.
- Fletching: These are the vanes or feathers on the back of the arrow that stabilize its flight. For indoor shooting, shorter, stiffer vanes are often preferred as they are less likely to be damaged if arrows hit each other.
Safety Gear
Protective gear is non-negotiable for safe archery.
- Armguard: Worn on the forearm of the bow arm, it protects your skin from the sting of the bowstring after a shot.
- Finger Tab or Release Aid: Recurve archers typically use a finger tab or glove to protect their fingers from the bowstring. Compound archers almost always use a mechanical release aid, which can improve consistency and ease of draw.
- Bowstring Wax: To keep your bowstring in good condition.
Accessories
A few other items can make your indoor archery experience more enjoyable:
- Quiver: To hold your arrows. Hip quivers are common for indoor shooting.
- Bow Square: A tool to check brace height and nocking point alignment.
- Arrow Puller: Especially helpful if shooting into dense targets, an arrow puller makes retrieving your arrows much easier.
The Basic Steps of Indoor Archery
Learning to shoot a bow indoors follows the same fundamental archery steps as outdoor shooting, but with the added benefit of immediate feedback in a controlled space. Here’s a breakdown of the process:
Ready the Range
Ensure the shooting lane is clear, the targets are set up safely, and no one is in front of the targets. Confirm the backstop is secure and suitable for the arrows you’re using. Always check the range’s specific safety protocols before you begin.
Stance
Stand with your feet shoulder-width apart, perpendicular to the target line. Assume a comfortable, balanced stance. For example, a slightly open stance (the foot closer to the target is slightly forward) can offer more stability.
Nock the Arrow
Place an arrow on the bowstring, ensuring it snaps into the nocking point. The arrow’s fletching (feathers or vanes) should be pointing upwards, away from the bow’s riser.
Grip the Bow
Hold the bow riser lightly in your bow hand. Avoid a death grip; a relaxed grip promotes better shot consistency. Your bow hand should be relaxed, with the bow resting in the palm, the back of your hand facing the target.
Raise and Draw
Raise the bow towards the target. Then, using your drawing hand (the one that’s not holding the bow), smoothly pull the bowstring back towards your face. Keep your drawing elbow high and your motion fluid. Aim to draw to the same anchor point on your face every time – this is key for consistency.
Aim
Once your draw is complete and you’re at your anchor point, align your sight (if using one) or the arrow tip with the center of the target. Take a deep breath and hold it steady.
Release
This is the crucial moment. For finger shooting, relax your drawing fingers smoothly and allow the string to roll off them. For a release aid, gently squeeze the trigger. The release should be as smooth and clean as possible, without any surprise or jerking motion. Follow through by letting your drawing hand continue its natural motion backward.
Follow Through
After releasing the arrow, maintain your stance and drawing motion (follow through) for a moment. This helps ensure a smooth release and keeps your aim steady through the shot. Lower your bow slowly. Observe where your arrow landed.
Retrieve Arrows
Wait until everyone has finished shooting and the range is declared safe before walking forward to retrieve your arrows. Use an arrow puller if necessary.
Indoor Archery Techniques for Beginners
Mastering these basic steps is essential. To improve and enjoy indoor archery even more, focus on these techniques:
Consistency is Key
Indoor archery is all about repeatability. Every element of your shot process – your stance, how you nock the arrow, your grip, draw length, anchor point, and release – should be identical with every shot. This consistency is what allows you to make corrections and improve accuracy. Think of it like learning to write your name; you do it the same way each time.
Break Down the Shot Process
Don’t try to do everything at once. Focus on one part of the shot process per session. For example, one session might be dedicated to perfecting your stance and grip. Another might focus on a smooth, consistent draw and finding a solid anchor point. This methodical approach prevents overwhelm and builds a strong foundation.
Focus on the Fundamentals
Before worrying about hitting the bullseye, ensure your form is correct. Good form is the bedrock of accurate shooting. This includes maintaining a stable, balanced stance, keeping your bow arm steady, drawing smoothly, and executing a clean release. A good coach can provide invaluable feedback on your form.
Learn to Aim
If you are using a recurve bow with a sight, practice aligning the sight pin with the target. If you are shooting barebow (without sights), you’ll learn to use the arrow tip as your aiming point, which requires a consistent anchor point. For compound bows, learning to use the pins on your sight is a critical skill.
Breathing Control
While it might seem minor, your breathing can affect your shot. A common technique is to take a deep breath, draw the bow, establish your aiming, and then exhale slowly while holding the draw. Some archers find holding their breath briefly at full draw helps stabilize their aim. Experiment to find what works best for you, but avoid holding your breath for too long, which can lead to shaking.
Indoor Archery vs. Outdoor Archery: Pros and Cons
Both indoor and outdoor archery offer unique experiences. Understanding their differences can help you decide where to focus your practice.
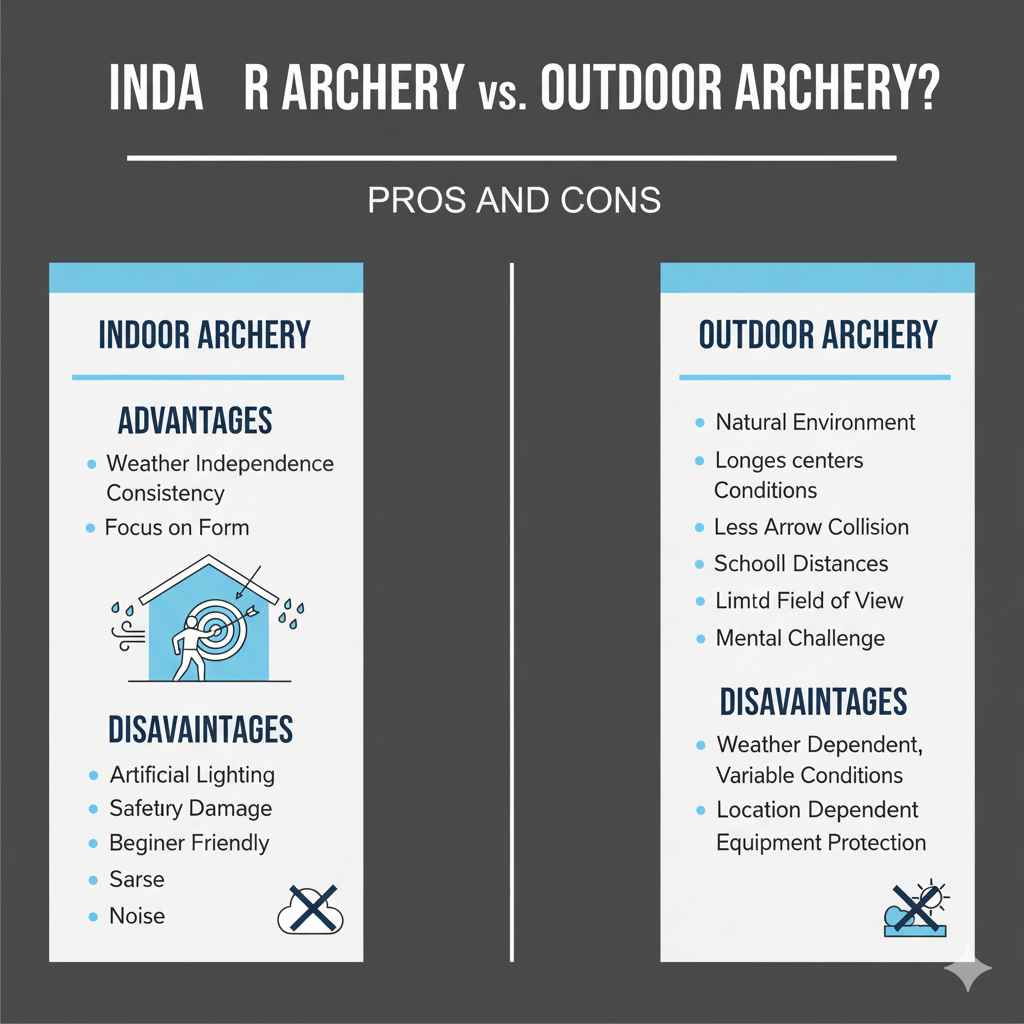
Advantages of Indoor Archery
When you shoot indoors, you gain several benefits:
- Weather Independence: Shoot year-round, rain or shine, hot or cold.
- Consistency: No wind or light changes to throw off your aim.
- Focus on Form: Easier to concentrate on technique without external distractions.
- Safety: Controlled environment with effective backstops.
- Accessibility: Numerous facilities available in urban and suburban areas.
- Beginner Friendly: Shorter distances and controlled environment reduce intimidation.
Disadvantages of Indoor Archery
There are also some trade-offs:
- Space Limitations: Ranges can be crowded, and distances are often shorter than ideal for some types of archery.
- Artificial Lighting: Can sometimes cause glare or be less natural than daylight.
- Arrow Damage: Higher chance of arrows hitting each other in tighter shooting lanes, leading to damage.
- Limited Field of View: You’re focused on a small target, which differs from the wider, more expansive feel of outdoor shooting.
- Noise: Indoor ranges can be noisy due to echo and the sound of arrows hitting targets.
Advantages of Outdoor Archery
Shooting outside has its own appeal:
- Natural Environment: Enjoy the outdoors, fresh air, and natural scenery.
- Longer Distances: Ranges can accommodate much longer shooting distances, crucial for certain disciplines.
- Less Arrow Collision: More space between targets and shooters usually means fewer damaged arrows.
- Mental Challenge: Dealing with wind, sun, and terrain adds an extra layer of skill to master.
Disadvantages of Outdoor Archery
Outdoor shooting also comes with challenges:
- Weather Dependent: Rain, wind, snow, and extreme temperatures can halt shooting.
- Variable Conditions: Light changes, gusts of wind, and uneven ground require constant adjustment.
- Location Dependent: Requires access to safe land or dedicated outdoor archery ranges which may be fewer and farther between.
- Equipment Protection: More susceptible to damage from elements.
Indoor Archery Competitions and Leagues
For those looking to test their skills and engage with the archery community, indoor ranges are hubs for competitions and leagues. These events are typically structured and provide a fantastic way to improve under a bit of friendly pressure.
Types of Indoor Competitions
- FITA/World Archery Style: These often involve shooting at 18 meters (approx. 20 yards) at a circular target with 10 rings. Scoring is based on hitting the rings, with the 10-ring being the center bullseye.
- NFAA (National Field Archery Association) Style: While often associated with outdoor field archery, NFAA targets and scoring are also used indoors. This can involve shooting at various distances at different target faces, including animal targets.
- 3-D Archery: Less common indoors but sometimes available, this involves shooting at life-sized 3-D animal targets at marked distances.
You can find local indoor archery clubs and facilities through organizations like USA Archery Club Finder. These clubs often organize practice sessions, instructional classes, and competitive events.
Joining a League
Joining an indoor archery league is a great way to stay motivated. Leagues typically run for several weeks, with participants shooting during open range hours or at designated league nights. Scoring is often cumulative, and there might be divisions based on bow type (recurve, compound) and skill level. It’s a low-pressure way to shoot regularly and meet fellow archers.
Frequently Asked Questions About Indoor Archery
Q1: What is the most common distance for indoor archery?
The most common distance for organized indoor archery is 18 yards (approximately 16 meters). Many beginner programs and casual shoots also use 10 yards (approximately 9 meters).
Related pick: Check today's price on Amazon