How to Build a Safe Archery Practice Area for New Shooters
Build a safe archery practice area by setting a clear shooting lane, a full-height backstop, side protection, and a fixed firing line that keeps every arrow pointed away from people, pets, windows, and roads. Poor layout can send arrows into homes, vehicles, or bystanders. This guide gives a beginner-first safety checklist for parents and coaches who want zero-guesswork setup.
Can you set up archery at home safely?
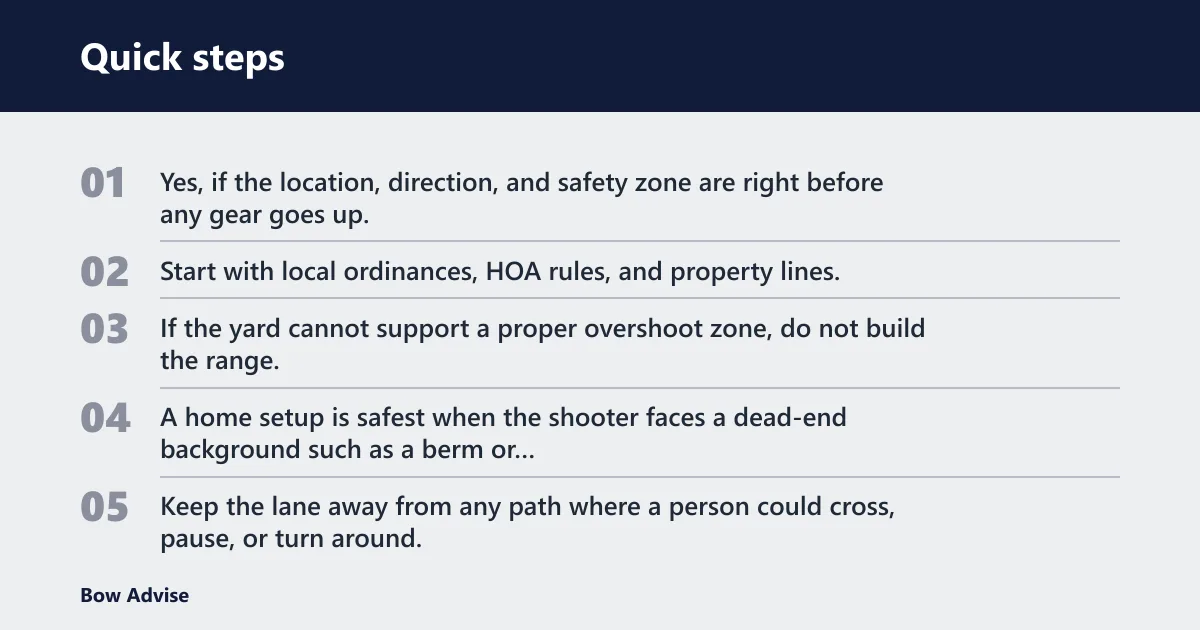


Yes, if the location, direction, and safety zone are right before any gear goes up. Start with local ordinances, HOA rules, and property lines, then choose a direction that stays clear of roads, windows, walkways, pets, and parked vehicles. If the yard cannot support a proper overshoot zone, do not build the range.
A home setup is safest when the shooter faces a dead-end background such as a berm or other area with no traffic. Keep the lane away from any path where a person could cross, pause, or turn around. A parent or coach should decide whether the yard can fit the full beginner layout before buying a target or stand.
Start with rules, neighbors, and boundaries
Check local ordinances first, then HOA rules if they apply. That step comes before target choice, bow choice, or backstop purchase. If a neighbor’s yard, driveway, or window sits in the line of fire, choose another direction or skip home practice.
It also helps to tell nearby households what the setup is for and when it will be used. That is not a legal substitute, but it can reduce confusion about the sound of practice arrows or people walking the property edge.
Archery practice area safety checklist
Use this checklist before the first shot. It turns the space into measurable parts: target area, side buffer, and overshoot zone. If any item fails, change the layout first.
| Checklist item | Measurement field | Yes/No compliant |
|---|---|---|
| Depth from shooting line to backstop face | _____ feet | _____ |
| Target width | _____ inches or feet | _____ |
| Backstop height | _____ feet | _____ |
| Side clearance on left | _____ feet | _____ |
| Side clearance on right | _____ feet | _____ |
| Overshoot zone behind target | _____ feet | _____ |
| Shooting line is visible and level | Marking method: _____ | _____ |
| Spectator line is behind the shooter | _____ feet from shooting line | _____ |
| No people, pets, or vehicles in overshoot zone | Boundary method: _____ | _____ |
What to verify before buying gear
For a beginner setup, confirm the yard can hold the lane and the safety buffers first. Home ranges can be built in spaces as small as 30 feet deep, and a 20-yard range is workable for most target archers, but that only matters if the backstop and overshoot area also fit safely.
The guide recommends at least 10 feet of side clearance on each side of the target and a minimum 30 feet of safe overshoot zone behind the target. Those are not narrow comfort margins; they are the parts of the layout that keep misses from leaving the range.
How much space do new shooters need?
New shooters should start at a short beginner distance and only move back when every arrow stays controlled within the target and backstop. The range needs more than shooting distance alone. It also needs room behind and around the target for misses, bounce-outs, and pass-throughs, plus clear side buffers.
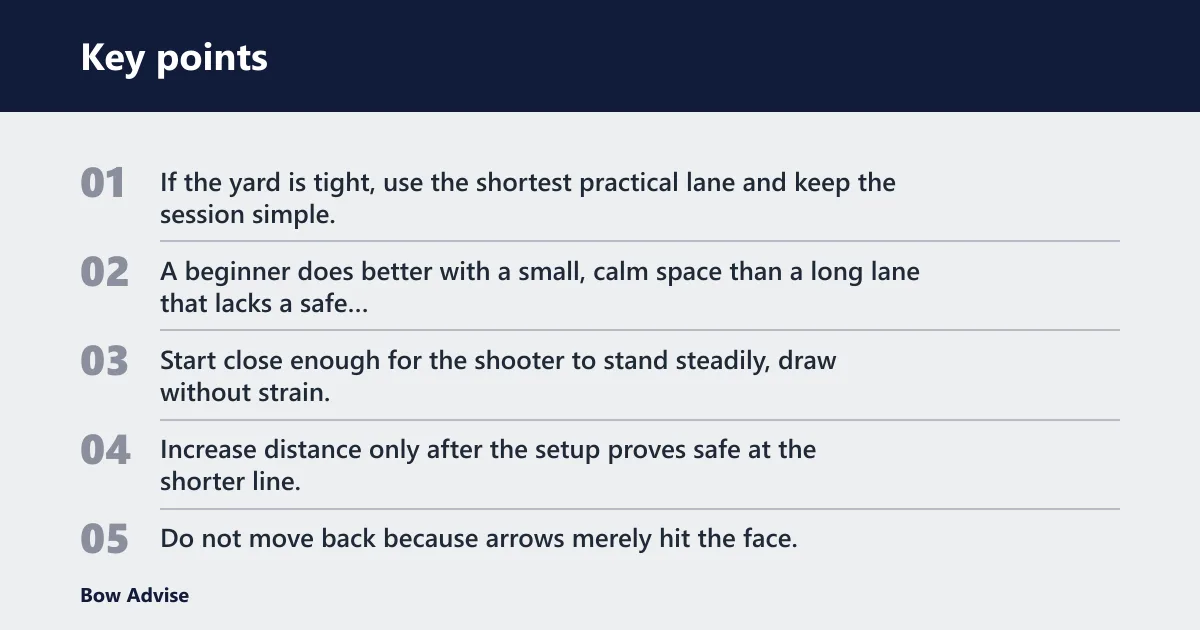
If the yard is tight, use the shortest practical lane and keep the session simple. A beginner does better with a small, calm space than a long lane that lacks a safe backstop or a clear no-go zone.
Use distance as a teaching tool, not a test
Start close enough for the shooter to stand steadily, draw without strain, and keep arrows centered on the target and backstop. Increase distance only after the setup proves safe at the shorter line. Do not move back because arrows merely hit the face; move back only when arrows stay well within the target and backstop.
Say your yard leaves only a modest lane, but the backstop is deep and the side buffers are clear. A shorter line may be the safer choice for the first few sessions, because the smaller distance keeps beginners focused and makes missed shots easier to contain.
Adjust for bow type and draw weight
Higher draw weights call for more caution, more stopping power, and a larger no-go area behind the target. Compound bows can send arrows with more speed than a beginner recurve setup, so the target and backstop need to match that power. Keep the first setup conservative.
If the bow is not tuned, the arrow path can shift and the target may not stop the shaft as expected. That risk rises when arrow spine, arrow length, and draw weight do not match the bow.
What kind of backstop is safest for a beginner archery setup?
The safest beginner backstop is one that reliably stops errant arrows, sits behind the target, and is wider and taller than the target face. It should be built or hung so arrows do not reach gaps, and it should be checked for wear, pass-throughs, and loose edges before every session.
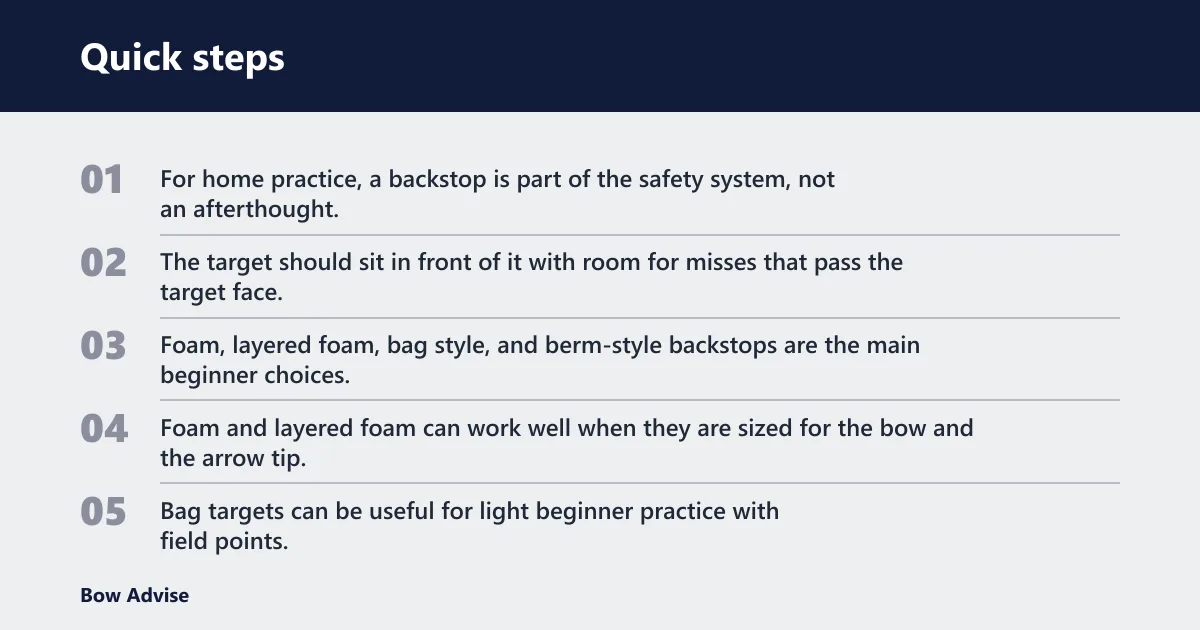
For home practice, a backstop is part of the safety system, not an afterthought. The target should sit in front of it with room for misses that pass the target face.
Compare the common backstop options
Foam, layered foam, bag style, and berm-style backstops are the main beginner choices. Foam and layered foam can work well when they are sized for the bow and the arrow tip. Bag targets can be useful for light beginner practice with field points. A dirt berm is often treated as the gold standard when the site allows it.
A backstop that uses a dedicated frame or hanging system is easier to place correctly and inspect. That matters because a backstop must stop arrows, not just slow them down.
What to put behind an archery target
Put a proper backstop directly behind the target, then keep the overshoot zone clear behind that. Straw bales are cheaper than hay bales at around $4 to $8 per bale, but they still need close inspection for gaps, shifting, and pass-throughs. Do not assume any bale stack is enough on its own.
Horse stall mats are three-quarter-inch rubber mats and can be part of a backstop system, but they still need to be sized and supported correctly. Bag targets on one page are priced from $30 to $80, though price alone does not tell you whether they match the bow and arrow setup.
Inspect for wear and failures
Before each session, check the face and edges for holes, soft spots, loose straps, or places where arrows have started to pass through. If arrows begin to punch through, replace the target or add stopping power. A worn backstop is not a minor issue; it is a failure point.
Picture a beginner shooting a light recurve into a tired bag target. The first few arrows stop normally, then one shaft begins to push through the same worn spot. That means the target is past its safe limit and should come out of service.
What equipment do I need for a beginner archery range?
A beginner range needs a tuned bow, beginner arrows with field points only, a target that matches the draw weight, a proper backstop, and a visible shooting line. Add safety gear that fits the bow type, plus a clear storage plan for unloaded bows and secured arrows.
The exact list changes with recurve or compound gear, but the practice area itself needs the same core parts: lane, line, target, backstop, and a clear no-go zone.
Match arrows, bow, and target
Use beginner shafts with the correct spine and length for the bow, and inspect each arrow for cracks, bends, or loose parts before shooting. Use brightly colored shafts or fletching so arrows are easier to see on the ground and in the target area.
Choose field points only for practice. Broadheads do not belong in a home practice area because they cut target surfaces differently and create a different safety problem. The target boss should be rated for field points and matched to beginner draw weight.
Recurve and compound are not set up the same way
Recurve beginners usually shoot with fingers and a finger tab, while compound beginners usually use a release aid. That changes how the string is held and how the bow should be tuned. It also affects what target hardness is reasonable for the setup.
A recurve setup often tolerates a softer beginner target more easily than a fast compound setup, but the right choice still depends on the bow’s draw weight, arrow spine, and the target’s stopping power. Check the manufacturer’s listing for your model when a spec is not obvious.
What safety rules should beginners follow in a practice area?
Keep one shooter on the line unless a trained supervisor is managing the session. Never draw unless the lane is clear and the command has been given. Keep bystanders behind the line, retrieve arrows only after a clear command, and store bows unloaded with arrows secured.
The safest beginner range has a visible shooting line, a separate spectator area, and a simple command structure. That structure matters because uncertainty is where poor habits and rushed shots begin.
Mark the line and the supervision zone
Mark the shooting line with tape, stakes, or another clear visual marker that stays level and easy to see. Keep the spectator line behind it so people do not drift forward during a shot. In shared spaces, add a simple adult supervision zone where first-time shooters can wait, listen, and reset.
Never allow a shooter to nock or draw an arrow before the lane has been checked. If someone steps into the lane, stop the line, wait, and restart only after the area is clear.
Keep the range calm and simple
One-arrow-at-a-time shooting is often considered a strong beginner rule because it can reduce confusion and help keep attention on form and safety. Use one command for “shoot,” one for “retrieve,” and one for “stop.” That keeps the session predictable.
A common first-timer mistake is to let several people stand near the target while one shooter is still on the line. That setup makes it easy for someone to step into the wrong area before the lane is clear.
Protective gear and supervision
Beginner protective gear should include an armguard, a finger tab or release aid depending on the bow type, and closed-toe shoes. A chest guard can help with comfort and string clearance for some beginners. Keep ear and eye awareness in mind when the range is shared with other activity.
For first-time shooters, supervision should be close enough to stop bad habits before they become routine. The adult or coach should stay focused on the line, the command sequence, and the range boundary.
Know the recurve and compound safety differences
With a recurve, finger pinch and string slap are common beginner issues, so the armguard and finger tab matter. With a compound, the release aid changes how the string breaks and how the shooter controls the bow at full draw. In both cases, the setup should be tuned before practice.
The target’s stopping power must match the bow and arrow combination. If the target is too soft for the arrow speed or too worn for the shaft type, arrows may pass through or bury too deeply.
A simple build sequence for new shooters
Build the range in this order: verify rules, choose direction, measure the lane, place the backstop, mark the shooting line, and then bring in the bow and arrows. That sequence keeps the safety decisions ahead of the equipment decisions.
- Check local ordinances, HOA rules, and property boundaries.
- Pick a shooting direction away from roads, homes, windows, walkways, pets, and vehicles.
- Measure the depth, width, side clearance, and overshoot zone.
- Set the backstop behind the target and inspect it for gaps or wear.
- Mark the shooting line and spectator line clearly.
- Confirm the bow is tuned, arrows are intact, and only field points are in the range.
- Run the first session with one shooter at a time and clear commands.
What to change if your yard is too small
If the yard is too short, reduce the setup rather than forcing a full-size layout. Move to the shortest safe beginner distance, choose a smaller target face only if the backstop remains adequate, and keep the overshoot zone fully clear. If any part of the safety zone fails, use another location.
| Yard limit | What to change | What not to do |
|---|---|---|
| Depth is under the needed safe lane | Use a different site or stop setup | Do not shorten the overshoot zone |
| Side clearance is tight | Reorient the lane or choose another yard edge | Do not rely on a narrow side lane |
| Backstop area has gaps or hard objects behind it | Move the range or clear the area fully | Do not leave vehicles, windows, or hard surfaces in line |
| Arrow speed is too high for the current target | Switch to a target with more stopping power or lower the setup | Do not keep shooting through pass-throughs |
Frequently asked questions
How much space do I need for beginner archery practice?
Beginner practice needs enough depth for the shooting line, target, backstop, and overshoot zone. A home range can fit in spaces as small as 30 feet deep, but the safe layout still has to include side clearance and a clear area behind the target. If those buffers do not fit, the setup is too small.
How far should a new shooter stand from the target?
A new shooter should start at a short beginner distance and only move back when every arrow stays controlled within the target and backstop. The exact starting point depends on the shooter, bow, and target, but the first line should favor control and calm form over distance.
What should I put behind an archery target to stop arrows?
Put a proper archery backstop directly behind the target, then keep a clear overshoot zone behind that. A backstop can be foam, layered foam, bag style, or a berm-style setup, but it must be wider and taller than the target and free of gaps, wear, and pass-throughs.
Can I practice archery in my backyard safely?
Yes, if the yard can hold a safe lane, a proper backstop, and clear buffers away from people and property. Always verify local ordinances and HOA rules first, then make sure the lane points away from roads, windows, walkways, pets, and vehicles. If the layout cannot meet those conditions, do not shoot there.