How to Improve Traditional Archery Accuracy: Expert Tips and Techniques
Traditional archery holds a special place in the world of sport and recreation. Unlike modern archery, it relies on instinct, practice, and a deep connection between the archer, the bow, and the target. Many archers are drawn to traditional archery for its simplicity and the pure challenge it offers.
This guide is part of our Archery basics: beginner guide to bows and shooting series.
However, improving accuracy in traditional archery requires more than just shooting arrows repeatedly. It demands a combination of refined technique, mental focus, proper equipment selection, and smart practice habits.
If you want to shoot more consistently and hit your target more often, you need a holistic approach. This article explores practical methods, expert tips, and overlooked details that can make a real difference. Whether you are a beginner or have been shooting for years, you will discover fresh insights to help you improve your traditional archery accuracy.
Understanding Traditional Archery
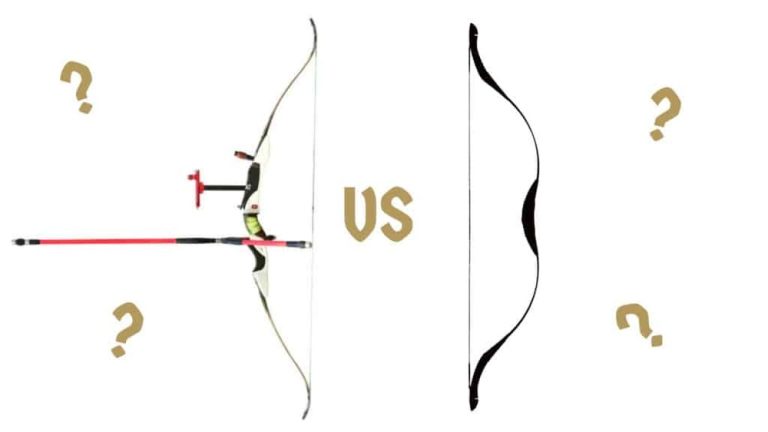
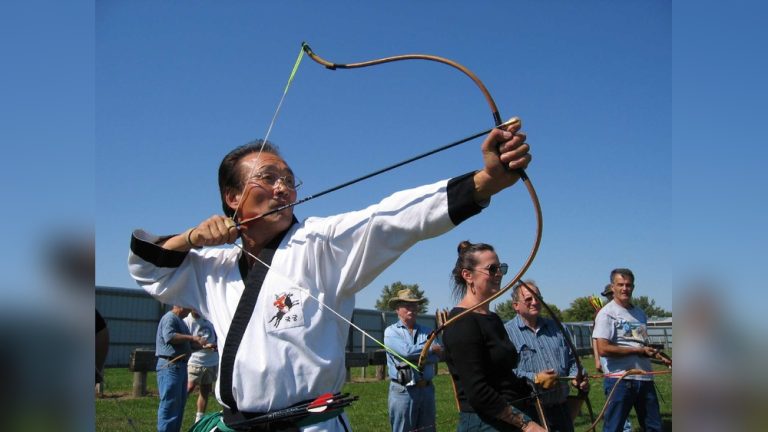
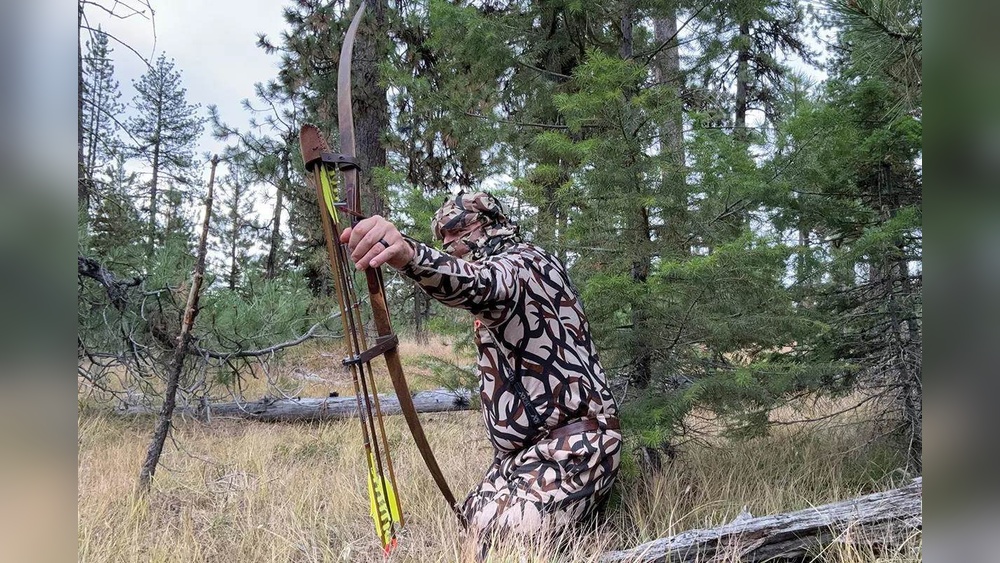
Traditional archery typically involves shooting with a recurve bow or longbow. These bows have no sights, stabilizers, or modern aiming aids. Instead, the archer must rely on their body alignment, muscle memory, and instinct to aim and shoot.
Key Differences From Modern Archery
Traditional archery stands apart from Olympic recurve or compound archery in several ways:
- No sights or release aids: Archers use their fingers to draw and release the string.
- Intuitive aiming: The archer learns to judge distance and trajectory through repetition.
- Equipment simplicity: Bows are usually made from wood, fiberglass, or bamboo, with fewer mechanical parts.
This simplicity is both a challenge and a source of satisfaction. The absence of high-tech aids means accuracy depends heavily on the archer’s skill and consistency.
The Foundation: Proper Stance And Form
Your stance and shooting form are the foundation of accurate shooting. Without a solid base, even the best aiming technique will not deliver consistent results.
Stance
A good stance provides balance, stability, and repeatability. There are two main stances in traditional archery:
- Square stance: Feet are shoulder-width apart, both toes in line with the target.
- Open stance: Front foot is slightly behind the rear foot, opening the body to the target.
Most archers find the square stance easier for beginners. The open stance can help if you have issues with string clearance or comfort.
Pro Tip: Always check your footing before every shot. Even small shifts in foot position can change your point of impact.
Grip
Gripping the bow too tightly causes torque, which sends arrows off course. Use a relaxed grip, let the bow rest in the “V” between your thumb and index finger. The other fingers should apply minimal pressure.
Anchor Point
The anchor point is where your drawing hand comes to rest on your face at full draw. Consistency here is critical. Common anchor points include the corner of the mouth, the cheekbone, or the chin.
Example: If you anchor at the corner of your mouth for one shot and under your chin for the next, your arrows will not group together.
Drawing And Release
Draw the string smoothly, keeping your elbow in line with the arrow. Hold at full draw for a brief moment, then release by relaxing your fingers, not by jerking them open. A clean release is essential for accuracy.
Aiming Techniques In Traditional Archery
Unlike target archery with sights, traditional archery relies on instinctive or “barebow” aiming. There are several techniques, each with advantages and challenges.
Instinctive Aiming
With instinctive aiming, you focus on the target, letting your brain and body coordinate the shot without conscious reference to the arrow tip. This method requires a lot of practice and works best at short to medium distances.
Gap Shooting
Gap shooting involves using the tip of your arrow as a reference point. You “gap” the tip below, on, or above the target, depending on distance. For example, at 20 yards, you might aim the arrow tip just below the bullseye.
String Walking
In string walking, you move your fingers up or down the bowstring to adjust the arrow’s flight path for different distances. It is more precise but requires practice to master.
Comparison of Aiming Methods
| Aiming Method | Skill Level Needed | Accuracy Range | Best For |
|---|---|---|---|
| Instinctive | Intermediate/Advanced | Short/Medium | Fast shooting, field archery |
| Gap Shooting | Beginner/Intermediate | Medium | Target practice, hunting |
| String Walking | Advanced | Varied/Long | Consistent target shooting |
Pro Tip: Beginners often switch techniques too quickly. Stick to one method for several weeks to build muscle memory and consistency.
Equipment Matters: Choosing The Right Bow And Arrows
The right equipment makes a huge difference in accuracy. Even the best technique cannot compensate for poorly matched gear.
Bow Selection
Choose a bow with a draw weight you can handle comfortably. Many newcomers choose bows that are too heavy, leading to poor form and fatigue. As a rule, you should be able to draw and hold the bow steady for several seconds without shaking.
- Recurve vs Longbow: Recurve bows tend to be easier to shoot accurately because they are shorter and have a more pronounced grip.
- Bow length: Longer bows are generally more forgiving and stable.
Arrow Selection
Arrows must match your bow’s draw weight and your draw length. The key factors are:
- Spine: This is the arrow’s stiffness. Too stiff or too flexible arrows will not fly straight.
- Length: Arrows should be at least one inch longer than your draw length.
- Weight: Heavier arrows fly slower but are more stable; lighter arrows are faster but can be less forgiving.
Comparison of Arrow Spine
| Arrow Spine | Best Bow Draw Weight | Common Use |
|---|---|---|
| 400 | 50-60 lbs | Hunting, heavy bows |
| 500 | 40-55 lbs | Target, medium bows |
| 600 | 30-45 lbs | Light bows, beginners |
Arrow Fletching And Points
- Fletching: Larger feathers stabilize arrows better, especially at short distances.
- Points: Heavier points can help with accuracy but may require stiffer arrows.
Pro Tip: Test different arrow types to find the best match for your bow and shooting style. Small changes in arrow setup can produce major differences in grouping.
Consistent Practice Habits
Practicing regularly is essential for progress. However, mindless repetition does not build accuracy. You need focused, purposeful practice.
Practice With Purpose
Each practice session should have a specific goal, such as improving your anchor point, refining your release, or testing new arrows. Keep a journal to track what works and what needs improvement.
Grouping And Scoring
Focus on arrow grouping before aiming for the bullseye. Tight groups show that your form is consistent. Once you can group arrows well, adjust your aim to hit the center.
Training Drills
Some drills that help build accuracy:
- Blank Bale Shooting: Shoot at a blank target from close range. Focus on your form, not aiming.
- Walk-back Drill: Shoot arrows from different distances and observe arrow flight and grouping.
- Eyes-closed Release: At close range, close your eyes and release. This forces you to feel your form and release without aiming.
Pro Tip: Video yourself shooting. Review the footage to spot habits and errors you cannot see in real time.
Fine-tuning Your Shot Process
Every accurate shot is the result of a repeatable process. Developing a shot routine ensures that each arrow is released under the same conditions.
The Shot Sequence
A typical shot sequence may include:
- Stance and nocking the arrow
- Setting your grip
- Drawing the bow
- Anchoring
- Aiming
- Releasing
- Follow-through
Write your own checklist and mentally review it before each shot. Over time, this routine becomes automatic.
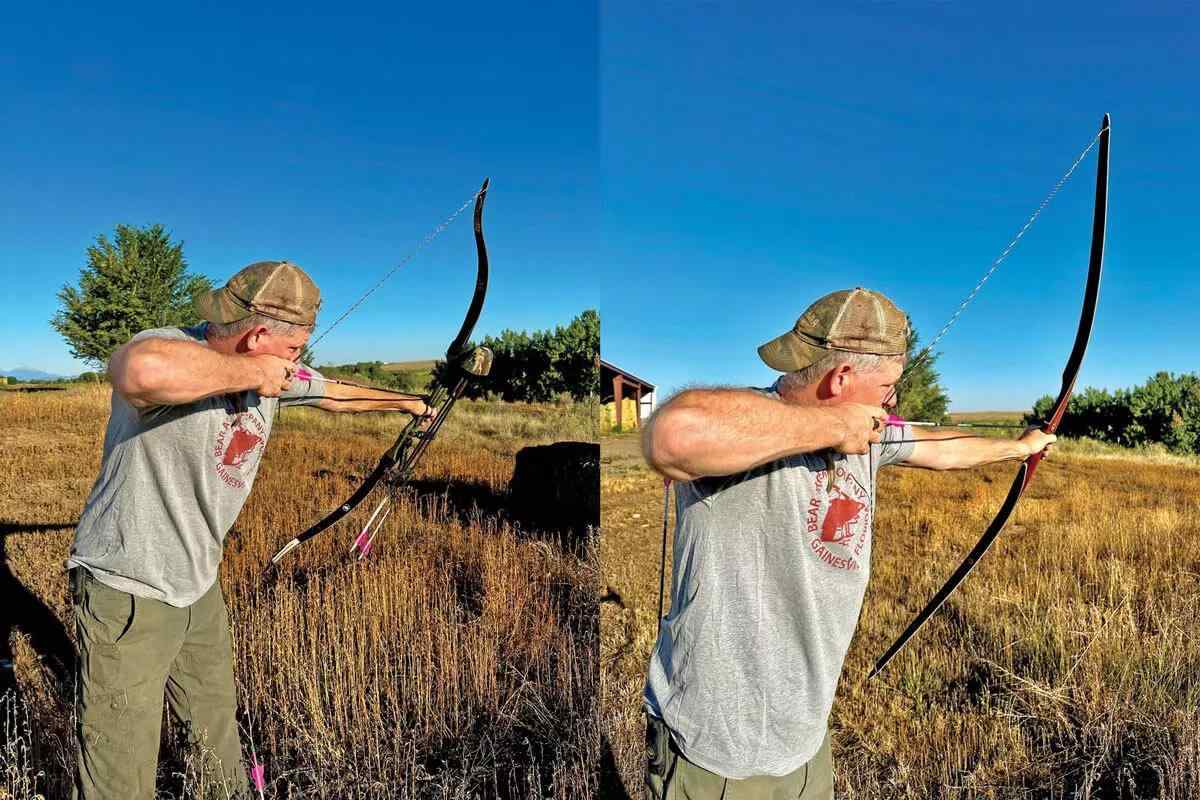
Follow-through
Good archers keep their hand and arm in position after release, watching the arrow hit the target. Dropping your bow arm or “plucking” the string early leads to misses.
Example: In my experience, focusing on follow-through improved my accuracy more than any other single change. When I held my form until the arrow landed, my groups tightened noticeably.
Credit: www.bowhunter.com
Understanding Arrow Flight
Many archers overlook the importance of arrow flight, how the arrow behaves after leaving the bow.
Arrow Paradox
When you release the string, the arrow bends around the bow due to its spine. This is called the archer’s paradox. If your arrow’s spine is not matched to your bow, arrows will fishtail or porpoise in flight, reducing accuracy.
Tuning Your Setup
To check your setup:
- Bare shaft test: Shoot arrows without fletching at close range. If they hit straight, your setup is tuned.
- Paper tuning: Shoot through a piece of paper. Analyze the tear pattern to see if adjustments are needed.
Pro Tip: Many archers shoot with untuned arrows for years, never realizing how much it hurts their accuracy. Spend time tuning your arrows for your specific bow.
Mental Focus And Visualization
Shooting accurately is not just physical, it is mental. Concentration, confidence, and visualization play huge roles.
Staying Present
Before each shot, take a deep breath and clear your mind. Focus only on the process, not the outcome. Anxiety and overthinking often cause poor shots.
Visualization
Many top archers use visualization. Picture yourself executing a perfect shot before drawing the bow. This primes your body to repeat the motion.
Handling Nerves
Nervousness is normal, especially in competition. Practice under “pressure” by timing your shots or shooting in front of others. This builds confidence for real events.
Example: I used to tense up during club shoots. By practicing breathing exercises and visualizing a perfect shot, I gradually learned to relax and shoot my best under stress.
Using Feedback And Technology
Even in traditional archery, feedback tools can help you improve.
Video Analysis
Recording your shooting sessions lets you review your form. Look for:
- Head and shoulder position
- Consistency in anchor point
- Release and follow-through
Slow-motion Apps
Apps that slow down your shot can reveal hidden flaws, such as creeping forward before release or inconsistent draw lengths.
Modern Tools For Traditional Archers
Some archers use clickers (small devices that signal when to release) or bow scales to measure draw weight at full draw. These can help build consistency, even if you prefer shooting “purely traditional.”
Warning: Relying too much on technology can distract from developing your own instincts. Use these tools for feedback, not as crutches.
Joining A Community And Learning From Others
No one improves in isolation. Joining a club or finding a mentor exposes you to new ideas and honest feedback.
Benefits Of Group Practice
- Motivation to practice regularly
- Friendly competition
- Ability to observe and learn from more experienced archers
Taking Lessons
Private or group lessons with a qualified instructor can accelerate your progress. Instructors can spot subtle issues and suggest corrections you might miss.
Online Resources
Forums and video channels can supplement your learning. For example, the Archery Trade Association offers helpful resources and tips for traditional archers: Archery Trade Association.
Pro Tip: Ask for feedback from experienced archers, but filter advice carefully. Not every tip will suit your body or shooting style.

Credit: www.youtube.com
Common Mistakes And How To Fix Them
Many accuracy problems come from a few common mistakes. Catching and correcting these can quickly boost your shooting.
Inconsistent Anchor Point
Varying where you anchor changes your draw length and arrow flight. Mark your anchor point with a small sticker or tactile reference if needed.
Gripping The Bow Too Tightly
White-knuckle grip leads to torque. Practice holding the bow gently, imagine you are holding a bird, not a hammer.
Over-bowing
Choosing a bow with too high a draw weight causes fatigue and bad habits. Drop to a lighter bow until your form improves.
Chasing The Bullseye
Trying to force every shot into the center often leads to “snatching” the release. Focus on form and grouping; the bullseye will come with consistency.
Neglecting Arrow Tuning
Shooting mismatched arrows produces erratic results. Spend time testing different spines and point weights.
Shooting Too Much, Too Soon
Shooting dozens of arrows with poor form ingrains bad habits. Quality practice beats quantity.
Tracking Progress And Setting Goals
Improvement is easier to measure when you track your results.
Keeping A Shooting Journal
Record:
- Number of arrows shot
- Distances practiced
- Group sizes and scores
- Notes on what felt good or bad
Setting Smart Goals
Make goals that are Specific, Measurable, Achievable, Relevant, and Time-bound. For example, “I will shoot 3-inch groups at 15 yards within 2 months.”
Reviewing And Adjusting
Every few weeks, review your journal. Adjust your goals and practice based on what you learn.
Pro Tip: Celebrate small wins. Hitting a smaller group or seeing smoother arrow flight is progress.

Credit: www.youtube.com
Frequently Asked Questions
What Is The Best Way To Start Traditional Archery?
Start with a light draw weight bow and focus on learning proper form. Try different aiming methods, but stick with one until you build consistency. Joining a club or taking a lesson can speed up your progress.
How Important Is Arrow Selection For Accuracy?
Arrow selection is very important. Arrows must match your bow’s draw weight and your draw length. Poorly matched arrows will not fly straight, no matter how good your technique is. Consult an experienced archer or pro shop to get the right arrows.
Can I Use Modern Tools To Improve My Traditional Archery?
Yes, tools like video analysis and bow scales can help you spot and fix errors. However, use them as learning aids, not as replacements for instinct and skill. Focus first on mastering the basics.