How to Perfect Your Bow Shooting Technique for Accuracy
Perfecting your bow shooting technique is not just about hitting the target. It’s about consistency, confidence, and learning how every small detail affects your shot. Whether you’re aiming for a bullseye in archery competitions or just want to improve your accuracy for hunting, mastering the basics and then refining each step is key.
This guide will help you understand what matters most, avoid common mistakes, and give you practical advice from real experience. You’ll find everything from stance, grip, and sighting, to advanced tips like breathing and mental focus. If you’re new or just want to get better, these steps will help you build a strong foundation and reach your goals.
Understanding Bow Types And Choosing The Right One
Before you begin improving your technique, it’s important to know about bow types. Choosing the right bow for your needs can make your practice more effective and enjoyable.
Recurve, Compound, And Longbows
There are three main types of bows:
- Recurve Bow: This is the classic archery bow. It’s simple and often used in Olympic competitions. It’s great for beginners because it’s easy to learn and maintain.
- Compound Bow: Uses pulleys and cables. It’s more advanced and allows for stronger shots with less effort. Hunters and competitive shooters often use compound bows.
- Longbow: Traditional design, longer and simpler than the recurve. It’s harder to master but gives a unique experience.
Comparing Bow Types
Here’s a quick comparison:
| Bow Type | Ease of Use | Power | Maintenance | Main Users |
|---|---|---|---|---|
| Recurve | Easy | Moderate | Low | Beginners, Olympic |
| Compound | Medium | High | Medium | Hunters, Advanced |
| Longbow | Difficult | Low | Low | Traditionalists |
Pro Tip: Try different bows at a local archery range before buying. You’ll feel the difference in weight, grip, and draw.
Perfecting Your Stance
Your stance is the foundation of your shot. A weak stance leads to inconsistent results.
Finding The Right Position
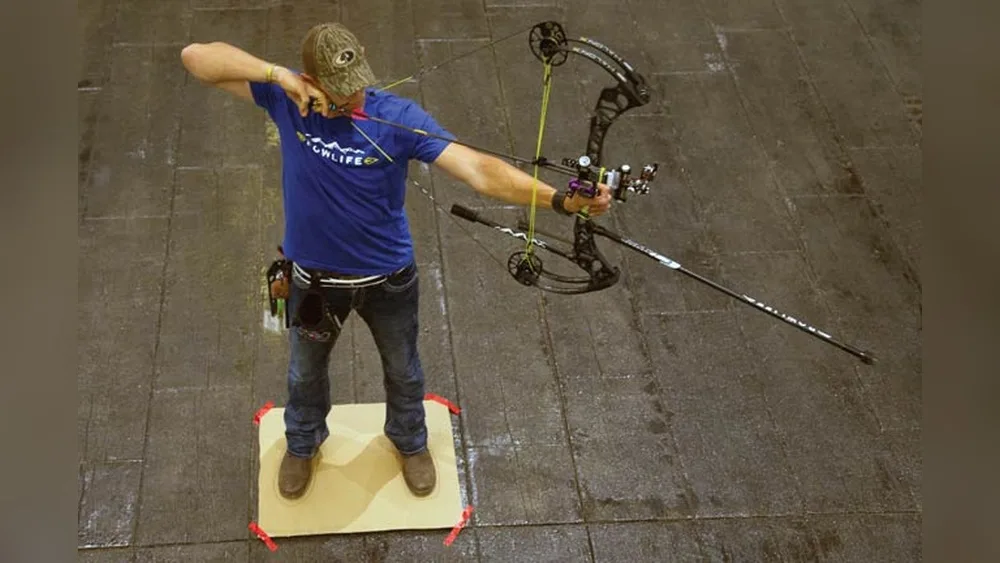
Stand with your feet shoulder-width apart. Your toes should point slightly outward. This creates balance and stability. Your weight should be evenly spread across both feet.
Open Vs. Closed Stance
- Open stance: Your front foot is slightly toward the target. This helps with rotation and sighting.
- Closed stance: Both feet parallel. More traditional but can limit movement.
| Stance Type | Benefit | Drawback |
|---|---|---|
| Open | Better rotation | Can feel unstable at first |
| Closed | More stable | Limits flexibility |
Example: When I tested both stances, I noticed my shots were more consistent with an open stance after some practice. At first, it felt awkward, but soon my grouping improved.

Credit: www.youtube.com
The Importance Of Grip
Many beginners overlook the grip. Gripping too tightly causes torque, making your shots go off target.
How To Hold The Bow
Your bow hand should be relaxed. Hold the bow with your palm, not your fingers. The pressure should be on the thumb and forefinger, forming a “V. ” Your fingers should wrap loosely around the bow.
- Avoid gripping so tight that your knuckles turn white.
- Keep your wrist straight, not bent.
Common Grip Mistakes
- Too tight: Causes twisting and inconsistent arrow flight.
- Too loose: Bow can slip during release.
- Bent wrist: Changes the angle of your shot.
Pro Tip: If you notice your arrows are always curving to one side, check your grip first.
Drawing And Anchoring
The draw and anchor are where you set up your shot’s power and aim.
Drawing The Bow
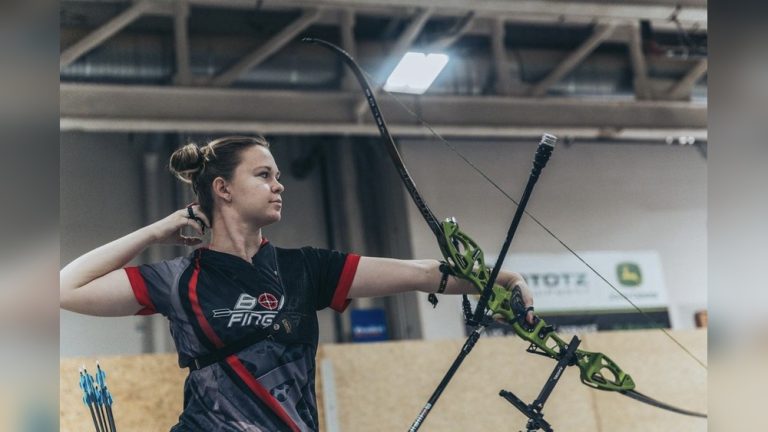
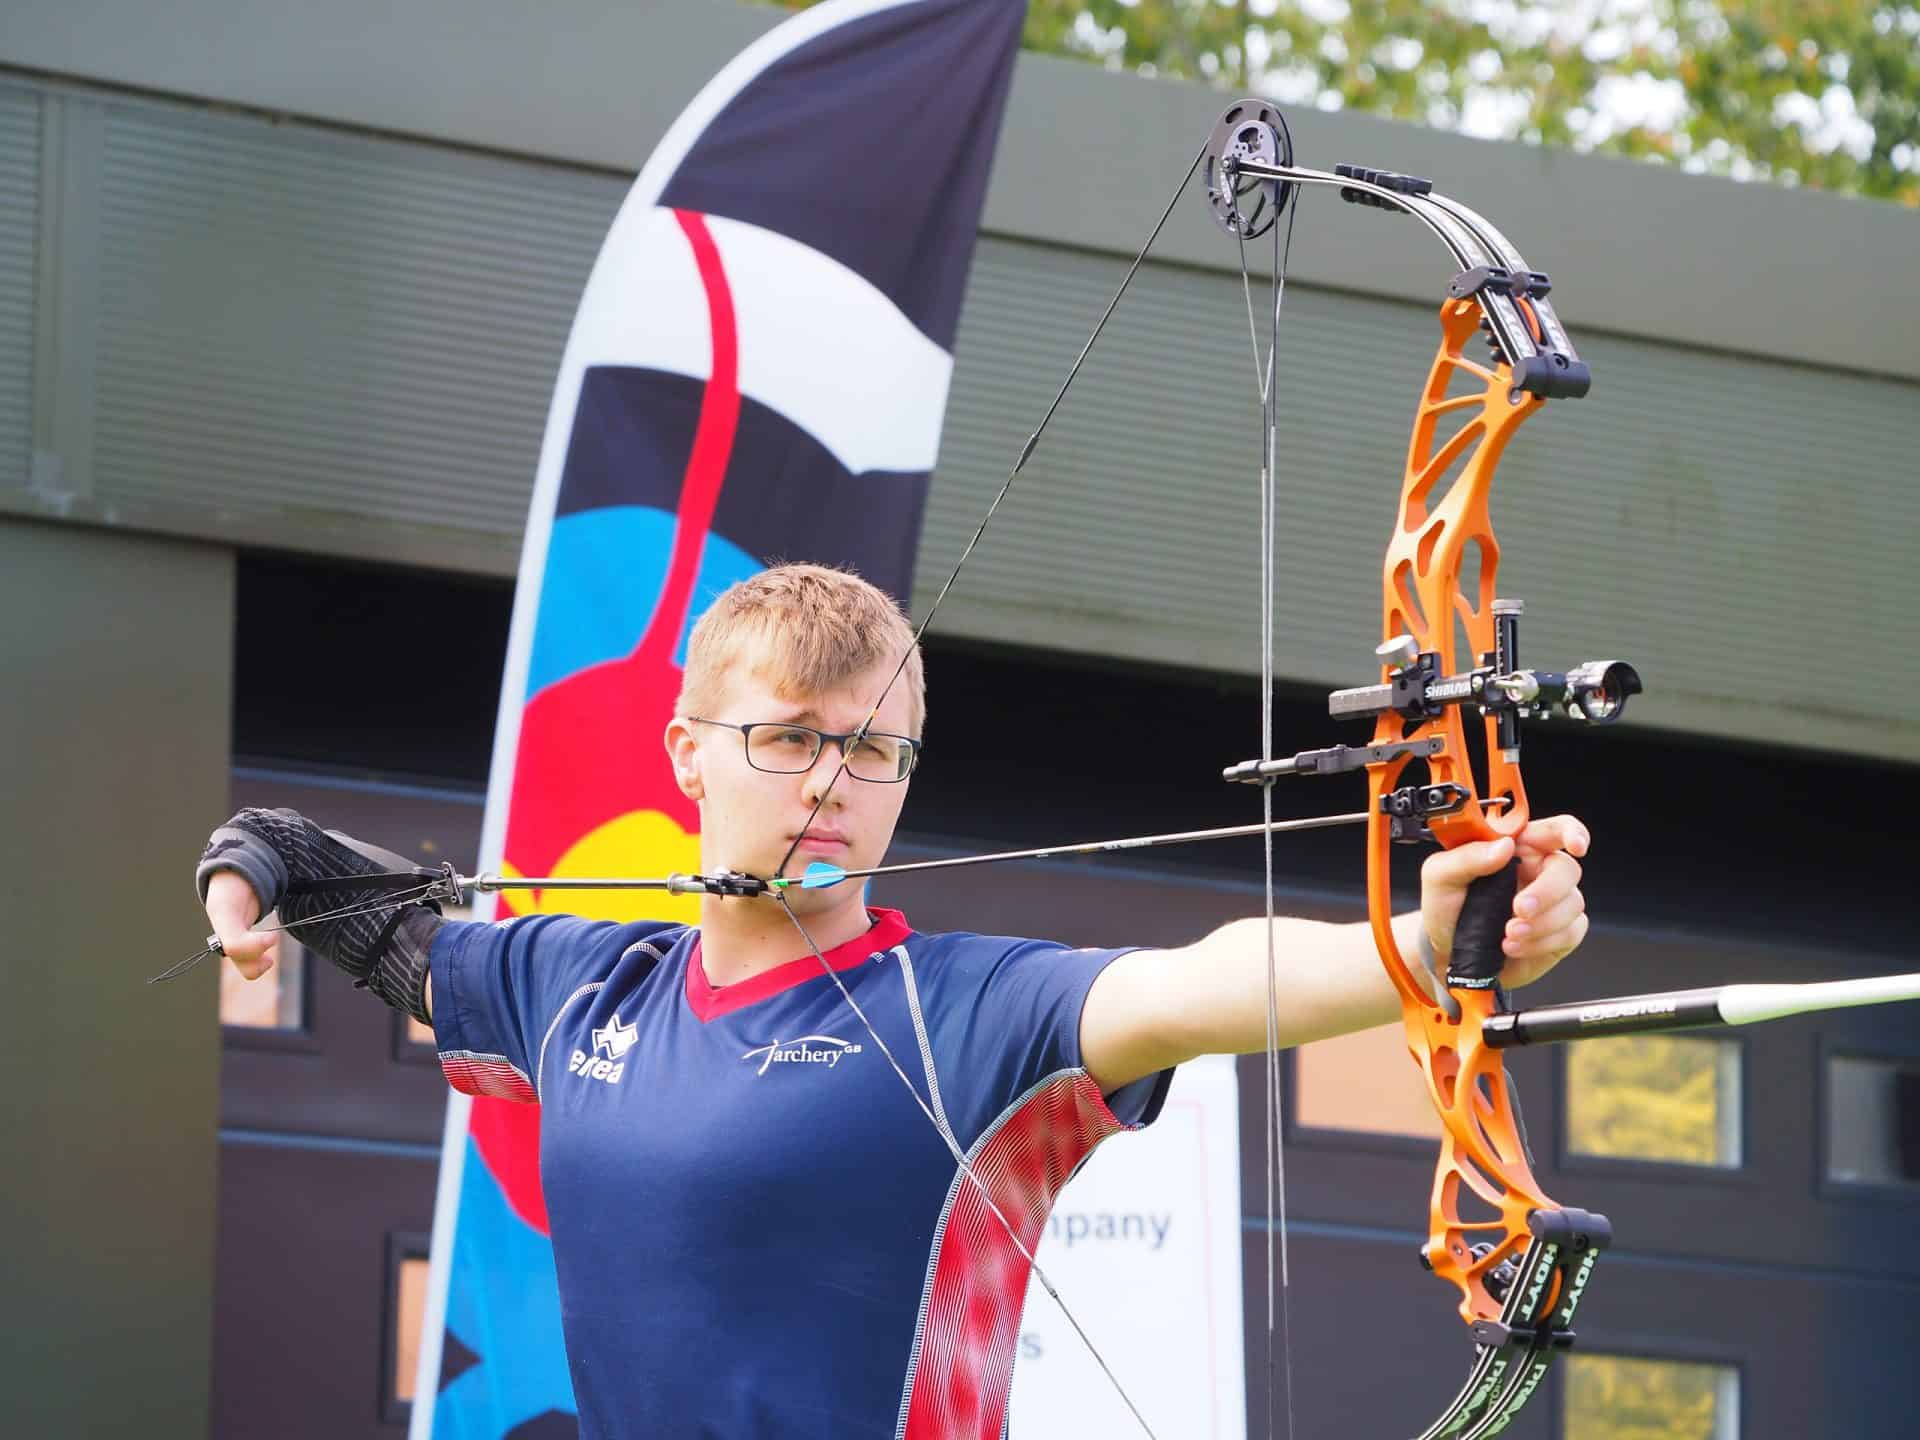
Pull the string smoothly, using your back and shoulder muscles. The motion should be controlled, not jerky. Your elbow should stay high, in line with the arrow.
- Use three fingers (index, middle, ring) to pull the string, unless you’re using a release aid on a compound bow.
Anchoring Consistently
Anchor means putting your hand at the same spot every time. Popular anchor points are:
- Corner of the mouth
- Chin
- Jawline
Pick one and stick with it. Consistency here is vital for accuracy.
Warning: Changing anchor points between shots leads to wild arrows and frustration.
Aiming And Sight Alignment
Aiming is not just about looking at the target. It’s about aligning your sights and keeping everything steady.
Using Sights
Modern bows often have adjustable sights. Line up the sight pin with your target. Keep both eyes open if possible; this helps with depth perception.
- Adjust the sights for distance and wind conditions.
Instinctive Aiming
Some archers use instinctive aiming, no sights, just practice and feel. This is common with longbows and traditional recurve bows.
Example: Olympic archers use sights and stabilizers, but traditional hunters rely on instinctive aiming for fast shots.
Avoiding Common Mistakes
- Don’t close one eye unless you’re struggling with double vision.
- Don’t rush your aim; take a moment to steady yourself.
Breathing And Mental Focus
Your mind and body must work together. Proper breathing and focus reduce tension and improve accuracy.
Breathing Techniques
Take a deep breath before drawing. Hold your breath as you aim, then release it slowly as you let the arrow go.
- This calms nerves and keeps your body steady.
Mental Preparation
Visualize your shot before you take it. Imagine the arrow hitting the center. This mental practice improves confidence.
Pro Tip: If you’re nervous, count to three before shooting. This helps slow things down.
Credit: archerygb.org
Releasing The Arrow
The release is a critical moment. A sloppy release ruins a perfect setup.
Smooth Release
Let go of the string smoothly. Don’t jerk or pull it sideways. With a compound bow, use a mechanical release aid for consistency.
Follow-through
After releasing, keep your bow arm up and your body still. Don’t drop your arm or turn away. This is called follow-through.
- Wait until the arrow hits before moving.
Warning: Many beginners drop their arm too soon, which pulls the shot low.
Practicing For Improvement
Practice is the only way to get better. But practicing the wrong way can make bad habits worse.
Creating A Practice Routine
Set aside regular time for archery. Aim for 30-60 minutes per session, 2-3 times per week.
- Start with close targets, then move farther as you improve.
- Track your scores and groupings.
Drills For Better Technique
- Blank Bale Shooting: Shoot at a blank target to focus on form, not aiming.
- Group Shooting: Aim for tight clusters of arrows.
- Scoring Rounds: Use standard scoring targets to measure progress.
| Drill | Main Benefit | Skill Improved |
|---|---|---|
| Blank Bale | Form focus | Consistency |
| Group Shooting | Accuracy | Target grouping |
| Scoring Rounds | Progress tracking | Competitive skills |
Setting Goals
Set small, realistic goals like:
- Hit the target 8 out of 10 times at 10 yards.
- Improve grouping by 1 inch over 2 weeks.
Equipment Maintenance
Good archery equipment means safer and more accurate shooting.
Bow And String Care
- Check your bow for cracks or wear before every session.
- Wax the string regularly to prevent fraying.
- Store your bow in a dry, cool place.
Arrow Maintenance
- Inspect arrows for straightness and cracks.
- Replace damaged fletching (feathers or vanes).
- Keep tips sharp and clean.
Pro Tip: Using damaged arrows can cause injury or ruin your shot. Always check before shooting.
Advanced Techniques For Experienced Archers
If you’ve mastered the basics, you can try advanced archery skills.
Using Stabilizers
Stabilizers are rods attached to your bow. They reduce vibration and improve balance.
- Experiment with different lengths and weights.
Fine-tuning Sights
Adjust sights for wind, distance, and lighting. Use micro-adjustments for precise aiming.
String Walking
This is a technique for traditional archers. Move your fingers up or down the string to change the arrow’s flight path.
Shooting In Different Conditions
Practice in wind, rain, and low light. Each condition changes how the arrow flies.
Warning: Don’t shoot in strong wind unless you’re confident. It’s easy to lose arrows and form.
Tracking Progress And Analyzing Results
Keeping records helps you see improvement and find weak points.
Keeping A Shooting Journal
Write down your scores, target distances, and notes about each session.
- Note any changes in technique or equipment.
Analyzing Arrow Groupings
Look for patterns: Are your arrows always high, low, left, or right? This shows what to fix.
Using Technology
Apps and devices can track your shots and scores. Some advanced bows have built-in sensors.
Pro Tip: Review your journal every month. Adjust your practice routine as needed.
Common Mistakes And How To Fix Them
Even experienced archers make mistakes. Here are the most frequent issues and solutions.
- Dropping Bow Arm: Causes low shots. Solution: Focus on follow-through.
- Inconsistent Anchor: Leads to wild shots. Solution: Anchor at the same spot every time.
- Poor Grip: Causes torque. Solution: Relax your hand.
- Rushing the Shot: Reduces accuracy. Solution: Slow down, breathe.
- Ignoring Equipment: Damaged gear ruins shots. Solution: Inspect before each session.
Example: After fixing my grip, I saw my groupings tighten by almost 50% in just a week.
Safety In Archery
Archery is safe if you follow basic rules.
- Always point the bow downrange.
- Never dry-fire (shoot without an arrow).
- Use proper backstops behind targets.
- Wear finger tabs or gloves to protect your hands.
- Keep others behind the shooting line.
Warning: Dry-firing a bow can break it and cause injury. Always use an arrow.
Getting Coaching And Feedback
If you want faster progress, coaching helps.
- Find a certified archery coach at your local range.
- Join archery clubs for peer feedback.
- Take video of your shooting and review with others.
Pro Tip: Coaches can spot mistakes you don’t notice. Even one session can make a big difference.

Credit: www.youtube.com
Frequently Asked Questions
How Do I Know If My Bow Is The Right Size For Me?
The right bow size depends on your draw length and strength. Visit an archery shop to get measured. Using a bow that’s too big or small can cause poor form and injuries. Most shops will help you try several bows and recommend the best fit.
What Can I Do If My Arrows Always Hit Left Or Right Of The Target?
If your arrows consistently hit left or right, check your bow grip and sight alignment. Another factor is arrow spine (stiffness). If your arrows are too stiff or too flexible for your bow, they won’t fly straight. Ask a professional to check your setup.
Is There A Way To Reduce Fatigue During Practice?
To reduce fatigue, start with shorter sessions and gradually build up. Use proper form to avoid muscle strain. Stretch before and after shooting. Hydrate and take breaks every 20 minutes. If fatigue continues, check if your bow’s draw weight is too high.
How Can I Practice Archery At Home Safely?
You can practice at home with a proper backstop behind your target to catch arrows. Use a quiet area with no people or pets nearby. Never shoot toward windows or thin walls. Consider using a lightweight bow indoors and always wear safety gear.
Should I Use Carbon, Aluminum, Or Wooden Arrows?
Carbon arrows are durable and consistent, good for most shooters. Aluminum arrows are heavier and cheaper but bend easily. Wooden arrows are traditional and best for longbows. Choose based on your bow type and shooting style. Try all three to see which suits you best.
Improving your bow shooting technique is a journey. Every step you take, from choosing the right bow to analyzing your results, builds your confidence and skill. Remember, perfection comes from consistent practice, careful observation, and learning from mistakes. Stay patient and keep refining your process. If you need more in-depth information, check resources like Wikipedia for technical details and history. With time, you’ll see real progress and enjoy every arrow you shoot.