How to Check Your Bow Grip Pressure for Better Accuracy
Check bow grip pressure by keeping the bow steady in the hand and letting the fingers stay relaxed; if the bow rolls or twists at release, the grip is too tight or too forward. Too much grip torque can send arrows left or right, hide tuning problems, and make every adjustment look wrong. This guide shows a simple self-check, what a neutral grip feels like on recurve and compound bows, and how to tell grip error from setup issues.
What you’ll need

- Your bow, set up and safe to shoot
- Arrows matched to that bow
- A blank bale or target face at a safe practice distance
- A finger sling for recurve or target work, if available
- Notebook, phone notes app, or score sheet
- Paper tuning frame and paper for later checks
- A tape measure or ruler for brace height, nocking point, and tiller checks
Bow grip basics
A bow grip should be light, with enough contact to stay still. The bow sits in the non-dominant hand, the grip edge lines up with the lifeline, and pressure stays in the thumb pad and along the lifeline. Fingers stay loose, and the hand stays quiet through the shot.
For most recurves, the knuckles sit at about a 45-degree angle to the bow. Many compound grips are shaped to cut contact, so the hand often sits more upright and centered than a recurve grip. The goal is the same, limit bow torque, which is rotation on an axis caused by uneven pressure. (Wikihow)
What to feel in the hand
The grip should feel steady before the shot and almost passive during release. The fingers stay soft enough that the bow can move forward after the shot. A finger sling helps here on recurve because it lets the archer keep a relaxed hand without worrying that the bow will fall.
How can you check grip pressure at home?
Start with one fixed setup and one clear reference shot. Keep stance, anchor, sight picture, and draw weight unchanged, then compare each shot the same way. The point is not perfection. The point is to see whether hand pressure changes the impact pattern or the bow’s movement after release.
Grip pressure audit table
| Shot check | 1 | 2 | 3 | 4 | 5 | Decision |
|---|---|---|---|---|---|---|
| Hand position | Grip off the lifeline | Mostly centered | Centered on thumb pad/lifeline | Forward in the palm | Deep palm grab | Form issue if 4-5 repeat |
| Knuckle angle | Flat and tense | Close to angle | About 45 degrees | Wrist folding | Wrist collapsing | Form issue if angle shifts shot to shot |
| Pressure level | Very light | Light | Controlled | Firm | Hard squeeze | Form issue if 4-5 causes twist |
| Post-release bow movement | Forward and settled | Small forward jump | Forward with slight lean | Roll or side kick | Sharp twist or slap | Form issue if movement changes with grip score |
| Miss direction | Centered | Slight left/right | Minor left/right bias | Clear left or right shift | Same-side misses cluster | Tuning issue only if form score stays 1-2 and pattern repeats |
How do you know if you are gripping the bow too hard?
A hard grip usually shows up as bow torque, not just a bad group. The group may drift left or right, the bow may jump sideways after release, and the wrist may collapse or slap the hand. If the same arrow impact happens only when the grip changes, the hand is the first suspect.
What the miss pattern can mean
On a recurve, a right-handed archer may see left impact from excess torque, though arrow spine and rest setup can also contribute. On a compound, left or right misses can also come from grip pressure, but cam timing and rest alignment must be ruled out before calling it a pure form fault.
If your last three arrows group about 4 inches left at 20 yards, and each shot scores a 4 on the audit because the wrist folds forward at release, that points to a likely form issue. That points to a form problem first, not a sight movement problem.
Step-by-step grip pressure check
Use the same order every time. That keeps the test clean and makes the result easier to trust.
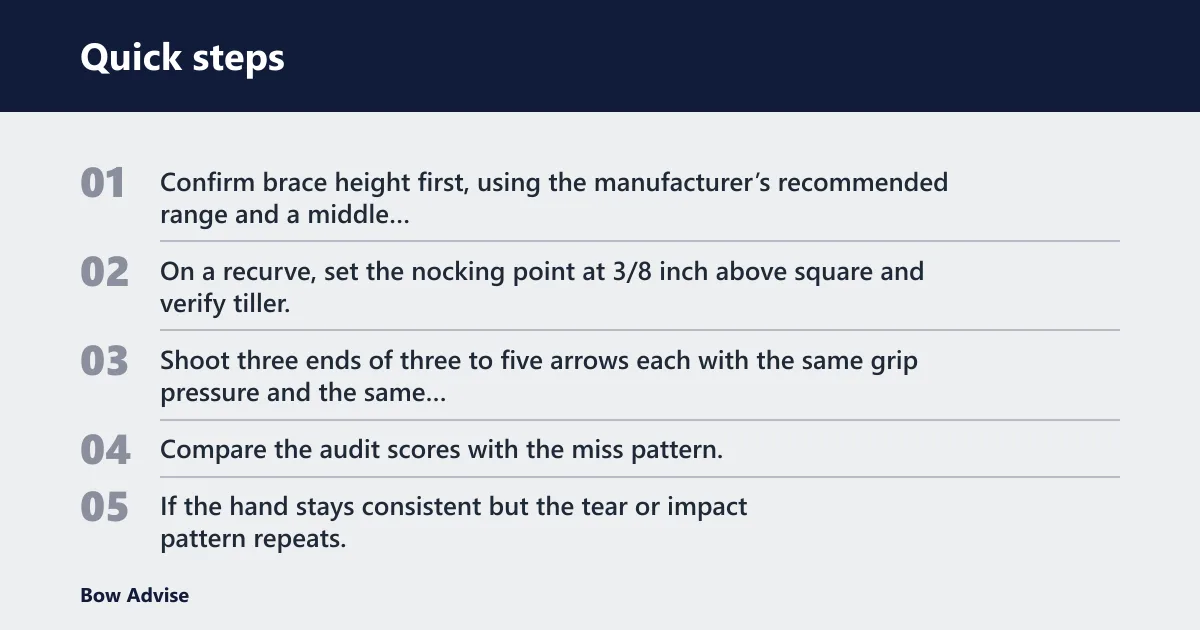
- Confirm brace height first, using the manufacturer’s recommended range and a middle starting point.
- On a recurve, set the nocking point at 3/8 inch above square and verify tiller, with top tiller slightly greater than bottom tiller by about 1/8 to 1/4 inch.
- Shoot three ends of three to five arrows each with the same grip pressure and the same anchor.
- Compare the audit scores with the miss pattern. If the score rises and the bow twists with it, keep the issue in the form column.
- If the hand stays consistent but the tear or impact pattern repeats, move to paper tuning and walk-back tuning.
If that didn’t work, try this next
Reduce grip pressure by one step and shoot the same distance again. If the bow movement settles and the group tightens, the grip was the main issue. If the group stays off but the hand score remains low and steady, move to setup checks instead of forcing a different hand position.
Picture a beginner shooting a compound at 30 yards with a finger sling on, but the bow still kicks left every time the palm fills the grip. The sling is not the problem; the hand pressure is. A stable sling only exposes the torque more clearly.
Grip pressure and tuning checks
Brace height, nocking point, tiller, paper tuning, and walk-back tuning all help separate a hand problem from a setup problem. They do not replace the grip audit. They help confirm whether the bow is sending a clean arrow when the hand stays neutral.
Brace height, nocking point, and tiller
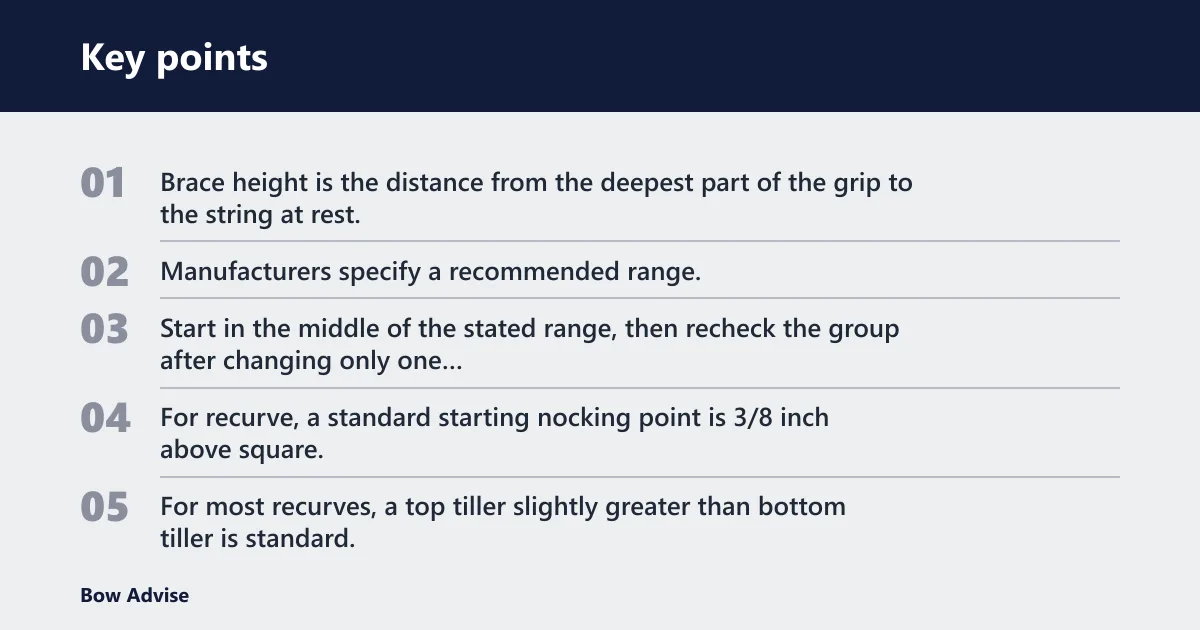
Brace height is the distance from the deepest part of the grip to the string at rest. Manufacturers specify a recommended range, and a sample range often cited is 7.5 to 8.5 inches. Start in the middle of the stated range, then recheck the group after changing only one variable.
For recurve, a standard starting nocking point is 3/8 inch above square. Tiller matters too. For most recurves, a top tiller slightly greater than bottom tiller is standard, with a difference of about 1/8 to 1/4 inch. Those settings affect limb timing and can imitate grip issues when they are off.
Paper tuning and walk-back tuning
Paper tuning often uses a frame about 6 feet in front of the bow, with the target 6–8 feet beyond the paper. A bullet hole is the ideal result. A tear with a clean hand score of 1 or 2 suggests setup is still worth checking; a tear that changes as the hand pressure changes points back to the hand.
Walk-back tuning is a final check done in 10-yard increments. The goal is vertical line consistency as distance increases. If the line wanders while the hand score stays high and variable, the grip is still the first fix. If the line stays off even with stable hand pressure, the bow needs more setup work.
Does a relaxed grip really improve archery accuracy? It helps when it removes torque, but it is only one part of the shot. A relaxed hand cannot fix a wrong brace height, poor nocking point, or an out-of-spec setup. It simply gives a cleaner read on what the bow is doing.
Common mistakes
- Gripping harder as the aim settles. That usually creates a last-second twist.
- Letting the bow sit too deep in the palm. Move it back toward the thumb pad and lifeline.
- Changing brace height, nocking point, and grip all at once. Change one variable, then retest.
- Reading a single bad arrow as a setup flaw. Look for repeated patterns across three to five ends.
- Skipping the sling on a recurve or target bow, then tightening the hand to keep control.
A common first-timer mistake is chasing left-right misses with sight movement before checking hand pressure. If the bow hand scores 4 on the audit and the group only moves when the wrist collapses, the sight is not the first fix.
When to get help
If the audit keeps showing stable hand scores but the bow still throws a repeating tear, a persistent left-right group, or a changing line in walk-back tuning, stop guessing. A coach or pro shop can check draw weight, arrow spine, rest setup, limb balance, and cam timing without stacking new errors on top of the old ones.
Frequently asked questions
How tight should you hold a bow for better accuracy?
Hold it just firmly enough to keep the grip steady, then let the bow settle in the thumb pad and lifeline. If the bow twists, the grip is too hard or too forward.
What does bow torque do to arrow flight?
Bow torque rotates the riser on its axis during the shot, which changes how the arrow leaves the bow. That can widen groups, push impacts left or right, and make follow-through look uneven. On both recurve and compound bows, repeated torque can hide the real setup problem.
Where should the bow sit in your hand?
Place it in the non-dominant hand with the grip against the lifeline and the pressure centered on the thumb pad and lifeline. Keep the fingers relaxed, not wrapped hard around the grip. On a recurve, aim for knuckles near a 45-degree angle to the bow.
How can I check my bow grip pressure at home?
Shoot three to five arrows with one fixed setup, then compare each shot for hand position, knuckle angle, pressure, bow movement, and miss direction. If the bow rolls or twists as the score rises, the issue is in form. If the hand stays steady, check tuning.
How do brace height and tuning affect accuracy?
Brace height sets the bowstring distance at rest, and the manufacturer’s range gives the first check point. For recurve, the nocking point and tiller also affect arrow flight. Paper tuning and walk-back tuning help confirm whether the bow is cleanly tuned or whether hand pressure is masking the problem.