How to Set Your Arrow Rest Center Shot Correctly
Set a compound bow’s center shot by centering the arrow through the Berger hole, or about 13/16 inch from the riser on most setups, then confirm it with bare-shaft and paper checks. A poor center shot can hide spine, timing, or torque issues and leave you chasing a tune that never settles. This guide shows the starting position, two verification tests, and how to tell whether the fix belongs to the rest, bow timing, arrow spine, or your grip.
This guide is part of our Archery basics: beginner guide to bows and shooting series.
What is center shot?
Center shot is the arrow’s horizontal starting point relative to the riser and string. It is a setup reference, not proof of a tuned bow. On many compounds, the common start is 13/16 inch, but the bow maker’s spec sheet should override that if it lists a different setting.
Use center shot to get the arrow close enough for tuning tests to mean something. If the starting point is off, paper tears and walk-back drift can point to the wrong fix.
What you’ll need
- Bow square
- An arrow with a straight shaft
- Tape measure or marked reference card
- Bow setup sheet, if available
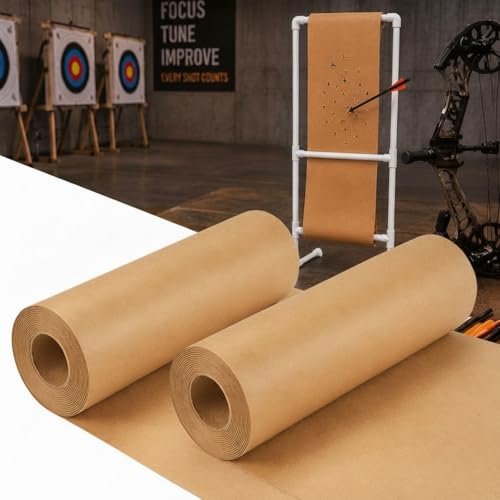
- Paper for a close-range tune check
- A vertical line for walk-back tuning
- Fine marker or tape to mark rest windage changes
Set the starting center shot
Start at the Berger hole area and place the arrow so it appears centered in the window. Keep the shaft lined up with the launcher or containment point, then confirm nocking point height with a bow square before touching rest windage. Make one small change, shoot again, and only then decide what needs another move.
- Measure from the riser or Berger hole area to the arrow shaft.
- Set the rest to the bow’s listed starting point, or 13/16 inch if no spec is given.
- Check that the arrow shaft lines up with the riser window and rest contact point.
- Use the bow square to confirm the nocking point before touching rest windage.
- Mark the rest position so later changes are easy to reverse.
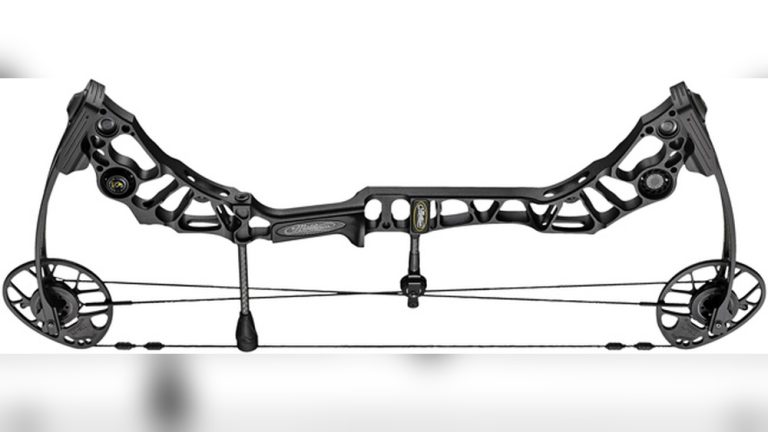
For compound bows, the arrow should sit on the launcher so the shaft tracks straight through the bow’s center line. On drop-away and containment rests, the shaft still needs that same visual alignment at rest.
How do you verify the setup?
Verify center shot with paper first, then with walk-back tuning. Paper tuning is the next step after the starting setup, and DCA says to shoot through paper at roughly 5 yards or less. Walk-back tuning then checks whether the arrow stays on line as distance increases. If the arrow drifts, move the rest, not the sight.
Paper tune first
Set paper at about 5 to 8 feet and shoot one arrow through it. Read the tear, make one rest correction, then shoot again from the same distance. A left or right tear can mean the rest needs a move, but it can also point to timing, spine, or grip torque.
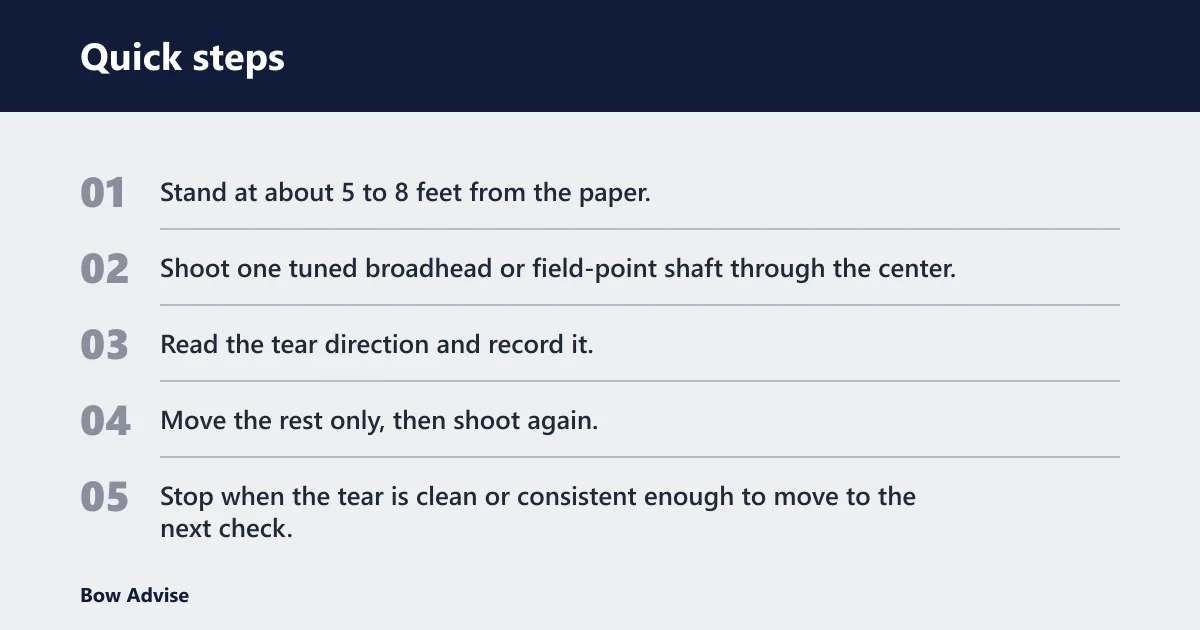
- Stand at about 5 to 8 feet from the paper.
- Shoot one tuned broadhead or field-point shaft through the center.
- Read the tear direction and record it.
- Move the rest only, then shoot again.
- Stop when the tear is clean or consistent enough to move to the next check.
Walk-back tune second
Use one pin on a vertical line and shoot at 20, 30, 40, 50, and 60 yards. Start by moving the sight until the first arrows hit the mark, then watch for horizontal drift. If the impact line walks left or right as distance increases, the rest needs correction.
- Pick one sight pin and a vertical aiming line.
- Set the first shot at 20 yards on the mark.
- Move back to 30, 40, 50, and 60 yards with the same pin.
- Track whether impacts drift left or right from the line.
- Adjust the rest in the direction that corrects the drift, then repeat.
Say your 29-inch draw compound shoots clean at 5 yards but walks left at 50 yards. That is a tuning clue, not a sight issue. Correct the rest first, then check the bow again at the same distances.
Center shot troubleshooting matrix
This matrix gives a plain-text decision path. Use the symptom you see, then make the exact rest move listed. Recheck the next step before changing anything else. Stop when the next test agrees with the last one.
| Setup symptom | Likely cause | Exact rest move | What to recheck next | When to stop adjusting |
|---|---|---|---|---|
| Right-handed shooter, paper tear tails left | Rest too far left, weak spine, or torque | Move the rest right | Paper at 5 to 8 feet, then walk-back at 20 yards | Stop when tear tightens and walk-back stays on line |
| Right-handed shooter, paper tear tails right | Rest too far right, stiff spine, or timing issue | Move the rest left | Paper first, then bare shaft at 20 yards | Stop when tear direction matches the next bare shaft result |
| Left-handed shooter, paper tear tails left | Rest too far right, stiff spine, or torque | Move the rest left | Paper at 5 to 8 feet, then walk-back at 20 yards | Stop when the tear and walk-back line settle |
| Left-handed shooter, paper tear tails right | Rest too far left, weak spine, or timing issue | Move the rest right | Paper first, then bare shaft at 20 yards | Stop when the pattern repeats cleanly |
| High or low paper tear | Nocking point or rest elevation | Change rest elevation in tiny steps | Use the bow square, then shoot paper again | Stop when vertical tear disappears |
Drop-away and containment note: on a drop-away rest, check that the launcher falls cleanly and clears the arrow shaft. On a containment rest, confirm the capture arms do not push the shaft off line at full draw. If either design is misaligned, the paper tear may look like a center-shot fault even when the rest windage is close.
Why is the arrow still left or right?
If the rest move did not fix the tear, check cam timing before making more windage changes. A timing error can mimic a bad center shot. Then look at spine, grip torque, nock fit, and vane clearance. Bare shaft tuning at 20 yards is the next validation step after paper tuning.
- Inspect cam timing and confirm both cams hit the stops together.
- Check vane clearance with powder, lipstick, or visual witness marks.
- Shoot a bare shaft at 20 yards and compare it with fletched arrows.
- If the bare shaft lands left or right of the group, make one rest correction and repeat.
If a right-handed bow papers with a left tear and still groups left at 20 yards after about a 1/32 inch rest move, that suggests further tuning may be needed. That often means the arrow spine or timing still needs attention. If the tear changes shape after timing is corrected, stop chasing the rest alone.
Common mistakes
Most bad setups come from changing too many variables at once. Make one move, then test again. If the rest is moved and the sight is also moved, the result tells you less.
- Using the sight to fix left-right arrow flight. Keep horizontal tune at the rest.
- Skipping cam timing before tuning. Timing errors can imitate a rest problem.
- Making large rest jumps. Move in tiny steps and record each change.
- Ignoring the bow maker’s center-shot spec. That spec should override a generic starting point.
- Forgetting that string stretch changes setup. New strings and cables can shift after shooting.
If that didn’t work, try this next
Move from the least invasive check to the most likely hidden cause. Do not keep widening rest changes once the tear pattern points elsewhere.
- Reset the rest to the marked starting position and confirm the Berger hole reference.
- Check cam timing and nock point with a bow square.
- Recheck paper at about 5 yards or less.
- Confirm walk-back at 20, 30, 40, 50, and 60 yards.
- Use bare shafts at 20 yards if the bow still shows left-right drift.
A common first-timer mistake is setting center shot, seeing a left tear, and moving the rest three or four times before re-shooting. That hides the pattern. A common first-timer correction is about 1/32 inch, followed by a fresh paper shot for a cleaner read.
How do you know when to stop?
Stop when paper, walk-back, and bare shaft all agree closely enough for your use. A compound bow rarely needs endless correction if the starting point was close and the cams are timed. If the bow keeps shifting after a sensible setup, the real issue is usually outside center shot.
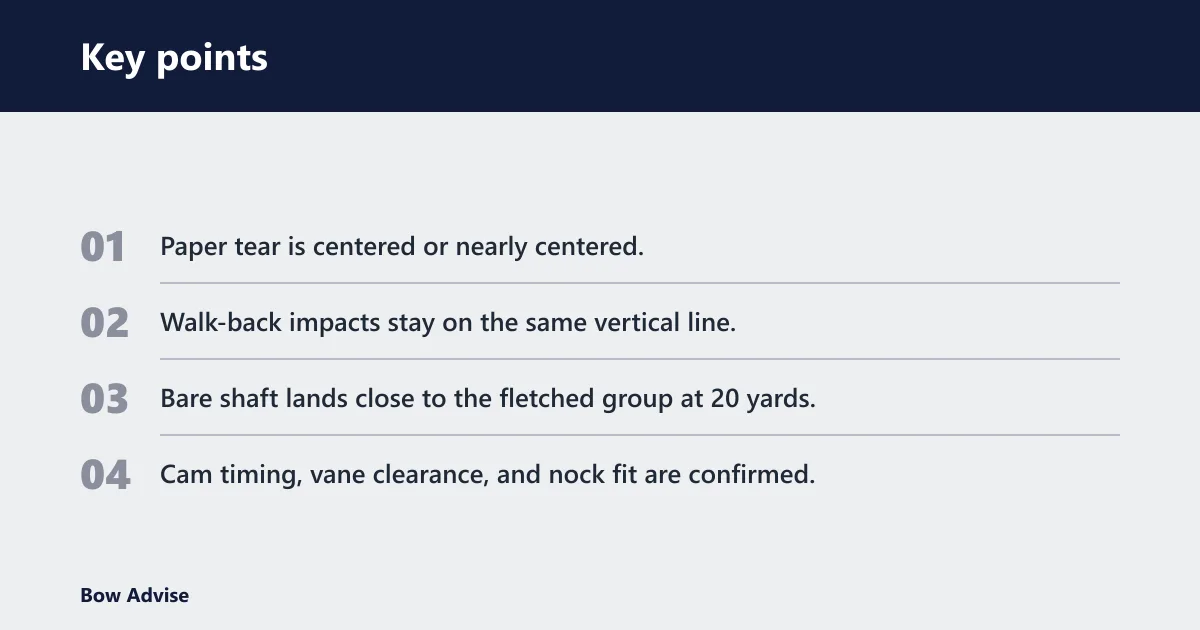
- Paper tear is centered or nearly centered.
- Walk-back impacts stay on the same vertical line.
- Bare shaft lands close to the fletched group at 20 yards.
- Cam timing, vane clearance, and nock fit are confirmed.
Prevention: mark the rest position before every major change to arrows, strings, or cams. That makes it much easier to return to a known starting point when the bow starts drifting again.
Frequently asked questions
How to use shooting rest
For compound tuning, use the rest to guide the shaft straight through the shot, then let paper and walk-back tell you whether the windage is right. Keep sight changes separate from rest changes. If the arrow drifts off line, correct the rest, not the pin location.
How do you hold an arrow?
Place the shaft so it sits cleanly on the launcher or containment surface without forcing it toward either side. The goal is alignment, not pressure. If the arrow is being pushed against one side of the rest at full draw, the setup can create false left-right signs.
What is the arrow rest?
The arrow rest is the support point that holds the shaft before the shot and helps guide it through release. On compound bows it may be a drop-away or a containment style. Its windage and elevation settings are part of the tune, not separate from it.
How do I set my arrow rest center shot correctly?
Set the shaft centered through the Berger hole area, then begin from 13/16 inch unless the bow’s setup sheet says otherwise. Verify the nocking point with a bow square, shoot paper at about 5 to 8 feet, and use walk-back tuning with 20 to 60 yards to confirm the rest is doing the job.
What is the starting center shot for a compound bow?
Many compound bows start at 13/16 inch from the riser, but bow-specific specs should override that number when provided. Treat that setting as a starting reference only. The final proof comes from paper, walk-back, and bare shaft checks, not from the starting measurement alone.