How to Set Up a New Archery Bow for the First Time
Set up a new bow by matching string and brace height to the bow type, setting draw weight only inside the maker’s range, and checking nocking point, arrow rest, and center shot before any shot. Skip that order, and you can end up with poor arrow flight, damaged gear, or a dry-fire risk on a brand-new bow. Use this safe first-setup sequence for recurve and compound bows, and avoid the common mistakes before the first arrow.
What you’ll need


- Owner’s manual for the exact bow model
- Bow square or setup tool
- Hex key set that fits the bow’s fasteners
- Stringer tool for a recurve bow
- Release aid for a compound bow, if the bow uses one
- Arrow rest parts supplied with the bow
- Paper tuning frame or access to short-distance paper tuning
- Arrows with spine matched to the bow setup
- Safe backstop and one arrow at a time for first shots
- Bow press only if the model requires one for string or cable work
First-setup checklist
| Step | Pass/Needs shop help |
|---|---|
| Read the manual and confirm exact bow model before any adjustment | Pass if the model matches; needs shop help if the manual is missing or the bow type is unclear |
| Inspect limbs, cams, cables, string, and riser for cracks, twists, frays, chips, or missing parts | Pass if all parts are clean and undamaged; needs shop help for any crack, twist, or separation |
| Identify compound or recurve and follow that path only | Pass if the setup method is clear; needs shop help if the bow’s limb style or adjustment range is unclear |
| Check whether any string or cable work requires a bow press | Pass if the model allows the needed work without a press; needs shop help if a press is required |
| Set draw length before accessories on a compound | Pass if the bow is set to the shooter’s draw length; needs shop help if the cams or modules do not match the draw length |
| Set draw weight only within the manufacturer’s range | Pass if the draw is controllable and within spec; needs shop help if the minimum still feels too heavy |
| Install rest, D-loop, and peep in the correct compound order | Pass if the rest clears the arrow and the peep lines up; needs shop help for peep rotation that will not settle |
| String a recurve with a stringer tool, then set brace height and nocking point | Pass if brace height matches the manual and the nocking point is square; needs shop help if brace height seems impossible or the string tracks poorly |
| Check limb alignment on a recurve and cam timing on a compound with the shop if needed | Pass if alignment is straight and timing is confirmed; needs shop help if either cannot be verified safely at home |
| Paper tune only after the bow fits, the spine is close, and the first shots are safe | Pass if the paper tear is minor and explainable; needs shop help for large or repeating tears |
How do you set up a compound bow?
Set the compound’s draw length and draw weight first, because every accessory depends on how the bow fits the shooter. Then install the rest, D-loop, and peep sight, and stop if any string, cable, cam, or press-only work is needed. Most compounds use a release aid, and many need a bow press for string or cable installation.
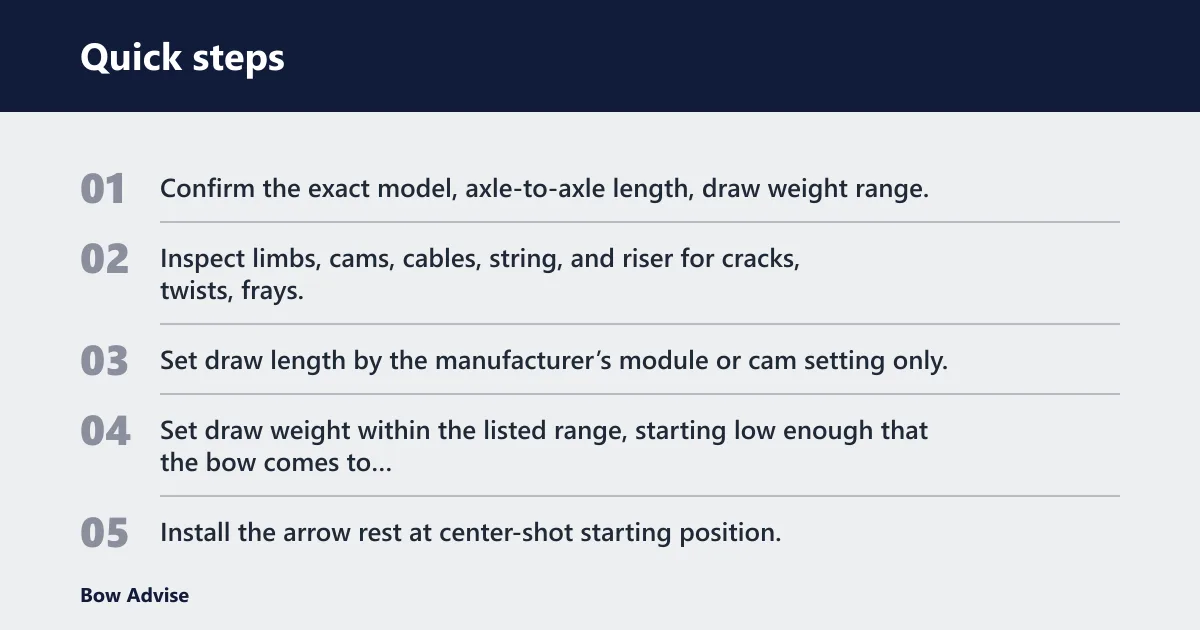
- Confirm the exact model, axle-to-axle length, draw weight range, and let-off percentage in the manual.
- Inspect limbs, cams, cables, string, and riser for cracks, twists, frays, or damaged track surfaces.
- Set draw length by the manufacturer’s module or cam setting only; if the bow does not match the shooter cleanly, stop and use a shop.
- Set draw weight within the listed range, starting low enough that the bow comes to anchor smoothly without leaning.
- Install the arrow rest at center-shot starting position, then verify arrow clearance at brace and at full draw.
- Install the D-loop on the string above and below the nocking point mark, with even knot placement and equal loop length.
- Set the peep sight so it aligns with the anchor point at full draw, then check whether it rotates out of line after several draws.
- Use a bow square to confirm nocking point height, then shoot one arrow at a time before moving to paper tuning.
Say a beginner compound has a 31-inch axle-to-axle length and a minimum draw weight that still feels heavy at anchor. That bow is not a good first fit. A better option is a lighter setup or a different model, because poor fit leads to bad release, inconsistent anchor, and sloppy arrow flight.
Suppose the peep lines up on the first draw but rolls a quarter turn after five shots. Do not keep guessing at string twists at home. Have a shop check it, especially if the bow needs timing verification or a press to correct the string setup.
How do you set up a recurve bow?
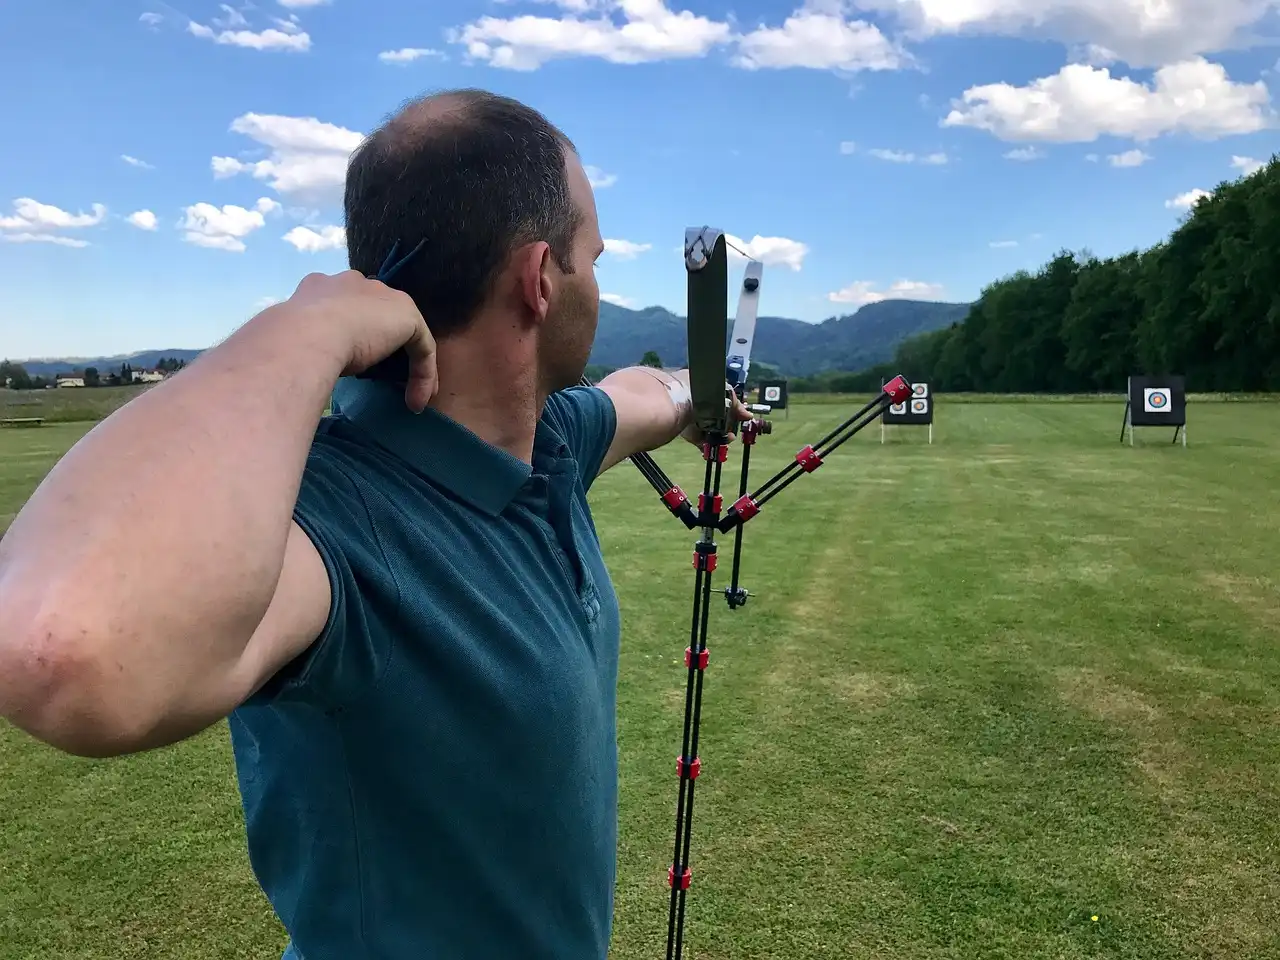
Set up a recurve by stringing it with a stringer tool, confirming the brace height, then setting the nocking point with a bow square. If the model has a takedown limb bolt system, only use it as the manual allows. If the bow’s limb alignment looks off, stop and have it checked before shooting.
- Identify whether the recurve is a takedown model and confirm whether the limb bolts are meant for weight adjustment or only limb seating.
- Use a stringer tool to string the bow; do not step through the limbs or twist the bow by hand.
- Measure brace height from the grip to the string with a bow square, then set it to the maker’s specification.
- Mark the nocking point, then place the arrow nock slightly above square if the manual calls for that setup.
- Check limb alignment visually from the string path to the limb tips, and stop if one limb tracks off-center.
- Nock one arrow, draw smoothly, and confirm the string clears the face and forearm without slap.
- Only after that, make the first sight or rest changes and shoot short groups.
A common first-timer mistake is cranking limb bolts on a recurve that was not built for that use. That can change limb seating or damage the bow. If the manual does not state that the bolts adjust weight, leave them alone and ask a shop.
How do you tune the first shots?
Start at a very short range and check that the arrow leaves the bow cleanly before focusing on group size. Use paper tuning only after draw length, arrow spine, center shot, and nocking point are close. A short-distance tear tells you which part of the setup is out of line.
- Stand close to a safe backstop and shoot one arrow only.
- Check whether the arrow leaves straight, clears the rest, and does not kick into the riser or shelf.
- Move to paper tuning at short distance and read the tear shape.
- Make one change at a time: rest position, nocking point, or spine match, then shoot again.
- Recheck sight marks and rest position after a few arrows, because new bows can settle slightly.
- If the tear stays large, or if the bow still slaps the string arm, stop and verify setup at a shop.
What the tear usually means
A high tear often can point to nocking point height, rest timing, or a spine mismatch. A left or right tear can come from center-shot error, grip torque, or a release inconsistency on a compound. Keep the changes small and never chase the tear with several adjustments at once.
What should you check before shooting a new bow for the first time?
Before the first shot, check that the limbs are sound, every fastener is snug, the string is seated, and the arrow fits the setup. On a compound, confirm the peep, D-loop, rest, and draw length. On a recurve, confirm brace height, nocking point, and limb alignment.
- Reinspect the bow for cracks, loose hardware, and twisted strings.
- Confirm the arrow spine matches the draw weight and arrow length you are using.
- Verify the rest gives clearance and does not interfere with the fletching.
- Check that the peep and anchor line up on a compound.
- Confirm the brace height and nocking point on a recurve.
- Use a safe backstop and shoot one arrow only before stepping back to tune.
Common mistakes
Wrong draw length makes a compound feel unstable and can push the peep out of line. A too-heavy draw weight causes short draws, shaky release, and poor tune. A bad spine match shows up as inconsistent flight or repeated paper tears. On recurves, an incorrect brace height can make the bow loud and unforgiving.
Another common issue is trying to force compound cam timing at home without the right method. That is a shop job for many beginners, especially when the bow needs a press or the timing marks do not line up cleanly.
How often should a beginner bow be rechecked after setup?
Recheck the bow after the first few arrows, again after the first short practice session, and any time the sound, anchor, or arrow flight changes. New strings, rests, and nocking points can settle. A quick recheck catches loose fasteners and shifting marks before they become a bigger problem.
- After 5 to 10 arrows, check sight marks, rest position, and fasteners.
- After the first session, recheck D-loop length, peep alignment, and nocking point height on a compound.
- On a recurve, confirm brace height and limb alignment again after the bow has been shot a little.
- Repeat the check whenever the bow changes sound, the anchor feels different, or the arrows start grouping oddly.
Frequently asked questions
How do I set up a new archery bow for the first time?
Start with the manual, then inspect the bow, identify whether it is a compound or recurve, and set the bow to the shooter before adding accessories. Draw length comes before rest, peep, and sight work on a compound. On a recurve, brace height and nocking point come first.
Do I need a bow press to set up a compound bow?
Many compounds need a bow press for string or cable installation, peep work, or some cam adjustments, though the need depends on the model and limb style. If the manual says the task requires a press, stop and use a shop press or a portable press approved for that bow.
How do I choose the right draw weight for a beginner bow?
Choose the lightest draw weight that allows a smooth draw, a steady anchor, and a clean release for repeated shots. Do not start heavy just to match a label. If the bow cannot be drawn and held comfortably with good form, the weight is too high for setup.
How do I set the draw length on a new bow?
Use the bow’s module, cam setting, or manufacturer-approved adjustment method, then verify full-draw comfort and anchor position. If the peep does not line up at anchor, the draw length is off or the setup needs shop verification. Do not guess by feel alone.
How do I install and adjust a peep sight and D-loop?
Install the D-loop first so the release aid clips in consistently, then set the peep to line up with the anchor point at full draw. The loop must be even in length, and the peep should not rotate out of line after several draws. Persistent rotation needs a shop check.
How do I tune a new bow so it shoots straight?
Get the fit right first, then shoot at short range and paper tune. If the spine is matched and the center-shot is close, the tear should get smaller with small adjustments. Make one change at a time, and stop if the tear stays large or the bow remains unsafe to shoot.