How to Paper Tune a Bow for Better Arrow Flight
Paper tune a bow by shooting through paper at 6 to 8 feet, reading the tear, ruling out form, nock height, spine, and rest issues, then making the smallest valid adjustment for your bow. Bad paper tuning wastes arrows, hides setup problems, and can leave broadheads flying differently from field points. This guide explains how to read tears, rule out false causes, and tune compound and recurve bows with the least movement needed.
This guide is part of our Archery basics: beginner guide to bows and shooting series.
What paper tuning tells you
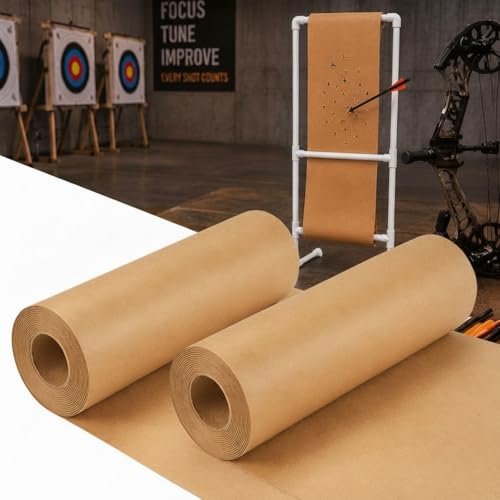

Paper tuning uses a sheet of paper to diagnose arrow flight from the tear pattern. A clean, round hole is the target, but the tear is the part that matters because it points to a setup issue, a form issue, or both. A paper tear is a clue, not a verdict.
Bullet hole vs tear pattern
A perfect paper tune is described as a bullet hole. If the shaft passes through with very small, even fletching marks, the arrow is leaving the bow cleanly enough for further confirmation tuning. If the tear is large, repeated, or angled the same way shot after shot, start with the most likely setup cause before moving on.
When paper tuning is useful and when it is not
Paper tuning is most useful early in setup, after the bow is assembled, arrows are matched, and the shooter can repeat a stable shot. It is less trustworthy when the shooter’s form changes from shot to shot, the paper is too close or too far away, or a compound is out of cam timing. In those cases, the tear may describe the shooter more than the bow.
Paper tune setup essentials
Keep the setup exact and repeatable. Use a paper tuning frame that holds paper taut, place a safe backstop behind it, line the paper up with arrow height, and shoot from the same distance every time. Paper tuning works best when the setup is controlled, not improvised shot by shot.
Paper tuning frame and safe backstop
A paper frame can be DIY or commercial, and a simple version can be built from furring strips or PVC pipe. A rectangular frame is common because it keeps the paper flat. Make sure there is a safe backstop behind the paper; for compound bows, a backstop 4-6 feet behind the paper is recommended by Extreme Outfitters.
Correct distance, arrow height, and target setup
ATS says a paper frame should be about 6 feet in front of the bow. The Archery Expert gives a shooting distance of 5-7 yards, so the practical goal is consistency rather than chasing a single magic number. Keep the arrow path centered on the paper and set the frame so the arrow passes through the middle without clipping the edges.
Field points, arrow choice, and repeatable shots
Start with field points rather than broadheads for initial paper tuning. Use the same arrow build you plan to tune, with point weight, shaft length, and fletching already set for the bow. Shoot several arrows that leave the bow the same way before touching hardware. One odd tear is not enough to rework the bow; the same tear must repeat before it deserves a correction.
- Set the paper frame taut and square to the arrow path.
- Confirm a safe backstop behind the frame.
- Check that the arrow will pass through the center of the paper.
- Use field points and a normal shooting setup.
- Shoot several repeatable arrows before changing anything.
- Only then make one small adjustment and recheck.
How to paper tune a compound bow
Compound bow paper tuning is commonly done at about 6 to 8 feet, with setup checks such as cam timing and center shot done before chasing tear direction. Compounds are commonly paper tuned at 6-8 feet, and the tear can be affected by center shot, nock pinch, rest position, and a poor release. A bad timing issue can fake a rest problem.
Start with cam timing and center shot checks
Before moving the rest, verify that the cams are in time. Out-of-time cams can produce false tears that look like spine or rest errors. Extreme Outfitters says center shot is typically set to 13/16 or 7/8 inch, and the rest should follow the manufacturer’s setup instructions. That is the first place to confirm, not the last.
How to read tears on a compound
A high tear, low tear, left tear, right tear, or diagonal tear can all appear on a compound. High and low tears often point toward nock height or nock pinch, while left and right tears often point toward rest position, spine, or shooter input. A diagonal tear can mean two issues are happening at once.
Common false reads from grip torque and nock pinch
Grip torque can make a good setup look bad. Nock pinch can also push the arrow oddly on release and create a tear that seems to blame the rest. If the tear changes a lot from one shot to the next, stop moving hardware and check whether the shooter’s hand pressure, anchor, or release is the bigger variable.
Say your compound shows a left tear on three shots in a row, but the grip hand is rolling inward on the release. That tear may be the hand, not the rest. Keep the rest in place, relax the grip, and recheck before moving the center shot.
How to paper tune a recurve bow
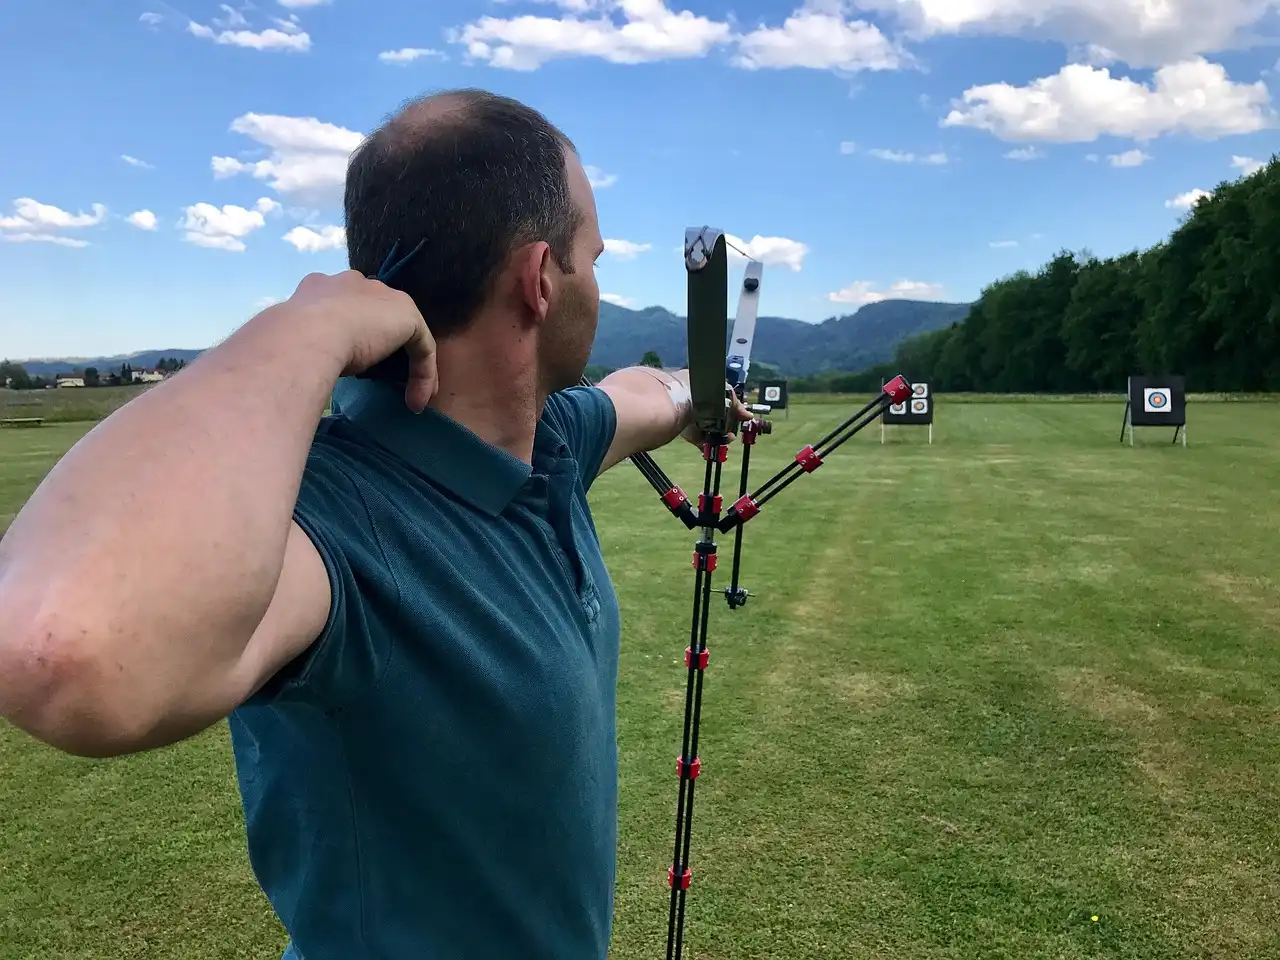
Recurve paper tuning can be done at close range, but the logic differs from a compound. Nocking point, brace height, tiller, plunger pressure, and shaft spine all matter, and finger release changes the tear interpretation. Handedness matters too, because left and right tears do not mean the same thing for every shooter.
Nocking point, brace height, and tiller checks
The same source says a recurve starting nocking point is 3/8 inch above square. ATS also says most recurves use a top tiller slightly greater than bottom tiller by 1/8 to 1/4 inch. Brace height should stay within the range recommended by the manufacturer, and it is adjusted by twisting or untwisting the string. If these starting points are off, the tear may never settle.
How plunger pressure and shaft spine affect the tear
A recurve’s plunger or pressure button changes how the arrow reacts during the shot. Spring pressure and button position can turn a weak-looking tear into a stiff-looking one. Arrow spine matters here as well: stiffness must match draw weight and arrow length, and you can move the result somewhat with point weight, shaft length, or bow weight.
Finger shooting and handedness in tear reading
The same source says a paper tear can indicate a left or right adjustment on the rest or plunger, but that direction depends on handedness and shooting style. A right-handed finger shooter and a right-handed release shooter do not always read the same tear the same way. That is why recurve tuning should be interpreted with the shooter’s hand and release method in view.
Suppose a right-handed recurve shooter gets a persistent right tear after the nocking point and brace height are in spec. Before changing the plunger wildly, check whether the shaft is too stiff, the button is too hard, or the draw weight is too high for the arrow build. One variable at a time keeps the diagnosis clean.
Paper tear decision table
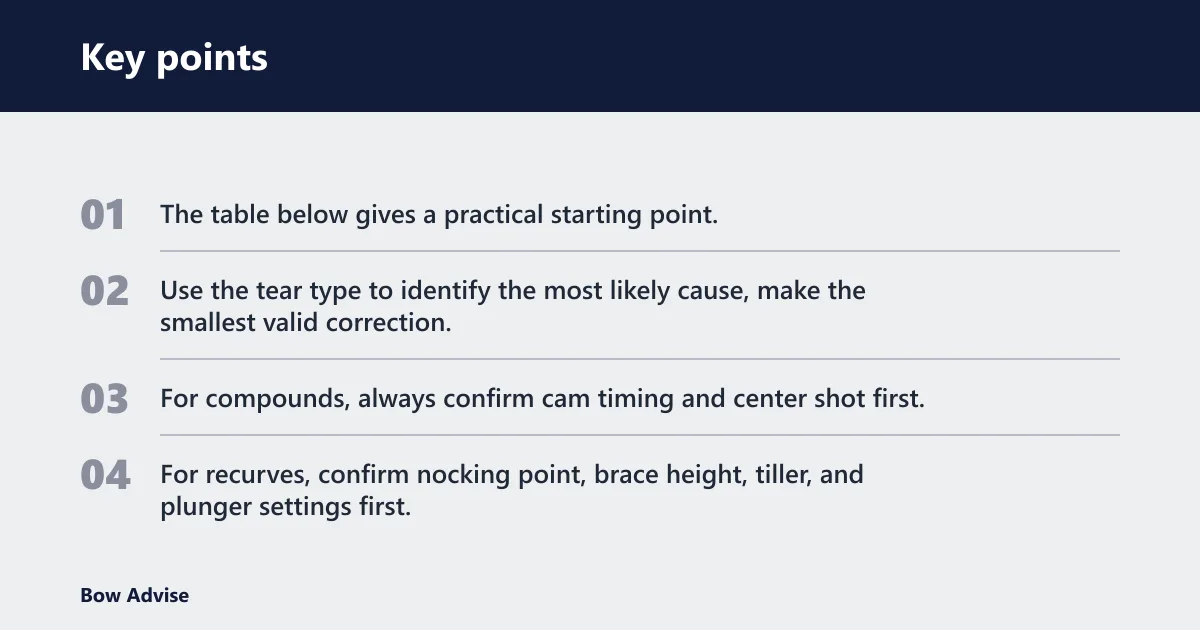
The table below gives a practical starting point. Use the tear type to identify the most likely cause, make the smallest valid correction, and stop to recheck if the tear does not repeat or if the setup check fails. For compounds, always confirm cam timing and center shot first. For recurves, confirm nocking point, brace height, tiller, and plunger settings first.
| Tear type | Likely cause in a compound | First adjustment in a compound | Stop and re-check if | Likely cause in a recurve | First adjustment in a recurve | Stop and re-check if |
|---|---|---|---|---|---|---|
| Bullet hole | Setup is close; confirm repeatability | Leave it alone and confirm with another check | It is a one-shot fluke or changes shot to shot | Setup is close; confirm repeatability | Leave it alone and confirm with another check | Form changes or a string/brace issue appears |
| High tear | Nock point too high, rest timing issue, or release error | Check nock fit and rest clearance, then lower nock point only if repeatable | Cam timing is off or the arrow is contacting the rest | Nocking point too high is less likely; more often the nocking point is too low if the tear is low, so confirm first | Check brace height and nocking point before moving the button | Tear changes when finger pressure changes |
| Low tear | Nock point too low | Raise the nocking point in small steps | Cam timing, nock pinch, or launcher timing is suspect | Nocking point too low | Raise the nocking point from the starting point | Brace height or tiller is outside the normal range |
| Left tear | For a right-handed release shooter, rest too far left, stiff shaft, or torque | Check center shot first, then verify release and grip before moving the rest | Cam timing is off or the tear changes with grip pressure | For a right-handed finger shooter, often weak shaft or plunger too soft; handedness matters | Adjust plunger pressure or position, then confirm spine | Tear reverses with anchor pressure or finger separation |
| Right tear | For a right-handed release shooter, weak shaft, rest too far right, or grip torque | Check center shot and arrow spine before large rest movement | The tear is diagonal or the bow is out of time | For a right-handed finger shooter, often stiff shaft or plunger too hard | Reduce plunger pressure or move toward a weaker shaft | Brace height or tiller is not set correctly |
| Diagonal tear | Mixed issue: timing plus rest or shooter input | Verify cam timing, then retest before changing the rest | The tear angle changes shot to shot | Mixed issue: nock height plus plunger or spine | Check nocking point, then plunger pressure | Different finger pressure or anchor changes the tear |
What if the tear will not go away?
If the tear keeps repeating after the obvious setup checks, stop treating paper as the final word. The problem may be arrow spine, cam timing, a bad grip, or a setup that is outside the bow’s normal range. A persistent tear is useful only when it stays the same under the same conditions.
How to spot a false tear
A false tear often changes with shooter input instead of hardware. If the tear moves when grip pressure, anchor pressure, release quality, or finger separation changes, the paper is reporting form more than setup. Recheck the paper distance, the paper tension, and whether the frame is straight before moving anything on the bow.
When arrow spine is the real issue
Arrow spine is stiffness matched to draw weight and arrow length. A shaft that is too stiff or too weak can keep producing the same tear even after normal adjustments. Point weight and shaft length can shift the result a little, but if the spine is far off, no amount of small rest movement will clean up the paper.
When to stop tuning and change the arrow build
If the bow is set correctly, the tear repeats, and the spine diagnosis keeps pointing the same way, change the arrow build instead of chasing the bow. That can mean a different shaft spine, a shorter or longer shaft, or a different point weight. For compounds, confirm cam timing again before blaming the arrow. For recurves, confirm brace height and tiller first.
Paper tuning to confirmation tuning
Paper tuning is the first diagnostic, not always the last. Bare shaft, walk-back tuning, and broadhead checks each answer a different question. Use paper to find the obvious fault, then use a second method to confirm the fix under real arrow flight conditions.
Bare shaft as a follow-up check
Bare shaft tuning can confirm whether the arrow is leaving the bow cleanly once paper is close. It is a useful next step when the paper result is near a bullet hole but not perfect. If the bare shaft and fletched shaft disagree badly, the setup still needs work.
When walk-back tuning is the better next step
Walk-back tuning is a final confirmation step for horizontal line consistency. It is useful after paper tuning when the bow is already close and you want to see whether the point of impact stays aligned as distance changes. It is not the right first move for a bow that still throws obvious tears.
Where broadhead tuning fits in the sequence
Broadhead tuning comes after the basic paper tune, not instead of it. Start with field points, clean up the paper tear, then confirm that fixed blades and field points land together at distance. If broadheads miss badly while paper looks clean, revisit arrow spine, center shot, and shooter form before assuming the broadhead is the only problem.
Frequently asked questions
What distance should I stand from the paper when tuning a bow?
A practical paper-tuning distance is about 6 feet in front of the paper, and some guidance places the shot at 5-7 yards. The key is to keep the distance the same while diagnosing, because changing distance can change how the tear appears and hide the real issue.
Why does my bow still tear paper after adjustments?
Persistent tears usually mean the first fix was aimed at the wrong cause, or the shooter input is masking the setup. Recheck cam timing on a compound, nocking point and brace height on a recurve, then look at arrow spine and release consistency. If the tear keeps repeating, change only one variable next.