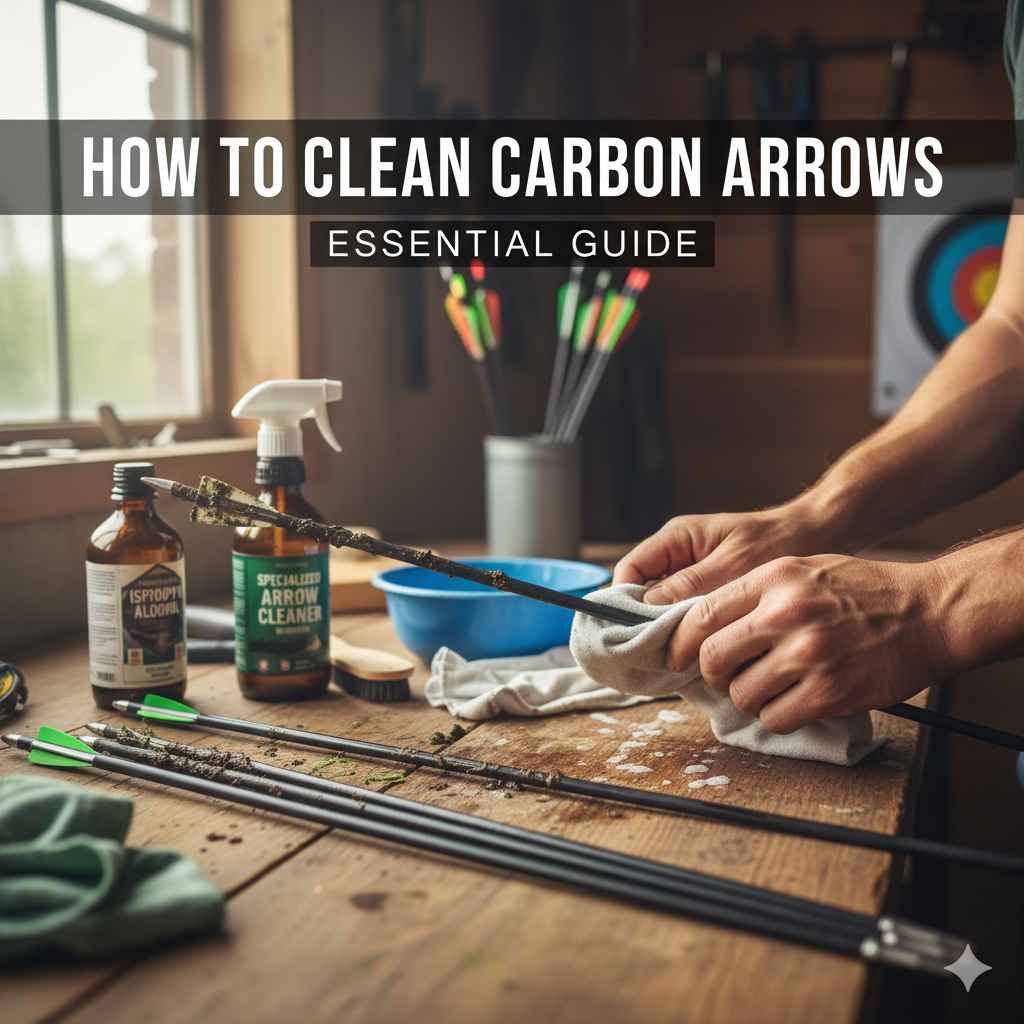
To clean carbon arrows effectively, use warm water, mild soap, and a soft cloth to remove dirt and shaft residue. For tougher grime or fletching glue, specialized cleaners and careful fletching manipulation are key. Regular cleaning preserves arrow integrity and flight accuracy, ensuring a better archery experience.
Welcome, fellow archers! Are your carbon arrows looking a little less than stellar after a fun day at the range or in the field? We’ve all been there. Dirt, mud, sap, and even old fletching glue can build up, making your arrows less than perfect. Don’t worry, keeping your carbon arrows clean is much simpler than you might think. It’s vital for maintaining their performance and ensuring they fly true. Let’s dive into the easy steps that will have your arrows gleaming and performing their best in no time. We’ll cover everything from a quick wipe-down to tackling stubborn adhesive. Get ready to give your arrows the care they deserve!
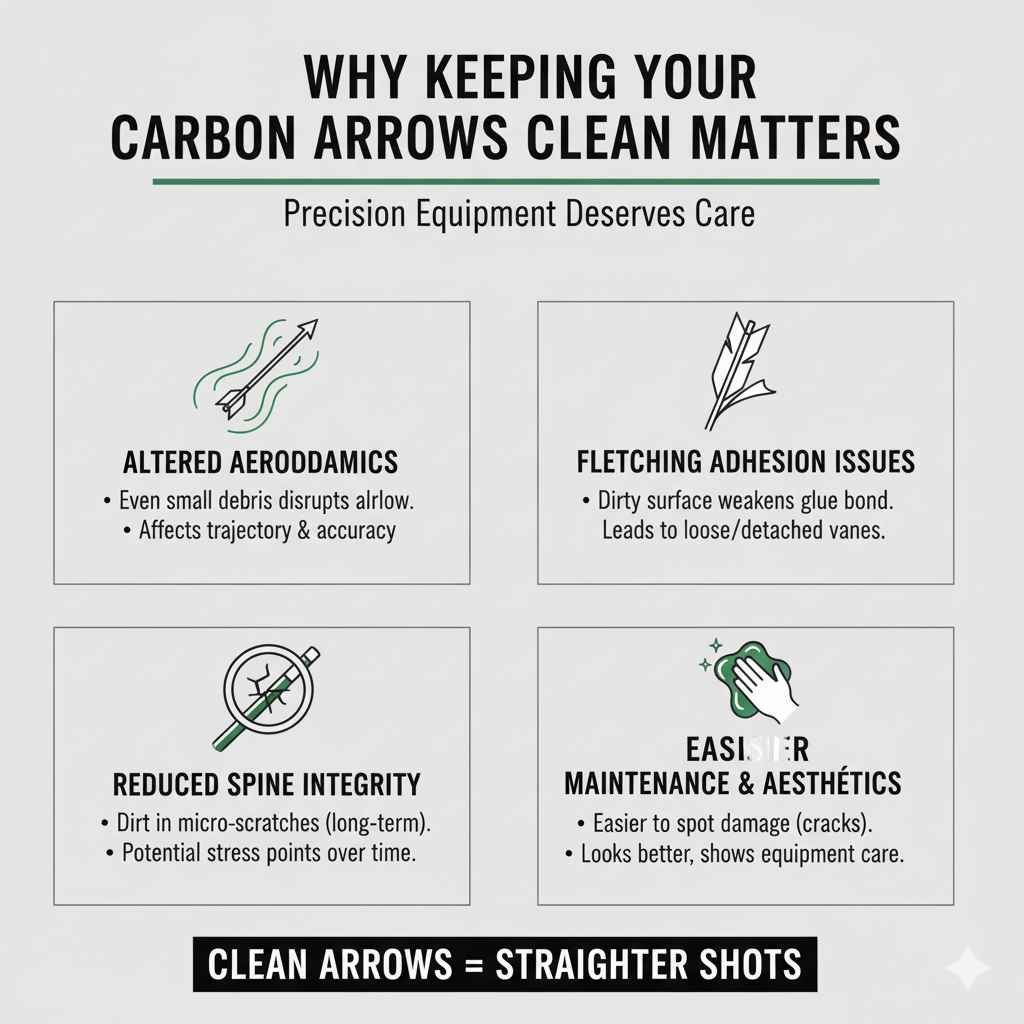
Why Keeping Your Carbon Arrows Clean Matters
Think of your carbon arrows as precision instruments. Just like a finely tuned race car or a delicate scientific tool, they perform best when kept in top condition. A buildup of dirt, grime, or residual glue can lead to a few problems, all of which can impact your shooting:
- Altered Aerodynamics: Even small amounts of mud or debris on the shaft can slightly disrupt airflow as the arrow flies, potentially affecting its trajectory.
- Fletching Adhesion Issues: If you’re replacing fletchings, a dirty surface means new glue won’t bond as strongly. This can lead to loose or detached vanes, which are critical for arrow stability.
- Reduced Spine Integrity: While carbon is strong, persistent dirt and grime trapped in micro-scratches could, over a very long time and with extreme neglect, contribute to stress points. Regular cleaning helps spot any potential damage early.
- Aesthetic Appeal: Let’s be honest, clean arrows just look better! It shows you care about your equipment and your sport.
- Easier Maintenance: When your arrows are clean, it’s easier to inspect them for cracks or other damage.
The good news is that addressing these issues is straightforward. With a few simple tools and a little bit of your time, you can keep your carbon arrows in excellent working order, and most importantly, ensure they fly straight and true for every shot.
Essential Tools for Cleaning Carbon Arrows
You don’t need a high-tech laboratory to clean your carbon arrows. Most of the items you’ll need are probably already in your home or easily found at a local store. Here’s what I recommend having on hand:
- Warm Water: Your primary cleaning agent.
- Mild Soap: Dish soap (like Dawn) or a general-purpose household cleaner works well. Avoid harsh detergents that could potentially damage the arrow’s finish.
- Soft Cloths or Microfiber Towels: Several of these are essential for wiping and drying. Microfiber is great because it’s non-abrasive and picks up dirt effectively.
- Rubbing Alcohol (Isopropyl Alcohol): Particularly useful for removing glue residue and stubborn marks. Aim for 70% or 91% concentration. You can find this at most drugstores.
- Fletching Cleaner (Optional but Recommended): For the best results when removing old fletching glue, a dedicated fletching cleaner is fantastic. These are formulated to break down adhesive without damaging the carbon.
- Old Toothbrush or Soft Bristle Brush: Helpful for gently scrubbing any nooks or crannies, especially around the nock and insert area.
- Cutting Board or Protected Surface: To place your arrows on while cleaning, preventing scratches to your work surface and your arrows.
- Gloves (Optional): If you’re using stronger cleaners or want to keep your hands clean.
Having these simple tools ready will make the cleaning process efficient and effective. Remember, gentle is usually the key when dealing with your archery equipment.
Step-by-Step Guide: Cleaning Your Carbon Arrows
Let’s get your arrows looking and performing like new! The process is broken down into simple steps, making it easy for anyone to follow.
Step 1: The Initial Wipe-Down
This is for general dirt, dust, and light grime. It’s your first line of defense and what you’ll do most often after a shooting session.
- Gather your supplies: Have your warm water, mild soap, and soft cloths ready.
- Dampen a cloth: Wet one of your soft cloths with warm water. Wring it out so it’s damp, not dripping wet.
- Add a drop of soap (if needed): If the dirt is a bit more stubborn, add a tiny drop of mild dish soap to the damp cloth.
- Wipe the entire shaft: Gently wipe down the entire length of the carbon arrow shaft. Pay attention to any visible dirt, mud marks, or smudges. Rotate the arrow as you wipe to ensure you clean all sides.
- Rinse the cloth and wipe again: Rinse the soap out of the cloth thoroughly afterwards to remove any soap residue from the arrow.
- Dry thoroughly: Use a clean, dry cloth (microfiber is excellent here) to completely dry the arrow. Ensure there’s no moisture left, especially before storing or before proceeding to more intensive cleaning.
This simple routine is often all that’s needed to keep your arrows in great shape and ready for your next outing. It helps prevent dirt from becoming ground in.
Step 2: Tackling Stubborn Grime and Residue
Sometimes, dirt grabs hold, or you might have residue from things like tree sap, target material, or even fingerprints that leave a film. For these tougher spots, we’ll use a bit more cleaning power.
- Use rubbing alcohol: Dampen a clean cloth or cotton pad with rubbing alcohol (isopropyl alcohol).
- Target the dirty area: Gently rub the affected area of the arrow shaft with the alcohol-dampened cloth. The alcohol is a solvent that can break down many common types of residue.
- Be patient: For tougher spots, you might need to let the alcohol sit for a few moments before wiping.
- Wipe clean: After loosening the grime, wipe the area with a clean, damp cloth to remove the loosened residue.
- Dry once more: Always finish by drying the arrow shaft completely with a clean, dry cloth.
Rubbing alcohol is generally safe for carbon arrows and doesn’t typically damage the finish. However, always test it on a small, inconspicuous area first if you’re concerned.
Step 3: Cleaning Fletching and Removing Old Glue
This is where cleaning becomes crucial for archers who frequently re-fletch or have had fletchings come loose. A clean surface is essential for new glue to bond properly. This is a key aspect of ‘how to clean carbon arrows for fletching.
Option A: Cleaning Attached Fletchings
If your fletchings are intact but dirty, you can clean them gently.
- Prepare a cleaning solution: Mix warm water with a tiny amount of mild dish soap.
- Use a Q-tip or soft brush: Dip a cotton swab (Q-tip) or a very soft-bristled toothbrush into the soapy water.
- Gently clean: Carefully and gently clean the surface of the vanes or feathers. Work from the base of the fletching towards the tip. Avoid bending or applying too much pressure to the fletchings, as they can be delicate.
- Rinse with a damp cloth: Use a clean cloth, dampened with plain water, to wipe away any soap residue.
- Dry carefully: Pat the fletchings dry with a clean, lint-free cloth or allow them to air dry completely. You can even use a hairdryer on a cool setting from a distance if you’re in a hurry.
Option B: Removing Old Fletching Glue
When it’s time for new fletchings, you need a clean slate.
- Use a Fletching Cleaner or Rubbing Alcohol: A specialized fletching cleaner is highly recommended for this. If you don’t have one, 70% or 91% isopropyl alcohol can work, but it might require more effort. Some archers also find Goo Gone or similar adhesive removers effective, but always test these on scrap shafts or an inconspicuous area first as they can sometimes affect the epoxy finish on certain arrows. For a guide on adhesive removers and their impact, you can check out resources on material compatibility from organizations like the National Institute of Standards and Technology (NIST) for general principles, though direct arrow applications vary.
- Apply the cleaner: Apply your chosen cleaner generously to the area where the old fletching and glue were.
- Let it soak (briefly): Allow the cleaner to sit for a minute or two to start breaking down the adhesive.
- Gently scrape and rub: Use a plastic scraper (like an old credit card or a specialized fletching jig scraper) or a dull knife edge to gently lift the softened glue. Follow up by rubbing the area with your cleaner-dampened cloth or a dedicated fletching eraser. Work in the direction of the arrow shaft.
- Be thorough: It’s essential to remove all traces of old glue. Even small bumps can affect the adhesion and alignment of new fletchings.
- Clean with alcohol and dry: Once the bulk of the glue is gone, wipe the area down with rubbing alcohol again to ensure it’s perfectly clean and residue-free. Dry the shaft completely with a clean cloth.
A clean surface is paramount for strong fletching adhesion. Think of it like preparing a surface for painting – you need it spotless for the best results. This step ensures your new fletchings will adhere firmly and contribute to accurate arrow flight.
Step 4: Cleaning the Nock and Insert Area
The nock and the front insert (where your point attaches) are small but important areas that can collect dirt and debris.
- Nock area: Use a slightly damp Q-tip with warm, soapy water to carefully clean around the nock. If your nock is removable, you can take it out and clean it separately, then dry it before reinserting.
- Insert area: For the front of the arrow, use a clean, damp cloth to wipe down the insert. If there’s old glue or carbon dust from replacing points, a bit of rubbing alcohol on a Q-tip can help clean it out.
- Dry all parts: Ensure both the insert area and the nock (if removed) are completely dry before proceeding.
These areas can trap small debris, so a little focused attention goes a long way in maintaining your arrows’ readiness.
Important Considerations for Carbon Arrow Care
Beyond the basic cleaning steps, there are a few other things to keep in mind to prolong the life and performance of your carbon arrows.
What to Avoid
Just as important as knowing what to do is knowing what not to do. Some common mistakes can damage your valuable arrows:
- Harsh Chemical Cleaners: Avoid using solvents like acetone, paint thinner, or strong degreasers. These can degrade the resin and epoxy used in carbon arrow construction, weakening the shaft.
- Abrasive Scrubbing Pads: Steel wool, rough scouring pads, or stiff brushes can scratch and damage the carbon surface. Always opt for soft cloths or brushes.
- Excessive Heat: Never expose your carbon arrows to high heat. This includes leaving them in a hot car for extended periods, near a heater, or attempting to dry them with a very hot hair dryer. Heat can warp or delaminate the carbon fibers.
- Submerging Arrows: While a quick dip might not hurt, prolonged submersion in water isn’t recommended. It could potentially allow water to seep into the shaft if there are any micro-cracks or around the insert/nock if not perfectly sealed.
- Ignoring Damage: If you find cracks, deep gouges, or delamination during cleaning, do not shoot that arrow. Damaged carbon arrows can be dangerous. Consult with experienced archers or range operators on how to safely dispose of them. You can often find information on arrow integrity and safety from archery organizations.
Storage Matters
Proper storage plays a huge role in keeping your arrows clean and in good condition. After cleaning, store your arrows in an arrow case. This protects them from dust, UV rays (which can degrade some finishes over time), and physical damage. Keep them in a cool, dry place, away from extreme temperatures.
Frequency of Cleaning
How often should you clean your arrows? It really depends on how much you shoot and the conditions.
- After Every Range Session: A quick wipe-down with a damp cloth is a good habit to get into, especially if you shot outdoors or on a dusty range.
- Before Replacing Fletchings: Always perform a thorough cleaning of the fletching area when you’re prepping for a re-fletching job.
- When Visibly Dirty: If your arrows have mud, sap, or noticeable grime from a long hunt or a particularly messy practice session, clean them as soon as you can.
- Before Important Events: If you have a competition or an important hunt coming up, giving your arrows a good clean and inspection can give you peace of mind.
This proactive approach to care ensures your arrows are always ready and performing at their peak.
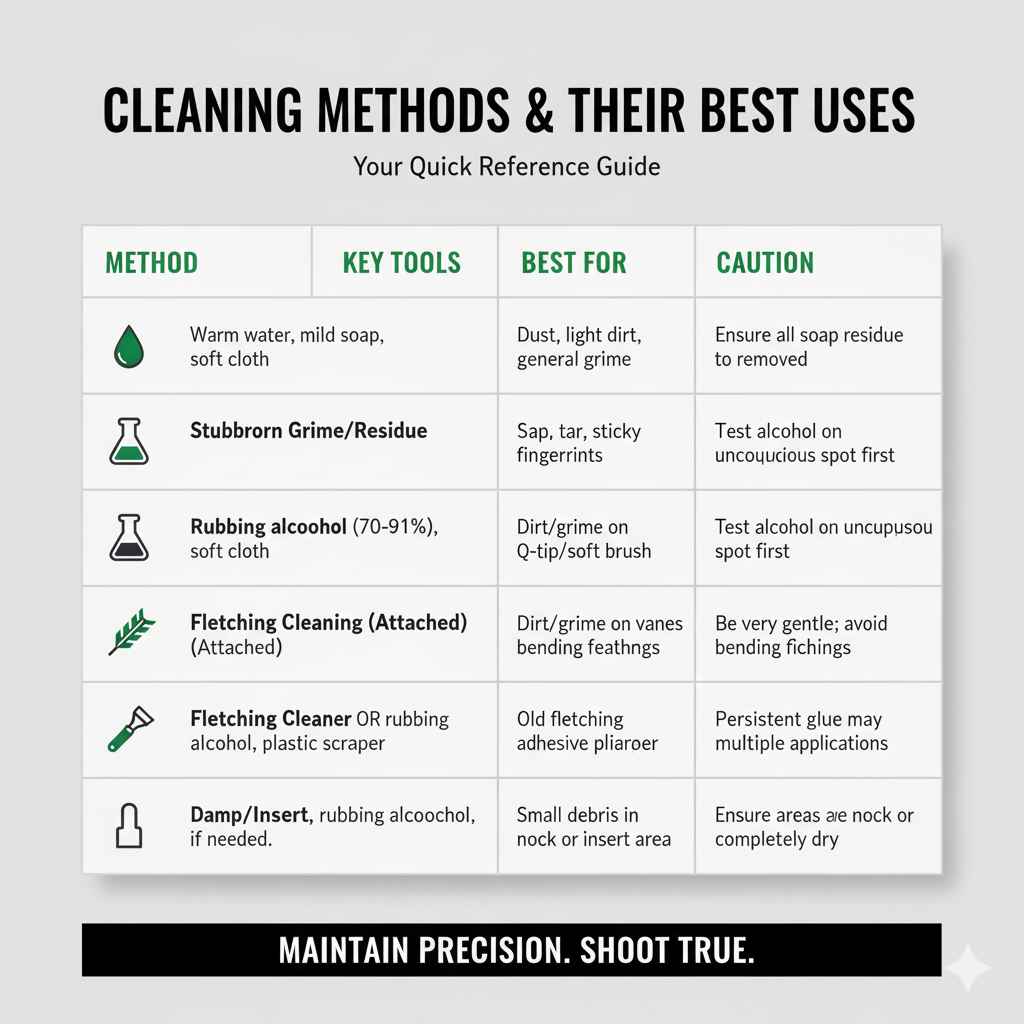
Table: Cleaning Methods and Their Best Uses
Here’s a quick reference to help you choose the right cleaning method.
| Cleaning Method | Key Tools | Best For | Caution |
|---|---|---|---|
| Basic Wipe-Down | Warm water, mild soap, soft cloth | Dust, light dirt, general grime after shooting | Ensure all soap residue is removed. |
| Stubborn Grime/Residue | Rubbing alcohol (70-91%), soft cloth | Sap, tar, sticky fingerprints, light residue | Test alcohol on an inconspicuous spot first. |
| Fletching Cleaning (Attached) | Warm water, mild soap, Q-tip/soft brush | Dirt and grime on vanes or feathers | Be very gentle; avoid bending fletchings. |
| Fletching Glue Removal | Fletching cleaner OR rubbing alcohol, plastic scraper/eraser | Old fletching adhesive | Persistent glue may require multiple applications. |
| Nock/Insert Cleaning | Damp Q-tip, rubbing alcohol (if needed) | Small debris in nock or insert area | Ensure areas are completely dry, especially if removing nock. |
This table should give you a clear snapshot of which cleaning technique is best suited for different situations you might encounter with your carbon arrows.
Frequently Asked Questions (FAQ)
Here are some common questions beginners have about cleaning carbon arrows:
Q1: Can I use WD-40 to clean my carbon arrows?
A1: It’s generally not recommended. While WD-40 can remove grime, it can also leave an oily residue that might interfere with fletching glue adhesion. Stick to milder cleaners like soap, water, and rubbing alcohol.
Q2: How do I know if my carbon arrow is damaged?
A2: Inspect your arrows closely after every shooting session. Look for any visible cracks (especially near the nock and insert), splinters, or delamination (where the carbon layers start to separate). You can also gently flex the arrow (without excessive force) and listen for any cracking or popping sounds. A ringing sound when lightly tapped with a knuckle can sometimes indicate internal damage, though this is not always definitive. If you suspect damage, it’s best to err on the side of caution.
Q3: My fletchings are peeling off. Can I re-glue them without cleaning the arrow first?
A3: Absolutely not! For new fletchings and glue to bond properly, the arrow shaft must be completely clean and free of any old glue residue, dirt, or oils. Always remove all traces of the old adhesive and clean the area thoroughly with rubbing alcohol or fletching cleaner before applying new fletchings. This is crucial for arrow flight stability.