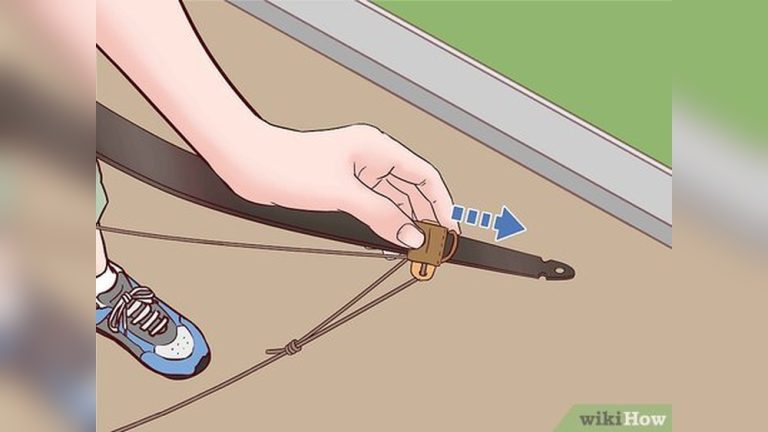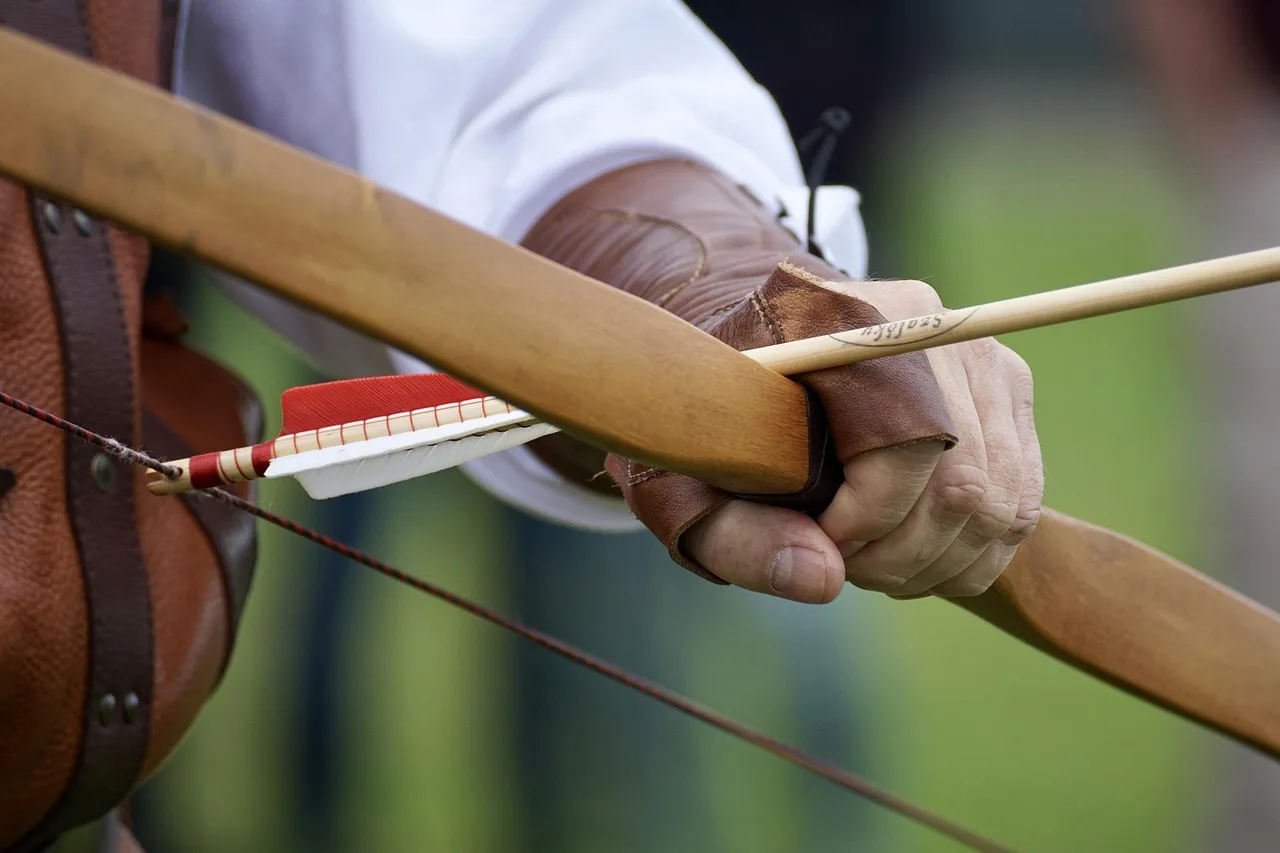
How to Make a Traditional Bow From a Wood Stave
Build a first traditional bow from a wood stave in 8 steps: choose a straight, dried hickory or ash stave you can inspect in person, rough out the limbs, then tiller slowly to your draw length.
This guide is part of our Bow types and care: choosing, shooting, and upkeep series.
Force the wood or rush tiller work, and you can twist the limbs, set the bow, or break it before it ever shoots.
I’ll walk through wood choice, tools, shaping, tillering, and the common first-bow mistakes I see most often.
What you’ll need before you start
- Bow stave with straight grain, seasoned or dried wood, no knots, twists, rot, cracks, or insect damage; length longer than the finished bow
- Draw knife, preferably with an 8-10-inch blade
- Rasp
- Measuring tape
- Straight edge
- Marker or pencil
- Tillering rack or a simple tree-and-rope setup
- Safety glasses and dust mask
- A Dacron bowstring for the finished bow
- Sandpaper or scraper for final smoothing
How much each budget tier usually costs
| Tier | Stave source | Tools/materials | Typical total |
|---|---|---|---|
| Salvage | Fallen limb, reclaimed lumber, or a free stave | Borrowed or hand-me-down tools, Dacron B-50, sandpaper | Lowest cash outlay; often under the cost of a single new tool |
| Low-cost | Purchased hickory or ash stave | Draw knife, rasp, tape, straight edge, string | Moderate; the stave usually costs less than the full tool set |
| Buy-new | New hickory, ash, or osage orange stave | New tools plus tillering rack materials | Highest; still far below a premium finished bow, but not a cheap first try |
According to outdoorlife.com — The stave needs to be at least 64 inches long for that build.
My first compound bow was set 10 lb too heavy; I flinched for a month before I backed the limb bolts out.
Which wood should you choose for a first bow?
Pick hickory first if you want the safest beginner option, choose ash if that is easier to find locally, and leave osage orange for later unless you already have some bowmaking time. Hickory is a great beginner’s bow wood, ash can be a solid alternative, and both tend to forgive more than harder premium woods.
Hickory for the safest first attempt
Hickory is strong, elastic, and usable for self-bows. I like it for first builds because it tolerates small mistakes better than many woods, and you can force dry hickory quickly if the stave still needs drying. That gives you room to work when shop time is tight.
Ash as a strong beginner alternative
Ash gives good bend and good feedback during tillering. I put it right behind hickory for a first bow because it is often easier to find at a fair price, and it behaves in a way new builders can read without guessing.
Why osage orange is harder for a first build
Osage orange makes excellent bows, but it is a harder first choice for budget DIY archers. It can be less forgiving to work, and finding a clean stave usually takes more time and money. If you want your first bow to be a teacher, start with hickory or ash.
Local availability matters more than internet hype
I look at what grows well near me and what I can inspect in person. Dry climate can help certain woods stay stable, while damp storage can bring on checks and rot. If a wood is cheap but full of defects, it is not a bargain.
How do you pick a safe stave?
In general, a safe stave has straight grain, is seasoned or dried, and shows no knots, twists, rot, cracks, or insect damage. Its length must exceed the intended bow length. If the stave already looks stressed before you start, it will usually fail later when the limbs begin to bend.
Stave inspection checklist
| Check | Pass looks like | Reject looks like |
|---|---|---|
| Grain | Straight, continuous lines from end to end | Runout, waviness, grain diving out the side |
| Condition | Seasoned or dried wood with stable feel | Wet core, soft spots, mildew smell |
| Surface | Clean bark side, no deep checks | Cracks, insect holes, rot, bark loss from damage |
| Shape | Only minor natural curve | Twist, severe bend, or obvious hinge |
| Length | Longer than your planned bow | Too short for safe limb length |
The back can lay just below the bark and cambium, so I remove the bark carefully and avoid cutting into that back wood. If you nick it early, you create a weak path that can open later when the bow starts to work.
What length should your self bow be?
For a 28-inch draw, a bow around 64 inches long is a simple starting point, and the stave should be at least that long for that build. I keep new bowyers on the longer side because extra length usually lowers stress.
A simple draw-length rule
If your draw length increases, the bow usually needs more length to stay smooth. For a first self bow, I would rather see a longer stave than a short, aggressive one. Short bows punish small mistakes fast.
When to stop if the stave is too short
Stop before you cut the last safe margin away. If the stave cannot exceed your intended bow length, do not “make it work” by shortening the handle or overworking the limbs. That path ends in a hinge or a break.
How do you make a traditional bow from a wood stave step by step?
Remove the bark, mark the centerline, rough-shape the limbs, dry the stave if needed, then tiller slowly on a rack until both limbs bend evenly. The real work is control. I spent my early years chasing speed, and my groups tightened only after I slowed down and accepted that the wood sets the pace.
Step 1: remove the bark and inspect the back
- Scrape or peel the bark off cleanly.
- Leave the back wood intact and avoid digging into it.
Step 2: mark the centerline and limb layout
- Measure the stave and mark the center.
- Lay out handle, fades, and limb length with a straight edge.
Step 3: rough-shape the limbs with a draw knife
- Use the draw knife to remove wood from the belly side only.
- Follow the stave curve instead of forcing a square shape.
Step 4: shape the handle and fades
- Keep the handle centered on the layout line.
- Blend the fades smoothly so the limbs start bending outside the grip.
Step 5: dry the bow if the wood still needs it
- Let the stave dry further, or force dry hickory if you know the wood is still too wet.
- Do not tiller green wood as if it were finished stock.
Step 6: tiller the bow on a rack
- Place the bow on a tillering rack.
- Pull it in small stages and watch both limbs from a distance.
- Remove only the wood that keeps one section from bending like the rest.
Step 7: string and test the first bends
- Fit a Dacron B-50 bowstring.
- Brace the bow lightly and check for even movement.
Step 8: finish, brace, and do a safe first shoot
- Sand the surface lightly.
- Test with short, careful draws before any full shooting.
How do you know when to stop removing wood?
Stop when both limbs bend evenly and smoothly on the tillering rack, with no sharp stiff spot taking all the load. Tillering is the process of selectively removing wood from the belly, and it is the highest-risk step because a little too much wood can turn into a broken bow fast.
What even limb bend looks like
I want the limbs to share the load without one area collapsing early. If the curve looks smooth from handle to tip, you are close. If one section barely moves while the rest bends hard, that stiff area needs only a little more removal.
How to spot hinge points
A hinge is a spot that bends too much while the nearby wood stays stiff. It looks like a sharp kink in the curve. If I see one, I stop there and do not keep shaving the same place. That mistake creates a weak zone and can lead to failure.
What twist and set look like
Twist shows up when one limb tries to rotate instead of bending straight. Set shows up when the bow starts staying bent after you relax it. Both are warning signs that the wood is being asked to do too much, too soon.
When a limb is telling you to stop
If the limb starts making cracking sounds, opens a new line, or changes shape suddenly under tension, stop right away. I have seen first bows fail in a blink when the maker ignored that moment and kept pulling. That is the line you do not cross.
What tools do you need to make a wooden bow at home?
You need simple shaping tools, measuring tools, and a safe way to inspect bend. A draw knife, rasp, measuring tape, straight edge, tillering rack, safety glasses, and dust mask cover the job without pushing the cost into hobby-shop nonsense. A tillering rack can be made with a pulley and rope.
Why the tillering rack matters
The rack lets you step back and inspect limb movement instead of staring at the bow from inches away. That distance matters. It helps you catch uneven bend, twist, and hinge points before they turn into breakage.
Why Dacron B-50 is a smart first string
Dacron B-50 is a good beginner string material for finished bows because it is a synthetic option that works well on first builds. It is a practical choice while you are learning how your stave behaves, and it keeps the setup simple.
How do I avoid breaking a bow while tillering?
To avoid breaking a bow while tillering, remove wood slowly, check the limbs often on a tillering rack, and stop at the first sign of a hinge, twist, or new crack. Most first-bow failures happen because the maker chases a shape too aggressively instead of reading the wood.
If that didn’t work, try this next
- Back off draw weight and return the bow to the rack.
- Reduce only the stiff sections, not the thin areas.
- Use shorter pulls and inspect from farther away.
Prevention
Before each tillering session, mark the areas you changed last time. That keeps you from sanding the same weak spot twice.
Proof asset: budget sheet, inspection checklist, and failure table
A first bow project gets easier when you write down the cost, reject bad wood early, and track failure signs by step. I keep a one-page build sheet on the bench because memory gets worse once sawdust starts flying.
| Failure mode | During bark removal | During rough-shaping | During tillering | What it means |
|---|---|---|---|---|
| Crack | New line opens on the back | Line lengthens under flex | Heard or seen as a sharp split | Stop; the stave may be unsafe |
| Twist | Visible spiral in the grain | Limb edge no longer tracks straight | One limb rolls instead of bending cleanly | Uneven load and harder tillering |
| Hinge | Soft spot already visible | One area thins faster than the rest | Sharp bend forms in one small zone | High break risk if ignored |
| Set | Not obvious yet | Starts after over-thinning | Bow stays bent after release | Wood has been stressed too far |
What are the most common first-bow mistakes?
The biggest mistakes are choosing a bad stave, cutting into the back wood, rushing tillering, using the wrong string, and ignoring a developing hinge. I have also seen new archers build a bow too heavy for their draw and then flinch through every shot, just like I did when my first compound came in 10 lb too heavy.
How to avoid them
Start with a forgiving wood, keep the stave long enough, and change one area at a time. If the bend looks uneven, stop and read the bow instead of chasing more draw weight. That slower habit saves more first bows than any fancy tool.
Frequently asked questions
How do I make a traditional bow from a wood stave step by step?
Pick a straight, dried stave, remove the bark, mark the centerline, rough-shape the limbs, then tiller on a rack in small increments. Finish with a Dacron B-50 string and short test draws. The safest first build is the one you can inspect often and adjust slowly.
What is the best wood for a beginner bow stave?
I would start with hickory, then ash if hickory is hard to find. Hickory is a great beginner’s bow wood, and ash gives a similar learning curve. Osage orange is strong, but it usually makes a harder first project than most beginners need.
How long should a self bow be for my draw length?
For a 28-inch draw, a bow around 64 inches long is a practical starting point, and the stave needs to be at least 64 inches long for that build. If your draw is longer than that, keep the first bow longer rather than trying to force a short stave to work.
How do I know when to stop removing wood during tillering?
Stop when the limbs bend evenly and smoothly, without a stiff section or a sharp hinge taking too much load. On the rack, the curve should look calm and progressive. If a spot suddenly bends more than the rest, stop there and leave it alone.
What tools do I need to make a wooden bow at home?
At minimum, I use a draw knife, rasp, measuring tape, straight edge, tillering rack, safety glasses, and dust mask. A Dacron B-50 string is a smart choice for the finished bow. The rack matters because it shows you the bend from a safer viewing distance.
Can I use green wood, or does the stave need to be seasoned?
Seasoned or dried wood is the safer start. Green wood moves as it dries, and that movement can throw off tillering. If you are working hickory, you can force dry it quickly, but I would still treat it as a drying step, not a shortcut around inspection.
How do I avoid breaking a bow while tillering?
Use small wood removals, check the bend often, and stop at the first sign of a hinge, crack, or twist that changes the limb’s path. Pull the bow on a tillering rack, not by hand guessing. That rack keeps the limb view honest when the wood starts to complain.
What string material should I use for a first traditional bow?
I recommend Dacron B-50 for a first traditional bow. It is a synthetic string option that works well on finished beginner bows and keeps the setup straightforward. Build the bow first, then match the string to the finished brace height and careful test draw.