Making carbon fiber arrows involves selecting the correct spine shafts, cutting them to your draw length, and squaring the ends. You’ll then install inserts, glue on fletchings using a jig, and attach nocks. Proper cleaning and precise assembly are key for safe, accurate arrows. This guide provides a simple, step-by-step process for beginners.
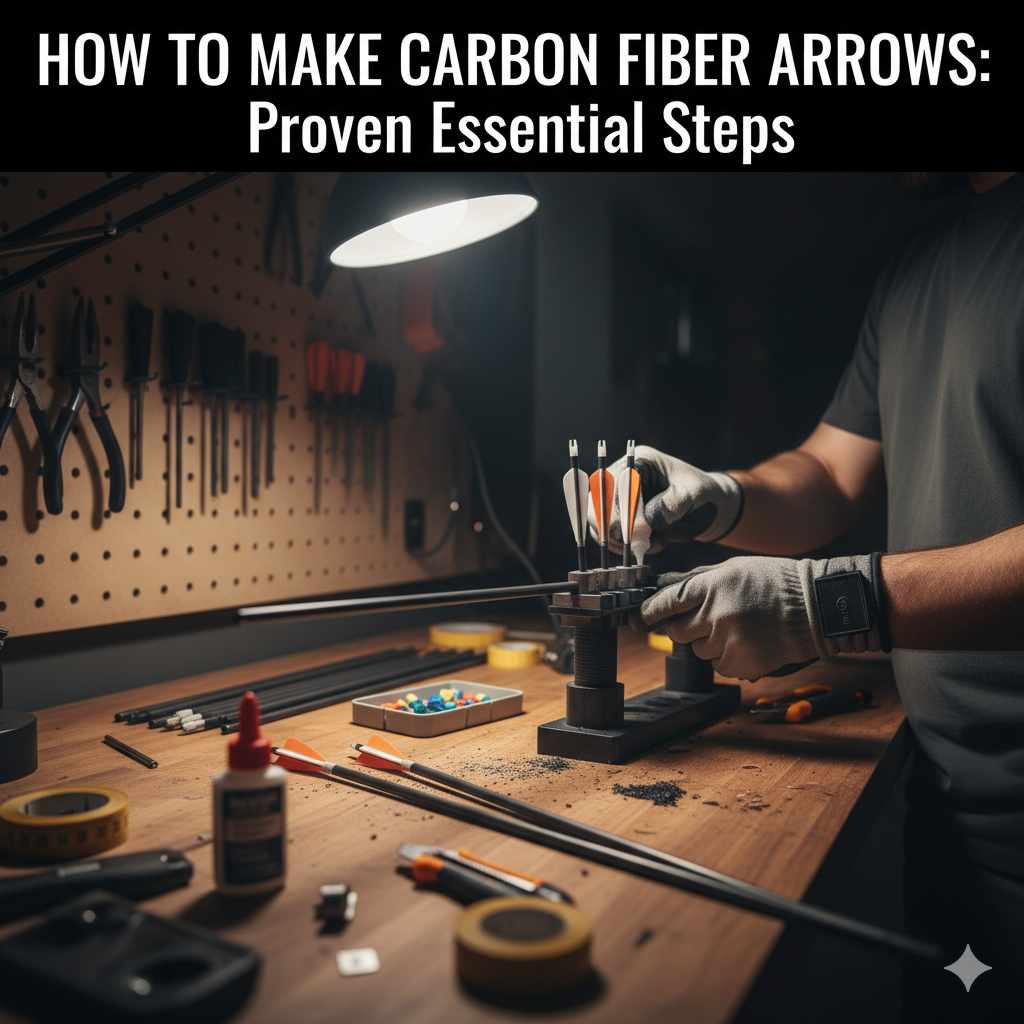
Hello, fellow archers! Salman Arfeen here. Have you ever wanted to shoot arrows you built with your own hands? It’s a great feeling. Building your own carbon fiber arrows gives you full control. You can make them perfect for your bow and your shooting style.
It might sound tricky, but it’s much easier than you think. When you build your own arrows, you learn so much about how they work. This knowledge can make you a better, more confident shooter. I’m here to walk you through it, step by step, with no confusing language. Let’s get started and build some amazing arrows together!
Why Should You Make Your Own Arrows?
You might be wondering if it’s worth the effort to build your own arrows when you can just buy them. For many archers, the answer is a big yes! It’s a rewarding part of the hobby that offers some great benefits.
- Total Customization: You get to choose every single part of your arrow. This means you can pick the shaft, fletchings, nock color, and point weight that perfectly match your bow and shooting style. This level of control can lead to better accuracy.
- Improved Accuracy: When you build a set of arrows yourself, you can ensure they are all perfectly identical. Consistency is key in archery. Arrows that are the same weight, length, and balance will fly more predictably, helping your groups get tighter.
- Cost Savings: While there is an initial investment in tools, building your own arrows can save you money in the long run. You can also repair damaged arrows by replacing a single fletching or nock, which is much cheaper than buying a new arrow.
- A Rewarding Skill: There is a huge sense of pride and accomplishment that comes from shooting a tight group with arrows you built yourself. It connects you more deeply to the sport and your equipment.

Essential Tools and Materials You’ll Need
Before we start building, we need to gather our tools and materials. Having everything ready makes the process smooth and enjoyable. Don’t worry, you don’t need a massive workshop. A clean table with good lighting is perfect.
Here is a checklist of what you’ll need. Some of these are one-time purchases that will last for years.
| Item | What It’s For |
|---|---|
| Arrow Saw | A special high-speed saw for cutting carbon shafts cleanly and safely. A regular saw will splinter the carbon. |
| Arrow Squaring Tool | A small, handheld tool that ensures the ends of your arrow shafts are perfectly flat after cutting. This is critical for accuracy. |
| Fletching Jig | This device holds your arrow shaft and guides your fletchings (vanes) into the exact same position every time. |
| Fletching Glue | A strong, fast-setting adhesive specifically designed for attaching vanes or feathers to arrow shafts. |
| Insert Glue | Either hot melt glue or a two-part epoxy used to secure the metal inserts into the front of the arrow shaft. |
| Digital Grain Scale | Used to weigh your components and finished arrows to ensure they are all consistent. |
| Denatured Alcohol or Acetone | For cleaning the arrow shafts and components before gluing. This ensures a strong bond. |
| Paper Towels & Cotton Swabs | For applying the cleaner and wiping away any excess glue. |
Choosing Your Arrow Components
Now for the fun part: picking out the pieces that will become your arrows!
- Carbon Arrow Shafts: These are the main body of the arrow. The most important choice here is the “spine.”
- Fletchings: These are the plastic vanes or feathers at the back of the arrow that stabilize it in flight. Vanes are durable and waterproof, making them great for most archers.
- Nocks: The small plastic clip at the very back of the arrow that attaches to your bowstring.
- Inserts: A metal cylinder that is glued into the front of the shaft. It has internal threads so you can screw in your arrow points.
- Field Points: The tips you will use for practice shooting. Their weight should match the weight of the broadheads you might use for hunting.
Understanding Arrow Spine
Arrow spine is simply a measurement of how stiff the arrow shaft is. It’s the most important factor for safety and accuracy. An arrow that is too weak for your bow can be dangerous, and one that is too stiff won’t fly straight.
The right spine depends on your bow’s draw weight and your arrow length. Arrow manufacturers provide detailed charts to help you choose. You should always consult the chart for the specific brand of arrows you are buying. For example, you can find helpful resources like the Easton Archery Spine Chart to guide you.
Here is a very basic guide to give you an idea of how it works:
| Bow Draw Weight (Pounds) | Common Arrow Spine Number |
|---|---|
| 25-35 lbs | 600-700 |
| 35-45 lbs | 500 |
| 45-55 lbs | 400 |
| 55-65 lbs | 340 |
| 65-75 lbs | 300 |
Remember: This table is just an example. Always use the manufacturer’s specific chart for your arrows!
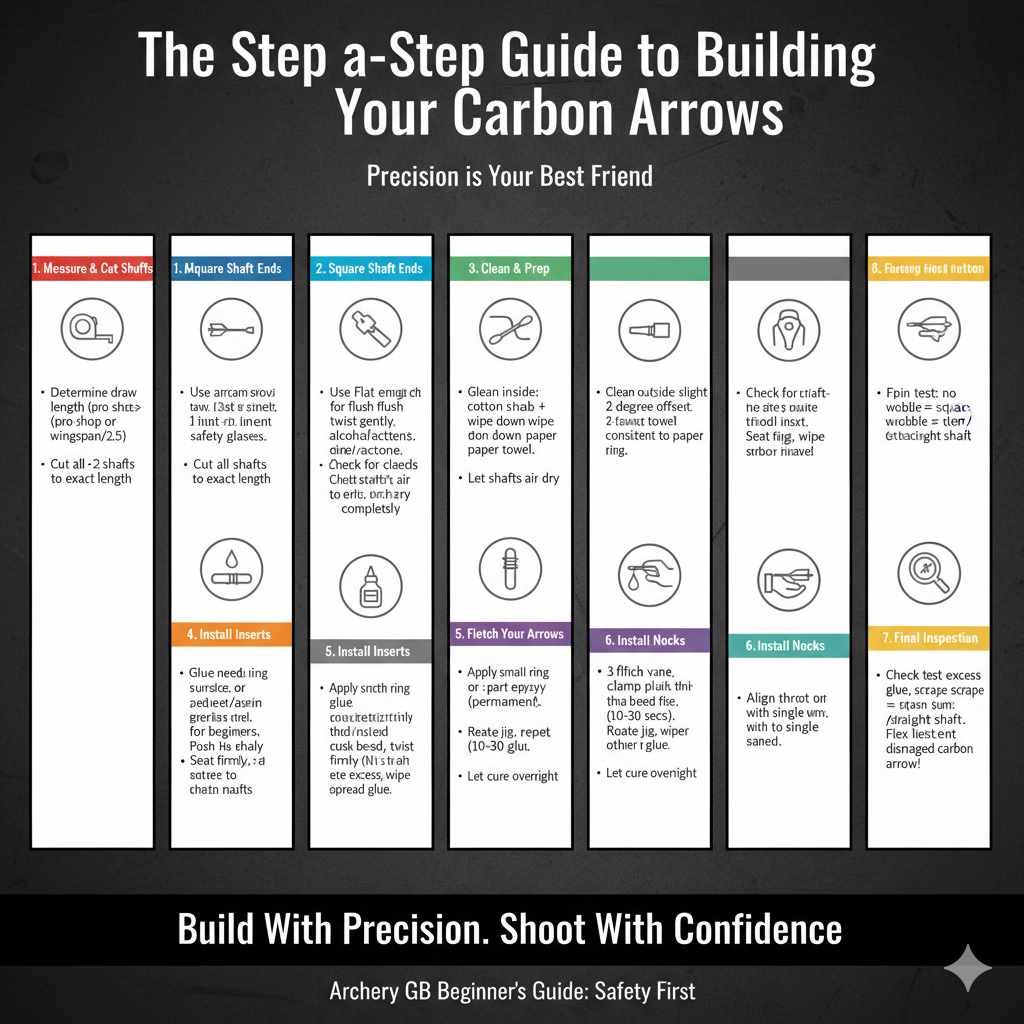
The Step-by-Step Guide to Building Your Carbon Arrows
Alright, you’ve got your tools and your components. Let’s build some arrows! Follow these steps carefully, and take your time. Precision is your best friend here.
Step 1: Measure and Cut Your Arrow Shafts
First, we need to determine the correct length for your arrows. The right length depends on your draw length and the type of arrow rest you use.
- Determine Your Draw Length: If you don’t already know it, the easiest way is to visit a pro shop. A common method is to measure your wingspan (fingertip to fingertip) and divide by 2.5.
- Mark the Arrow: A safe rule of thumb for beginners is to have the arrow be about 1 to 2 inches longer than your draw length. For example, if your draw length is 28 inches, you would cut your arrows to 29 or 30 inches. This ensures the point of the arrow is safely in front of the bow handle when you are at full draw.
- Cut the Shaft: Use your arrow saw to make the cut. These saws spin very fast to create a clean cut without splintering the carbon. Always wear safety glasses and follow the saw’s instructions. Cut all of your shafts to the exact same length.
Safety is the top priority in archery. The Archery GB Beginner’s Guide offers excellent general safety rules that apply to every aspect of the sport, including building your own equipment.
Step 2: Square the Arrow Shaft Ends
After cutting, the ends of the shaft might not be perfectly flat. Squaring them ensures your nock and insert sit perfectly flush, which is vital for consistent arrow flight.
- Use Your Squaring Tool: An arrow squaring tool (like the G5 ASD) is simple to use. You place the end of the shaft against the tool’s abrasive surface.
- Twist Gently: Gently twist the shaft a few times. You’ll see a small ring of carbon dust form, which tells you it’s working.
- Check Your Work: Keep twisting until you see a clean, consistent ring all the way around the edge of the shaft. This means it’s perfectly square. Do this for both ends of every arrow shaft.
Step 3: Clean and Prep the Shafts
Glue will not stick to a dirty or oily surface. This step is quick, but it is one of the most important for building durable arrows.
- Clean the Inside: Put a small amount of denatured alcohol or acetone on a cotton swab. Run it inside the front end of the shaft (where the insert will go) about an inch deep. Twist it around to remove any dust. You’ll be surprised how much carbon dust comes out! Use a fresh swab for each arrow.
- Clean the Outside: Put some cleaner on a paper towel. Wipe down the back end of the shaft where you will be gluing the fletchings. This removes any oils from your hands or from the factory.
- Let it Dry: Let the shafts air dry completely for a few minutes before moving on.
Step 4: Install the Inserts
The insert is what allows you to screw in your field points or broadheads. We need to glue it in securely.
- Choose Your Glue: Hot melt glue is popular because it’s easy to use and reversible (you can heat it to remove the insert). Two-part epoxy creates a more permanent bond. For beginners, hot melt is a great choice.
- Apply the Glue: If using hot melt, heat the glue stick and apply a small ring of it to the insert shank. Don’t use too much!
- Install the Insert: While the glue is hot, push the insert into the front of the arrow shaft. Give it a small twist as you push it in to spread the glue evenly.
- Seat it Firmly: Push the insert all the way in until it is flush with the end of the shaft. You can press the tip of the arrow against your workbench to make sure it’s seated fully. Wipe away any excess glue with a paper towel immediately.
Step 5: Fletch Your Arrows
This is where your arrows start to look like arrows! The fletching jig is your best friend for this step. It ensures every fletching is placed in the exact same spot and at the same angle.
- Set Up Your Jig: Most jigs have adjustments for 3 or 4-fletch configurations. For beginners, a 3-fletch is standard. You can also adjust the “offset” or “helical” (the spin). A slight 2-degree offset is a great starting point for plastic vanes.
- Place the Shaft: Secure your arrow shaft in the jig. Make sure the nock is properly seated in the jig’s receiver.
- Place a Vane in the Clamp: Take your first vane and place it in the jig’s clamp.
- Apply Glue: Run a very thin, steady bead of fletching glue down the base of the vane. Less is more here! Too much glue will be messy and won’t dry properly.
- Set the Vane: Press the clamp firmly against the arrow shaft. Hold it for the time recommended by your glue manufacturer (usually 10-30 seconds).
- Rotate and Repeat: Carefully remove the clamp. Rotate the jig to the next position (it will click into place). Repeat the process for the second and third vanes. The first vane you glue on is called the “cock vane,” and it usually points up or away from the bow when shooting.
- Let Them Cure: After all vanes are on, let the arrow sit for at least 15-20 minutes before handling it too much. It’s best to let the glue fully cure overnight before shooting them.
Step 6: Install the Nocks
This is the easiest step! The nock is the plastic piece that connects your arrow to the bowstring.
- Align the Nock: The “throat” of the nock should be aligned with your cock vane. For a 3-fletch arrow, the cock vane is the single vane, and the other two are the “hen vanes.” The nock’s opening should be perpendicular to the cock vane, so the cock vane points away from the bow’s riser when nocked.
- Press it In: Most nocks are a simple press-fit. Just push it firmly into the back of the arrow shaft until it seats completely. You shouldn’t need any glue.
Step 7: Final Inspection and Safety Check
You’re almost done! The last step is to give your new arrows a final once-over to make sure they are safe and ready to fly.
- Check for Glue: Look for any excess glue around the fletchings or insert. Carefully scrape it away with a dull knife if you find any.
- Spin Test: Screw in a field point. Place the point on your palm and the nock on a hard surface. Spin the arrow like a top. It should spin smoothly without any wobble. A wobble could mean the insert isn’t square or the shaft is bent.
- Flex Test: Gently flex the arrow and listen for any cracking or splintering sounds. Never shoot a damaged carbon arrow. It can shatter upon release, which is extremely dangerous.
Frequently Asked Questions (FAQ)
What is arrow spine and why is it so important?
Arrow spine measures the stiffness of an arrow shaft. It’s crucial for safety and accuracy. If an arrow is too weak (not stiff enough) for your bow’s power, it can bend too much and break when shot. If it’s too stiff, it won’t fly straight. Always use the manufacturer’s chart to match the spine to your bow’s draw weight and arrow length.
Can I use a regular Dremel or hacksaw to cut carbon arrows?
No, this is highly discouraged and unsafe. Regular saws create too much friction and can cause the carbon fibers to splinter and delaminate, creating a weak and dangerous spot. A dedicated, high-speed arrow saw is the only safe tool for cutting carbon shafts cleanly.
How long should my arrows be?
A good starting point for beginners is to have your arrow shaft (from the back of the point to the groove of the nock) be 1 to 2 inches longer than your personal draw length. This ensures the arrow point is well past your hand and the bow’s riser at full draw, which is a key safety measure.
What’s the difference between vanes and feathers for fletching?
Vanes are made of soft plastic. They are very durable, waterproof, and great for most compound and modern recurve shooters. Feathers are real bird feathers. They are lighter and more forgiving if they contact the arrow rest, making them the top choice for traditional archers who shoot off the shelf.
How long does fletching glue take to dry?
Most modern fletching glues set very quickly, often within 30-60 seconds, allowing you to move on to the next vane. However, the glue needs to fully cure to reach its maximum strength. It is best to let your newly fletched arrows sit for at least 8 hours, or preferably overnight, before shooting them.
Is it cheaper to make your own arrows?
Initially, there is an upfront cost for tools like an arrow saw and fletching jig. However, once you have the tools, the cost per arrow is significantly lower than buying pre-made custom arrows. You also save money by being able to repair your own arrows, such as replacing a single damaged fletching.
What is the best glue to use for arrow inserts?
Both hot melt adhesive and two-part epoxy work very well. Hot melt is great for beginners because it’s easy to use and can be heated to remove an insert if you make a mistake. Two-part epoxy creates a stronger, more permanent bond that is less affected by heat, which can be useful if your arrows are left in a hot car.
Conclusion: Enjoy Your Custom-Built Arrows!
Congratulations, you did it! You’ve successfully learned how to build your own carbon fiber arrows. It’s a skill that will serve you well for your entire archery journey. You now have a set of arrows built by you, for you, and perfectly matched to your gear.
Remember to take your time, pay attention to the details, and always prioritize safety. The precision you put in on the workbench will pay off with tighter groups at the range. Now, there’s only one thing left to do: grab your bow, head to the range, and enjoy the unmatched satisfaction of watching your very own arrows fly straight to the target. Happy shooting!