To coat bows in Monster Hunter, first ensure you have the coatings in your item pouch. With your bow drawn, press the Triangle (PlayStation) or Y (Xbox) button while holding L2/LT to cycle through available coatings. Release the aim button, then hold L1 and press Triangle/Y or Circle/B to select and apply the desired coating to your arrows.
Hello, fellow hunters and archery enthusiasts! My name is Salman Arfeen, and I’m here to guide you through one of the most powerful and often misunderstood techniques for bow users in the New World: applying coatings. When you first pick up a bow, it feels great to send a volley of arrows toward a charging monster. But you might feel like you’re missing that extra “oomph.” You see other hunters paralyzing monsters or dealing huge damage, and you wonder what their secret is.
That secret, my friends, is bow coatings. Think of them as special arrowheads you can switch on the fly. It’s a simple trick that can completely change how you hunt, turning your bow from a good weapon into a fantastic one. It might seem a bit tricky at first, but I promise it’s as easy as nocking an arrow once you know how. In this guide, we’ll walk through every step together, making sure you feel confident and ready to take on any monster that comes your way.
Why Coatings Are Your Best Friend in a Hunt
Before we jump into the “how,” let’s talk about the “why.” In traditional archery, choosing the right arrowhead for your target is crucial. You wouldn’t use a blunt practice tip for a serious hunt, right? The same logic applies in Monster Hunter. Coatings are your specialized arrowheads, and they give you an incredible tactical advantage. They are not just a small bonus; they are a core part of what makes the bow such a versatile and powerful weapon.
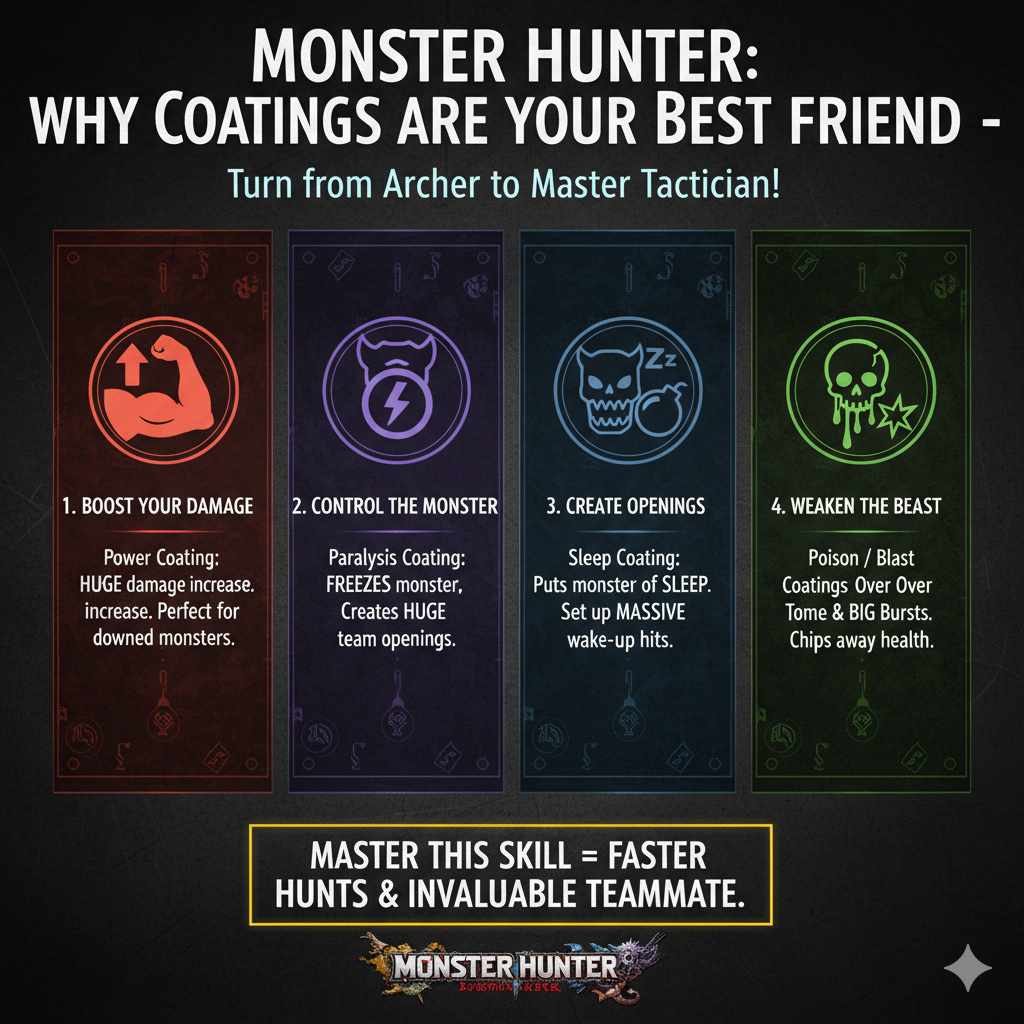
Using coatings effectively means you can:
- Boost Your Damage: The Power Coating is a straight-up damage increase. It’s your go-to for making every shot count, especially when a monster is downed or trapped.
- Control the Monster: Have you ever watched a giant beast suddenly freeze in place, drooling and unable to move? That’s the work of a Paralysis Coating. It creates a massive opening for you and your team to unleash your strongest attacks.
- Create Openings: Sleep Coatings can put a monster to sleep, allowing your team to set up powerful “wake-up” hits with Great Swords or barrel bombs for huge damage.
- Weaken the Beast: Poison and Blast coatings apply damage over time or in big bursts, chipping away at a monster’s health even when you’re busy dodging.
In short, coatings allow you to adapt to any situation. They turn you from a simple damage dealer into a master tactician who controls the flow of the entire fight. Mastering this one simple skill will dramatically improve your hunts and make you an invaluable member of any team.
The Simple Steps: How to Coat Bows in Monster Hunter
Alright, let’s get down to the practical side of things. Applying a coating is a quick action you’ll be doing many times during a hunt. Getting the muscle memory down is key, just like practicing your draw and release. Here is the step-by-step process for coating your arrows, broken down into simple, easy-to-follow actions.
Step 1: Make Sure You Have Coatings
This might sound obvious, but you can’t use what you don’t have! Before you head out on a quest, you need to make sure you have coatings in your item pouch. You can buy basic coatings like Power and Close Range from the Provisions Stockpile in Astera or Seliana. You can also craft more advanced coatings yourself. Always check your pouch before leaving camp!
Step 2: Equip Your Bow
Once you’re in the field and facing a monster, draw your weapon. With your bow in hand, you’re ready to select your tool for the job. You’ll notice an icon on your screen that shows which coating is currently selected or if none is active.
Step 3: The Coating “Magic” Button
This is the core of the technique. The controls are designed to be quick so you can do it in the middle of a fight. Here’s how it works on standard controllers:
- Hold the Aim Button: Press and hold the Left Trigger (L2 on PlayStation, LT on Xbox). This brings up your aiming reticle.
- Press the “Switch Ammo/Coating” Button: While still holding the aim button, press the Triangle button (on PlayStation) or the Y button (on Xbox). You will see the coating icon change. Keep pressing it to cycle through all the available coatings you have in your pouch.
- Select and Apply: Once you’ve cycled to the coating you want to use, simply release the aim button. Now, hold down the L1 button (on PlayStation) or the LB button (on Xbox) to open your item bar. While holding L1/LB, press Triangle/Y to apply the selected coating. You’ll see a small animation and hear a sound effect, confirming the coating is now active on your bow. Your arrows are now empowered!
It sounds like a lot when written down, but once you do it a few times, it becomes second nature. Aim, cycle, apply. It’s a smooth, three-part motion.
Step 4: Switching and Uncoating
What if you want to switch from a Paralysis Coating to a Power Coating? You just repeat the process! Aim, cycle to the new coating, and apply it. The old coating will be replaced by the new one.
If you want to remove a coating to save it for later (a very smart move!), you can cycle to the “No Coating” option (it looks like a crossed-out bottle) and apply it. This returns your arrows to their normal state, conserving your precious coatings for the perfect moment.
Understanding Your Coatings: A Hunter’s Toolkit
Knowing how to apply coatings is only half the battle. A true archer knows which tool to use for which job. Each coating has a specific purpose, and learning their strengths will make you a much more effective hunter. Let’s break down the common types you’ll be using.
| Coating Type | Primary Use | Best Time to Use |
|---|---|---|
| Power Coating | Increases raw arrow damage. | When the monster is downed, trapped, or during any large opening. |
| Close Range Coating | Increases damage at very close range but reduces range. | When a monster is right in your face and you can safely attack. |
| Paralysis Coating | Applies paralysis status. | Early in the fight to create a big damage window for the team. |
| Poison Coating | Applies poison status for damage over time. | At the start of the fight to get consistent damage ticking away. |
| Sleep Coating | Applies sleep status. | When your team is ready to coordinate a powerful wake-up attack. |
| Blast Coating | Applies blast buildup, causing an explosion. | On monster parts you want to break or for extra burst damage. |
| Exhaust Coating | Drains a monster’s stamina, making it tired. | Against monsters that get very sluggish and clumsy when exhausted. |
Power Coating: The Foundation of Damage
This is your bread and butter. The Power Coating provides a significant boost to your raw damage. You should aim to use this whenever you have a clear shot at a monster’s weak spot. Think of it as switching to your sharpest broadhead arrow. Most bows can use this coating, and you can carry a good number of them. Use them wisely during openings, like when a monster is knocked over, to maximize your damage output.
Close Range Coating: For Up-Close Fights
Sometimes, a monster just won’t give you any space. That’s where the Close Range Coating shines. It dramatically increases your damage when you are practically standing next to the monster. The trade-off is that your effective range is significantly reduced. This is a high-risk, high-reward option. If you are confident in your dodging skills, you can use this to punish a monster that stays on top of you.
Paralysis Coating: The Ultimate Support Tool
The Paralysis Coating is perhaps the most beloved support tool in the game. When you hit a monster enough times with this coating, it will be afflicted with paralysis, freezing it in place for several seconds. This is a golden opportunity for your entire team. A paralyzed monster is a free punching bag. Use this early in the hunt to give your team a head start on breaking parts and dealing heavy damage.
Poison Coating: Damage Over Time
Poison is a great “fire and forget” option. Apply the poison status effect, and the monster will continue to take damage for a while, even while you are busy dodging or repositioning. It’s excellent for maintaining pressure on the monster throughout the fight. Apply it once at the beginning, then switch to another coating to focus on damage or another status.
Sleep Coating: Creating Big Opportunities
Putting a monster to sleep is another incredible way to control the fight. When a monster falls asleep, the first hit it takes deals double damage. This is the perfect setup for a Great Sword user’s True Charged Slash or for placing Mega Barrel Bombs right next to its head. Communication is key here! When you see the monster getting drowsy, let your team know to stop attacking so you can set up that massive wake-up call.
Blast Coating: Explosive Fun
Blast works a bit like a status effect. Each hit applies blast buildup. Once the threshold is met, a fiery explosion occurs right on the monster, dealing a nice chunk of damage and often causing it to flinch. It’s a great way to add extra burst damage and can be very effective at breaking tough monster parts.
Exhaust Coating: Tiring Out the Beast
This coating targets a monster’s stamina. Hit a monster enough times, especially in the head, and it will become exhausted. An exhausted monster is slow, clumsy, and its attacks are often weaker or fail completely. It will stand still to catch its breath, giving you plenty of free hits. This is particularly effective against monsters that rely on speed and aggression.
Pro Tips for Smart Coating Use
Now that you know your coatings, let’s talk strategy. Just like a real archer doesn’t waste arrows, a great hunter doesn’t waste coatings. Here are some tips to help you use them like a pro.
- Don’t Waste Coatings on a Fleeing Monster: If a monster is about to leave the area, unequip your coating! There’s no sense in wasting a valuable Power or Paralysis coating on a monster that’s already running away.
- Match Coatings to the Monster’s Weakness: Check your Hunter’s Notes! Some monsters are very susceptible to certain statuses like paralysis or poison. Exploiting these weaknesses will make your hunts much easier.
- Bring Crafting Materials: You can only carry a limited number of each coating. But you can carry the materials to craft more! For example, bring along Nitroshrooms and you can craft more Power Coatings mid-hunt. This is a game-changer for long, difficult fights.
- Know Your Bow’s Capabilities: Not every bow can use every coating. When you are choosing a bow, look at the types of coatings it supports. A bow that can use Power, Paralysis, and Sleep coatings is incredibly versatile.
- Communicate with Your Team: If you’re planning to use a Sleep or Paralysis coating, give your teammates a heads-up. This allows them to prepare their strongest attacks and capitalize on the opening you create.
Crafting Coatings: Be Prepared for Anything
Relying solely on the coatings you can buy will limit your potential. Learning to craft is essential for keeping yourself supplied during tough hunts. Most recipes are simple, requiring just one or two common materials. Set up your Radial Menu for quick crafting in the field!
| Coating to Craft | Required Materials | Where to Find Materials |
|---|---|---|
| Power Coating | Nitroshroom x1 | Commonly found in many areas, like the Ancient Forest and Wildspire Waste. |
| Paralysis Coating | Parashroom x1 | Found in damp areas like the Ancient Forest and Coral Highlands. Can be cultivated. |
| Poison Coating | Toadstool x1 | Found in many areas, often near Parashrooms. Can be cultivated. |
| Sleep Coating | Sleep Herb x1 | Common herb found in most locales. Can be cultivated. |
| Blast Coating | Fire Herb x1 + Blastnut x1 | Fire Herbs are common in warm areas. Blastnuts are found in rocky terrain. |
Building Your Skills: Practice Makes Perfect
Knowing all of this is great, but true mastery comes from practice. The Training Area in your headquarters is the perfect place to get comfortable with the controls for applying and switching coatings without the pressure of a 2-ton monster trying to flatten you.
Spend some time there just practicing the motion: aim, cycle, apply. Do it over and over until it feels as natural as breathing. Practice switching between different coatings quickly. This muscle memory will serve you well when things get chaotic in a real hunt. Research has shown that playing action games can be a powerful tool for improving your decision-making skills under pressure. Think of this practice not just as learning a game mechanic, but as training your brain to react faster and more effectively. The skills you build here—quick thinking, resource management, and precise execution—are what separate good hunters from great ones.

Frequently Asked Questions (FAQ)
How do I know which coatings my bow can use?
When you view your bow’s details in the equipment menu, it will show a list of icons representing the coatings it can equip. If a coating type is grayed out or not listed, that bow cannot use it.
Why can’t I apply a coating?
There are a few common reasons. First, make sure you have that coating in your item pouch. Second, check if your bow can actually use that type of coating. Finally, remember you must first select the coating by cycling through them (Aim + Triangle/Y) before you can apply it (L1/LB + Triangle/Y).
How many coatings can I bring on a hunt?
The amount varies by coating type. For example, you can typically carry 50 Power Coatings but only 20 Paralysis Coatings. You can check the capacity in your item pouch menu. Remember to bring crafting materials to make more on the fly!
When is the best time to apply a new coating?
The best time is during a safe moment, such as when the monster is focused on another player, when it’s recovering from a big attack, or right after you’ve dodged. The animation is very quick, but you are vulnerable for that split second.
Do coatings run out?
Yes, they do. Every arrow you fire uses up one of your equipped coatings. You’ll see the number in your inventory go down. This is why it’s so important to unequip your coating when you don’t need its effect, like when a monster is fleeing.
Can I increase the effect of my status coatings (Paralysis, Sleep, etc.)?
Absolutely! Armor skills like “Paralysis Attack Up,” “Sleep Attack Up,” or “Poison Attack Up” will make your coatings much more effective, allowing you to apply the status effect with fewer arrows. This is a key part of making specialized bow builds.
What does the red slash through my coating icon mean?
A red slash means that your bow cannot use that specific coating. Even if you have the coating in your inventory, you won’t be able to apply it if your equipped bow doesn’t support it.
Your Journey as a Master Archer Begins
You’ve now learned one of the most fundamental and powerful skills for any bow hunter. Coatings are what elevate the bow from a simple ranged weapon to a versatile toolkit capable of controlling the entire battlefield. It may feel like a lot to remember at first, but don’t be discouraged. Every great archer started by learning the basics.
Take your time in the Training Area, get comfortable with the controls, and then head out into the field and experiment. See how it feels to paralyze a Rathian mid-flight or put a Diablos to sleep just before it charges. Each successful hunt where you use a coating to your advantage will build your confidence and skill.
Remember, archery—both in the real world and in the world of Monster Hunter—is about preparation, precision, and using the right tool for the job. You now have the knowledge to do just that. So grab your bow, stock up on your favorite coatings, and show those monsters the true power of a skilled archer. Happy hunting!