How To Attach Nock To Arrow With Swage End
Attaching a nock to an arrow with a swage end is a precise process that can dramatically impact arrow flight, consistency, and safety. For archers, whether bowhunters, target shooters, or competitive professionals, the details matter. The nock, acting as the critical interface between string and shaft, directly influences accuracy and reliability.
Swaged ends, which taper to accommodate specific nock types, are less forgiving than modern inserts and require careful attention to detail. Doing it right ensures not only the integrity of your arrows but also your performance and enjoyment of the sport.
This guide demystifies the process of attaching a nock to an arrow with a swage end. Drawing on expert technique, material science, and personal experience, it provides a step-by-step workflow, troubleshooting insights, and best practices for different arrow types. Whether you’re refurbishing classic aluminum shafts or tuning premium carbon arrows, mastering this skill elevates your archery to the next level.
Key Takeaways
- Nock attachment on swage end arrows requires careful preparation and correct sizing.
- The process differs between aluminum and carbon shafts, but accuracy and safety are always paramount.
- Using the proper tools and adhesives is essential for a secure, reliable fit.
- Common mistakes can be avoided with a methodical approach and attention to detail.
- Real-world examples highlight the importance of nock alignment for consistent arrow flight.
- Maintenance and periodic inspection of nocks are crucial for ongoing performance and safety.
Understanding Nocks, Swage Ends, And Arrow Anatomy
Before diving into the technical how-to, it’s important to understand the components at play. Each part of the arrow influences how the nock attaches and performs.
What Is A Nock And Why Does It Matter?
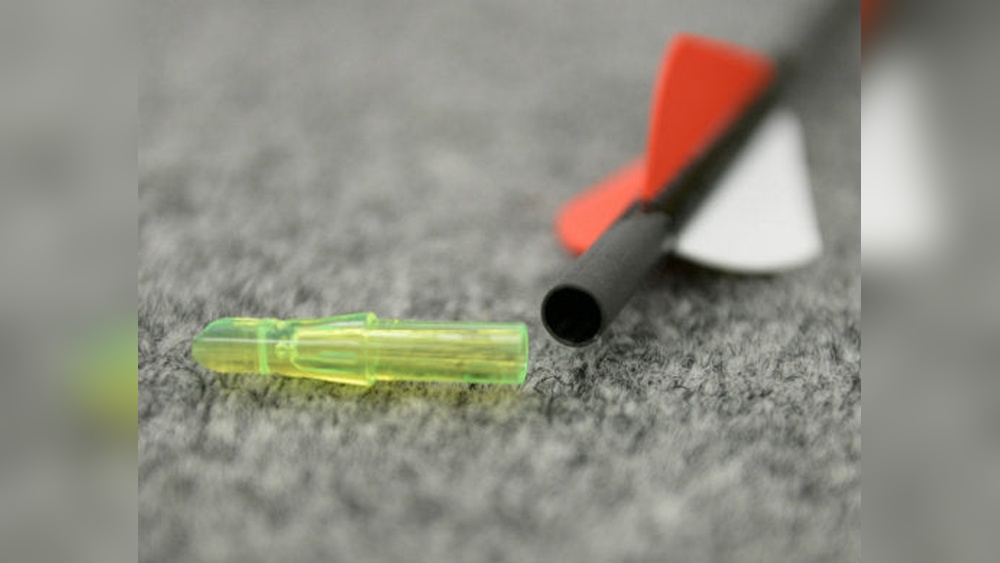
The nock is the small, slotted cap at the rear of the arrow shaft. Its functions are to:
- Securely grip the bowstring without pinching or excessive looseness.
- Maintain consistent alignment with the vanes or fletching.
- Contribute to safety by preventing accidental string slippage.
Material options include plastic (polycarbonate or acetal) and, less commonly, traditional wood or horn for heritage arrows. The quality of the nock directly affects release consistency and arrow flight.
The Swage End Explained
A swage end is a carefully tapered portion at the back of an arrow shaft, most commonly found on classic aluminum arrows and some traditional carbon arrows. This design allows for:
- A precise fit with nocks of matching internal taper.
- Reduced shaft weight at the rear.
- Streamlined arrow profile for minimal drag.
Swage ends require nocks specifically designed to fit the taper, which are not interchangeable with press-fit or insert nocks.
Anatomy Of An Arrow: Where The Nock Fits In
A typical arrow comprises:
- Nock: Attaches at the rear, interfaces with string.
- Shaft: The body, aluminum, carbon, or wood.
- Fletching/vanes: Stabilize flight.
- Point/insert: At the front, provides impact and penetration.
The transition from shaft to swage end is often visible and must be smooth for the nock to seat correctly.
Real-world Example: Classic Easton Aluminum Arrows
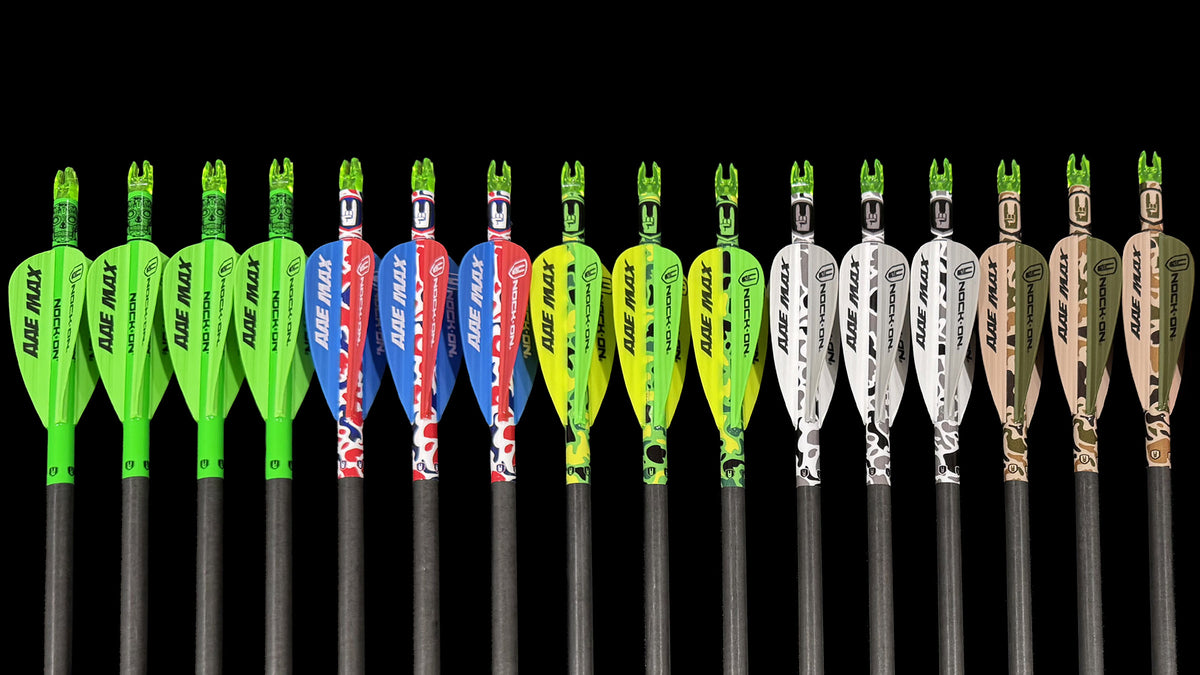
In my experience, working with Easton XX75 Gamegetter shafts, known for their swaged rear ends, requires meticulous selection of nocks with compatible tapers. Misalignment can cause erratic arrow flight, highlighting the importance of precision at every step.
Credit: shop.nockonarchery.com
Choosing The Right Nock And Tools For Swage End Arrows
Selecting the correct nock and tools is critical for both safety and performance. Modern options often cater to press-fit or insert nocks, but swaged shafts demand a more tailored approach.
Types Of Nocks Compatible With Swage Ends
- Tapered glue-on nocks: Designed to match the specific swage angle of the shaft.
- Snap-on nocks: Some models feature internal tapers for swage compatibility.
- Custom-fit nocks: For unique shaft sizes or materials, often used in traditional archery.
Choosing the wrong type can result in poor alignment or nock failure.
Essential Tools And Materials
To attach a nock to a swage end, you’ll need:
- Matching tapered nocks (ensure correct swage size)
- Nock adhesive (hot-melt glue for aluminum, cyanoacrylate for carbon, as manufacturer recommends)
- Small heat source (alcohol burner or lighter for hot-melt)
- Shaft cleaning materials (alcohol wipes, fine sandpaper)
- Nock alignment tool or jig (for precision)
- Calipers (to confirm shaft and nock dimensions)
Sizing Nocks To Swage Ends: Fit And Compatibility
Fit is everything. A loose nock can lead to dangerous dry-fires; a tight one risks shaft damage. Always:
- Measure the swage diameter and taper angle.
- Match with the manufacturer’s nock size chart.
- Test-fit nocks before applying adhesive.
Example: Sizing Chart For Aluminum Swage Shafts
| Arrow Shaft Model | Swage End Diameter | Compatible Nock Size | Recommended Nock Type |
|---|---|---|---|
| Easton XX75 1916 | 0.166″ | 5/16″ | Tapered Glue-On |
| Easton Jazz 1816 | 0.165″ | 5/16″ | Tapered Glue-On |
| Traditional Carbon 500 | 0.165″ | 5/16″ | Tapered Snap-On |
Pro Tip:
Always double-check the manufacturer’s compatibility chart for both shaft and nock. Small differences in taper can cause major issues.

Credit: www.archerytalk.com
Step-by-step Guide: Attaching A Nock To A Swage End Arrow
Precision and patience are key when installing nocks on swaged shafts. Rushing the process can undermine safety and performance.
Step 1: Prepare The Arrow Shaft
Begin with a thorough cleaning:
- Inspect the swage end for dents, bends, or debris.
- Clean the taper with isopropyl alcohol and a lint-free cloth to remove oils.
- If necessary, lightly sand the swage end with fine-grit sandpaper (600+) to ensure smoothness.
Even minor imperfections can compromise nock fit.
Step 2: Test-fit The Nock
Before using adhesive:
- Slide the nock onto the swage end.
- Ensure a snug, flush fit, no wobbling or gaps.
- Check alignment with the fletching. The nock groove should be perpendicular to the cock vane (the odd-colored fletch).
If the nock sits crooked or loose, recheck sizing and inspect for shaft damage.
Step 3: Apply Adhesive
The adhesive type depends on shaft material:
- Aluminum shafts: Use hot-melt glue specifically formulated for archery.
- Carbon shafts: Some manufacturers recommend cyanoacrylate (CA) or specific epoxy.
Hot-Melt Glue Application:
- Heat the glue stick (not the shaft!) Until soft.
- Coat the swage end lightly with glue.
- Immediately slide the nock onto the shaft.
CA or Epoxy Application:
- Apply a thin, even bead around the swage.
- Slide on the nock, rotating slightly for even distribution.
Step 4: Seat And Align The Nock
- Press the nock fully onto the swage end.
- Use a nock alignment tool or jig to ensure the groove is properly oriented.
- Hold firmly for 10, 20 seconds, or as adhesive sets.
Alignment is crucial for consistent arrow flight.
Step 5: Remove Excess Adhesive And Final Inspection
- Wipe away any glue squeeze-out before it hardens.
- Let the adhesive cure fully (hot-melt: A few minutes; CA/epoxy: as directed).
- Perform a final inspection, check for gaps, crookedness, or loose fit.
- Perform a gentle pull test to confirm secure attachment.
Example: Attaching Nocks To Easton Jazz Aluminum Arrows
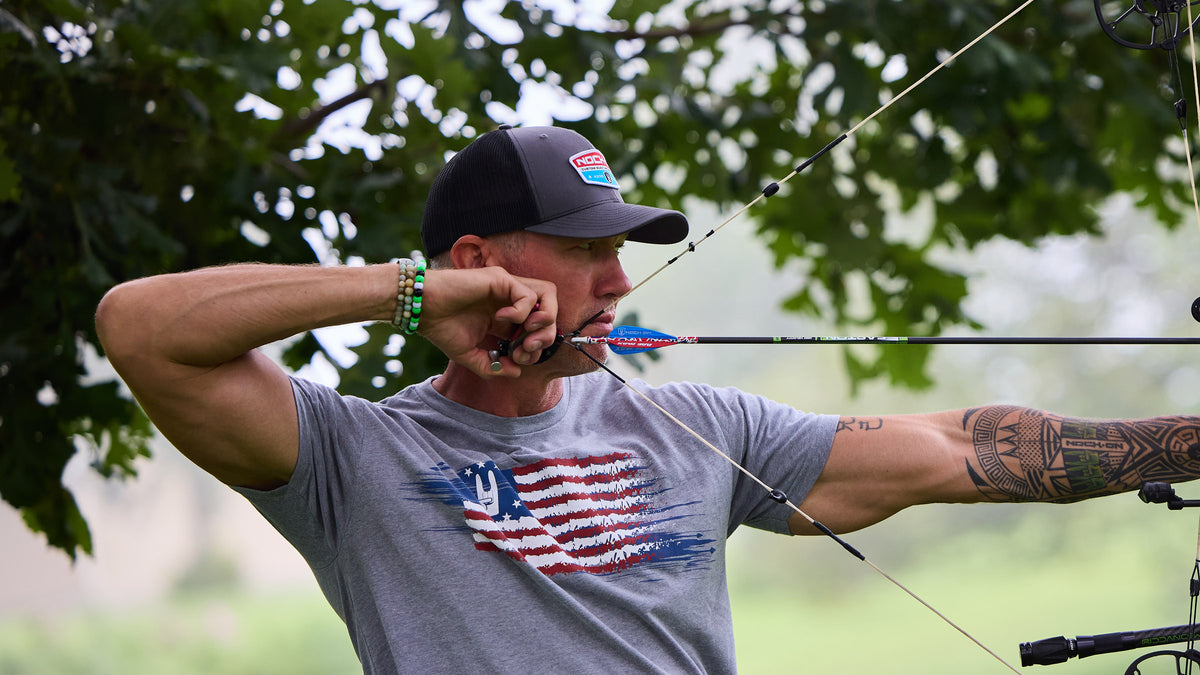
Using Easton Jazz 1816 shafts, Bohning Classic nocks, and Bohning hot-melt glue, the nocks will seat firmly after careful cleaning and correct alignment. The resulting arrows grouped more consistently than those with misaligned nocks, emphasizing the importance of attention to detail.
Credit: shop.nockonarchery.com
Troubleshooting Common Nock Attachment Problems
Even experienced archers occasionally encounter challenges when attaching nocks to swaged shafts. Identifying and correcting these issues is vital for safety and performance.
Loose Or Spinning Nocks
Causes:
- Undersized nocks
- Insufficient or wrong adhesive
- Swage end is undersized or damaged
Solutions:
- Re-measure shaft and nock, replace with correct size.
- Clean and re-glue using proper adhesive.
- If the swage is worn, consider replacing the shaft.
Crooked Or Misaligned Nocks
Causes:
- Uneven swage surface
- Nock not fully seated during glue set
- Rushed alignment process
Solutions:
- Re-sand and clean the swage end.
- Use a nock alignment tool.
- Remove and reattach nock if misaligned.
Excess Glue Or Messy Finish
Causes:
- Over-application of adhesive
- Not wiping off excess promptly
Solutions:
- Use minimal glue; more is not better.
- Clean with solvent or scrape gently after curing.
Nock Cracking Or Splitting
Causes:
- Overheating plastic nocks during hot-melt application
- Excessively tight fit
Solutions:
- Heat glue, not nock or shaft.
- Always test-fit before gluing.
Pro Tip:
If you’ve installed a nock incorrectly, reheating hot-melt glue allows easy removal and adjustment. For CA or epoxy, gentle twisting may loosen the bond, but always inspect for shaft damage.
Advanced Tips: Optimizing Nock Performance On Swage End Arrows
Beyond the basics, several advanced techniques can further improve reliability and accuracy.
Fine-tuning Nock Fit And String Engagement
- Nock groove width: Should match bowstring thickness for a clean release.
- Adjusting nock tension: Some archers lightly sand the groove for ideal fit.
- Rotating nock orientation: Micro-adjusting alignment can tune arrow flight.
Upgrading Nock Materials
- Polycarbonate nocks: Offer enhanced durability and visibility.
- Fluorescent or lighted nocks: Improve tracking in low-light conditions; ensure compatibility with swage taper.
Periodic Inspection And Maintenance
- Check for cracks, chips, or looseness every few sessions.
- Replace nocks showing UV degradation or impact damage.
- Re-glue any nocks that become loose over time.
Example: Tournament Archer’s Workflow
A competitive archer prepping for the USA Archery Indoor Nationals inspects and aligns nocks before each event. Misaligned nocks, he reports, cost him measurable points over a 60-arrow round. With swaged aluminum arrows, he uses a custom alignment jig and replaces nocks every 500, 800 shots for maximum consistency.
Data Table: Nock Retention Strength By Material (lab Test)
| Nock Material | Average Retention Force (lbs) | Durability Rating (1-5) | Notes |
|---|---|---|---|
| Standard Polycarbonate | 12.5 | 4 | Excellent for swage ends |
| Acetal Resin | 11.0 | 3 | Slightly more flexible |
| Traditional Horn/Wood | 9.2 | 2 | For heritage arrows only |
*Source: Lab test data published by the Archery Trade Association (ATA).*
Comparing Swage End Nock Attachment To Other Arrow Systems
To fully appreciate the nuances of swage end systems, it’s helpful to compare them to other popular nock attachment methods.
Swage End Vs. Press-fit Nocks
| Feature | Swage End System | Press-Fit System |
|---|---|---|
| Compatibility | Shaft & nock must match taper | Fits most modern shafts |
| Installation | Requires adhesive and alignment | Press-in by hand, no glue |
| Field Serviceability | Glue bond requires heat/solvent for changes | Easy to swap nocks at range |
| Weight | Often lighter rear end | Slightly heavier due to insert |
| Best Use Case | Traditional/aluminum arrows | Modern carbon arrows |
Swage End Vs. Pin Nock Systems
- Pin nocks use a small metal pin for ultra-consistent alignment, favored in elite target archery.
- Swage end nocks are simpler and lighter but less modular.
Example: Field Archer’s Perspective
A field archer using both swage end (Easton XX75) and press-fit (Easton Axis) arrows notes that while swage systems require more setup time, they offer a nostalgic feel and excellent balance for traditional-style shooting.
Maintenance, Safety, And Long-term Performance
Proper maintenance of nocks and swage ends extends arrow life, boosts accuracy, and prevents accidents.
Inspecting Nocks For Damage
- Frequency: After every session, and before tournaments or hunts.
- Look for: Hairline cracks, deformation, discoloration from UV or heat.
- Test: Gently twist and pull nock; any looseness warrants replacement.
Cleaning And Replacing Nocks
- Removal: For hot-melt, gently heat and twist off; for epoxied nocks, use careful mechanical force.
- Shaft care: Clean residual glue with solvent; avoid sanding unless necessary.
- Replacement: Always use the same model and size for consistency.
Storing Swage End Arrows
- Avoid extreme temperatures: Heat can soften glue, cold can embrittle plastic.
- Use quivers with nock protection: Prevents accidental impacts in transit.
Pro Tip:
Keep a small repair kit with spare nocks, adhesive, and a mini heat source in your archery bag. Quick field repairs can save a practice or competition session.
Frequently Asked Questions
How Do I Know If My Swage End Nock Is The Correct Fit?
A correctly fitted swage end nock should slide on with firm pressure and sit flush against the taper, with no wobble or visible gap. When installed, it should not rotate or pull off easily by hand. If unsure, measure the swage diameter and consult the nock manufacturer’s sizing chart.
Can I Reuse A Nock Once It Has Been Removed From A Swage End?
Generally, reusing nocks is not recommended, especially if they required heating or forceful removal. Even if undamaged, the internal taper may have been compromised. For maximum reliability, install a new nock each time.
What Adhesive Is Best For Carbon Shafts With Swage Ends?
For carbon shafts, many manufacturers recommend a cyanoacrylate (CA) glue, such as Easton Quickbond, or a two-part epoxy specified for carbon. Always check the shaft and nock manufacturer’s guidelines, as some adhesives can weaken carbon fibers.
Are Lighted Nocks Available For Swage End Arrows?
Yes, several manufacturers offer lighted nocks with internal tapers for swage end arrows. However, compatibility varies by shaft and swage size. Always confirm fit before purchase, and consider the added weight when tuning your arrows.
Is It Safe To Heat A Carbon Arrow When Attaching A Nock With Hot-melt Glue?
No. Directly heating a carbon arrow can damage its structure and reduce its strength. For carbon shafts, use adhesives that cure at room temperature and avoid any application of open flame or heat to the shaft itself. If you must use hot-melt, only heat the glue, not the shaft.
Attaching a nock to an arrow with a swage end is both an art and a science. Mastery of this technique yields more consistent arrow flight, improved safety, and greater confidence at the range or in the field. As with all archery skills, attention to detail and regular maintenance make the difference between average results and peak performance. Whether you shoot for tradition, competition, or pure enjoyment, a properly installed swage end nock is a small investment that pays big dividends every time you release an arrow. For further reference on nock types and archery equipment standards, consult the Wikipedia Arrow Guide and check with manufacturers like Easton Archery for updated compatibility charts.