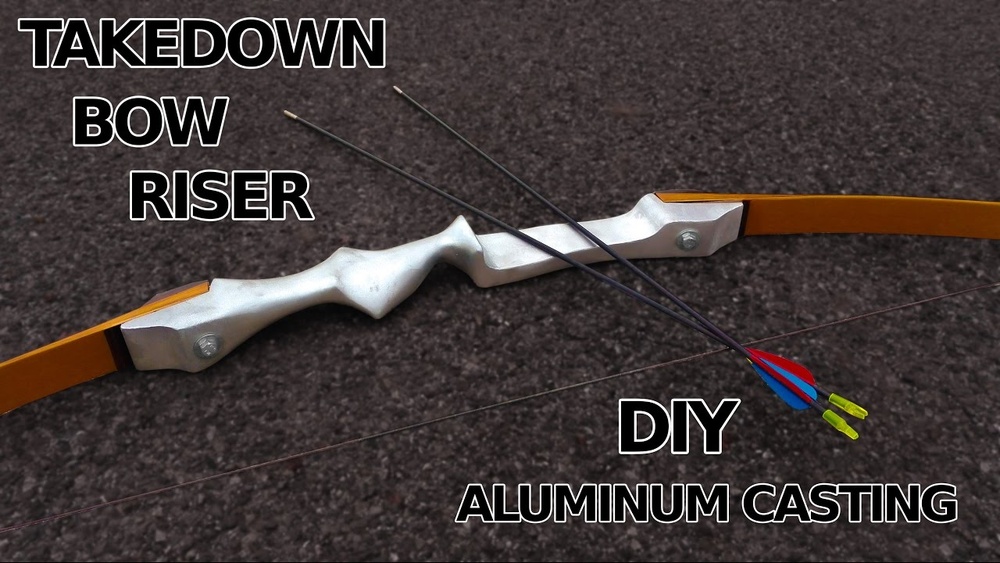
How to Make a Homemade Takedown Bow: Step-by-Step Guide
Making your own homemade takedown bow is a rewarding project, combining woodworking skills, patience, and a passion for archery. Many archers dream of crafting a bow tailored to their preferences, and a takedown bow, with its modular design, offers both portability and ease of maintenance. Whether you want a custom feel, to save money, or simply to understand your equipment more deeply, building a bow from scratch is a journey well worth your time.
In this guide, you’ll discover the materials, step-by-step process, and helpful tips for creating a takedown bow at home. You don’t need a full woodworking shop, just a few tools, determination, and attention to detail. By the end, you’ll have a functional, personalized bow and a better appreciation for the craft.
What Is A Takedown Bow?
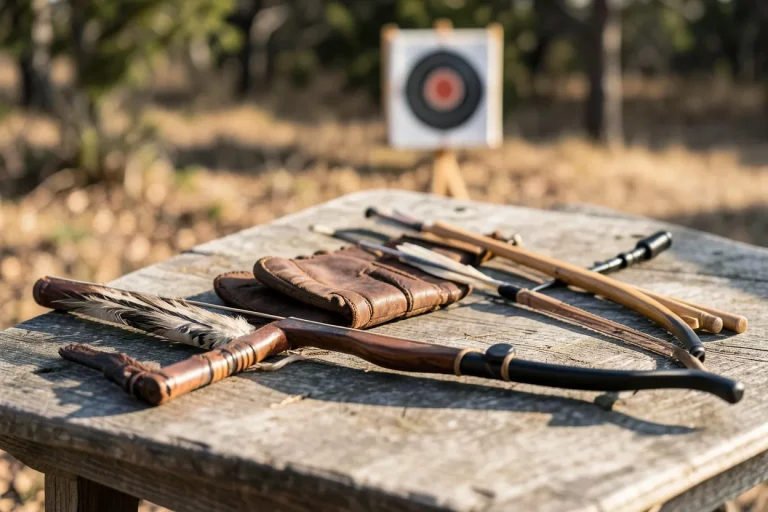
A takedown bow is a type of recurve or longbow that can be disassembled into at least three parts: the riser (the central grip), and two limbs. This design makes it easy to store, transport, and repair. Many modern archers, hunters, and survivalists prefer takedown bows due to their versatility and adaptability.
Unlike a one-piece bow, you can swap out limbs to change draw weight or replace broken parts without building a new bow. This flexibility is a major advantage for beginners and experienced archers alike.
Essential Materials And Tools
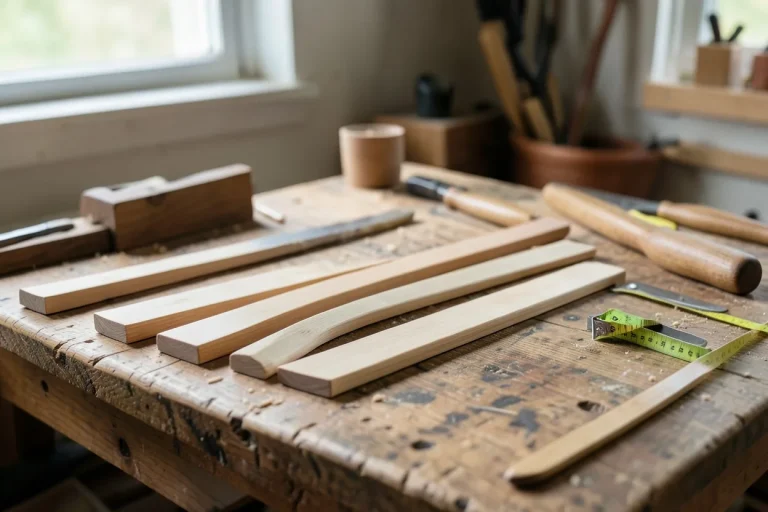
To build a safe, reliable takedown bow, you’ll need specific materials and tools. Choosing quality supplies ensures your bow will be strong and last for years.
Materials
- Hardwood for the riser (maple, walnut, or oak recommended)
- Laminated wood or fiberglass for limbs
- Epoxy or strong wood glue
- Threaded brass bushings and bolts (for limb attachment)
- Bowstring material (Dacron or FastFlight)
- Finish (varnish or polyurethane)
Tools
- Hand saw or band saw
- Rasp and files
- Sandpaper (various grits)
- Clamps
- Drill and bits
- Measuring tape and ruler
- Pencil or marking tool
Pro Tip: If you don’t have access to a band saw, a sharp hand saw and patience will work. Take your time with each cut, precision matters more than speed.
Planning Your Bow: Measurements And Design
Before cutting anything, you need a clear design. The size and shape of your bow impact its strength, draw weight, and shooting comfort.
Choosing Bow Length And Draw Weight
Most takedown recurve bows range from 58 to 64 inches in overall length. A common recommendation is to match your bow length to your draw length plus 40 inches. For example, if your draw length is 28 inches, a 66-inch bow offers a smooth draw.
Draw weight depends on your strength and intended use:
- Target shooting: 25, 35 lbs
- Small game hunting: 35, 45 lbs
- Large game hunting: 45+ lbs
If you’re new to archery or bow-making, start with a lower draw weight. You can always build heavier limbs later.
Sketching The Bow
Draw your design on paper or directly onto your wood blanks. Mark the riser shape, limb profiles, and bolt positions. Double-check all measurements before making the first cut.
Example: For a 62-inch bow, the riser might be 20 inches long, with each limb 21 inches.
Building The Riser
The riser is the central part of the bow, acting as the grip and housing attachment points for the limbs. It must be strong and comfortable.
Shaping The Riser
- Cut the blank: Start with a block of hardwood, about 20″ x 2″ x 1.5″.
- Mark the grip: Draw the outline of the grip, shelf (arrow rest), and limb pockets.
- Cut the shape: Use a saw to rough out the riser’s profile.
- Refine with rasps/files: Shape the grip to fit your hand. Smooth sharp edges.
- Sand thoroughly: Work through grits from 80 to 220.
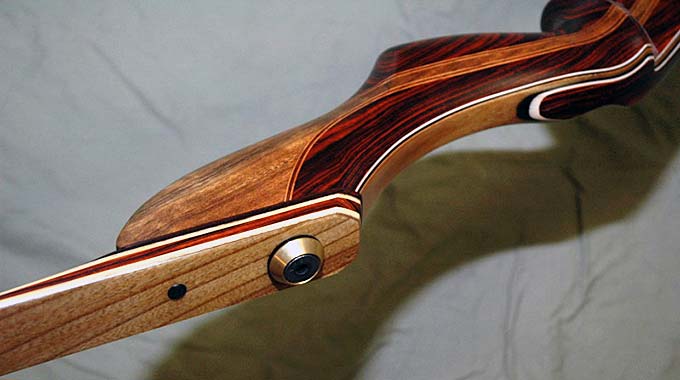
Installing Limb Attachment Hardware
- Mark holes: Measure and mark the limb bolt holes. They should be centered and spaced evenly.
- Drill holes: Use a drill press or hand drill for accuracy.
- Insert bushings: Epoxy the threaded brass bushings into the riser.
- Test bolts: Ensure bolts fit smoothly but tightly.
Pro Tip: Don’t overtighten bolts during testing; you can damage the wood or threads.
Credit: buildyourownbow.com
Crafting The Limbs
The limbs are where most of the bow’s power comes from. They must be flexible, strong, and precisely shaped.
Laminating The Limbs
- Prepare laminations: Cut strips of hardwood and fiberglass (or bamboo) to the desired length and width, usually around 21″ x 1.5″ x 1/8″ each.
- Glue layers: Apply epoxy between each layer. Stack them in the correct order, usually wood, fiberglass, wood.
- Clamp and cure: Press the laminations together with clamps or a homemade form. Let cure for at least 24 hours.
Shaping The Limbs
- Mark taper: Limbs should taper from about 1.5″ at the base to 0.5″ at the tip.
- Cut and shape: Use a saw and rasp to reach the desired profile.
- Sand smooth: Ensure both limbs are identical in size and shape.
Attaching Limb Hardware
- Drill bolt holes: Match the spacing to your riser.
- Install bushings: Epoxy brass bushings into the limb bases.
- Test fit: Attach limbs to the riser with bolts, checking alignment.
Pro Tip: Mark each limb “top” and “bottom” so you always assemble them the same way. Slight differences in flex can affect accuracy.
Cutting And Installing The String Nocks
String nocks are the notches at each limb tip that hold the bowstring.
- Mark nock locations: About 1/2″ from each tip.
- Cut nocks: Use a small round file to create shallow grooves. Aim for 45-degree angles.
- Smooth edges: Sand to prevent string wear.
Making A Bowstring
A quality bowstring is essential for safety and performance.
Materials
- Dacron B-50 or FastFlight string
- Serving thread
Steps
- Measure string length: For a recurve, string length is usually bow length minus 4 inches.
- Twist strands: Cut 10, 16 strands (depending on draw weight). Twist together.
- Create loops: At each end, tie a loop using a bowyer’s knot or serve the ends.
- Serve center: Wrap serving thread around the center where the arrow will rest.
Pro Tip: If this is your first time, consider buying a pre-made string. Making a string takes practice and the right tension.
Bow Assembly And Tuning
Once all parts are finished, it’s time to assemble and fine-tune your takedown bow.
Assembling The Bow
- Attach each limb to the riser with bolts.
- Slide the string loops onto the nocks.
- Use a bow stringer to safely string the bow.
Checking Alignment
Sight down the bow from tip to tip. Both limbs should line up perfectly with the riser. Small misalignments can cause poor shooting or even damage.
Adjusting Brace Height
Brace height is the distance from the string to the deepest part of the grip. For recurves, 7, 8.5 inches is typical. Adjust by twisting or untwisting the string to change its length.
First Draw
Draw the string slowly, listening for any creaks or cracks. Do not pull to full draw immediately. If everything feels solid, you’re ready to shoot.
Finishing And Protecting Your Bow
A well-finished bow lasts longer and looks better.
Sanding
Go over all surfaces with fine sandpaper (up to 400 grit), removing any tool marks or splinters.
Sealing
Apply several coats of varnish or polyurethane. Let each coat dry fully before sanding lightly and applying the next.
Adding Grip Material (optional)
Some archers add a leather wrap or rubber grip for comfort.
Safety Checks And Common Pitfalls
Even a well-made bow can be dangerous if not checked properly.
Safety Checks
- Inspect all glued joints for gaps or weakness.
- Test each bolt and bushing for tightness.
- Check the limbs for even flex, both should bend smoothly.
Common Mistakes
- Rushing the glue-up: Insufficient clamping or curing can cause delamination.
- Uneven limb shaping: One limb thicker than the other causes imbalance.
- Improper string nocks: Too deep or shallow damages the string or limb tip.
- Skipping sanding: Rough surfaces can splinter or cause injury.
Pro Tip: In my experience, the biggest problems happen when builders rush the lamination process. Give the glue a full 24 hours, even if it feels dry sooner.

Credit: www.youtube.com
Comparison: Homemade Vs. Store-bought Takedown Bows
To help you decide if building your own is the right choice, here’s a side-by-side look:
| Feature | Homemade Takedown Bow | Store-Bought Takedown Bow |
|---|---|---|
| Cost | Lower (materials only) | Higher (labor, brand, materials) |
| Customization | High (tailored to user) | Limited (preset models) |
| Time Investment | High (20+ hours) | Low (ready to use) |
| Skill Required | Moderate to high | Low (assembly only) |
| Performance | Varies (depends on build quality) | Consistent (factory tuned) |
Maintenance Tips For Your Homemade Bow
A takedown bow is easy to maintain if you follow a few key practices.
Regular Care
- Inspect for cracks: Especially after long storage or heavy use.
- Unstring after use: Keeps limbs from taking a set (permanent bend).
- Clean and oil: Wipe wood surfaces and oil metal parts occasionally.
- Store properly: Keep in a cool, dry place, away from direct sunlight.
Troubleshooting Problems
- Loose limbs: Tighten bolts, but don’t overtighten.
- String fraying: Replace string immediately.
- Grip discomfort: Add or adjust grip material.
Upgrades And Modifications
One of the joys of a homemade takedown bow is personalizing it over time.
Possible Upgrades
- Different limbs: Make heavier or lighter limbs for versatility.
- Arrow rest: Add a rest or plunger for improved arrow flight.
- Sight or stabilizer: Drill and tap holes for accessories.
Experimenting With Materials
Advanced builders sometimes use carbon fiber, bamboo, or exotic woods to change performance. Test carefully, new materials behave differently.
Sample Project Timeline
Wondering how long this project takes? Here’s a rough breakdown:
| Step | Estimated Time |
|---|---|
| Design & Planning | 2, 3 hours |
| Cutting & Shaping Riser | 3, 4 hours |
| Laminating Limbs | 2 hours (plus 24 hrs curing) |
| Shaping Limbs | 2, 3 hours |
| Assembly & Tuning | 1, 2 hours |
| Finishing | 2, 3 hours |
Total active work time: 12, 17 hours (plus curing and drying time).
Credit: hackaday.com
Recommended Resources
For deeper techniques, bowyer communities, and advanced designs, visit Wikipedia: Bow Making. Many traditional and modern bowyers share tips, plans, and troubleshooting advice.
Frequently Asked Questions
How Do I Safely Increase Draw Weight On My Homemade Takedown Bow?
To increase draw weight, you can make new limbs with thicker laminations or stronger materials like fiberglass or bamboo. Never try to “overdraw” or add weight to existing limbs, they’re designed for a specific strength and can break if pushed beyond their limits.
Always test new limbs at partial draw before full use.
What Should I Do If My Riser Cracks During Use?
If your riser cracks, stop using the bow immediately. Cracks often mean a structural failure that can cause injury. Depending on the severity, you might be able to repair it with high-strength epoxy and clamps, but often it’s safer to build a new riser.
Consider reinforcing high-stress areas with hardwood inserts.
Can I Use Only Wood For The Limbs, Or Is Fiberglass Necessary?
You can use only wood, many traditional bows are all-wood. However, fiberglass or carbon fiber adds strength and durability, helping the limbs resist bending and breaking over time. All-wood limbs require careful selection of straight-grained, flexible woods like hickory or yew.
How Do I Prevent Limb Twist When Making My Bow?
Limb twist usually comes from uneven shaping or improper glue-up. Work slowly, check symmetry often, and compare both limbs during each step. If you spot a twist early, gentle heat and clamping can sometimes correct it before finishing.
Is It Possible To Add Accessories Like Sights Or Stabilizers To A Homemade Takedown Bow?
Yes, but plan ahead. Drill and tap holes in the riser before finishing to add sights or stabilizers. Use inserts designed for archery accessories to avoid splitting the wood. Accessories can improve accuracy, but make sure they don’t interfere with the bow’s basic function.
Building a homemade takedown bow is both challenging and deeply satisfying. With patience, careful attention to detail, and