How to Measure Center Shot on Your Bow Setup
Set the arrow so its shaft sits about 3/4 inch to 1 inch outside the bow’s centerline on a compound, then confirm the setup with paper tuning, bare-shaft grouping, or walk-back tuning. Do not trust the riser cutout alone. If you skip that check, broadheads can plane, groups can drift, and tuning problems can look like bad form. This guide shows how to measure center shot on compound and recurve bows, then confirm the setting with simple tuning checks.
What center shot means


Center shot is the arrow’s left-right alignment relative to the bow centerline. It is not the same thing as the riser cutout, and it is usually not fully set until the arrow rest, nock point, and string line are aligned with one another.
On a compound bow, the rest usually starts farther inboard because modern cutaway risers place the rest well inside the outer edge. On a recurve, the arrow is often set from the string and shelf geometry, with a plunger or rest used to fine-tune the path.
Why the riser cutout is only a reference
The riser gives you a place to start measuring, but it does not guarantee correct arrow flight. A bow can look centered at the cutout and still be wrong if the rest is mis-centered, the nock point is off, or the arrow shaft diameter changes the true clearance.
Think of the riser as a measurement frame, not a verdict. The string line, rest position, and arrow shaft must form a repeatable relationship before tuning can tell you whether the setup is close.
What tools and reference points do you need?
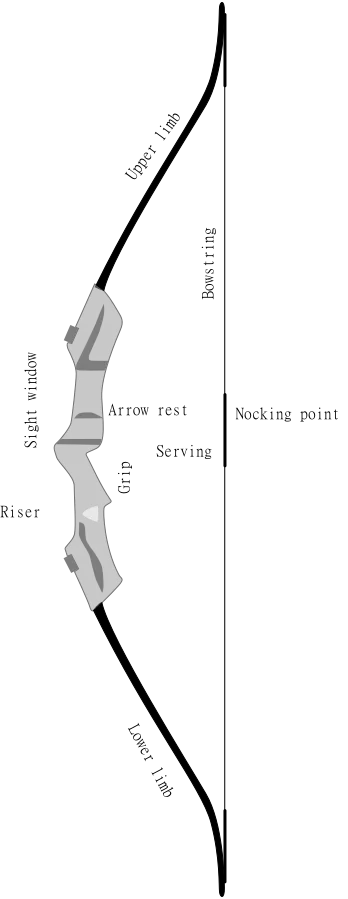
You need a bow square, a straight reference for the string, and a way to note the riser edges and rest position before you move anything. Those reference points make the setup repeatable and help you avoid chasing a false center caused by grip torque or eyeballing the cutout.
Reference points to mark first
- Riser inner edge: the inside wall of the sight window or cutout nearest the arrow.
- Riser outer edge: the outer wall of the cutout used as a distance reference.
- Bow string: the string line used to judge nock alignment and arrow path.
- Arrow rest centerline: the middle of the rest pad, launcher, or rest arm.
- Arrow shaft: the actual tube, not the fletching, used as the flight reference.
What the bow square
A bow square helps set the nocking point height and gives you a right-angle check from the string to the arrow. That matters because center shot and nock point height work together; if the nocking point is wrong, the arrow can show a false left-right issue during tuning.
Center shot worksheet
This worksheet turns center shot into a repeatable home process. Use it before you cut arrows, and use it again after any rest change, nock adjustment, or arrow shaft change. Measure twice before you cut, because once an arrow is cut, the process cannot be undone.
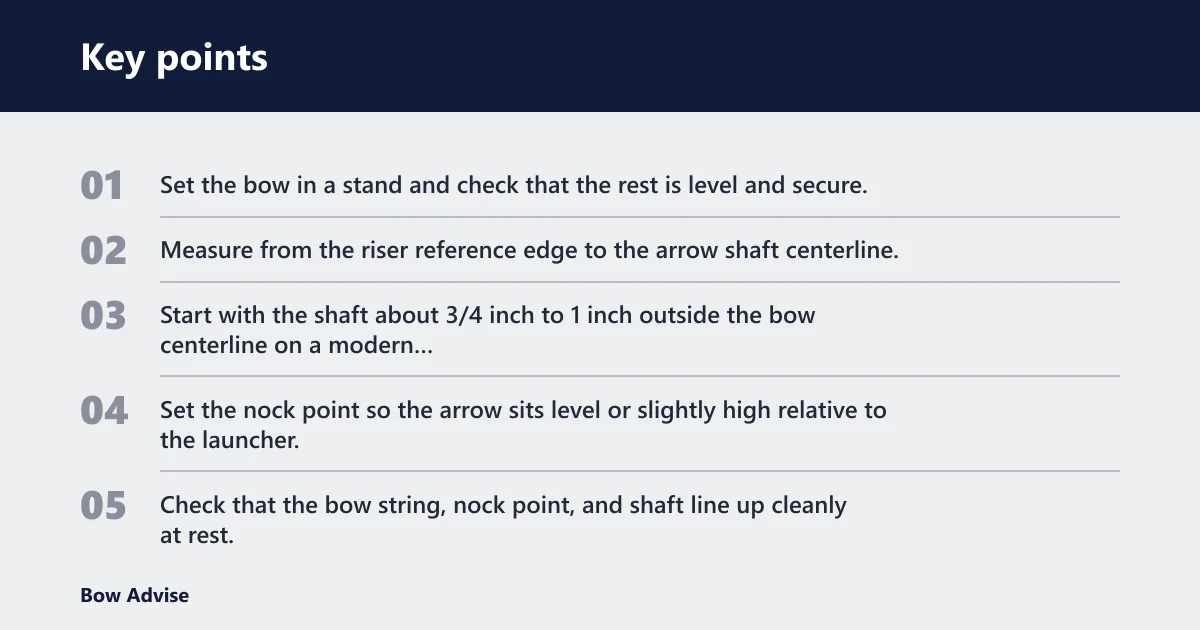
Compound bow sequence
- Set the bow in a stand and check that the rest is level and secure.
- Measure from the riser reference edge to the arrow shaft centerline.
- Start with the shaft about 3/4 inch to 1 inch outside the bow centerline on a modern compound unless the manufacturer’s model manual says otherwise.
- Set the nock point so the arrow sits level or slightly high relative to the launcher, using the bow square.
- Check that the bow string, nock point, and shaft line up cleanly at rest.
- Move the rest in small steps only after a tuning check shows the need.
Recurve bow sequence
- Set the bow square on the string and mark the nocking point location.
- Place the arrow on the shelf or rest and check the shaft against the string line.
- Use the plunger or rest so the arrow sits close to the string line without forcing the shaft out of alignment.
- Set nocking point height first, then fine-tune left-right arrow alignment.
- Confirm that the shaft clears the shelf, plunger button, and arrow plate cleanly through the shot.
Center shot checklist
| Check | Pass | Fail |
|---|---|---|
| Rest alignment | Launcher or shelf support sits square to the arrow shaft and does not visibly twist at brace height. | Rest is canted, off-center, or inconsistent after several draws. |
| Nock alignment | Nock point holds the arrow level enough for the shaft to sit straight on the rest and string line. | Nock point forces the tail high or low enough to make the shaft look crooked at rest. |
| Clearance | Fletching clears the rest, shelf, cables, and sight window without contact marks. | Vanes or feathers show contact, spray marks, or odd wear after a shot. |
A common first-timer mistake is to set the arrow by the riser cutout alone and stop there. The bow may look centered, but if the arrow shaft is too far inboard or the rest face is off, the paper tear will still show it.
How do I measure center shot on my bow setup?
Measure center shot from a repeatable reference, not from a guess at the middle of the sight window. For a compound, use the riser edge and string line together. For a recurve, use the string, shelf, and plunger or rest as the alignment system, then confirm with tuning rather than trusting the first visual check.
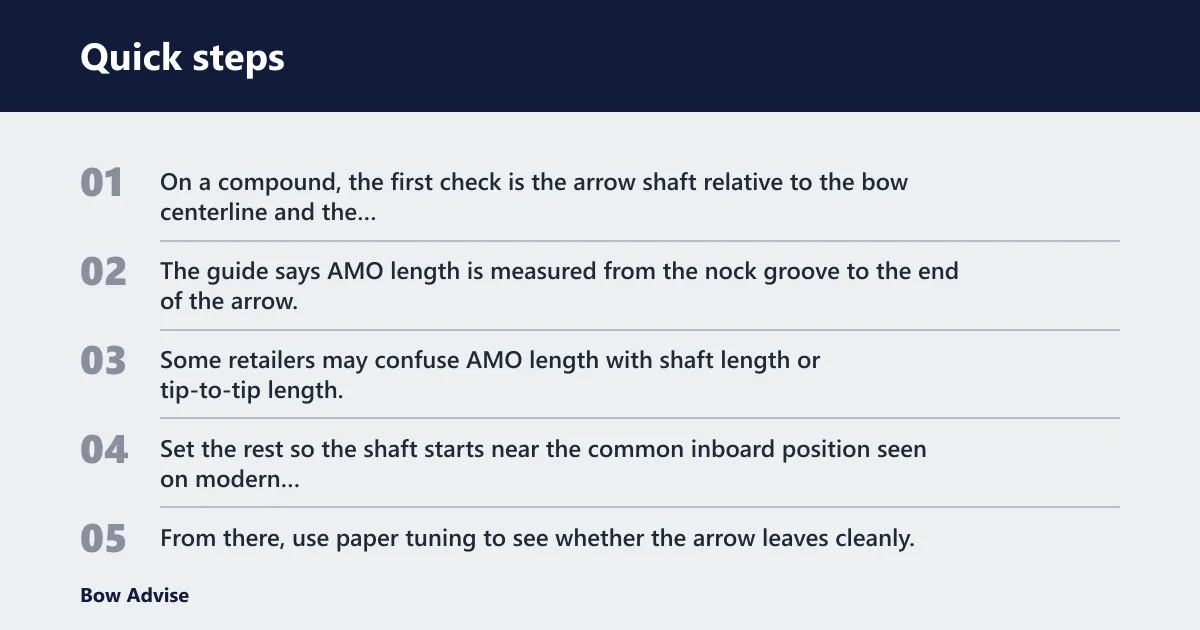
Compound setup steps
On a compound, the first check is the arrow shaft relative to the bow centerline and the rest. The guide says AMO length is measured from the nock groove to the end of the arrow, and AMO is now ATA, so keep arrow setup notes clear if you are also changing arrow length. Some retailers may confuse AMO length with shaft length or tip-to-tip length, so verify the numbers before ordering or cutting.
Set the rest so the shaft starts near the common inboard position seen on modern centershot cutaway compound bows, where the rest sits well inboard of the outer riser edge. From there, use paper tuning to see whether the arrow leaves cleanly. A left or right tear tells you more than the cutout shape does.
How rest windage changes the arrow path
Rest windage changes where the shaft sits at launch. Too far left or right can show up as a tear, a broadhead drift, or a group that moves the same way at distance. Do not assume a tear always means the rest should move the same direction on every bow; the correction depends on the bow, the arrow spine, and whether the issue is true center shot or another setup error.
How shaft diameter affects the starting position
Arrow shaft diameter changes the clearance gap. A larger carbon or aluminum shaft can sit closer to the riser or rest hardware and still clear, while a smaller shaft may need a slightly different rest position to keep the fletching off the shelf, launcher, or cables. Check the shaft, not only the point end, because the vanes are what usually reveal a bad fit.
How do I measure center shot on a recurve bow?
On a recurve, center shot is usually set from the string line, the shelf or rest, and the plunger setting, rather than from a cutaway riser reference. The nocking point height comes first, then the arrow’s left-right relationship to the string. That is why a recurve can look centered yet still tune poorly if the nock point is off.
Plunger and rest alignment basics
Set the arrow so it sits straight against the plunger or rest with no visible push into or away from the riser. Use the bow square to set the nocking point, then make small left-right plunger changes only after the arrow is sitting cleanly on the shelf. If the shaft shows contact on the shelf or side plate, the setup is not ready.
Using the string as a visual alignment check
The string gives you a fast visual check on a recurve. The shaft should track close to the string line without being forced far inside or outside it. That check is only a starting point, though. The final answer comes from tune data, since grip torque and spine mismatch can make a recurve look mis-set when the rest is actually fine.
Where nocking point height fits in the setup
Nocking point height changes how the shaft launches and where the tail of the arrow sits on the string. If the nock point is too high or too low, the arrow can kick and create a left-right reading that looks like a center shot error. Set height first, then refine the side-to-side position.
Suppose a recurve archer uses a 30-inch carbon shaft and sees vane marks on the shelf after a few shots. The center shot may look acceptable by eye, but the clearance failure shows the shaft is not tracking cleanly through launch. In that case, the plunger, nocking point height, or shaft spine can be the real issue.
How do you verify center shot with tuning?
Use paper tuning, walk-back tuning, and broadhead tuning to help confirm the setting in practice. These checks show what the arrow actually does after release. They are especially useful because a false center shot can come from grip torque, rest mis-centering, or mismatched arrow spine rather than from the rest position alone.
Paper tuning and tear patterns
Paper tuning gives a clean left-right read at close range. A clean hole suggests the setup is close. A left or right tear tells you that the arrow is leaving the bow with a side bias, but the cause may be center shot, nock point height, spine, or grip pressure. Treat the tear as a diagnosis prompt, not a one-move command.
Walk-back tuning as a center-shot check
Walk-back tuning checks whether the arrow stays on the same vertical line as distance increases. If the points wander left or right as distance grows, the center shot or rest alignment may still be off. This is one of the best home checks because it shows how the bow behaves beyond the close-range paper test.
Broadhead tuning for hunting setups
Broadhead tuning confirms practical arrow flight under hunting conditions. Fixed blades are often more sensitive to center shot error than field points, so a bow that groups field points well can still show broadhead drift. If broadheads hit differently from field points, revisit the rest position, shaft spine, and clearance before changing anything else.
Picture a compound bow that papers with a slight right tear and shoots field points well at 20 yards, but fixed broadheads hit left at 40 yards. That pattern may point to a center shot or spine issue, but it could also be a rest that is not truly square. Broadhead impact is the practical check that exposes the mistake.
Frequently asked questions
What is the correct center shot for a compound bow?
There is no universal center shot for every compound, but a common starting point is about 3/4 inch to 1 inch outside the bow centerline. Modern centershot cutaway bows often place the rest well inboard of the outer riser edge. Final correction should come from paper tuning and, if needed, broadhead tuning.
How do I align an arrow rest for center shot?
Set the rest so the arrow shaft sits square to the bow centerline and clears the riser, cables, and shelf. Use the riser edge as a reference, then check the string line and nock point. If the shaft shows contact or the tear is off-center, adjust the rest in small steps and retest.
Do I measure center shot from the riser or string?
Use both. The riser gives you a fixed physical reference, while the string shows how the arrow lines up at rest and through launch. The riser alone can mislead you on a cutaway compound, and the string alone can hide rest misalignment. Combine them, then verify with tuning.
How do I find the right size bow?
Right size depends on draw length, draw weight, and how the bow fits the archer at full draw. Draw length and arrow length are not the same thing. For arrow setup, the guide notes that required arrow length depends on draw length, and draw length is measured 1.75 inches beyond the grip pivot point.
How to measure bow length
Bow length is usually listed by the manufacturer, so check the model listing or the owner’s manual rather than trying to infer it from center shot. For setup work, bow length matters because longer and shorter risers, limbs, and cutouts change where the rest and string line sit relative to the arrow.