How to Measure Bow Limbs for Replacement or Upgrade
Measure a recurve limb by checking the bow model, riser system, limb length, draw weight at a stated riser length, and attachment style; for ILF limbs, matching the pocket standard matters more than a raw length number. A wrong limb choice can throw tiller off, leave the fit unsafe, or leave you with a bow that draws far heavier or lighter than expected. This guide shows the exact checks to make before ordering replacement or upgrade limbs.
What you need to measure first
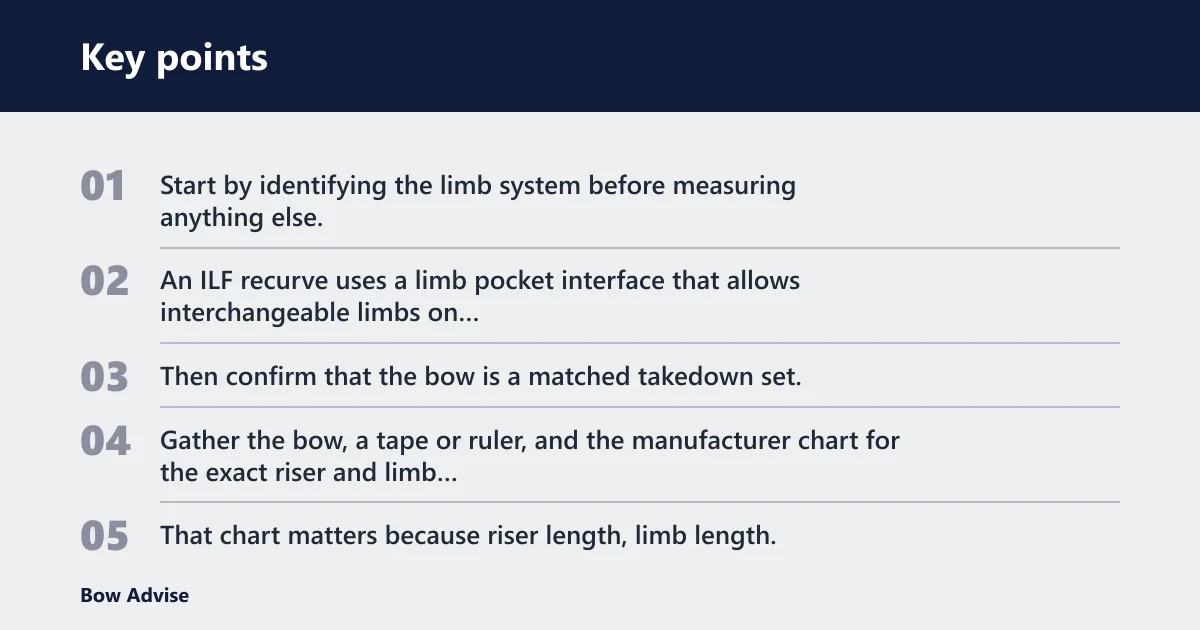

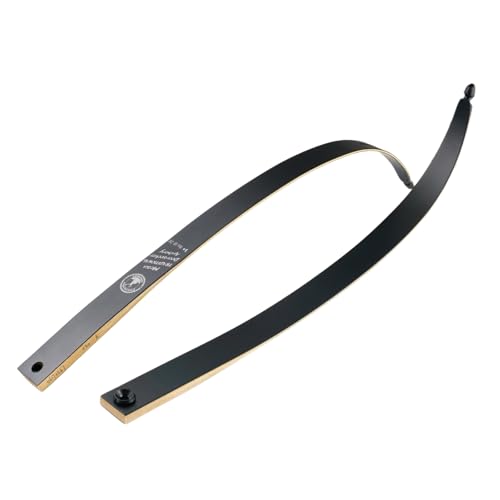
Start by identifying the limb system before measuring anything else. An ILF recurve uses a limb pocket interface that allows interchangeable limbs on compatible risers, while a bolt-down recurve uses a brand-specific mounting system that may look similar but does not follow the same fit rules.
Then confirm that the bow is a matched takedown set, not a mixed setup with parts from different systems. Gather the bow, a tape or ruler, and the manufacturer chart for the exact riser and limb family. That chart matters because riser length, limb length, and the final AMO bow length are linked by the maker’s own system.
Identify ILF or bolt-down first
ILF limbs use a standardized limb pocket geometry, but even then the riser still controls what fits and how it behaves. Bolt-down recurve limbs depend on the exact brand and model, so a limb that looks close can still sit wrong in the pocket or load the bolts unevenly.
Gather the setup details
Record the riser model, riser length, current limb marking, current draw weight marking, and limb bolt position. If the bow has factory paperwork, keep it beside the bow. The goal is to keep the finished bow at the same length, weight, and string requirement unless you intend a change.
How do you measure recurve bow limbs?
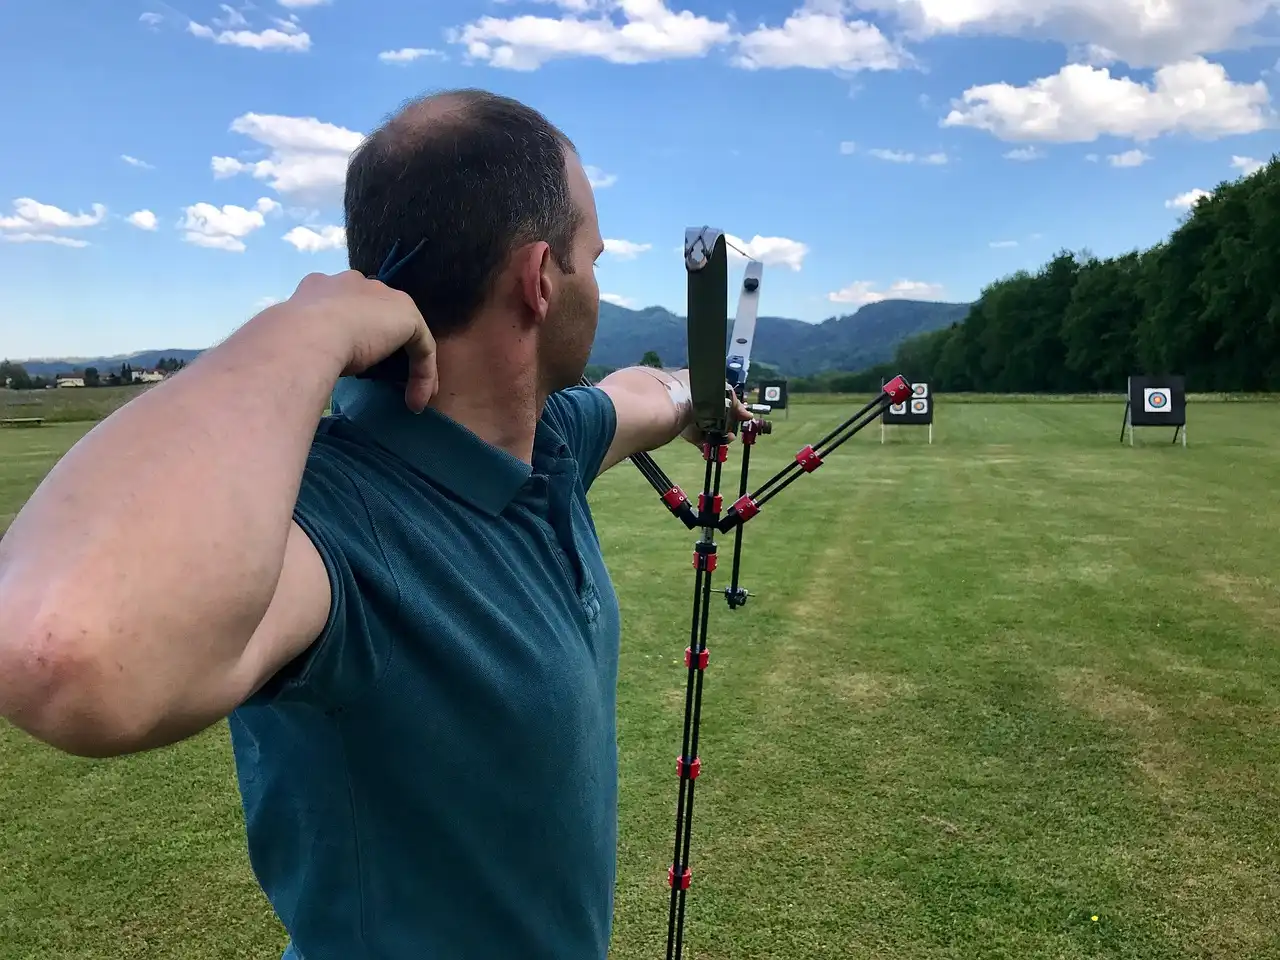
Measure a recurve limb by reading the limb’s marked length and weight, then verifying the physical limb against the matching riser and orientation. Do not rely on tip-to-tip length alone. A limb can measure one way on a bench and still be the wrong part if the system, orientation, or weight marking does not match the bow.
Read the limb length marking first
Most replacement limbs are marked with a short, medium, or long size, or with a maker-specific size code. Read that marking before you compare dimensions. If the mark is faded, compare both limbs as a pair and look for factory stamps, inked model codes, or serial-style marks near the fade-out area of the limb butt.
Suppose a seller lists a limb as medium and the photo shows a worn stamp near the butt. That is not enough. The buyer still needs the riser length and system chart to confirm whether that medium limb actually gives the intended finished bow length on that riser.
Check upper and lower limb orientation
Upper and lower limbs are not always identical in how they sit on the bow, even when the pair is matched. Look for alignment marks, limb butt labels, and the side that faces the string groove or pocket reference. Mixing up upper and lower limbs can change tiller and make the bow feel uneven at full draw.
Record draw weight markings and model codes
Draw weight is usually printed on the limb set, and it should be written down exactly as marked. That number depends on the limb set and the riser setup, so it is not enough by itself. A marked 30-pound limb can feel different on a different riser or at a different limb bolt setting.
Inspect the limb body for fit issues
Look for twist, chipped edges, crushed limb butts, loose overlays, or wear where the limb seats into the riser pocket. A limb with a visible twist can track off line even if the label looks correct. That kind of problem often shows up as poor limb tip tracking and a bow that refuses to settle into a clean brace.
How do you know what limb length fits your riser?
Use the riser length and the maker’s system chart together. There is no single universal chart that fits every bow family. The same short, medium, or long limb label can produce a different finished bow length on different risers, so the riser and limb must be read as a pair, not in isolation.
Separate limb size from finished bow length
Limb size marking is not the same thing as final bow length. The final bow length, often given as AMO bow length, is the overall bow size produced by the riser and limb combination. That finished length affects string choice, brace height range, and how the bow feels in the hand and at anchor.
Use the manufacturer chart, not a shortcut rule
Many archers want a simple chart, but the safe method is to confirm the exact riser and limb family in the maker’s chart. That is especially important for ILF risers because the limb pocket interface may be standardized while the finished bow length still changes with riser size and limb label.
Picture a 25-inch ILF riser with medium limbs, which may produce different finished bow lengths on different brands. On one brand, that combination may be the intended match for a given finished bow length, while another brand’s chart may pair the same limb label differently. The label alone is not enough to order the right set.
ILF limb fit and bolt-down differences
ILF limbs and bolt-down limbs are measured for compatibility in different ways. ILF depends on a pocket standard and alignment check. Bolt-down limbs depend more on brand-specific mounting geometry, limb seat shape, and the exact riser made for that limb family. Do not assume the two systems are interchangeable.
ILF limb pocket interface and alignment check
For ILF, inspect how the limb butt seats into the pocket and whether the limb alignment stays centered on both sides. The top and bottom limbs should track symmetrically, with no visible canting in the pocket. If the limb walks sideways or the tip drifts left or right, the riser or limb may be out of line.
Bolt-down mounting and why fit varies by brand
Bolt-down recurve limbs may use locating pins, threaded bolts, or shaped pockets that only fit one riser family. Because the mounting is brand-specific, a limb from one maker may look close but still be wrong. Check the exact model pair listed by the manufacturer before buying replacement limbs used or new.
When replacement limbs are interchangeable and when they are not
Replacement limbs are interchangeable only when the riser system, limb standard, and size/weight match the chart for that bow family. Even within ILF, you still need the right limb length and the intended bolt setting. For bolt-down bows, interchangeability is narrower and often limited to the same brand and model line.
How do you verify draw weight before buying?
Compare the marked draw weight with the measured draw weight at full draw, then confirm the limb bolt position. The marked number tells you what the limb was built to deliver under the maker’s stated setup. The measured number tells you what the bow is actually drawing on your riser at your current setting.
Check limb bolt turns from flush
Record the number of turns from flush on the limb bolts before buying replacement limbs. That setting changes preload and can change the actual draw weight the bow produces. If the seller’s listed weight assumes a different bolt setting, the new limbs may not match the feel or tuning window you want.
Verify the same riser and setup basis
Draw weight depends on the limb set, the riser, and the bolt setting together. A limb labeled for one setup can measure differently on another riser, even if both are ILF. That is why a measured draw weight matters more than the label alone when you are replacing worn limbs or upgrading weight.
Measure before and after the swap
Measure the old setup first, then repeat after the new limbs are installed. Keep the same bow string, same anchor, and same draw length reference if possible. That gives you a real comparison and helps spot a problem caused by limb mismatch, pocket fit, or an incorrect bolt position.
Bow limb compatibility worksheet
Use this worksheet before you order and again after installation. It keeps the fit check focused on the riser, limb, and string relationship rather than on one label alone.
| Riser length | Limb standard | Limb size marking | Marked draw weight | Measured draw weight at full draw | Limb bolt turns from flush | Intended final bow length | Pass/fail fit notes |
|---|---|---|---|---|---|---|---|
| 25 in. | ILF | Medium | 30 lb | 32 lb | 2 turns out | 60 in. AMO | Pass if pocket alignment is centered and string length matches the chart |
| 23 in. | Bolt-down | Short | 28 lb | 29 lb | Flush | 58 in. AMO | Fail if the limb butt shape does not seat fully in the riser pocket |
| 27 in. | ILF | Long | 34 lb | 35 lb | 1 turn out | 64 in. AMO | Pass if tip tracking is straight and tiller remains even after stringing |
What should you check before you place an order?
Match the string length to the limb and riser combination, confirm brace height after installation, and verify alignment before shooting. The string must suit the actual bow type and model, and the length, loop type, and material have to match the bow’s requirements. That is true for recurve bows, compound bows, and crossbows, though the details differ by type.
Match the string and the bow length
A recurve string can be specified in AMO inches, and the finished bow length must fit that same system. For example, the category includes October Mountain Recurve String B50 60 in. AMO and October Mountain Recurve String B50 62 in. AMO. Those figures are useful only when they match the exact limb and riser combination.
String choice also affects brace height and performance. The page says strings and cables are essential to bow performance, and it notes that string and cable choice depends on bow type and model. It also says pre-stretched strings are a buying consideration and that strings can affect speed and consistency.
Recheck alignment after the first setup
After the limbs are installed, check center-shot symmetry, limb tip tracking, and any twist in the limb body. A limb that looks right on the bench can still settle slightly off center once braced. If the tips do not track evenly, stop and correct the fit before tuning arrows or changing brace height.
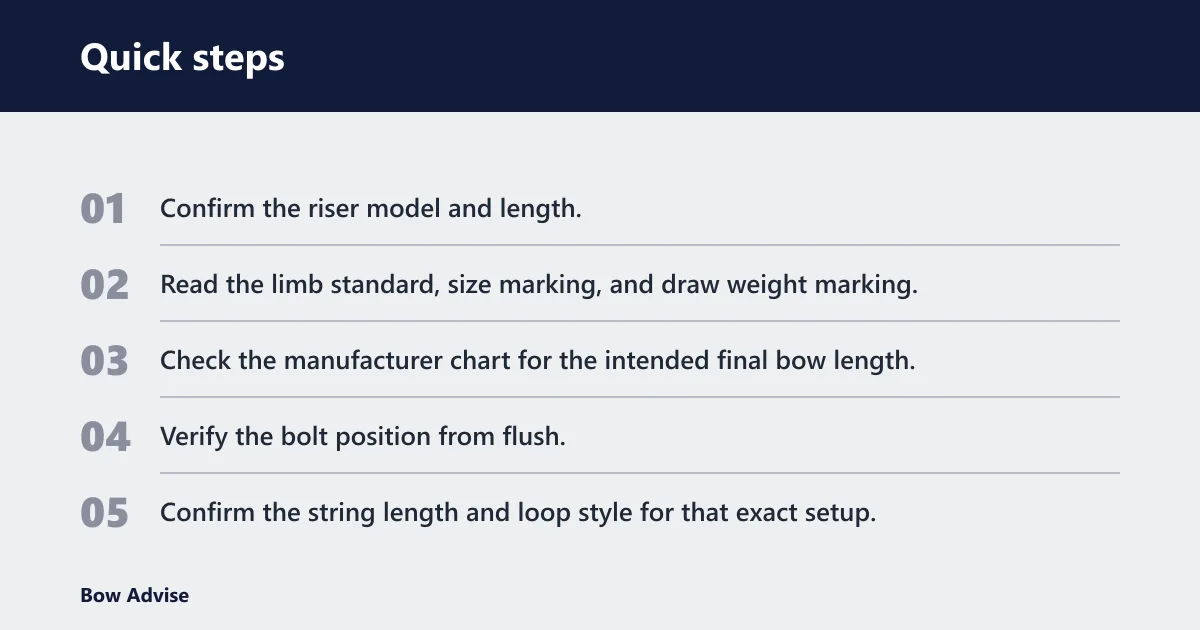
Use a simple order check
- Confirm the riser model and length.
- Read the limb standard, size marking, and draw weight marking.
- Check the manufacturer chart for the intended final bow length.
- Verify the bolt position from flush.
- Confirm the string length and loop style for that exact setup.
- Inspect alignment, limb seating, and tip tracking after installation.
A common first-timer mistake is buying the right limb size but the wrong weight. Say your current bow has medium limbs on a 25-inch ILF riser and draws about 32 pounds at the current bolt setting. If the replacement limbs are the same size but the marked weight is higher, the bow may feel heavier than expected even though the limbs physically fit.
Frequently asked questions
How to measure bow length
Use the manufacturer’s bow length or AMO length reference for the exact riser and limb combination. Do not rely on a universal shortcut, because the final length depends on the system chart. The correct finished length affects string choice, brace height, and how the bow will tune after replacement.
How do I know what limb length fits my riser?
Check the exact riser model and length, then read the manufacturer’s compatibility chart for that riser family. The chart shows which limb size produces the intended final bow length. That matters because limb length and final bow size are linked, but the link is not universal across brands.
How do I measure used limbs before buying replacements?
Start with the markings, then inspect the limb butt, finish, and alignment. If the label is missing or worn, compare the limb as part of the full bow system and verify the fit on the correct riser chart. Used limbs should also be checked for twist, pocket damage, and mismatched orientation.
What markings should I check on ILF limbs?
Check the limb length marking, the draw weight marking, and any model or manufacturer code near the limb butt. Also confirm which limb is upper and which is lower. Those markings help match the limb set to the right riser and show whether the seller is describing the same setup you need.