Best Arrow Direction Tests for Beginners (2026): we compared
A simple beginner sequence is to paper tune, then do a bare-shaft check at a short distance, and then try a walk-back test; each step can help separate shooter error, bow setup, and arrow mismatch before you buy tuning tools. Bad direction diagnosis wastes money on sights, rests, or arrows that were never the real problem. This guide gives a low-cost, step-by-step test order, what each impact pattern means, and the corrections to try first.
Best arrow direction tests for beginners: start here
Begin with the cheapest checks that answer the main question: is the arrow leaving cleanly, or is the bow or shot creating left-right drift? Bare shaft, paper, and walk-back tuning do that better than a spine tester alone.
Left and right impact patterns do not mean the same thing on every bow. A recurve often points toward spine mismatch, grip torque, or plunger and rest tuning. A compound can show the same pattern from centershot error, rest contact, nock fit, or torque. The pattern matters, but the cause can differ.
Quick comparison
| Product | Badge | Best for | Price | ||
|---|---|---|---|---|---|
 | Bow Level 2-Pack for Compound Bows, Aluminum Archery BowGeneric | Budget pick | Aluminum bow leveling kit for compound bows | $15.99 Price as of 9 Oct 2026 | View |
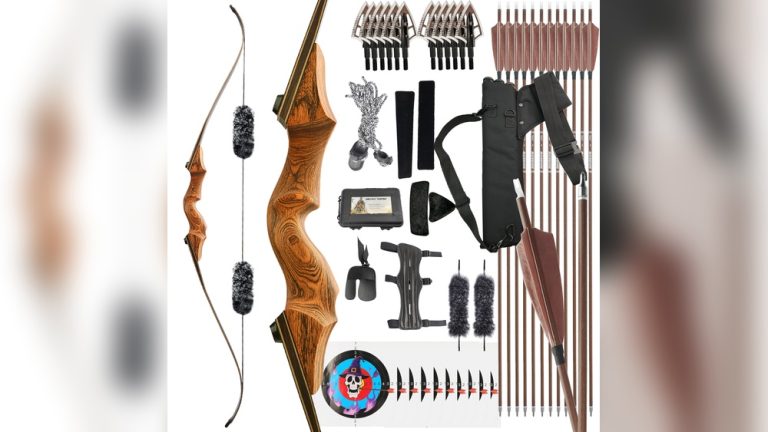
 | PG1ARCHERY 30Inch Carbon Arrows for Hunting ArcheryPG1ARCHERY | Also great | 30-inch carbon arrows for compound/recurve bows | $31.99 Price as of 9 Oct 2026 | View |
 | FEATCH 2 Pack Berger Hole Bow Level – Aluminum Bow LevelingFEATCH | Our pick | 2-pack aluminum bow leveling kit for compound bows | $13.99 Price as of 9 Oct 2026 | View |
 | Morrell NASP Paper Archery Target Faces, Official 80 cm,Morrell | Upgrade pick | 100-pack NASP official archery target faces | $189.99 Price as of 9 Oct 2026 | View |
Bare shaft test is the best first check for tuning errors. Paper tuning is the fastest way to spot contact problems. Walk-back tuning is the best alignment check when groups drift even after the first two tests.
How we chose
These tests stay low-cost and use gear most beginners already have: a target, a few arrows, and a clear lane. They also separate shooter error from setup problems instead of treating every left-right miss as an arrow issue.
They work for both recurve and compound bows, though the readings differ. The sequence also gives distance-by-distance guidance, which matters more than buying a tool before the problem is identified.
For product context, the roundup includes 6 best arrow spine testers for archery tuning in the broader market, with RAM Micro Spine Tester as the best overall choice, Easton Pro Spine Tester for shop owners, Bearpaw Spine Tester for traditional archers, and Decut P-Nexo as the budget option. But range tests should come first.
Bare shaft test: best for tuning errors
- Adjustable nocks for compatibility with different bows
- Brightly colored vanes for easy tracking
- Removable tips for versatile use
This is the best first-range check when arrows are not behaving the same way. It is useful for beginners because it compares a fletched shaft, which has stabilization from vanes, against a bare shaft, which flies more sensitively and shows tune problems faster.
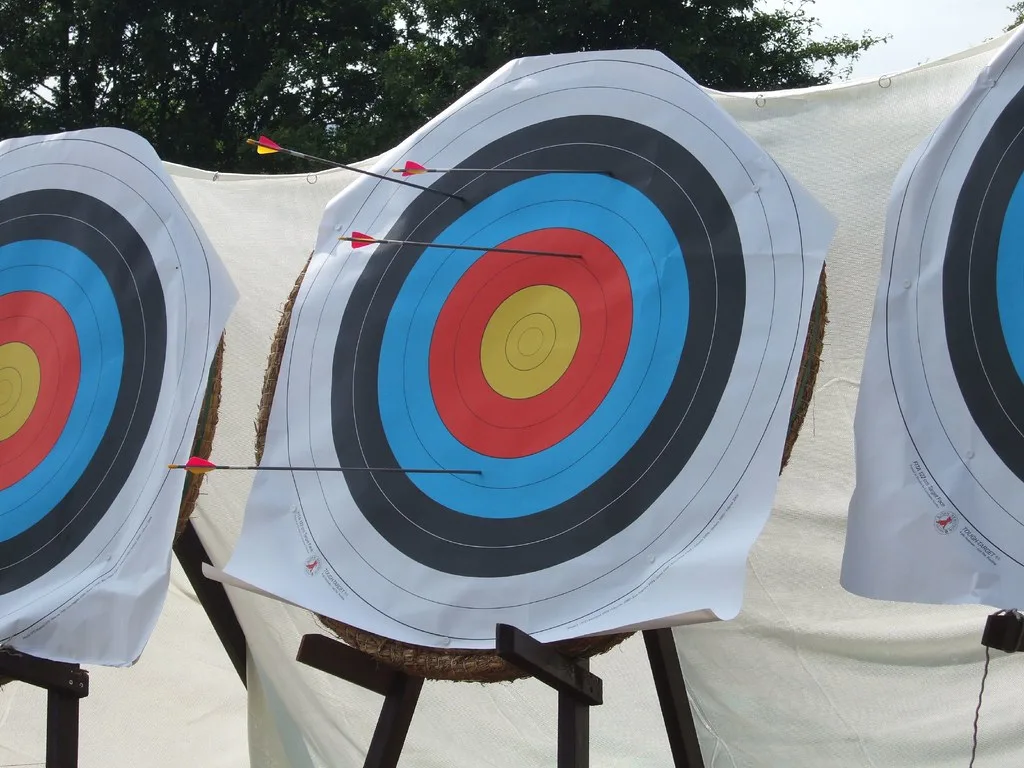
Start at a short distance, roughly 10 to 15 yards. Shoot one bare shaft and a couple of fletched shafts at the same spot. If the bare shaft lands left or right of the group, the bow or arrow setup is telling you something. On a recurve, that often points to spine or plunger issues. On a compound, look hard at centershot, rest contact, and nock fit.
The main drawback is that bare shafts magnify small mistakes. A loose grip or poor release can make the result look like a spine problem when it is really bow torque.
How to read the impact pattern
For recurve bows, a bare shaft that lands left of the fletched group can indicate a dynamic spine issue or a tune that is too stiff for the setup; right impact can point the other way. For compound bows, left-right results are often tied to rest, centershot, or torque first, then spine.
Do not treat one arrow as proof. Shoot at least three ends before changing anything. If the bare shaft moves with the fletched group, the issue is probably shooter form. If it stays apart, the setup deserves attention.
Paper tuning: best for spotting contact problems
- Precision alignment for bow sight and arrow rest setup
- Fits most compound bows with a Berger hole
- Lightweight and durable aluminum construction
Paper tuning shows the tear shape from a shaft passing through paper close to the bow. It is a setup check, not a full diagnosis. Beginners should use it to find fletching contact, nock fit problems, and rest alignment errors before moving to finer tuning.
Shoot at close range, around a few feet from the paper, so the shaft has not had much time to correct itself. A clean hole suggests the arrow left the bow well. A left or right tear can point to rest issues, bow hand torque, or an arrow mismatch, depending on the bow type.
The drawback is sensitivity. A tiny change in grip, nock fit, or rest position can change the tear fast, which means paper can confuse a beginner if used alone.
What tear shape means
A tear that shows the point or shaft offset from center usually means the arrow is leaving with unwanted side load. In compound setups, a tail-left or tail-right tear often pushes the archer to check the rest, nock height, and centershot first. In recurve setups, nock fit and spine are common suspects.
If the tear changes after a grip correction, that is a clue. If it stays the same after form cleanup, move to the bow setup.
Walk-back tuning: best for alignment checks
- Precision alignment for Berger hole bows
- High-visibility green vials for quick adjustments
- Lightweight and durable aluminum construction
Walk-back tuning checks whether sight marks and arrow line agree as distance grows. It is useful after the bow is close to tuned, because it can reveal centershot error, bow hand torque, and some rest issues without expensive gear.
Pick one fixed sight pin. Shoot at close range, then step back in measured distance changes and keep aiming at the same vertical line. If the impacts drift left or right as distance grows, the bow may be out of line or the hand pressure may be changing the launch.
The drawback is that it depends on a consistent anchor and steady sight picture. If those are unstable, the drift may be the shooter, not the bow.
What drift means
If arrows peel off the line as you move back, check grip pressure first. A hard bow hand or a twisted wrist can create the same pattern as a centershot problem. If the drift stays even after grip cleanup, look at the rest, limb alignment, and sight alignment.
For compound bows, walk-back tuning is especially useful after paper tuning. For recurve bows, it helps confirm whether the arrow line matches the sight line once the basic tune is close.
Which one should you buy or try first?
- Official NASP scoring size for tournament practice
- Works with all bow types and arrow tips
- Heavy card stock resists tearing
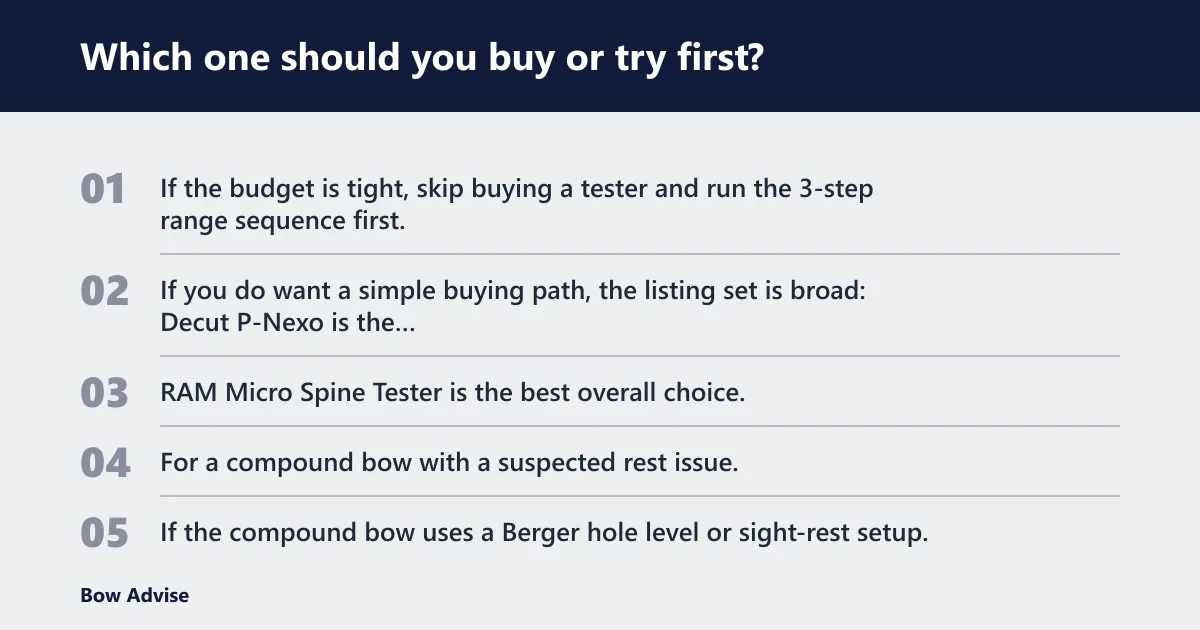
If the budget is tight, skip buying a tester and run the 3-step range sequence first. If you do want a simple buying path, the listing set is broad: Decut P-Nexo is the budget option for archers starting spine testing, while Bearpaw Spine Tester is the better fit for traditional archers. RAM Micro Spine Tester is the best overall choice, and Easton Pro Spine Tester is aimed at shop owners.
For a compound bow with a suspected rest issue, start with paper tuning and walk-back tuning before spending on anything else. If the compound bow uses a Berger hole level or sight-rest setup, an aluminum bow level can help with centershot and rest alignment, but it does not replace the range tests.
For a recurve with left or right drift, bare shaft work usually gives the clearest answer first. If the bow still behaves badly after the three tests, stop changing parts and get a second set of eyes on the grip, nock fit, and arrow match.
Need-based guidance
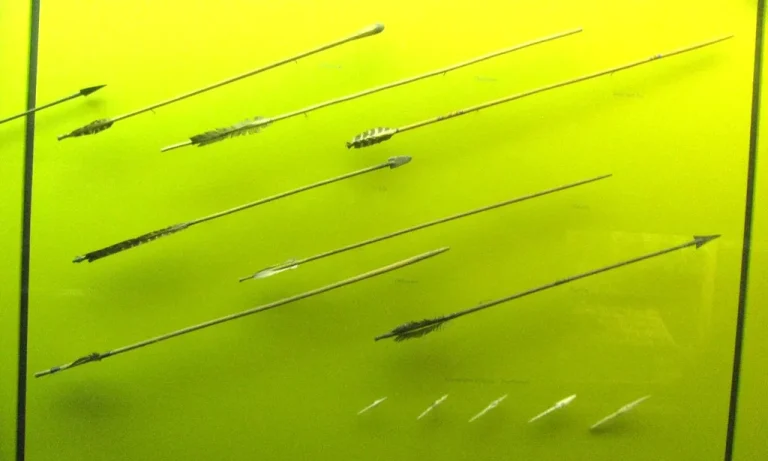
Traditional archery depends on matching arrow and bow draw weight, and wooden shafts can vary naturally, so reliable testing matters more there. Compound setups usually expose rest and torque errors faster, while recurves often reveal spine mismatch and hand pressure sooner.
Say a beginner’s 29-inch compound arrows hit left with bare shafts, but paper shows a clean hole. That can mean the setup is close and the grip is the next fix. Suppose a recurve shooter gets right tears and right bare-shaft impacts at 10 yards. That can point to a weak dynamic spine or inconsistent bow hand pressure.
Beginner arrow-direction worksheet

Use this as a low-cost decision table. It separates distance, impact pattern, likely cause, and the next fix for recurve and compound bows.
| Test | Distance | Impact pattern | Likely cause | Next fix for recurve | Next fix for compound |
|---|---|---|---|---|---|
| Bare shaft vs fletched shaft | 10 to 15 yards | Bare shaft left of group | Too stiff, torque, or rest/plunger issue | Check spine, point weight, plunger tension | Check centershot, rest contact, nock fit |
| Bare shaft vs fletched shaft | 10 to 15 yards | Bare shaft right of group | Too weak, torque, or setup mismatch | Check spine, point weight, brace height | Check rest timing, centershot, nock fit |
| Paper tuning | 4 to 6 feet from paper | Left or right tear | Nock fit, rest contact, or launch angle | Confirm arrow clearance and grip pressure | Check arrow rest and centershot alignment |
| Walk-back tuning | Close to far, in steps | Drift off the line | Bow torque or rest alignment issue | Fix grip and sight picture first | Fix grip, then rest and sight marks |
What to do first
Start with the test that matches the symptom. Fishtailing on bare shafts points to arrow stabilization and spine. A weird tear through paper points to contact or nock problems. Sight-line drift points to alignment or hand torque.
- Shoot fletched shafts and bare shafts together at 10 to 15 yards.
- Repeat with a second end before touching the bow.
- Shoot through paper from 4 to 6 feet if the bare shaft result is unclear.
- Run walk-back tuning only after the first two tests look close.
- Change one thing at a time: grip, rest, nock fit, then arrow spine.
Common mistakes
Using only one arrow is a common trap. So is changing point weight, rest position, and grip at the same time. That makes the result useless.
Another mistake is reading every left-right result the same way on recurve and compound bows. Bow torque can mimic spine mismatch, and rest contact can hide behind a clean-looking group.
A common first-timer mistake is shooting a bare shaft at 30 yards and blaming the arrow when the release is the real problem. Keep the first check close, then move back only after the group starts to make sense.
If that didn’t work
If bare shaft, paper, and walk-back all disagree, stop chasing the arrow first. Check nock fit, arrow rest clearance, and grip pressure in that order. A loose nock or touching rest can fake a spine problem; a hard grip can fake both.
- Inspect nock fit on the string and confirm it snaps on and off with consistent pressure.
- Check the rest for contact marks on the shaft or fletching.
- Return to paper at close range after each change.
- Only then revisit arrow spine and point weight.
Prevention
Keep the same anchor, grip, and arrow set during a tuning session. Changing all three at once hides the real source of the left-right pattern.
Frequently asked questions
What are the best arrow direction tests for beginners?
The best order is paper tuning, bare shaft comparison at 10 to 15 yards, then walk-back tuning. That sequence shows whether the problem is launch, arrow behavior, or alignment. It is low-cost and works with both recurve and compound bows.
How do I tell if my arrows are flying left or right?
Use a fletched shaft as the baseline and compare a bare shaft to it. If the bare shaft lands left or right of the group, the arrow is telling you something about tune or form. Mark the target face so the impacts are easy to compare.
What simple test shows whether my arrow spine is too stiff or weak?
The bare shaft test is the simplest check. Shoot it beside fletched shafts at 10 to 15 yards. A left or right split from the group can point to spine mismatch, but only after grip and rest contact are ruled out.
Can I check arrow direction without expensive tuning tools?
Yes. A target face, a few arrows, and a short distance are enough to begin. Paper tuning only needs paper, and walk-back tuning only needs a sight mark and measured steps back. Expensive testers are useful, but they are not the first move.
How do I know if fishtailing is caused by my arrows or my bow?
If the bare shaft wanders while the fletched shafts stay grouped, suspect spine or setup first. If both arrow types drift the same way, look harder at bow torque, grip pressure, and release. Paper tears can help confirm whether the arrow left cleanly.
How far should I shoot when testing arrow direction?
Start bare shaft work at 10 to 15 yards. Shoot paper from a few feet away so the shaft has not corrected itself yet. Use walk-back tuning only after the first two tests are close enough to trust.
What should I look for after an arrow direction test?
Look for where the bare shaft lands, what kind of paper tear you get, and whether the sight line drifts as distance increases. Then fix the most likely cause first: grip, rest contact, nock fit, or spine. Change one variable at a time.