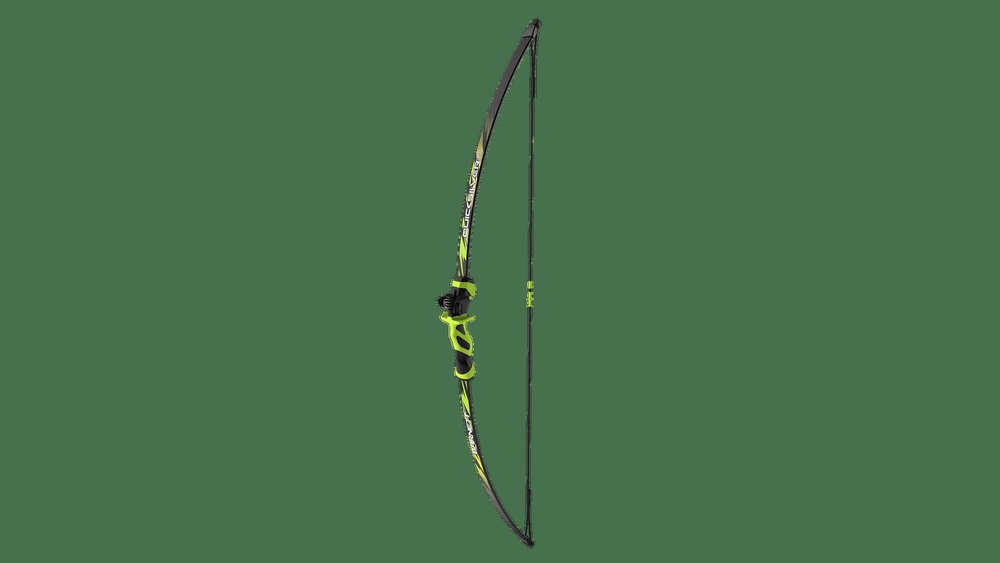
How to Install Pin Sight on a Daisy Youth Bow: Easy Guide
Installing a pin sight on a Daisy Youth Bow can be a rewarding project for both beginners and experienced archers. Many young shooters and their parents want to improve accuracy and confidence, but the setup process can feel confusing. With the right steps and some careful adjustments, your youth bow can become a more precise and enjoyable tool for target practice or backyard shooting.
This guide breaks down everything you need to know, from choosing the right sight to fine-tuning your aim, so you can help any young archer shoot with more confidence and safety.
Understanding Pin Sights For Youth Bows
A pin sight is one of the most common bow sights used by archers of all skill levels. For youth bows like the Daisy, a pin sight usually features one or more small, fiber optic pins. These pins act as visual markers to help align the bow with the target. The shooter looks through the peep sight on the string and aligns the pin with the bullseye.
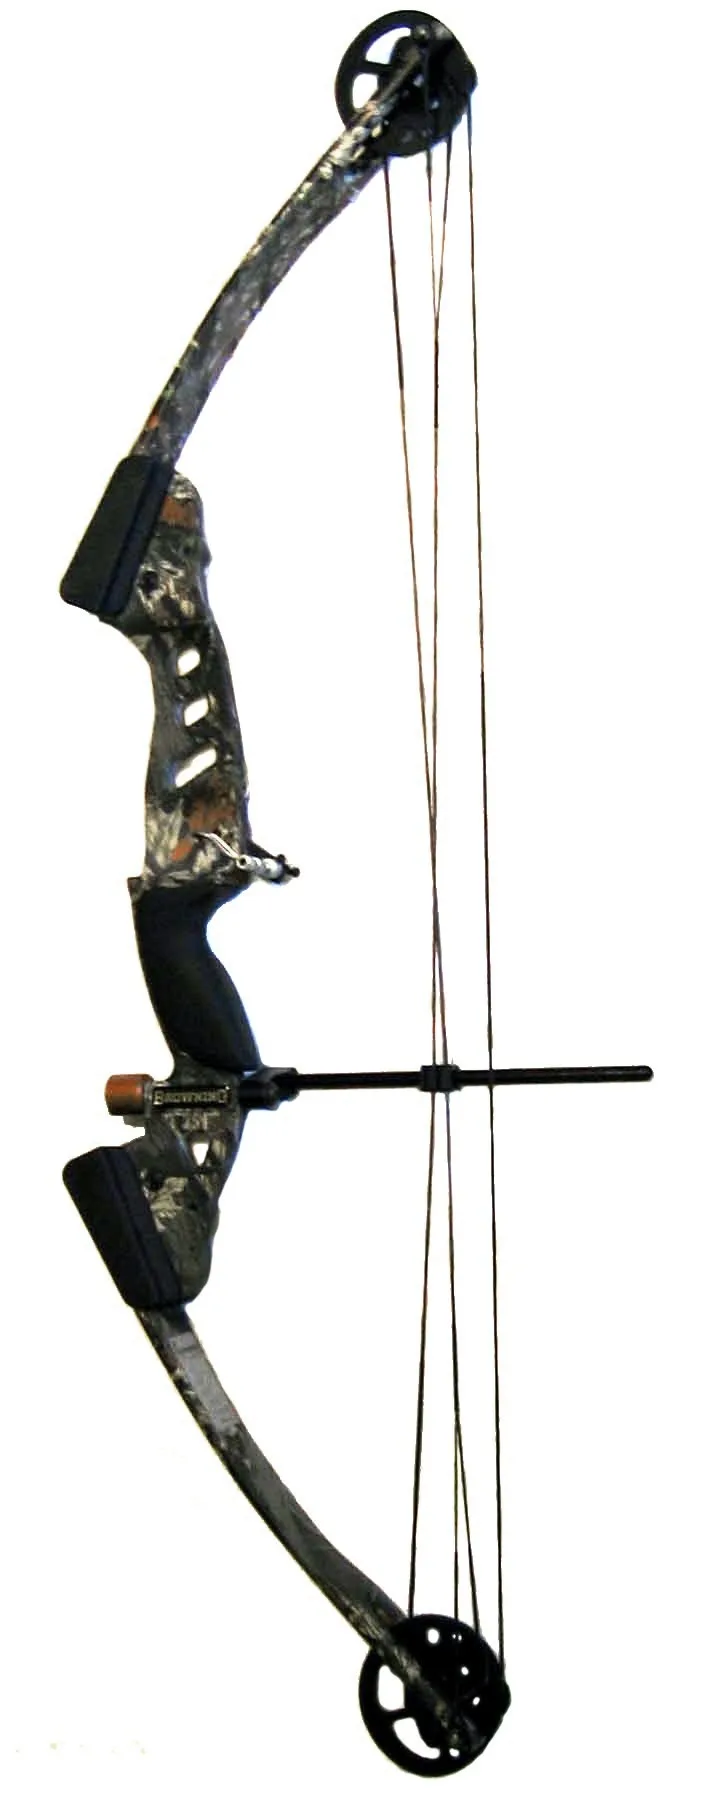
Youth bows are designed to be light and easy to draw, but their simple design sometimes means fewer mounting options. Choosing a pin sight that matches the bow’s size and mounting holes is crucial. Most Daisy Youth Bows, such as the popular Daisy Youth Longbow or Daisy Compound Bow, use basic riser designs with pre-drilled holes. This allows for simple installation, but not every aftermarket sight will fit perfectly.
Why Add A Pin Sight To A Youth Bow?
- Better accuracy: A pin sight provides a clear reference point, helping young shooters aim more consistently.
- Skill development: Learning to use a sight is a basic archery skill that builds muscle memory.
- Confidence boost: Hitting the target more often keeps kids motivated and focused.
Pro Tip: Not all youth bows come with threaded holes for sights. Double-check your Daisy model before buying a sight to avoid disappointment.
Choosing The Right Pin Sight
Selecting the right pin sight is the foundation for a successful installation. There are a few factors to consider when matching a sight to a Daisy Youth Bow.
Key Features To Look For
- Lightweight design: Youth bows are made for smaller shooters, so the sight should not add much weight.
- Simple mounting system: Look for a sight with one or two mounting holes that match your bow.
- Single or dual pins: One pin is enough for most beginners, but two can help for shooting at different distances.
- Fiber optic visibility: Bright fiber optic pins are easier to see in various lighting conditions.
- Durability: Strong plastic or aluminum will withstand bumps and drops.
Compatible Sights For Daisy Youth Bows
Not every sight fits every bow. Here’s a basic comparison of popular pin sights for youth models:
| Sight Model | Mounting Holes | Pin Count | Material | Price Range |
|---|---|---|---|---|
| Truglo Glo-Brite Youth | 1 | 1 | Plastic/Fiber | $15-$20 |
| Trophy Ridge Joker 3-Pin | 2 | 3 | Aluminum | $20-$30 |
| Allen Youth Bow Sight | 1 | 1 | Plastic | $10-$15 |
A one-pin sight is best for beginners, as it reduces confusion and simplifies aiming. If the Daisy bow does not have pre-drilled holes, you may need a universal mounting bracket or professional help.
Mistakes To Avoid
Many buyers choose a sight based on looks or price alone. But a poorly fitting sight can move during use, ruining accuracy and even damaging the bow. Always check for mounting compatibility, and avoid heavy metal sights designed for adult bows.
Tools And Materials You’ll Need
Before you begin, gather the essential tools and materials. Working with the correct items makes the process smoother and prevents damage to your bow.
- Pin sight (compatible with Daisy Youth Bow)
- Small screwdriver (usually Phillips head)
- Allen wrenches (for fine adjustments, often included with the sight)
- Mounting screws (usually provided with the sight)
- Bow string wax (optional, for maintenance)
- Soft cloth (to protect bow finish during installation)
Having a clean, well-lit workspace will help you see small parts and avoid losing screws. If working with a child, supervise closely and keep tools organized.
Preparing Your Daisy Youth Bow
Before installing the pin sight, inspect your bow for any issues and get it ready for upgrades. Skipping this step can lead to poor sight alignment or even cause permanent damage.
- Clean the riser: Use a soft cloth to wipe dust and dirt from the riser where the sight will be attached.
- Check for mounting holes: Most Daisy Youth Bows have one or two threaded holes near the grip area on the riser. If you can’t find them, consult the owner’s manual or contact Daisy for guidance.
- Inspect for cracks or damage: Never attach a sight to a cracked riser. This could make the bow unsafe.
- Unstring the bow (optional): For safety, you may want to unstring the bow while working, especially for younger children. This step is not required but can prevent accidents.
Pro Tip: If the mounting holes are filled with paint or debris, gently clean them with a toothpick or compressed air.
Step-by-step: Installing The Pin Sight
Now you’re ready to install your new pin sight. The process is simple but requires careful attention to detail.
1. Align The Pin Sight
Hold the sight against the riser, lining up the mounting holes on the sight with those on the bow. Most right-handed shooters mount the sight on the left side of the riser, and left-handed shooters do the opposite.
2. Insert Mounting Screws
Using the provided screws, attach the sight loosely to the riser. Do not tighten fully yet, you may need to adjust the position. Make sure the sight sits flat against the riser, without gaps.
3. Adjust Sight Position
Before tightening, check that the pin is visible through the peep sight when you draw the string. The pin should sit vertically in line with the arrow’s path. Slide the sight up or down as needed to match your eye level.
4. Tighten Screws
Once you’re happy with the alignment, tighten the screws with a screwdriver or Allen wrench. Do not overtighten, as this can strip the threads or crack the riser. The sight should feel secure but not forced.
5. Test Draw And Fine Tune
With the sight installed, string the bow and perform a few test draws. Look through the peep sight and check the pin’s position. Make any small adjustments as needed by loosening the screws, moving the sight, and retightening.
Pro Tip: If you notice the sight shifting over time, add a drop of removable thread locker to the screws.
Setting Up The Pin For Accurate Shooting
Mounting the sight is just the beginning. Proper adjustment is key to hitting the target consistently.
Adjusting For Distance
Most pin sights allow you to move the pin up or down. This changes the point of aim for different distances.
- Shooting high? Move the pin up.
- Shooting low? Move the pin down.
Start shooting from a short distance (about 10 yards) and adjust in small steps. Once you’re grouping arrows tightly, move back and repeat. For youth bows, one pin is usually enough for 10, 20 yards.
Windage Adjustments
If your arrows are landing to the left or right, move the sight in the opposite direction.
- Arrows right? Move the sight to the left.
- Arrows left? Move the sight to the right.
Fine-tuning windage may take several rounds of shooting. Small changes make a big difference.
Example: Tuning A Daisy Youth Bow
When I tested this setup with a Daisy Youth Longbow, I started with the pin centered. My first group of arrows landed low and to the left. I raised the pin slightly and slid the sight to the right, and by the third round, my arrows were hitting much closer to the bullseye.
Patience and small adjustments are key.
Safety Tips For Installing And Using Sights
Adding accessories to a youth bow should always be done with safety in mind. Here are important points to consider:
- Supervise young shooters: Always help children with tool use and setup.
- Never dry fire: Firing the bow without an arrow can damage it.
- Check for loose parts: Inspect the sight and screws before every shooting session.
- Use proper arrows: Make sure arrows match the draw weight and length of the bow.
Pro Tip: Teach young archers to check their equipment before every use. This builds good habits and prevents accidents.
Maintaining Your Pin Sight And Bow
Proper maintenance extends the life of both your sight and bow. A few minutes of care after each session can prevent problems later.
- Wipe down the sight: Use a soft cloth to remove dirt and sweat.
- Check screw tightness: Vibrations from shooting can loosen screws over time.
- Protect fiber optics: Avoid dropping or banging the bow, as fiber optic pins can break.
- Store properly: Keep the bow and sight in a cool, dry place when not in use.
If a pin breaks or the sight gets bent, replace it before shooting again. Most manufacturers offer replacement parts.
Troubleshooting Common Issues
Even with careful installation, problems can arise. Here’s how to solve the most common issues:
Sight Won’t Fit The Bow
- Double-check the mounting hole pattern.
- Try a universal mounting bracket.
- Consult Daisy or the sight manufacturer for compatibility.
Sight Moves After Shooting
- Use a drop of removable thread locker.
- Tighten screws carefully, but do not overtighten.
- Check for stripped threads; replace screws if needed.
Pin Is Hard To See
- Clean the fiber optic with a soft cloth.
- Shoot in better lighting conditions.
- Consider a brighter pin or a sight with a larger fiber optic.
Inconsistent Arrow Groups
- Make sure the sight is not moving.
- Check that the arrows are the correct size and weight.
- Practice consistent form and anchor point.
Comparing Pin Sights Vs. Other Bow Sights
Some archers wonder if a pin sight is the best choice for a Daisy Youth Bow. Here’s a quick look at how pin sights compare to other options:
| Sight Type | Pros | Cons | Best For |
|---|---|---|---|
| Pin Sight | Easy to use, affordable, good for beginners | Limited for long distances, requires adjustment | Youth and beginner archers |
| Peep Sight Only | No extra weight, simple | Less accuracy, harder for beginners | Traditional archery |
| Red Dot Sight | Fast target acquisition | Requires batteries, heavier, not always compatible | Advanced archers |
For most Daisy Youth Bow users, a basic pin sight offers the best balance of simplicity, accuracy, and cost.
Practical Tips For Helping Young Archers
Teaching a child to shoot with a pin sight can be a fun bonding experience. Here are some practical ways to make the process smoother and more effective:
- Start close: Begin shooting at short distances to build confidence.
- Explain each step: Let the young archer see and touch each part of the sight.
- Use visual cues: Place bright markers on the target for easier aiming.
- Celebrate progress: Praise good form and improvement, not just bullseyes.
Pro Tip: Allow kids to help with safe parts of the installation, such as cleaning the riser or holding the sight in place.
Upgrading And Customizing Your Setup
As young archers grow and improve, they may want to upgrade their equipment. Here are some common upgrades after installing a basic pin sight:
- Add a peep sight: Improves alignment and consistency.
- Use a wrist sling: Increases comfort and control.
- Try different pins: Experiment with different colors or sizes for better visibility.
- Upgrade arrows: Lighter or heavier arrows can change accuracy.
Always check that any new accessory is compatible with your Daisy Youth Bow.
Where To Find Reliable Pin Sights And Accessories
Buying from a trusted retailer ensures you get genuine parts that fit your bow. Some good options include archery pro shops, sporting goods stores, and online retailers. Always read reviews and check return policies before buying. For more information about archery equipment standards and safety, see the USA Archery official website.
Frequently Asked Questions
How Do I Know If A Pin Sight Will Fit My Daisy Youth Bow?
Check your bow for pre-drilled mounting holes on the riser. Most Daisy Youth Bows support one or two-hole sights, but some models need a universal mounting bracket. If you’re unsure, bring your bow to a pro shop for advice.
Can I Use A Multi-pin Sight On A Youth Bow?
Yes, but one pin is usually enough for beginners. Multi-pin sights add weight and complexity. If your child shoots at different distances often, a two-pin sight may help, but test with one pin first for simplicity.
Do I Need To Use Thread Locker On The Screws?
It’s not required, but it can help prevent screws from loosening due to vibration. Use a removable type (not permanent), and apply only a small drop to each screw before tightening.
Is It Safe For My Child To Install The Sight Themselves?
Younger children should always have adult supervision when using tools. Older kids with experience can help, but an adult should check the final installation for safety.
What Should I Do If The Pin Sight Breaks?
Stop shooting and remove any broken parts. Most manufacturers offer replacement pins or sights. Don’t try to repair a broken sight with glue or tape, as this can be unsafe and affect accuracy.
Installing a pin sight on a Daisy Youth Bow is a valuable skill that can help young archers enjoy the sport more and shoot with greater confidence. With the right tools, careful setup, and ongoing practice, you’ll see steady improvement and more smiles at the target range.