How to Choose a Target Boss for Backyard Practice
Choose the Morrell Yellow Jacket Stinger for low-speed recurve and beginner backyard work, or step up to the Morrell Center Punch 24 Inch Foam Frame when your bow throws faster arrows and pass-through risk rises. Match the boss to bow type, draw weight, and arrow speed first. Then plan the backstop and overshoot space around it.
This guide is part of our Archery basics: beginner guide to bows and shooting series.
Target boss decision table
| Bow type | Approximate draw weight band | Arrow speed risk | Recommended boss density/type | Minimum backstop priority | Common failure mode |
|---|---|---|---|---|---|
| Beginner recurve | Under 30 lb | Low | Bag target or lighter layered foam for field points | High, because misses still leave the shooting lane | Bag sags, tilts, or is too small for the miss area |
| Recurve with firmer limbs | 30-45 lb | Moderate | Layered foam block with enough density for repeated hits | High | Boss is too soft, so arrows sink deep or pass through when grouped tightly |
| Compound at backyard speeds | 35-50 lb | Moderate to high | Dense layered foam block or a bag specifically rated for higher speed | Very high | Face is hit near a fastening, or the boss shifts after repeated shots |
| Fast compound | Over 50 lb | High | Heavier layered foam with a firm core and repeated-shot durability | Very high | Boss is too light, too thin, or mounted so it topples during arrow removal |
| Crossbow-style energy | Varies by setup | Very high | Only a boss rated by the manufacturer for that speed class | Very high | Using a target made for slower bows and assuming it will hold |
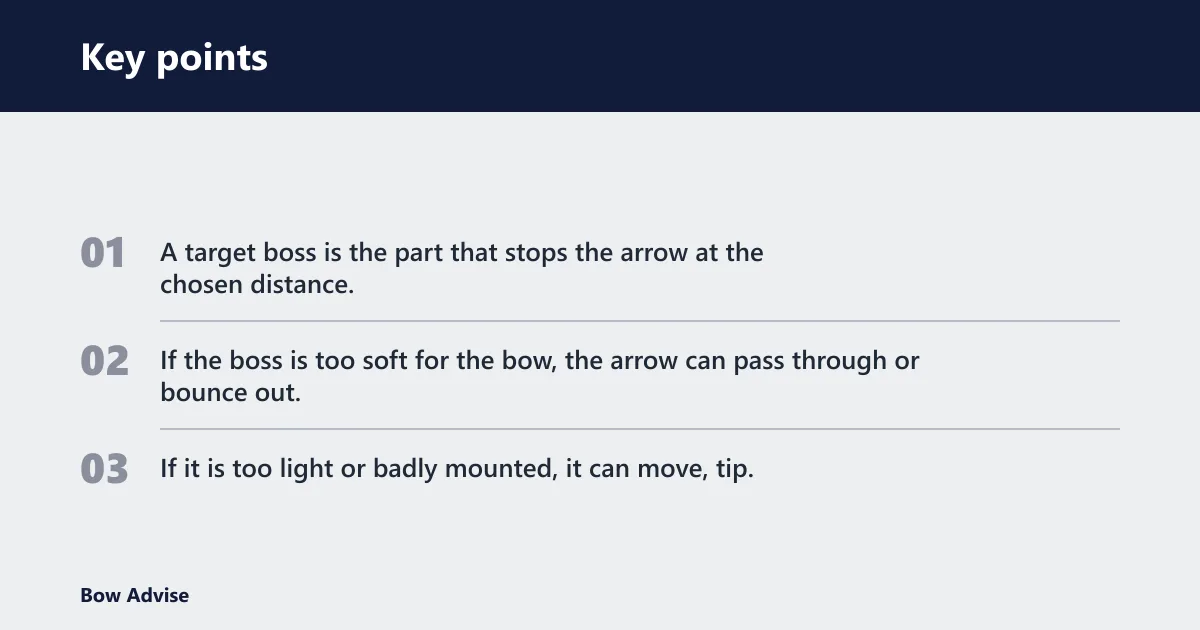
A target boss is the part that stops the arrow at the chosen distance. If the boss is too soft for the bow, the arrow can pass through or bounce out. If it is too light or badly mounted, it can move, tip, or expose hard hardware in the shot line.
How do you match a boss to your bow?
Start with the bow, not the target face. Recurve bows and lower-speed setups usually do well with a bag target or a layered foam block if the boss is large enough and the backstop is in place. Heavier compounds need more density, more mass, and tighter attention to the mounting.
Recurve bows and lower-speed setups
For a beginner recurve, the Morrell Yellow Jacket Stinger is the easiest fit among the listed options. It is a bag target with two shooting sides and easy arrow removal. That makes sense for field-point practice where the goal is repeated shooting, not broadhead work.
Its drawback is simple: a bag is not the best answer for heavier bows or for shooters who want a firmer stop with less sink. If the bow is near the upper end of the setup or the arrows are punching deep, move up to a denser foam target.
Compound bows and higher-speed setups
For faster compounds, the Morrell Center Punch 24 Inch Foam Frame is the stronger match from this list. It uses layered foam and a high roller insert, which gives it more margin for higher-speed arrow impact than a lighter bag target.
The tradeoff is cost and size. It is a larger, pricier block, and it still needs the right face angle, stable mounting, and a backstop behind it. A fast bow does not become safe because the target is expensive.
Why draw weight and arrow speed change stopping needs
Draw weight and arrow speed matter because they change how much energy the boss must absorb. A light recurve with field points is easier on the target than a fast compound. A boss that is acceptable at one speed band can fail at another, even if the face looks intact.
Suppose a beginner starts with a light recurve and later switches to a faster compound. The same bag target may still look usable, but the arrow may sink deeper, blow through, or strike a fastening. That is why the boss choice should track the bow, not just the price tag.
What backyard space do you need?
Give the target a clear lane, then leave enough overshoot space for misses and bounce-outs. Keep the target pointed away from pets, children, wildlife, livestock, neighboring gardens, and buildings. Treat the safe space behind the boss as part of the range, not spare yard space.
Overshoot area behind the target
The overshoot area is the clear space behind the target where stray arrows could travel if they pass through or glance out of the boss. It should protect people, animals, cars, windows, and stored equipment. The amount of space depends on the bow, the distance, and the chance of a bounce-out.
Clear sightlines and controlled access
Place the target where the archer can see the full lane and where others cannot wander into it. A garden or home range works best when access is controlled, the shooting line is obvious, and no one can step behind the target by accident. That means clear entry rules, not an open invitation.
Say your garden has a 40-yard pegged lane but also a side path that crosses behind the target. The lane is not safe until that path is blocked from use during shooting. The same applies to pets and children; they need to stay out of the overshoot area entirely.
What must stay out of the shot line?
Keep metal gates, hard posts, and other rigid objects out of the shot line and out of the area just behind it. The metal gate behind a boss is called out as a deflection hazard, and metal fixings can damage arrow tips if struck. The boss should face only the target surface.
Wood frame parts should also stay out of the arrow path. The wood frame should sit to the side, not on top or bottom, so the arrow is not guided into a hard edge. If the boss has exposed clips or straps toward the archer, rotate it and fix it again before shooting.
How should the boss and frame be set up?
Set the boss so it cannot topple, tilt forward, or shift when arrows are removed. A stable mount matters as much as the target itself. If the boss moves, the face angle changes and the shot line can drift toward hardware or a hard edge.
Stable mounting and anti-topple placement
Secure the boss to stakes or another stable support so it does not topple when arrows are removed. That warning matters even for light bags, because repeated arrow pulls can pull the target forward over time. The goal is simple: the boss should stay where it was placed.
Mounting should also keep the target from wobbling sideways. If the boss rocks, the archer may start compensating for movement instead of form. That makes the setup less predictable and can send arrows toward the edge of the face or into the frame.
Face angle and tilt
Angle the face so it takes the arrow squarely, not as a glancing hit. A slight forward lean is often used to help hold the target in place and to reduce bounce-out risk, but the exact angle should follow the manufacturer’s instructions for that model.
A common first-timer mistake is leaving the target upright because it looks neat. Upright bosses can kick arrows back more often, especially if the face is hard or the arrow hits near a fastening. A modest tilt and a firm base are usually safer than a perfectly vertical setup.
Keeping fixings and frame parts out of the arrow path
Metal bindings should be on the back of the boss, not toward the archer. Metal fastening clips can damage arrow tips if struck. That is a bad mistake at any backyard distance.
Before the first shot, check the full face and the edges. If the top, bottom, or side frame sits in the shot line, rotate the target or move the hardware. A target that looks centered can still be unsafe if the fixings are exposed.
Should you add a backstop?
Yes. A backstop sits behind the target boss and cuts overshoot risk from pass-throughs and stray arrows. It can be netting, carpets, or another arresting layer, but it must be placed behind the boss and sized for the full miss area. It is not a substitute for choosing the right boss.
Netting and other arresting layers
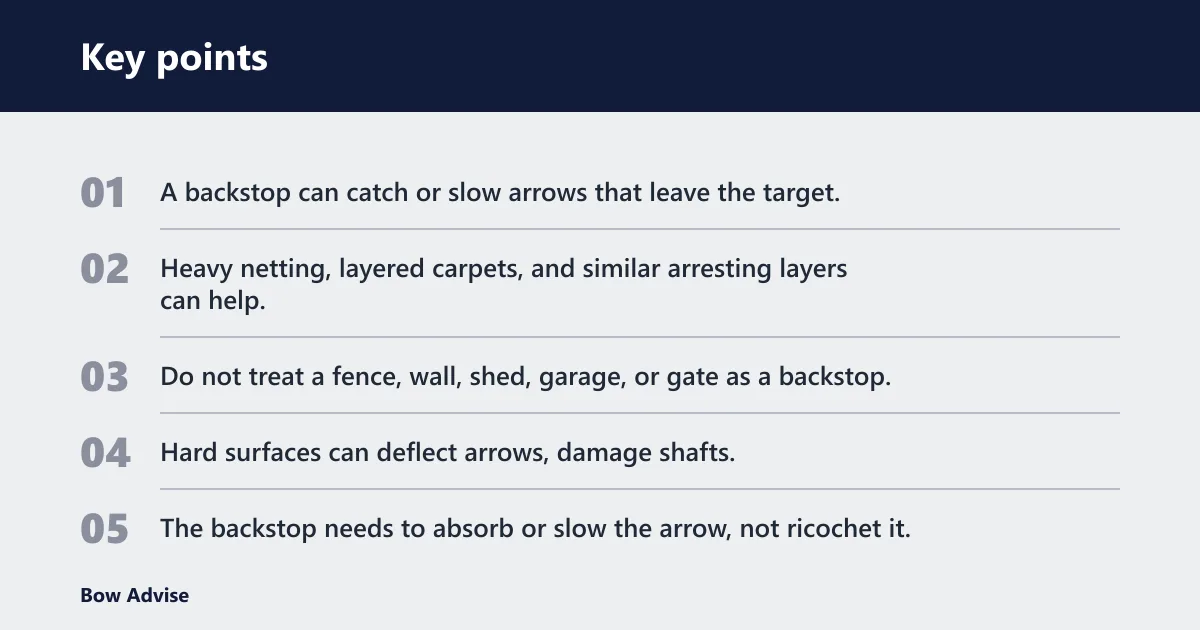
A backstop can catch or slow arrows that leave the target, especially during close-range backyard practice. Heavy netting, layered carpets, and similar arresting layers can help, but they should be used as a second line of defense. The main stop is still the boss.
Do not treat a fence, wall, shed, garage, or gate as a backstop. Hard surfaces can deflect arrows, damage shafts, or send them into places you did not intend. The backstop needs to absorb or slow the arrow, not ricochet it.
Sizing the backstop for the miss area
The backstop should cover more than the target face because misses do not all land in the same place. Size it for the full miss area around the boss, not just the bullseye. That is especially important for beginners, whose groups can spread quickly at close distance.
If the face is 24 inches wide, the protected area should be at least 24 inches wide and 24 inches tall, and larger if your groups spread. The point is to catch wide misses, low shots, and arrows that leave the boss after a partial pass-through. A small panel behind the centerline is not enough.
When a single layer is not enough
One layer may be fine for a light recurve and slow field points, but a faster compound needs more caution. If the bow is near the upper end of the boss rating, use a denser target and a more reliable backstop. Do not rely on distance reduction alone to solve a weak stopping surface.
Picture a compound setup where arrows are burying deep in a bag target and the backstop is a thin sheet at the edge of the lane. That setup still leaves too much risk. The target and the backstop need to work together, and both must match the bow.
Our picks by need
Best for low-draw recurve practice: Morrell Yellow Jacket Stinger

This is the best fit for beginner recurve and lower-speed backyard practice based on the listed specs. It is a 38-layer bag target with two shooting sides and easy arrow removal. That makes it practical for repeated field-point sessions where comfort and convenience matter.
Its limits are just as important. It is not the strongest choice for very fast compounds, and a bag target can feel less firm than a dense foam block. If the bow is upgrading soon, this may be a short-term choice rather than the final one.
Best for heavier compound setups: Morrell Center Punch 24 Inch Foam Frame

This is the better pick when arrow speed rises and the target must take repeated hits without the same sink a bag target can show. The layered foam build and High Roller insert give it more margin for compound practice and broader backyard use.
The drawback is price and bulk. At $258.01, it is far more expensive than the bag target, and it still needs secure mounting and a backstop behind it. A stronger boss is not a reason to skip the rest of the safety setup.
Best for tighter backyard spaces: Delta McKenzie travel Pro portable layered foam Archery target

This is a good fit when the setup needs to stay compact and portable. It is an 18 x 16 x 11 layered foam target, and it works for field points and broadheads. The smaller footprint makes it easier to place in a controlled home lane.
The limitation is obvious: a compact target gives you less face area and less forgiveness than a larger block. That means the backstop, overshoot space, and mounting need even more attention. A small target can be useful, but it is less forgiving of sloppy setup.
Best for long-use practice faces: Rinehart 18-1 Archery Target

This cube-style target gives 18 faces, which helps spread wear over more surface area. It is broadhead and field-point compatible, and the lightweight carry handle makes it easy to move around a backyard range or store between sessions.
The drawback is that its speed rating is not given in the supplied product details here, so a buyer should confirm compatibility for the specific bow before relying on it for harder-hitting setups. It is a flexible target, but it still needs the same careful check for draw weight and arrow speed.
Mistakes to avoid
Do not use hard surfaces behind the target as if they were safe stops. Fences, gates, walls, sheds, and garages can send arrows in the wrong direction or let them pass into property you meant to protect. The backstop should be an arresting layer, not a bounce surface.
Do not assume the target is safe because it looks thick. If the boss is too soft, too light, or poorly mounted, arrows can pass through or topple the setup. That is why the bow type, draw weight, and arrow speed come first in the decision.
Do not ignore the overshoot area. Even a good boss can let arrows escape after a partial pass-through or bounce-out. Keep people, pets, livestock, and neighbors out of that zone before the first shot.
Do not leave the frame hardware in the shot line. Metal fixings should be behind the boss, and the wood frame should not sit on the top or bottom where it can catch an arrow. Fasteners and frame edges are common causes of deflection damage.
Do not treat insurance as a formality. Home insurance may not cover archery accidents, so a specific archery or liability policy may be needed for the setup you are using. Check the policy language before shooting, especially if the range is on a shared property or near neighboring land.
Target boss checklist
- Confirm the bow type, draw weight, and likely arrow speed band for the session.
- Choose a boss that matches that speed band and is sturdy enough to stop arrows at close range.
- Place the boss so the face is clear of metal fixings, clips, and hard frame parts.
- Make sure the wood frame is to the side, not on top or bottom, in the shot line.
- Secure the boss so it will not topple when arrows are removed.
- Set a backstop behind the boss and size it for the full miss area.
- Check the overshoot area for pets, children, wildlife, livestock, vehicles, and nearby structures.
- Keep the lane closed to other people and mark the shooting line clearly.
- Check the setup angle, height, and tilt before the first shot.
- Review local rules and confirm whether home insurance or separate liability cover applies to backyard archery.
Frequently asked questions
What is the best target boss for backyard archery practice?
The best boss is the one that matches your bow and arrow speed with enough stopping margin for your backyard space. For most beginner recurve practice, the Morrell Yellow Jacket Stinger is the easiest starting point. For faster compound setups, the Morrell Center Punch is the stronger match.
How do I know if my target boss is safe for my bow draw weight?
Check the manufacturer’s speed and use range, then compare that with your bow’s draw weight and arrow speed class. If the bow is stronger or faster than the boss was made for, the target may pass arrows through or break down faster. When in doubt, move to a denser boss.
How much overshoot space do I need behind a backyard target boss?
There is no single number that fits every setup. The overshoot area should be large enough to catch pass-throughs and bounce-outs, and it should keep arrows away from people, pets, livestock, buildings, and cars. Bigger is safer, especially with faster bows.
Should I use a backstop net or other barrier behind my target?
Yes, when the backyard layout leaves any chance of overshoot. A backstop helps reduce risk from misses and pass-throughs, but it must sit behind the boss and cover the full miss area. It should not replace a boss that matches the bow.
Where should I place a target boss in my garden for safe practice?
Place it where you have clear sightlines, controlled access, and no hard objects in the shot line. Keep the lane away from paths, children, pets, and anything that could be struck if an arrow leaves the target. The area behind the boss should be treated as part of the range.
Do I need insurance to shoot archery in my backyard?
Often, yes, you should check. Home insurance may not cover archery accidents, and some setups may need separate archery or liability cover. Read the policy details for your property and setup, and check local rules before shooting at home.