Beginner Arrow Direction Checklist for First Range Session
Check arrow direction before every first shot: vanes must point the same way for your nock system, the odd-colored vane usually points away from the rest on most bow setups, and the arrow spine, nock fit, and rest clearance must all match the bow. Miss that check and you can chase a form problem that is really a setup error, wasting arrows and risking bad clearance or a dry-fire-like mistake. This guide gives a fast pre-range checklist that separates arrow setup faults from shooting form issues before you step to the line.
This guide is part of our Arrow direction guide for archers series.

What should you check before the first shot?
The first check is simple: aim only at a safe lane, shoot into a backstop, and make sure the bow fits the beginner. Then verify that the arrows match the setup, the nocks fit the string and serving correctly, and the fletching orientation is consistent across every arrow. Those three items catch most first-session mistakes fast.
Safe direction and range rules
Start with a clear shooting lane and a backstop that will stop the arrow. Follow the range rules before loading anything. Do not dry fire the bow. That warning matters for recurve and compound setups alike.
Bow weight and basic fit
A beginner-friendly bow should fit the archer and stay manageable through the draw and release. If the bow is too heavy, form breaks down before arrow direction can even be judged. Good first-session equipment should include a manageable bow weight, an arm guard, and a finger tab, glove, or release aid depending on bow type.
Arrow and bow compatibility at a glance
Arrows should be matched to the setup. A common beginner mistake is skipping arrow fit and then blaming the shot. Check shaft length, spine, straightness, nock fit, and fletching orientation before the first arrow is nocked.
Which arrow issues send shots left or right?
Left-right misses can come from arrow setup or from shooting form, and beginners need to separate the two before tuning. Mismatched spine, poor nock fit, serving contact, or inconsistent fletching orientation can move impact left or right. Grip torque, anchor drift, and a sloppy release can do the same.
Mismatched spine
Arrow spine is the shaft’s stiffness. It should match draw weight and draw length. If spine is too weak or too stiff for the setup, the arrow can leave the bow with left-right inconsistency before tuning begins. That is a setup issue, not a target-face mystery.
Wrong nock fit or serving contact
The nock should fit the string securely but not so tightly that it binds. It also needs to match the serving. If the nock pinches, slips, or sits crooked, the arrow can launch unevenly and mimic form errors. On compound bows, check that the nock indexes correctly on the string and clears the rest.
Inconsistent fletching orientation
Fletching should be oriented the same way on every arrow. Left-wing and right-wing vanes are not interchangeable in practice if the whole set is mixed without a plan. The vanes stabilize flight, so inconsistent orientation can create different arrow reactions from one shaft to the next.
Form errors that look like arrow problems
Grip torque, anchor inconsistency, and poor follow-through can push arrows left or right even when the arrows are set up correctly. Hold the bow hand neutral, return to the same anchor point, and finish the shot without collapsing. If the same arrow group changes when form changes, the problem is likely the shooter.
What should you check on your arrows before your first range session?
Check shaft length, spine, straightness, nock fit, and fletching orientation before you shoot. Then inspect every arrow for cracks, loose parts, or bends. That order separates safe arrows from questionable ones quickly and keeps beginners from confusing damage with bad aim.
Arrow shaft length, spine, and straightness
The shaft should be matched to draw length and the bow setup. Most manufacturers list spine options for specific draw weights and arrow lengths, and beginners should stay inside those recommendations. Look down the shaft for a visible bend and roll it if needed to spot wobble.
Arrow nock fit and indexing
The nock should snap onto the string with a secure but not overly tight fit. It must be compatible with the serving. If the fit is sloppy, the arrow can move during draw. If it is too tight, release behavior suffers. Correct indexing also keeps the nock aligned for repeatable launch.
Arrow fletching orientation and consistency
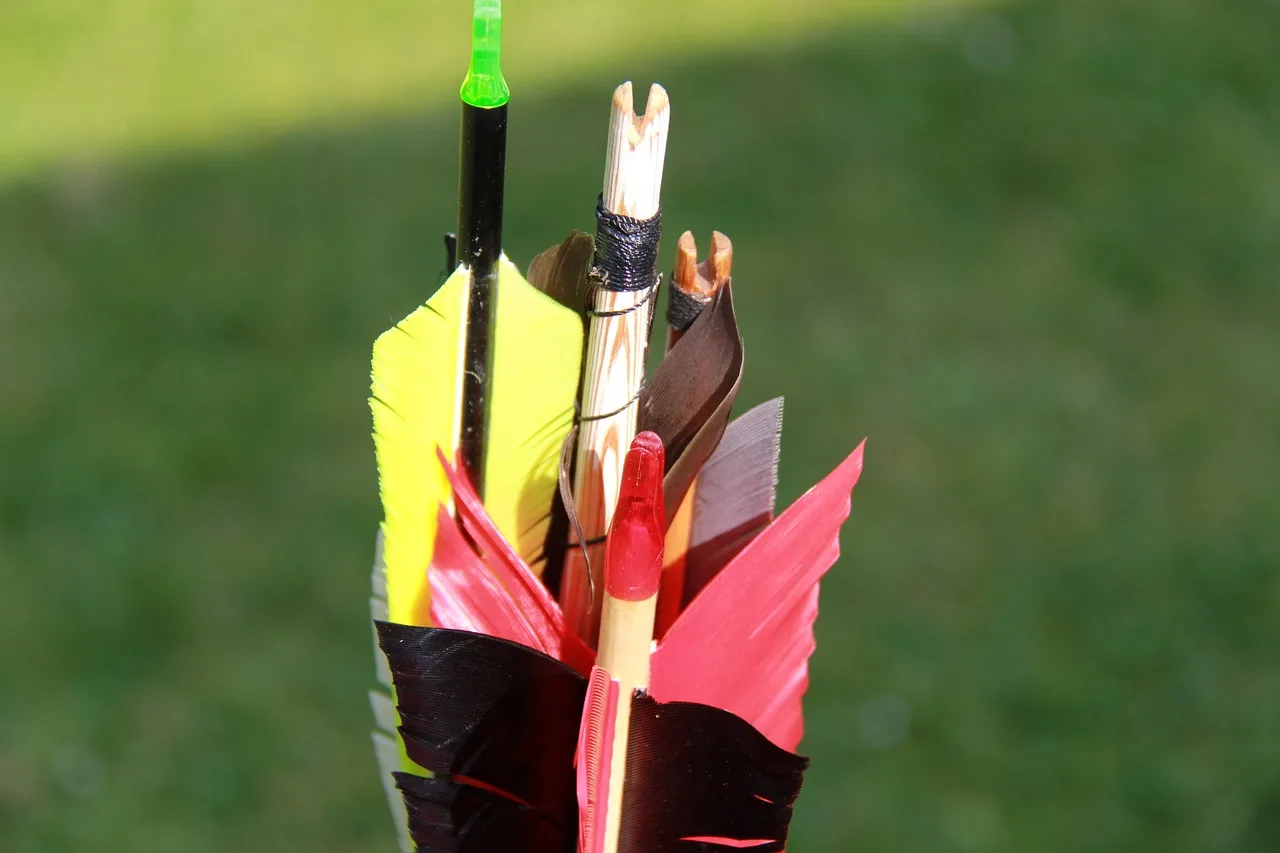
Fletching orientation must be the same across the set before nocking. On many arrows, the odd-colored vane points away from the rest on common bow setups, but the exact orientation depends on the nock system and rest. The practical rule is consistency: every arrow should be built the same way.
Say your first arrow shows a white vane aimed toward the rest, while the next arrow has the colored vane in the same position. That mixed setup can create odd clearance and flight behavior before the archer even reaches the target. Fix the orientation now, not after the first loose group.
What safety checks should I do before stepping onto the range?
Check for a safe shooting direction, a target with a solid backstop, and the range rules before any arrow is nocked. Then confirm the bow fits the beginner, the arrows match the setup, and no damaged shaft is going forward. Safety comes first because wrong arrows can fly poorly or be unsafe.
Recurve and compound setup differences
Recurve bows usually rely on finger tabs or gloves, while compound bows commonly use a release aid. The arrow check matters in both cases, but compound shooters should pay extra attention to rest clearance and nock indexing. Recurve shooters should watch finger pressure, serving contact, and vane orientation.
First-session gear basics
Beginners should keep the kit simple: a bow that fits, matched arrows, an arm guard, and a finger tab or glove if the bow type calls for it. A quiver or case helps protect gear between sessions. Extra accessories can wait until the setup proves itself.
How do I inspect arrows for damage before shooting?
Inspect each arrow for cracks, bent shafts, loose nocks, and damaged fletching before it leaves the bench. If a shaft is bent, a nock is loose, or the spine clearly does not match the bow setup, stop shooting that arrow. Do not try to “see what happens” on the line.
Damage that means stop shooting
A bent shaft, a loose nock, or a shaft that is obviously mismatched in spine should come out of the shooting pile immediately. A damaged arrow can leave unpredictably and can be unsafe. That is the clean stop-shooting rule for the first session.
Visible checks you can do fast
Hold the arrow at eye level and look down the shaft. Check the nock for cracks or wobble. Check that the fletching is secure and that the vane edges are not lifted. Those checks are enough to reject a questionable arrow before the first shot.
What beginner archery gear do I need before practice?
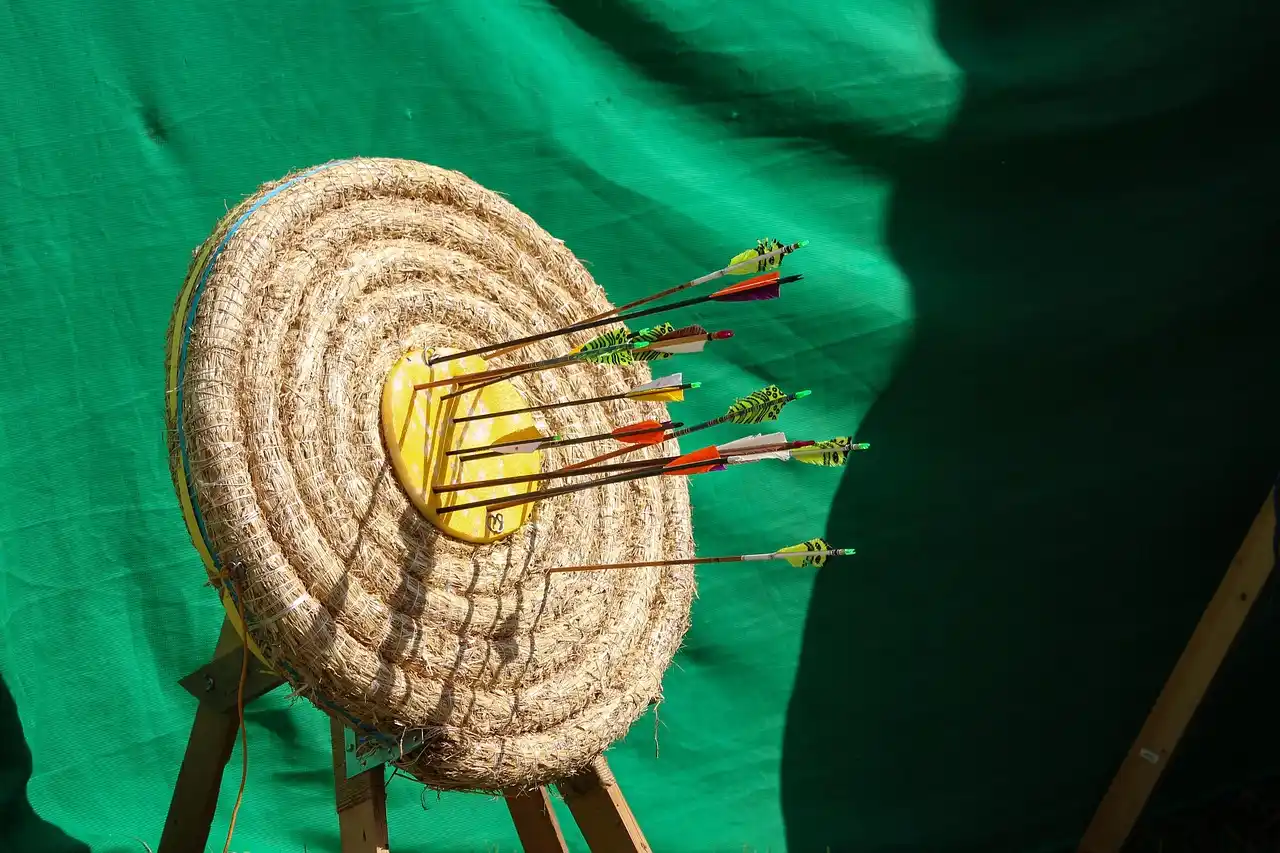
Start with the basics: a bow that fits, matched arrows, an arm guard, and a finger tab, glove, or release aid depending on the bow. Add a quiver or case for protection. Skip the rest until the arrows fly consistently and the setup proves stable.
Must-have
These items matter before the first range session because they affect safety, control, and arrow flight. The bow must suit the archer, and the arrows must match the setup. Protection matters too, especially for beginners who are still building repeatable form.

- Handcrafted from full grain leather for durability
- Adjustable belt fits a range of finger sizes securely
- Protects drawing fingers from string friction and wear
Ringsun leather finger tab
The Ringsun leather finger tab is the clearest fit for a beginner recurve setup. It protects the drawing fingers from string friction and fits a range of finger sizes with its adjustable belt. The drawback is simple: it is for right-hand use, so left-handed archers need a different option.
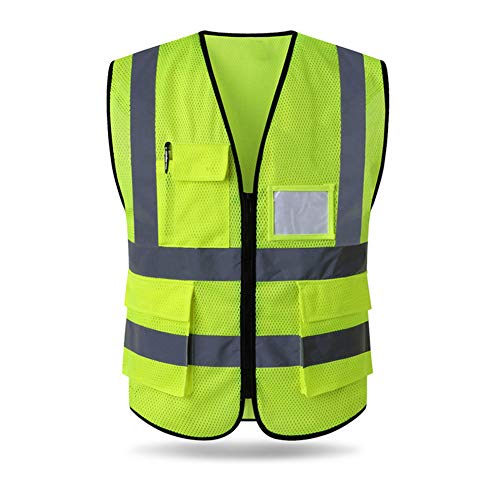
- Meets ANSI/ISEA 107 Class 2 high-visibility standards
- Five front pockets with zipper closures for storage
- Affordable at $8.98 — essential range safety basics
HYCOPROT high-visibility safety vest
The HYCOPROT vest helps beginners stay visible around a range or outdoor practice area. It has five pockets and meets ANSI/ISEA 107 Class 2 standards. The drawback is that it is range visibility gear, not archery protection, so it does not replace an arm guard or proper shooting form.
Nice-to-have
These items help organization and consistency, but they are not the first thing to buy. A good arrow holder, sight pin set, or small setup aid can make practice smoother after the basic fit is solved. The key is not to pile on gear before the arrows are matched.

- Holds minimum 20 arrows in a spacious pouch design
- Two wearing options: shoulder-back or crossbody waist
- Adjustable strap accommodates different body types
SCORPION ARCHERY shoulder or waist quiver
This quiver is useful once a beginner wants to keep arrows organized and protected between ends. It holds a lot of arrows and can be worn shoulder-back or crossbody. The drawback is size: a large quiver can feel bulky for someone still learning how to move on the line.

- Fiber optic tips resist breakage during normal use
- Three color options (yellow, green, pink) for varying light
- Standard 3/16 in size fits most compound and traditional bows
The Lord of the Tools sight replacement pins
These replacement pins fit compound and traditional bows in 3/16 in size, and the fiber optic tips can help with visibility. They are only useful if the bow already uses a compatible sight. The drawback is obvious: they are not a beginner must-have, and they do nothing for bad arrow fit.
Consumables and spares
Consumables matter once the setup is proven. Keep extra nocks and replacement fletching on hand after the arrows are matched and the bow is behaving. A spare dozen arrows makes sense later, not before the first setup is confirmed.
sanlida arrow nocks
These nocks offer a low-cost spare pack and a double-lock design that helps keep them from falling off. The drawback is fit: the listed 6.2 mm ID means they are only useful if the arrow shaft and serving setup actually match. Buying spares before confirming compatibility is wasted effort.
How close should a beginner start shooting?
Begin close and work for tight groups before moving back. That is the safest way to separate arrow setup issues from form mistakes. Distance should increase only when the shot is safe and consistent. The first month should focus on consistent short-range groups, not on long-distance ego.
A simple first-session checklist
- Confirm the target, backstop, and safe direction.
- Check the bow weight feels manageable.
- Inspect every shaft for straightness and visible damage.
- Verify arrow length matches the draw length plan.
- Confirm the spine matches the bow setup.
- Check that every nock fits the string and serving correctly.
- Make sure the fletching orientation is consistent.
- Reject any bent shaft, loose nock, or mismatched spine.
- Set the first shots at a short distance.
- Only move back after safe, repeatable groups.
Picture a beginner with a 30-pound bow and arrows that are visibly too stiff for the setup. If the first shots kick right and the release looks clean, that is not the moment to rebuild form from scratch. Start by checking the arrow match first.
Should I practice with a bow that fits me before tuning arrows?
Yes. The bow should fit the archer before fine tuning begins. A beginner-friendly bow that fits the archer makes arrow behavior easier to read, while a mismatched bow can hide the real issue. Fit first, then tune the arrows. Otherwise every correction points in the wrong direction.
Why fit comes before tuning
Arrow tuning only works when the shooter can repeat the shot. If the bow weight is too high, the anchor shifts and the release gets messy. That makes arrow direction hard to read. Good form includes grip, anchor, release, and follow-through, and those are easier to judge on a fitting bow.
How form and setup stay separate
If the arrow changes impact only when grip or anchor changes, the problem is probably form. If several arrows behave differently before the shot, the problem is probably setup. That distinction saves beginners from chasing the wrong fix.
What is the first-month checklist for a new archer?
The first month should focus on short-range consistency, safe habits, and clean arrow setup. Start close, keep the same arrows grouped together, and inspect every shaft before use. Do not add distance until the shot is safe and repeatable. Skip extra accessories until the basics are solid.
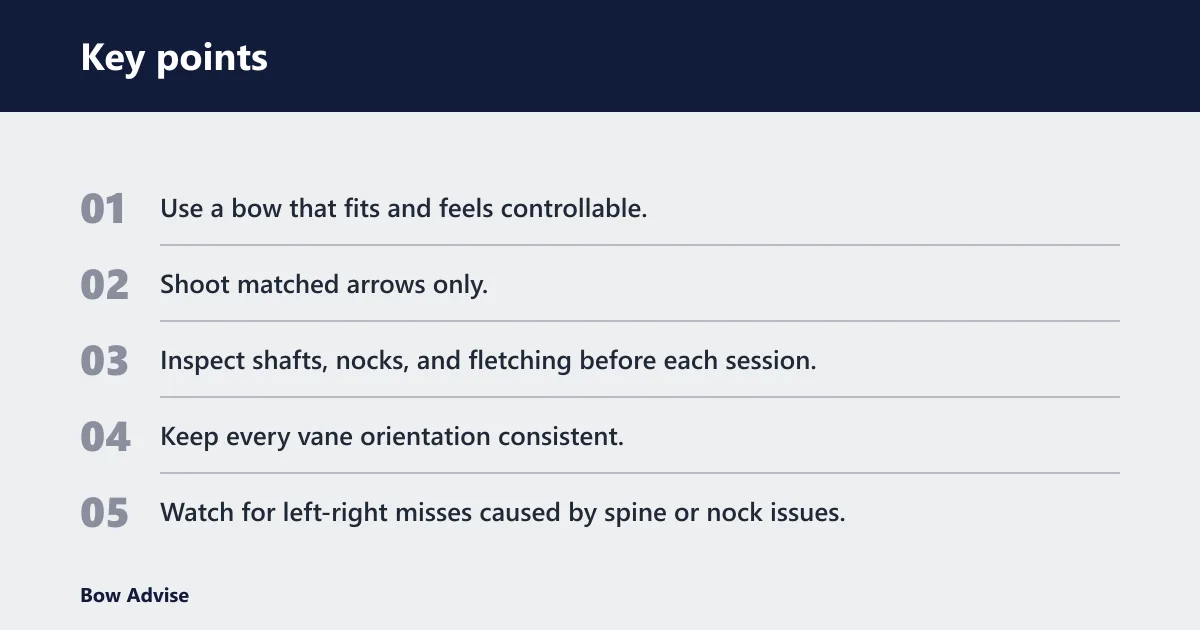
First-month priorities
- Use a bow that fits and feels controllable.
- Shoot matched arrows only.
- Inspect shafts, nocks, and fletching before each session.
- Keep every vane orientation consistent.
- Watch for left-right misses caused by spine or nock issues.
- Practice grip, anchor, release, and follow-through at short range.
Budget setups
| Setup level | What to prioritize | Example items | Price |
|---|---|---|---|
| Starter | Safety and finger protection | Finger tab, high-visibility vest | $12.99 + $8.98 |
| Mid | Arrow control and protection | Finger tab, quiver, high-visibility vest | $12.99 + $26.99 + $8.98 |
| Serious beginner | Setup support and spares | Finger tab, quiver, nocks, sight pins | $12.99 + $26.99 + $9.99 + $11.59 |
Frequently asked questions
What should I check on my arrows before my first range session?
Check shaft straightness, length, spine, nock fit, and fletching orientation before the first shot. Then look for cracks, bends, or loose parts. If any arrow looks damaged or mismatched, set it aside. A short pre-shot check catches setup errors before they turn into confusing misses.
Which way should arrow fletching face before shooting?
Fletching should face the same way on every arrow, and the odd-colored vane usually points away from the rest on many common setups. The exact direction depends on the nock system and rest. Consistency matters more than memorizing one rule for every bow.
How do I know if my arrows are matched to my bow setup?
The arrows should match draw length, draw weight, and the bow type, and the spine should suit that setup. If the arrows behave inconsistently or leave the bow with odd left-right impact, check fit before tuning form. A beginner-friendly bow and matched arrows make the shot easier to read.
What arrow problems can make shots go left or right?
Mismatched spine, poor nock fit, serving contact, and inconsistent fletching orientation can all push shots left or right. So can grip torque, anchor drift, and poor follow-through. That is why beginners should check the arrow setup first, then look at shooting form only after the arrows pass inspection.
What safety checks should I do before stepping onto the range?
Confirm the safe direction, target, and backstop first. Follow range rules, use a bow that fits, and do not dry fire. Check that the arrows are matched to the setup and reject any damaged shaft. Safety is not optional, and it comes before any distance or tuning work.
How do I inspect arrows for damage before shooting?
Hold each shaft at eye level and look for bends or cracks. Check the nock for looseness and the fletching for lifting or damage. If the shaft is bent, the nock is loose, or the spine does not match the setup, stop shooting that arrow right away.