How to Test an Archery Bow at the Shop Before You Buy
Use about a 5-minute shop test: draw the bow three times, anchor twice, hold at full draw for about 10 seconds, and skip any bow that feels unstable, noisy, or hard to return to anchor. A vague “feels good” reading often leads to sore shoulders and poor control, and a bow that never matches your form. This guide gives you a repeatable in-store test for recurve and compound bows so you can decide buy or don’t-buy before you leave the shop.
What you’ll need
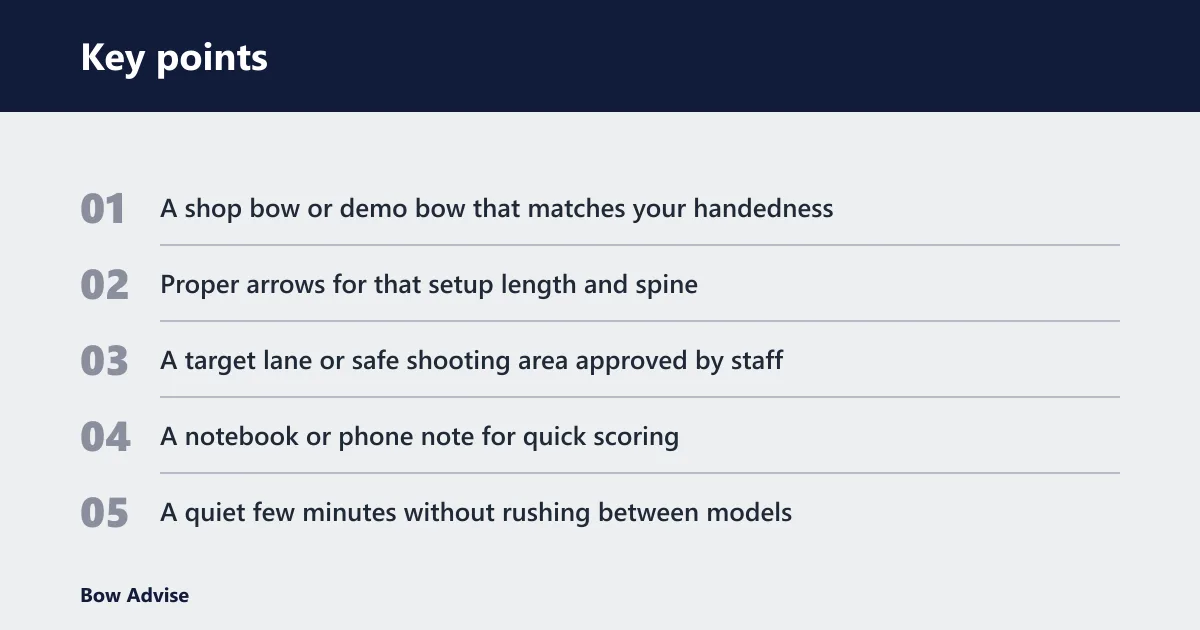


- A shop bow or demo bow that matches your handedness
- Proper arrows for that setup length and spine
- A target lane or safe shooting area approved by staff
- A notebook or phone note for quick scoring
- A quiet few minutes without rushing between models
How do I test a bow at the shop before buying it?
Start with fit, then first-draw feel, then a short fatigue check. A bow should match your draw length and strength before anything else, because comfort, accuracy, and control break down fast when those two numbers are wrong. Use the same quick sequence on every bow so your comparison stays fair.
1. Confirm your fit
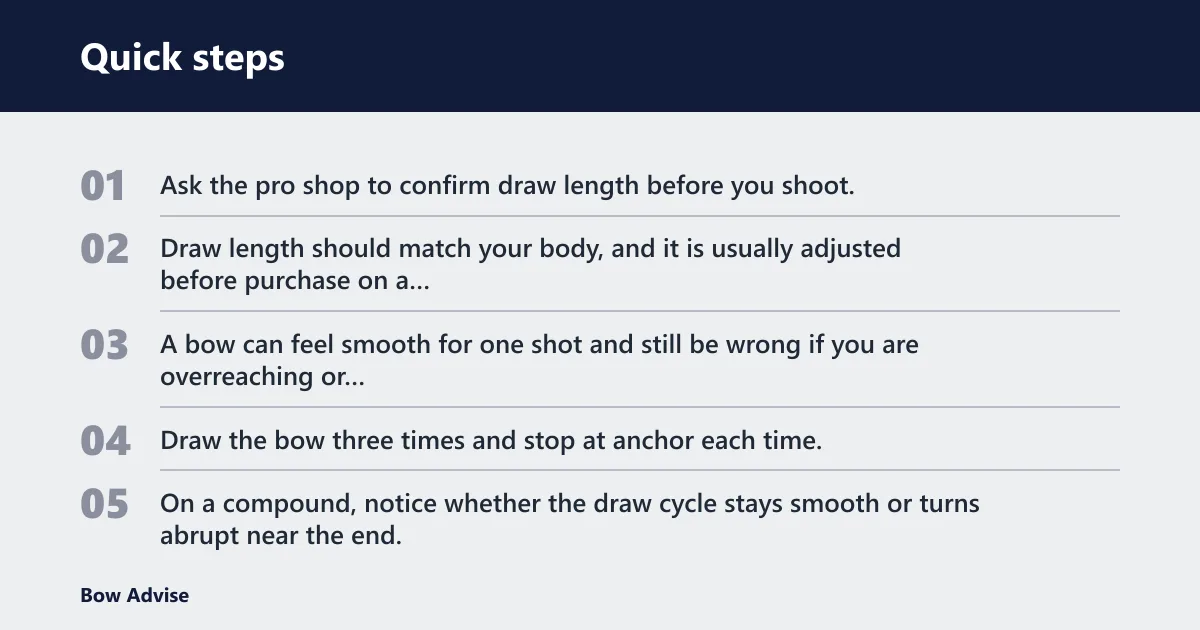
Ask the pro shop to confirm draw length before you shoot. Draw length should match your body, and it is usually adjusted before purchase on a compound bow. A bow can feel smooth for one shot and still be wrong if you are overreaching or collapsing at anchor.
2. Check the first draw
Draw the bow three times and stop at anchor each time. On a compound, notice whether the draw cycle stays smooth or turns abrupt near the end. On a recurve, notice grip pressure and whether the bow wants to twist in your hand. Any pinch, strain, or stacking is a warning.
3. Test hold and aim
Hold at full draw for 10 seconds, then let down cleanly. Pay attention to balance, vibration, and how fast you can return to anchor on the next draw. A bow that feels fine for one shot but drifts, shakes, or tires you quickly is not a good buy.
What should I check when trying a compound bow in the store?
Check the draw cycle, let-off, holding weight, balance, and how the sight picture settles at full draw. Compound bows use modern materials and a string-and-cable system, so they often feel faster and more precise, but they also need more setup care. A good compound should still feel manageable in the hand.
Look at the compound-specific specs
Compare axle-to-axle length, draw-length adjustment, and rest and sight compatibility. Axle-to-axle length affects handling, especially in tight spaces for hunting. Those specs matter together.
Judge let-off and holding weight
At full draw, the bow should feel steady enough to aim without fighting the wall. Let-off changes the holding weight, and that matters for comfort during aim. If the bow feels light at anchor but wobbly in the sight picture, it may still be too much bow for a beginner.
How do I know if a bow fits my draw length and draw weight?
Fit starts with the right draw length and a draw weight you can repeat without strain. Draw weight is measured in pounds, and too much weight causes fatigue and form breakdown fast. For adults, the better test is whether you can draw, anchor, and hold the bow cleanly without strain.
Use a repeatable strength check
Draw the bow three times in a row, then shoot about 10 arrows if the shop allows it. Those are starting points, not targets to force.
Watch for the signs of a mismatch
If the bow pulls your shoulder up, shortens your draw, or makes you rush the release, the weight is too high. Hunting draw-weight requirements vary by species, jurisdiction, and setup, so beginners should not treat hunting weight as a first purchase goal. Match the bow to what you can repeat, not what sounds impressive.
What should I look for in bow feel, grip, and balance?
Grip fit and balance at full draw tell you whether the bow will stay comfortable after the first few arrows. A good grip lets your hand settle in the same place every time without torque. Balance should feel stable enough that the sight or point stays near target center without constant muscle correction.
Check grip shape first
On a recurve, the grip should sit in the pad of the hand without forcing the wrist flat or the thumb high. Recurve bows are named for the way the limb tips curve away from the archer on an unstrung bow, and that simple design often makes grip feedback easy to feel. If the grip keeps twisting, skip it.
Check balance at full draw
Hold the bow at anchor and relax your fingers enough to feel whether the riser wants to roll or dip. Brace height should stay within the maker’s recommended range for the model. A bow with poor balance can feel fine for one shot and tiring by the fifth.
Can I shoot a bow at the shop before I buy it?
Yes, and you should ask for it whenever the shop has a lane or safe target. A physical store lets you pick up and test a bow before deciding to buy it, which matters more than looking at specs alone. Ask staff to set the bow up for a short trial, then compare the same sequence on each model.
What to ask the pro shop
Ask for fitting help, a test lane or target, and setup guidance. A bow pro shop can help with draw-length fitting, arrows matched to the setup, and basic tuning so the bow is safe to shoot. If the staff can explain brace height, axle-to-axle length, and adjustment range, that is a useful sign.
Use the same shot count on each bow
Take three initial draws, then a short set of arrows. Ten arrows are enough to expose early fatigue.
Bow test checklist
Use this one-page checklist for every bow you compare. Score each item quickly, then mark pass or fail before moving to the next model. Keep the same arrows, target distance, and shot count so the comparison stays clean.
| Bow model | Draw cycle | Grip fit | Balance at full draw | Holding weight / let-off | Vibration / noise | Sight picture | 10-shot fatigue | Pass / fail note |
|---|---|---|---|---|---|---|---|---|
| Bow 1 | 1-5 | 1-5 | 1-5 | 1-5 | 1-5 | 1-5 | 1-5 | Pass / Fail |
| Bow 2 | 1-5 | 1-5 | 1-5 | 1-5 | 1-5 | 1-5 | 1-5 | Pass / Fail |
| Bow 3 | 1-5 | 1-5 | 1-5 | 1-5 | 1-5 | 1-5 | 1-5 | Pass / Fail |
- Confirm your draw length before touching the first bow.
- Check the draw weight in pounds and reject anything that feels heavy on the first three draws.
- Compare brace height and, for compounds, axle-to-axle length across the models on the rack.
- Draw to anchor three times and note any pinch, stacking, or twist.
- Hold at full draw for 10 seconds and watch the sight picture, balance, and let-off.
- Shoot 10 arrows if the shop allows it, then mark fatigue, vibration, and noise as pass or fail.
What if the bow feels good but is too heavy to draw repeatedly?
Skip that bow or lower the draw weight before buying it. A bow that feels fine for one draw but breaks form by shot five is the wrong bow for a beginner. Fatigue changes anchor point, release quality, and shoulder position, so the “good feel” is not reliable.
Lower the weight and test again
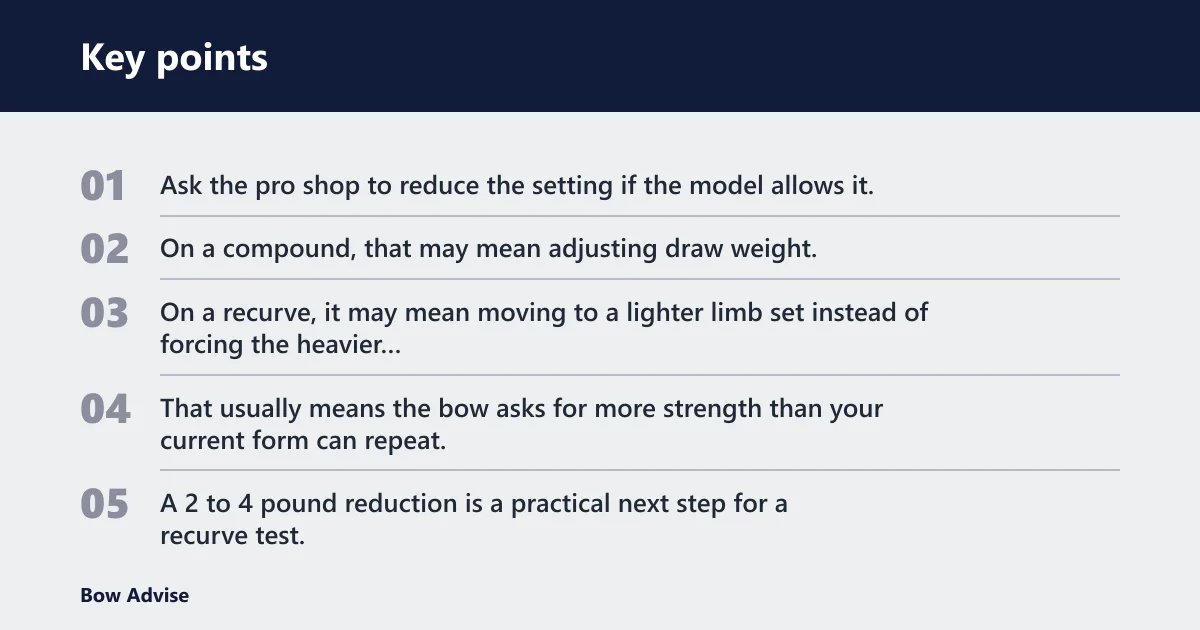
Ask the pro shop to reduce the setting if the model allows it, then repeat the same 5-minute test. On a compound, that may mean adjusting draw weight. On a recurve, it may mean moving to a lighter limb set instead of forcing the heavier setup.
Say your shoulders feel fine on shot one, then start rising by shot six. That usually means the bow asks for more strength than your current form can repeat. A 2 to 4 pound reduction is a practical next step for a recurve test, followed by another about 10-shot check. If the fatigue still shows up, choose a lighter bow.
If that didn’t work
Try a shorter session with the lighter setting and compare how long you can keep the same anchor point. If the bow still pulls you out of form, move to a different model. A bow that is only comfortable for one or two shots is not a fit for new buyers.
Common mistakes
Many beginners judge a bow on the first shot only. That misses fatigue, which is often the real problem. Another mistake is ignoring fitted specs and focusing only on feel. Draw length, draw weight, brace height, and axle-to-axle length all affect how the bow behaves after the first impression.
Another common miss is treating compound and recurve checks as identical. They are not. Compound bows need attention to let-off and tuning range. Recurve bows need simpler setup, but the grip and brace height still matter. Also avoid buying because the staff says a bow is “great” without letting you shoot it.
Should I buy a compound or recurve bow as a beginner?
Pick the bow that fits your goal, strength, and patience for setup. Compound bows are usually more complex to maintain, often more expensive, and built around cams and pulleys for speed and accuracy. Recurve bows are simpler to maintain, common for target shooting, and often used by beginners and Olympic archery shooters.
Use your goal to narrow the choice
If you want target shooting and a simpler setup, a recurve is often the easier first step. If you want a hunting setup or prefer a bow with higher let-off and more adjustment, a compound may fit better. Matching the bow to your strength matters more than choosing by style alone.
Compare the two with the same test
Ask the shop to let you draw each type under the same conditions. A bow that feels good in your hand but asks for too much effort at full draw will not help your groups. Compare comfort, repeatability, and how quickly you can get back to anchor.
Frequently asked questions
What questions should I ask the pro shop staff before buying a bow?
Ask whether they can fit draw length, set draw weight, explain brace height and axle-to-axle length, and provide a safe test lane. Also ask how much future tuning the bow may need. A good answer is specific, not vague.