How to String a Native American Style Bow Safely At Home
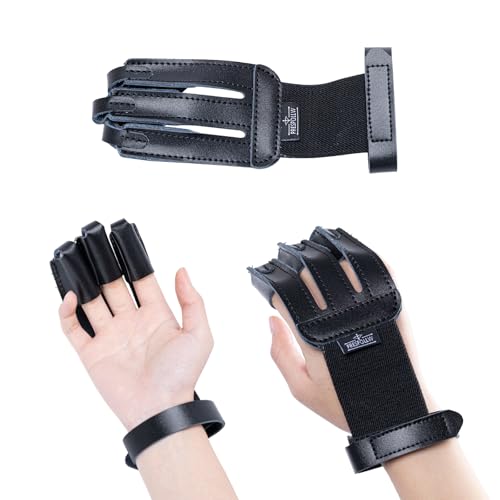
To string a Native American style self bow safely, I start with inspection, then choose the method that keeps equal limb bend. If I have a bow stringer or strap, I use it, because it brings both tips into tension at the same pace. If I don’t, I use the over‑the‑top method with the string only, with the bow pointed away and my hands protected. I wear leather gloves until I reach full draw on the floor. Bad stringing can twist or hinge limbs, crack tips, or snap the string and injure your hand or face. I’ll give a beginner-safe routine that keeps you from damaging the bow while also noting where “authentic” methods raise risk.
What makes a Native American style bow different during stringing?
A Native American style self bow is often wood-only, with limb shape that punishes uneven bending. That means you must prevent limb twist and control where the string seats in the top and bottom limb tip grooves. Many modern shooters also add grips that change how they hold the bow during tensioning.
Self bow construction realities (and why twist risk changes everything)
When a bow is built as a single wood system, small mistakes show up fast. If you pull one limb farther than the other while you’re stringing, you force a twist during the last bends. I’ve seen the difference on my own self bows, and the fix was simple: I stopped “helping” a stubborn tip and kept the bend even, and then the limbs behaved predictably.
Bow limbs must not be twisted during stringing. They need equal bend and controlled tension, especially at the moment the loops settle. If you let the bow rotate in your hands or you clamp the string on a skewed angle, you create an uneven load right where the groove has to do its job.
Handle or grip changes how you control the bow
Many modern shooters prefer added grip, even though most Native-American self bows do not have grips. A leather grip changes how your fingers and palm control roll while you’re tensioning. For a beginner setup, I suggest brain tanned leather because it grips well and doesn’t fight your hand when the bow starts to bend.
Limb tips and grooves: what you must protect before you ever draw tension
Limb tip grooves are where the string has to seat firmly in both grooves, top and bottom. You’re protecting the groove edges from abrasion and preventing string slip. If the string rides halfway up a tip or only sits in one groove, the bow can hinge instead of bending smoothly.
Before you add tension, I look hard at the grooves. If one side is rough, chipped, or shows a crack path, I stop and reassess. The safety routine starts there because once the string is under load, corrections are harder and mistakes get amplified.
According to Primitive Bow Making – Part 4 — Some Southwestern tribes used yucca fibers for lighter weight bows at 40 lbs. draw weight or less. (source)
Should I use a bow stringer or the step-through method?
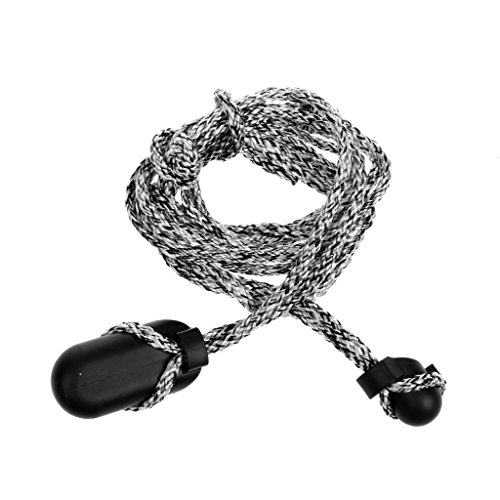
Use a Bow stringer if you have one. It applies equal pressure to both limbs, which is the safer approach for beginners and reduces limb twist risk. The step-through stringing method is quicker, but if done incorrectly it can damage the bow over time and can also cause injury.[3]
Bow stringer method: where it reduces limb twist and keeps pressure even
The safest method uses a stringer because it applies equal pressure to both limbs. When teaching beginners, one rule is absolute: use the stringer so the string comes into tension evenly rather than “working” one tip in at a time. That equal load prevents a crooked seat in the limb grooves.
With a stringer, you guide the loops into the limb tip grooves while the bow stays oriented. The stringer lets you reach full bracing tension without yanking the bow into an asymmetrical bend.
Bow stringer (preferred safer method, recommended for beginners, reduces limb twist risk) is also easier to repeat. Repetition matters because your hands learn the same safe path each time, instead of improvising while the bow fights you.[4]
Step-through stringing method: common, faster, and riskier if you rush
The step-through method is quicker than using a stringer.The step-through method can damage the bow over time if done incorrectly, and it can cause an injury if done incorrectly.[1]
If you choose step-through, you still treat the groove as the boss. You bend in a controlled way, you keep the bow from twisting, and you stop immediately if the string doesn’t settle smoothly into both limb tip grooves.
A simple decision tree for beginners (bow condition + control)
Pick the method with your ability to control symmetry. If you can’t reliably keep the limbs bending evenly, choose the stringer. If the stringer isn’t available, only use step-through on a bow that passes inspection and has no suspicious cracks or groove damage.
| Decision | Choose | Why |
|---|---|---|
| Bow type | Native American style self bow | Wood-only limbs can be less forgiving of twist and uneven seating. |
| User skill level | Beginner or you’re unsure you can keep symmetry | Stringer method is recommended and safer for beginners |
| String material | Anything that feels “slippery” or stretches noticeable | Use a stringer so the loop seats without sudden corrections |
| Bowstringer availability | Stringer/strap you can use correctly | Stringer applies equal pressure to both limbs and reduces limb twist risk |
| Bow condition | No cracks at tips, nocks look solid, grooves are intact | If any red flags exist, stop and don’t string |
| Method choice | Stringer if possible; step-through only if you can control symmetry | Step-through is quicker, but can damage the bow over time or injure you if incorrect |
Native Archery safety checklist before you touch the string
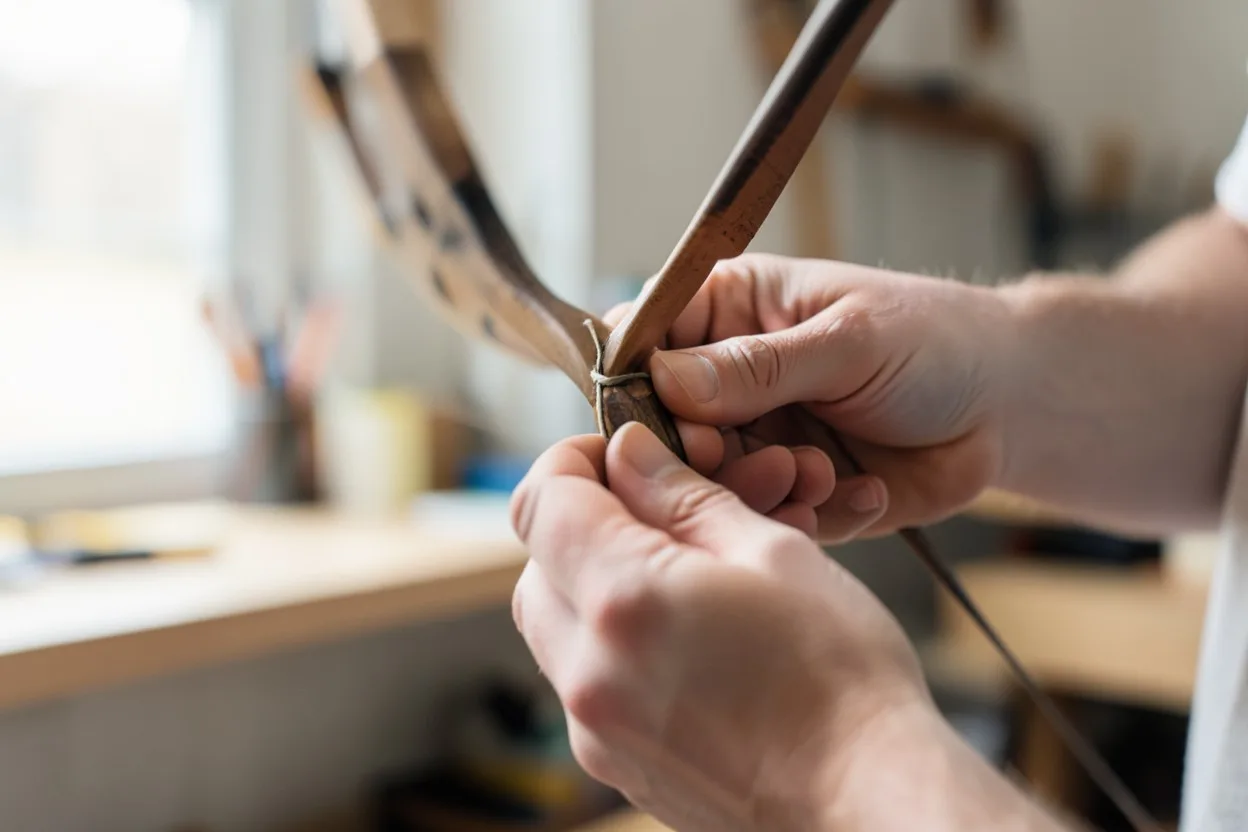
Before you add tension, do a go/no-go inspection. Confirm limb cracks and nock condition, inspect brace alignment, check string wear or fraying, and verify the limb tip grooves are clean and un-damaged. Set your stance so the bow points away and your hands stay out of the snap path.
Quick inspection points (go/no-go)
- Limb cracks: check both tips and the transition areas for fresh splits, especially near where the groove lives.
- Nocks: look for looseness, sharp splits, or delamination signs.
- Brace alignment: confirm the bow is sitting straight in your hands before you string it.
- String wear: look for fraying, glazing, or signs of uneven stretch.
- Groove condition: ensure both top and bottom limb tip grooves are intact and free of grit.
Check the bow stays untwisted during setup
Hold the handle/grip firmly enough that the bow doesn’t roll, but don’t clamp so hard you change the limb bend. Any twist you introduce at the start becomes locked in when the string finally seats.
Set up your environment
Use stable footing and keep the bow pointed away from your face. Leather gloves help if you’re nervous or if the string is stiff. Keep your stringing hand positions predictable, because a startled twitch is how loops pop out.
How long should a bowstring be for a traditional bow?
String length matters because it affects whether the loop seats firmly in both limb tip grooves without forcing the limbs into a harsh bend. If the string is too short, you’ll over-bend trying to seat the groove. If it’s too long, you’ll struggle to reach a proper brace check.
Why string length matters: seating vs forcing
For a traditional bow, you’re aiming for the string to land in the grooves cleanly. Forcing the bow to “accept” a wrong length is how people create uneven seating and hidden stress. The safe choice is the correct string for your bow rather than improvising diameter or length to make it feel close.
Brace-height sanity checks after stringing
After stringing, do a brace-check visually and by feel. If the bow looks cocked, the string sits unevenly, or the tips don’t look symmetrical, stop and re-check. You’re trying to confirm the string is centered and the limbs are bending smoothly under controlled tension.
When to stop and get the right string instead of trying to make it fit
If the string won’t seat smoothly into both limb tip grooves, stop, remove tension, and check that the loop size and string diameter are appropriate. Wrong string length/diameter can lead to groove slip or harsh loading during the last bend.
How do you set the string into the limb tip grooves safely?
Seat the top and bottom limb loops evenly, with controlled tension, so the string sits firmly in both grooves. Top loop first, then bottom loop seating helps you control the initial placement. During the final bends, stop if the string tries to climb the tip or if one groove seats while the other refuses.
Correct loop order and controlled tension
Use the following safe order: set the top limb loop first, align it so it sits in the groove, then set the bottom limb loop. Keep the bow untwisted as you tension. If you feel a sudden snag at only one tip, ease off and re-seat before continuing.
- Inspect grooves for debris or damage.
- Position the top loop so it drops into the top limb tip groove.
- Position the bottom loop so it seats in the bottom limb tip groove.
- Increase tension slowly until both grooves feel settled.
- Stop to check seating before drawing or shooting.
What “seated firmly in both grooves” looks like
You want both grooves to hold the string without the loop riding up on the limb tip edge. The string should not visibly ride the side of the groove, and it should not look higher on one side than the other.
If you see asymmetry, treat it as a stop condition. Uneven seating creates uneven bend, and uneven bend increases the chance of limb twist and groove slip.
How to avoid groove slip during the last few bends
Most groove slip happens in the last part of stringing when people start rushing. Slow down when you’re near full tension. Keep the bow oriented and pull in a way that keeps both limbs bending together. If the string starts to walk out of the groove, back off immediately.
Stringing steps: bow stringer routine (beginner-safe)
Use a bow stringer to bring the bow to tension more evenly. That can help apply similar pressure to both limbs, which may reduce twist risk and help keep the loops aligned in the limb tip grooves. Watch for even bend and proper seating at each stop, then do a top-and-bottom limb tip check before any draw.
Equal pressure approach: where the stringer contacts and what to watch
As you raise tension with the stringer, observe the limb bend on both sides. If one tip seems to move faster, fix your body position and bow orientation before you push further. Instructors like me emphasize slow repetition for a reason, consistent motion prevents twist.
Limb-tip check after final seating: stop if something looks off
At the end, check both top and bottom limb tip grooves. If either groove pops, or if the string sits noticeably uneven, stop. Reduce tension and re-seat. Don’t keep going “just to see if it settles.”
Final brace check and brief safety test before any draw
Do a quick brace check visually and by light touch. Confirm the bow is not cocked and the string looks stable in both grooves. Then, without drawing yet, verify you can maintain orientation without the bow wanting to roll or twist under its own tension.
Stringing steps: step-through method and its stop conditions
The step-through method can work, but it’s easy to rush. Keep symmetry and prevent limb twist while you bend the bow. Stop immediately if you hear creaks, notice sudden uneven seating, or see the string climbing toward the tip. If the string won’t seat smoothly, back off and reset.
How to reduce harm: controlled bend and strict symmetry
As you step through, you must keep the limbs bending evenly. Don’t let the bow roll in your hands while you add load. Controlled bending means you pause when the loops are close to seating, then confirm the string is tracking toward the limb tip grooves correctly.
Signs to stop immediately
- Creaks or popping noise: stop and unload.
- Sudden asymmetry: one limb seating higher or faster means twist risk.
- String trying to climb the tip: groove seating isn’t secure.
- Fraying under tension: unload and inspect the string.
Damage prevention: what to do if the string won’t seat smoothly
If seating feels wrong, don’t force it with more bend. Remove tension, re-check groove alignment, and verify string length and diameter are appropriate. Poor technique plus wrong setup invites long-term groove slip or a failure that shows up the next time you shoot.
Bow stringing safety checklist + choose-your-method flowchart
Use this one-page checklist every time. Choose the safer stringer method if you can. Only step through when you can keep symmetry, and stop at any sign of groove mis-seating or damage. Confirm your limbs aren’t twisting and that the string is seated firmly in both grooves before you draw.
Choose-your-method flowchart (quick)
| Bow + string situation | Beginner choice | Immediate rule |
|---|---|---|
| Native American style self bow and you’re new | Bow stringer method | Stringer applies equal pressure; reduces limb twist risk |
| No stringer but bow passes inspection | Step-through only | Stop if uneven seating or climbing starts |
| String material shows stretch or feels slippery | Bow stringer method | Reduce corrections mid-bend |
| Any red flags at tips, nocks, or grooves | Do not string | Fix the issue before tensioning |
Pre-string inspection checklist (go/no-go boxes)
- Tips: no cracks or fresh splits.
- Nocks: sound, aligned, no looseness.
- Brace alignment: bow sits straight in your hands.
- String wear: no fraying, no obvious uneven damage.
- Limb tip grooves: clean and not chipped.
Limb-tip groove seating and checking sequence
- Top loop seats in the top limb tip groove.
- Bottom loop seats in the bottom limb tip groove.
- Increase tension slowly until both loops feel settled.
- Top-and-bottom check before any draw or shooting.
- Unload and re-seat if either groove pops or looks uneven.
Stop conditions for damage + quick post-string brace check
- Creaks or unusual noises: unload and inspect.
- Asymmetry during stringing: stop, reset, prevent twist.
- Groove pop-out: unload immediately; re-seat both loops.
- String fraying: unload; don’t “finish the job.”
- Post-string brace check: confirm string looks centered and stable before any draw.
Bowstring materials on Native bows: what you can use today
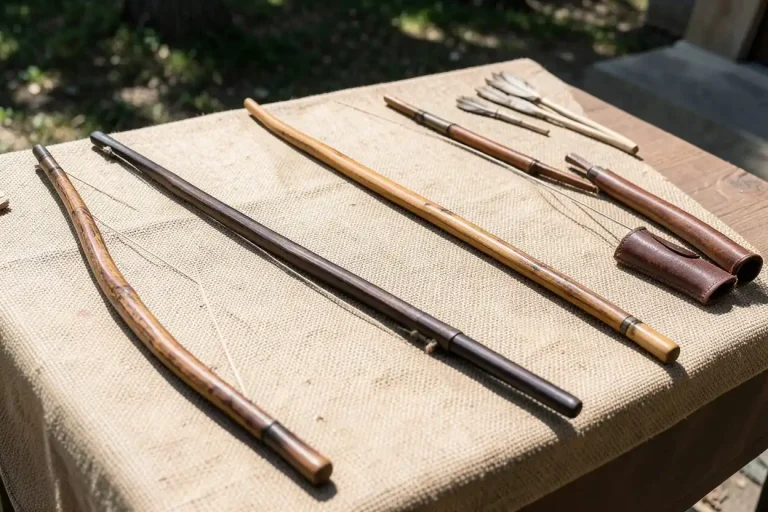
Historically, surviving Native-American bows often used sinew strings, and twisted rawhide was also used for bowstrings. Some Southwestern tribes used yucca fibers for lighter weight bows at 40 lbs. draw weight or less. Today, artificial sinew and waxed linen are common beginner options if they match your bow’s needs.
Materials historically found on traditional bows
- Sinew: a traditional choice and a common part of historically surviving setups.
- Twisted rawhide: another traditional bowstring material.
- Yucca fibers: used for lighter weight bows at 40 lbs. draw weight or less in some Southwestern examples.
Modern beginner-friendly options
- Artificial sinew: the article recommends artificial sinew if you prefer a more modern material.
- Waxed linen: waxed linen can also be used to make a good string.
Failure points by material (why heavier bows punish poor string choices)
Different materials behave differently under tension. Some stretch more, some slip in grooves if the surface is too slick, and some deform if you store the bow under load. If you use an unsuitable string for your draw weight or groove fit, you can get uneven seating, delayed settling, or groove slip after you think it’s ready.
How do you string a Native American style bow safely?
To string a Native American style bow safely, start with inspection, then choose the method that keeps equal limb bend. Use a bow stringer if you have one, so the string seats evenly in both limb tip grooves. Keep the bow pointed away, wear leather gloves if you’re nervous, and stop if anything looks asymmetrical.
How do I know if my bow is strung correctly?
Your bow is likely strung correctly when the string seats firmly in both limb tip grooves, top and bottom, and looks centered rather than climbing one side. Check for even bend, no asymmetry, and no string fray or groove pop-out. If you see uneven seating, unload and re-seat before any draw.
What string materials were used on Native American bows?
Surviving Native-American bows often used sinew strings. Twisted rawhide was also used for bowstrings. Some Southwestern tribes used yucca fibers for lighter weight bows at 40 lbs. draw weight or less. Those historical materials are useful context, but modern beginners should match string behavior to their specific bow setup.
Can I use artificial sinew or waxed linen on a traditional bow?
Yes, you can use modern equivalents in many beginner setups. The article recommends artificial sinew if you prefer a more modern material, and waxed linen can also be used to make a good string. The safety rule is to ensure the string seats properly in both limb tip grooves and doesn’t create uneven seating or groove slip.
How do I avoid damaging the limbs while stringing?
Avoid limb damage by preventing twist and by setting the string into the limb tip grooves evenly. Use controlled tension, move slowly during the last bends, and stop if the string won’t seat smoothly. Uneven seating or forcing the wrong string length/diameter can hinge limbs or overload tips, which leads to cracks and long-term stress.
What causes a traditional bow to break when stringing it?
Breaks during stringing usually come from twist, uneven seating, or wrong string length/diameter that forces the limbs into an over-bent position. Over-bending technique errors, groove slip, or a string that isn’t seated firmly in both grooves can create a hinge instead of a smooth bend. Stop at creaks, asymmetry, or groove pop-out.
How do I set the string into the limb grooves safely?
Set the top loop first, then the bottom loop, and increase tension slowly until the string is seated firmly in both limb tip grooves. Keep the bow untwisted the whole time. During the last few bends, watch for groove slip; if the string climbs a tip or one side seats while the other doesn’t, unload, re-seat, and retry.