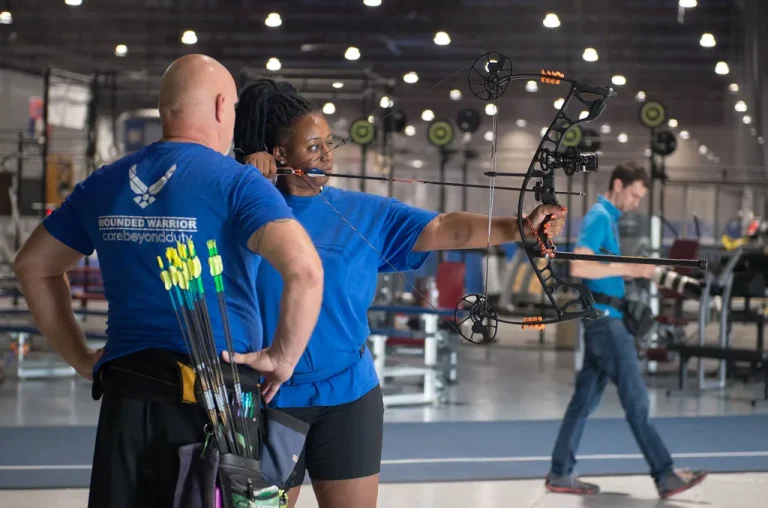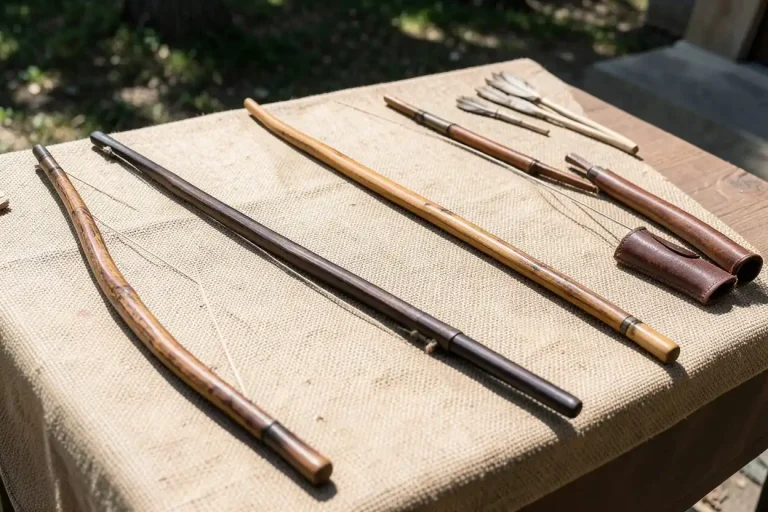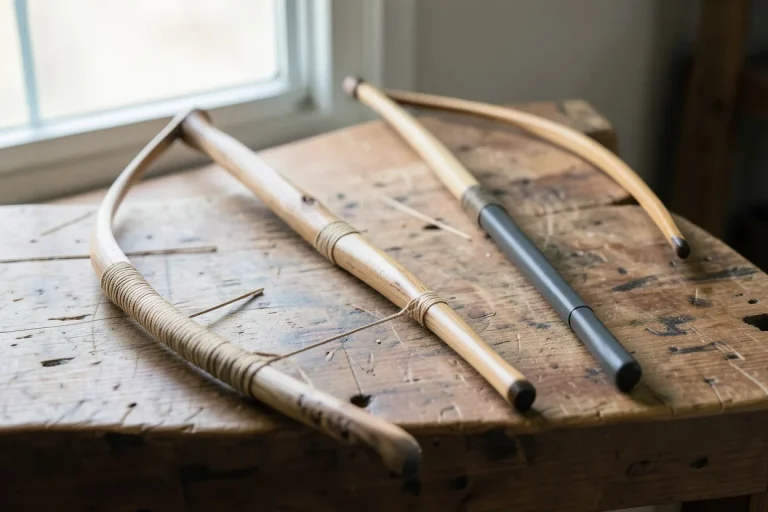
Common mistakes when shooting a Native American bow
Some of the most common mistakes with Native American style bows are inconsistent stance, wrong grip pressure, poor anchor, inconsistent release timing, aim inconsistency, inconsistent nock set or arrow contact, and mismatched draw length. Start by fixing the first two issues, grip pressure and anchor depth.Even on paper, arrow flight can look random.
This guide explains how each mistake changes arrow flight, cast, and hand feedback. I also include home tests you can run on a yard range to confirm what’s actually moving your arrow.


What are the most common mistakes when shooting a traditional Native American style bow?
On a Native American style bow, the misses that show up fastest are low groups, left-right drift, inconsistent cast, and the “hand shock then bad groups” pattern. The reason is simple: with no sights and a more sensitive, less forgiving release feel, tiny setup errors move the arrow while the bow is loading and unloading.
Symptom-to-mechanic translation I use when diagnosing
I watch the arrow’s direction first, then I read the hand feedback. If you get hand shock and the group opens, your release timing and grip contact usually change mid-shot. If you get consistent left or low impact, it’s often anchor depth, eye choice, or shot timing.
Arrow flight clues that point to mechanics
Low impact that stays low after you adjust “aim” usually points to anchor depth or early release timing. Repeated left or right impacts that do not tighten after calmer aiming can point to grip torque, nock set inconsistency, or a mismatched draw length. A mismatch changes the bow’s launch angle.
How do I stop overbowing a traditional bow?
Overbowing shows up as shakiness at full draw, a shorter hold, and a release that feels uneven. With traditional bows, fatigue makes your string hand jump and your bow arm collapse. Then a small timing error turns into a bigger arrow-flight error.
Draw weight: too heavy vs appropriate beginner form
If the bow is too heavy for your current form, you cannot hold full draw calmly. One coach’s advice I follow is this: hold perfectly steady for at least 5-7 seconds. If you are fighting the draw after a couple of seconds, you may release less consistently, and groups may drift.
What you can check right now in your own setup
- Can you reach full draw and maintain the same body position for 5-7 seconds without twisting your torso?
- Does your string hand feel “busy” at full draw, or do you feel a smooth, repeatable contact and release?
- After 10 shots, do you keep the same arrow flight direction, or does it start walking left/right?
Fix path for overbowing
Reduce draw weight or change your practice so you build a stable full-draw hold before you chase a harder cast. The first time the flinch stops, my release timing cleans up fast.
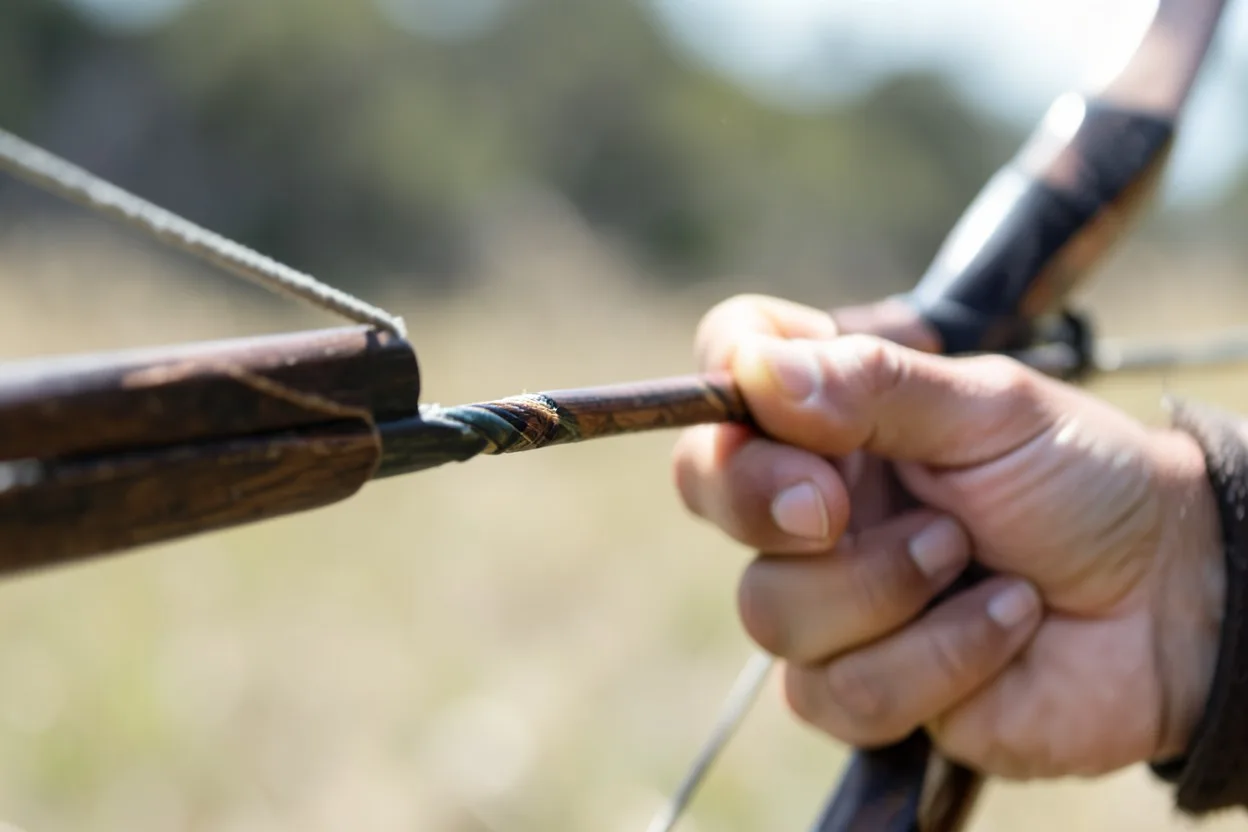
How should my grip be on a Native American style bow?
Grip pressure and hand placement change how the bow launches the arrow. The most common pattern I see is side pressure or a shifting contact point. That creates torque and pushes the arrow left or right. Your hand feedback also feels off, sharper, or less repeatable.
Grip pressure and hand placement: lifeline placement in the palm
A gear article I trust recommends placing the grip along the lifeline in the palm. When you squeeze too high in the palm or too far toward the fingertips, the bow hand can rotate during the shot. That rotation shows up as inconsistent cast direction even when your anchor looks fine.
Torque from side pressure and why it changes arrow flight
Too much pressure on one side creates torque. On a Native-style bow, that torque often changes your initial launch angle, then it amplifies during follow-through. The result is a group that looks like it is fighting you. You can hold center, but the arrow keeps landing in the same consistent direction.
Drill: lock one contact point for 20 arrows
- Mark your hand position with a small piece of tape on the bow handle area where your lifeline contacts.
- Set your grip so the contact point stays the same every time, without squeezing harder to feel “stronger.”
- Shoot 20 arrows at short range, focusing only on keeping the same contact pressure and same grip geometry.
- Write down where the arrows land by direction (left, right, low, tight center).
If the group direction stabilizes and tightens, you found the mechanic. If hand shock stays high and impacts stay scattered, move to anchor and release timing next.
Why am I missing left or right with a traditional bow?
Left-right misses usually come from eye dominance mismatch, grip torque, or anchor timing that changes your aim line at the moment of release. The bow can be fine. Your shot still goes sideways if your draw length or facial reference shifts as you let the arrow go.
Eye dominance: cross-dominance and correct left/right shooting choice
Cross dominance is shooting right-handed while left-eye dominant. If you shoot from the wrong side of the bow, your brain tries to aim with the dominant eye while your body aligns with the non-dominant one. The arrow then goes where you are really aiming.
Only the eye above the arrow should aim
One simple rule I rely on is that only the eye above the arrow should aim. When both eyes fight, your “aim” can move during the shot.
Drill: one-eye aiming test with consistent head position
- Pick a target spot and place your head so the same cheek reference hits your face every shot.
- Close one eye at a time before the shot and feel which eye produces a stable aim line.
- Then shoot 10 arrows with only the eye above the arrow “active” and the other eye staying quiet.
- If your left-right error shrinks, you corrected the aiming fight.
Does your anchor and shot sequence prevent short draw and early aiming?
Yes, when anchor and shot sequence are repeatable. A consistent facial reference prevents short draw. A draw-then-anchor-then-aim order stops you from releasing while you are still searching for the right position.
Anchor point: consistent facial reference and full-draw repeatability
Improper draw length is one of the most important setup issues. In practice, the symptom looks like short draw. Your arrows go low, or your groups feel inconsistent because the bow launches the arrow from a different draw moment every time.
Shot sequence: draw, anchor, aim, then release
I treat the sequence like a timer you can’t speed up. Draw first, then lock the anchor, then aim. If you start aiming while you are still hunting for anchor, you often release early.
Follow-through: let the shot finish cleanly
Follow-through matters on trad because you feel the end of the shot in your hand and arm. Finish smoothly without yanking. When people kill the motion at release, it often shows up as hand shock and a sudden loss of repeatability.
Is your release clean, or are you plucking and collapsing?
A clean release feels smooth and consistent as the string separates. Plucking and collapse show up as hand jerk at the instant of release, inconsistent arrow flight, and groups that sometimes tighten and then suddenly open up again.
Release quality: clean release vs pluck and collapse
A common mental-error set for traditional archery includes short draw, drive-by shooting, and claw finger. When release timing is sloppy, the bow-string separation changes shot-to-shot, and your arrow’s flight direction becomes harder to predict.
Back tension concept for trad: create a body-driven finish
Back tension is a good idea if you feel it as a consistent body finish rather than a “compound-like trigger.” The feel I look for is steady expansion through the shot with a quiet string hand. You should describe the end position your body hits, not the exact finger moment.
Quick check: watch your string hand after the shot
- If your fingers snap forward or the hand jerks, you are likely plucking or collapsing.
- If the string hand stays quiet through follow-through, your release timing is closer to clean separation.
Are you practicing enough to keep form when fatigue hits?
Most accuracy problems on trad get worse after fatigue. Consistency over occasional sessions keeps your anchor depth, grip contact, and release timing stable. Short-range repetition also helps you diagnose early because directional errors show up quickly.
Practice volume: consistency over occasional sessions
I’d rather shoot fewer arrows on more regular days than cram a single long-range session. Once you are tired, your grip pressure increases, your draw hold shortens, and your head alignment slips a hair. That hair can be enough to change where the arrow lands.
Short-range repetition to reveal real stability
Use a yard-range distance where you can see patterns, then repeat until the arrow direction stops changing. If your cast changes at day’s end, that is a form issue, not an “arrow issue.”
Hunting-specific practice conditions
Practice the same way you hunt. One traditional tip I follow is to practice the same way you will hunt, including how you manage breath, time, and the pressure of a quick shot. When your practice includes end-of-session tiredness, your form is more likely to hold up under real conditions.
Should I shoot a traditional bow with a gap shooting method?
You can, and it can be effective if you stay consistent. Gap shooting uses a reference and a repeatable decision about sight picture without sights. If you use an instinctive or intuitive method, it still has to be the same every time. Otherwise, you mix decision-making errors with mechanics.
Aiming method: gap references and consistency under pressure
Because Native American style shooting often has no sight system, aiming method consistency matters. If your group shifts direction while your body mechanics look stable, you may be changing your aiming reference between shots.
How to stay consistent if you don’t use gaps
Pick one aiming style and commit to a repeatable head position and reference. Under pressure, the wrong method is the one that changes mid-shot, because you “adjust” your aim while you are also finishing the draw and anchor.
Symptom-to-fix checklist for Native American style bows with a quick test sequence
This checklist connects what you see to the mechanic you fix. Use it when you see low groups, left-right drift, inconsistent cast, or hand shock followed by poor groups. Then run the short indoor or yard sequence to confirm which fix actually changes arrow impact direction.
| Mistake | Visible arrow impact | Likely cause | One drill to confirm the issue |
|---|---|---|---|
| Wrong grip pressure (too high in palm or side torque) | Consistent left or right drift with harsh hand feedback | Torque from side pressure or shifting contact point | Grip-lock drill: same lifeline contact, 20 arrows from short range |
| Poor anchor depth (short draw) | Low impact that stays low; feel of rushing at full draw | Inconsistent facial reference; incomplete full-draw repeatability | Anchor repeat test: 10 full-draw holds, then 10 shots, same anchor every time |
| Sloppy release timing (pluck/collapse) | Inconsistent cast; sometimes sudden group opening | Hand jerk at release; finger punching instead of a smooth separation | Quiet string-hand test: shoot 12 arrows while watching string hand after release |
| Draw weight too heavy for beginner form | Wobble at full draw; impacts wander as fatigue sets in | Can’t hold full draw 5-7 seconds; release quality degrades unevenly | Hold test: attempt 5 holds aiming for 5-7 seconds, then shoot only if stable |
| Eye dominance mismatch or two-eye aiming | Strong left-right misses that don’t “fix” by aiming adjustments | Cross-dominance or both eyes fighting your aim line | One-eye aiming test: shoot 10 arrows with only the eye above the arrow active |
| Inconsistent nock set or arrow contact | Random scatter; sometimes mixed vertical and horizontal drift | Arrow sits differently on the bow string or rests differently at contact | Nock repeat drill: mark nock placement, then reload and shoot 10 arrows |
| Aiming/sequence error (aiming too early) | Groups that shift as you “search” for the position | Draw-aim mix-up; release comes before anchor is locked | Sequence drill: enforce draw, anchor, aim, release; shoot 15 with pause after anchor |
My indoor/yard test sequence I run to confirm the fix
I run this as three short rounds. It takes roughly half an hour to under an hour and helps show whether the fix changed direction and hand shock. It also shows whether my impacts improved without guessing. If you don’t see improvement in impact direction, you didn’t fix the mechanic.
- Round 1 (baseline): Shoot 6 arrows at a short, consistent distance. Note impact pattern: left/right bias, low bias, and whether you felt hand shock.
- Round 2 (apply one drill): Pick the top likely cause from the checklist. For grip issues, do the lifeline contact lock. For anchor issues, do the anchor hold test. Shoot 6 arrows.
- Round 3 (verify): Keep everything the same and shoot 6 arrows again. The fix “worked” when direction bias shrinks, groups tighten, and hand shock reduces.
How I decide the fix is working
- Direction shift accuracy: bias moves toward center or bias reduces.
- Group tightening: the pattern narrows without you changing multiple variables.
- Reduced hand shock: your hand feels calmer through the finish, which usually tracks cleaner release timing.
Frequently asked questions
How much should I practice before hunting with a traditional bow?
Practice enough so your anchor, grip contact, and release timing hold up after fatigue. I focus on consistency over occasional sessions: short-range repetition most days, then a few end-of-session rounds that mimic hunting pressure. If you can’t reproduce your impacts late in practice, don’t assume you can in the field.
How do I know if my eye dominance is affecting my shot?
If your left-right misses persist even when your anchor and grip feel steady, eye dominance may be driving the error. Cross dominance is a common trap: right-handed while left-eye dominant. Use the rule that only the eye above the arrow should aim, then run 10-arrow tests with one-eye aiming active.